Open HardwareAssembly Instructions
Guides for installation and assembly of the LulzBot line of products made by FAME 3D LLC.
Guides for installation and assembly of the LulzBot line of products made by FAME 3D LLC.
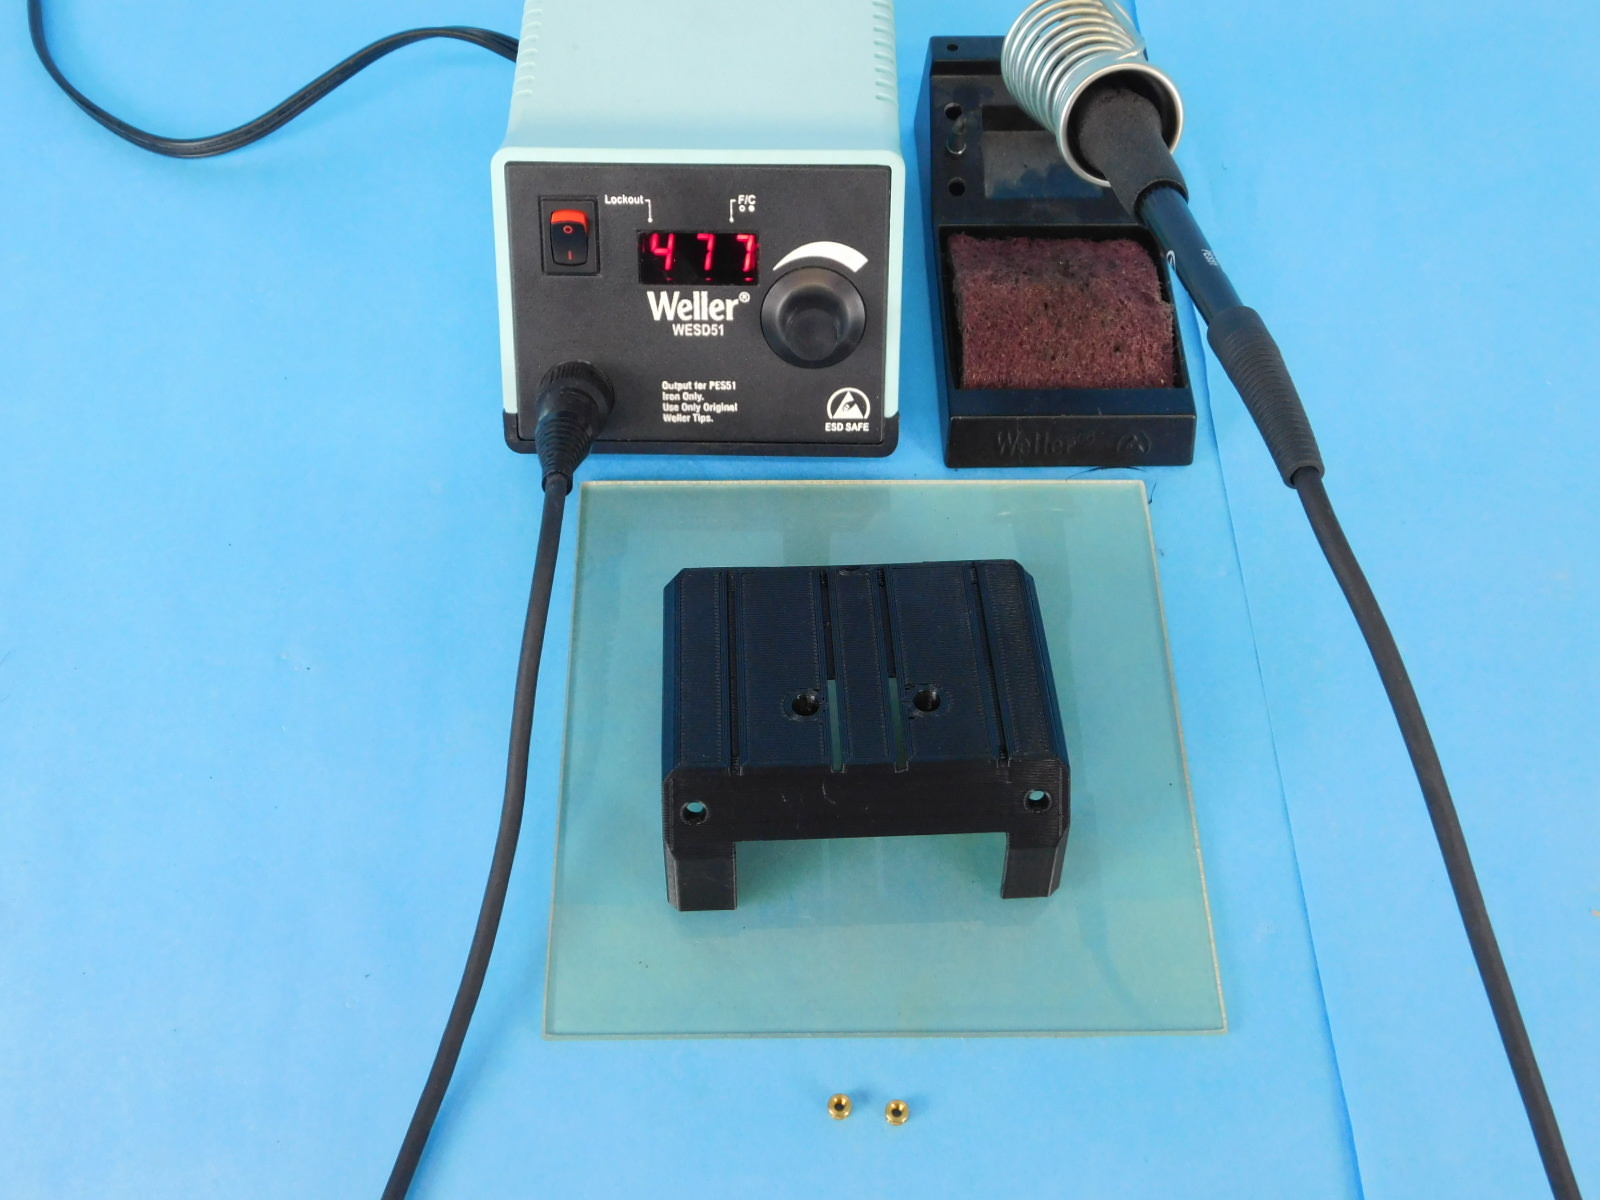
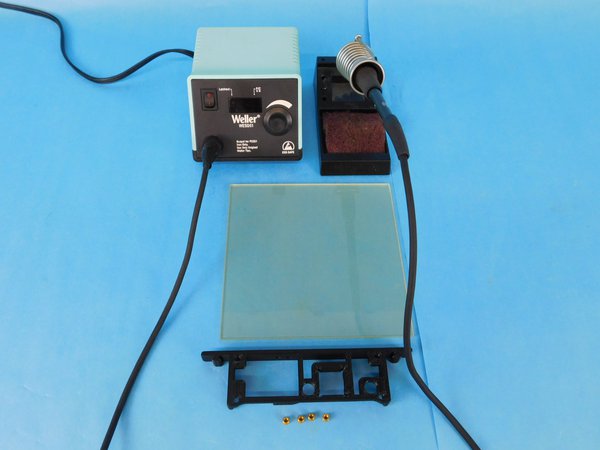
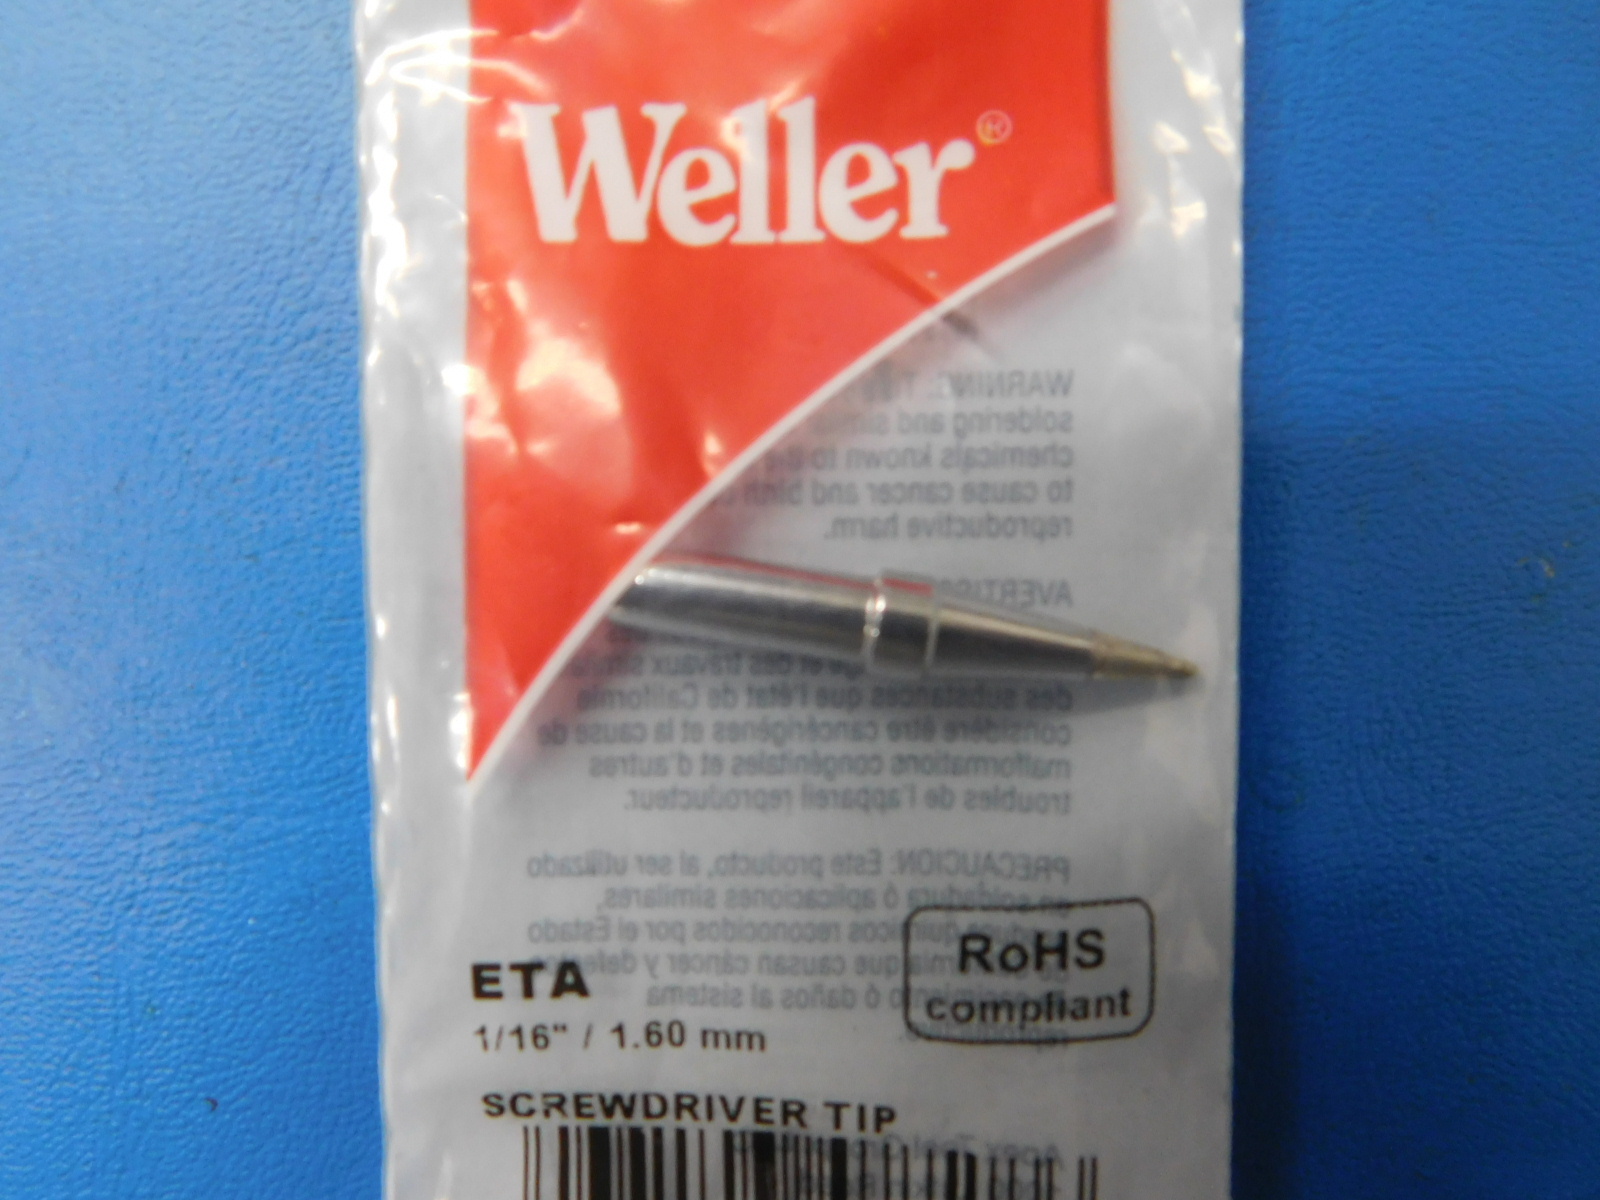
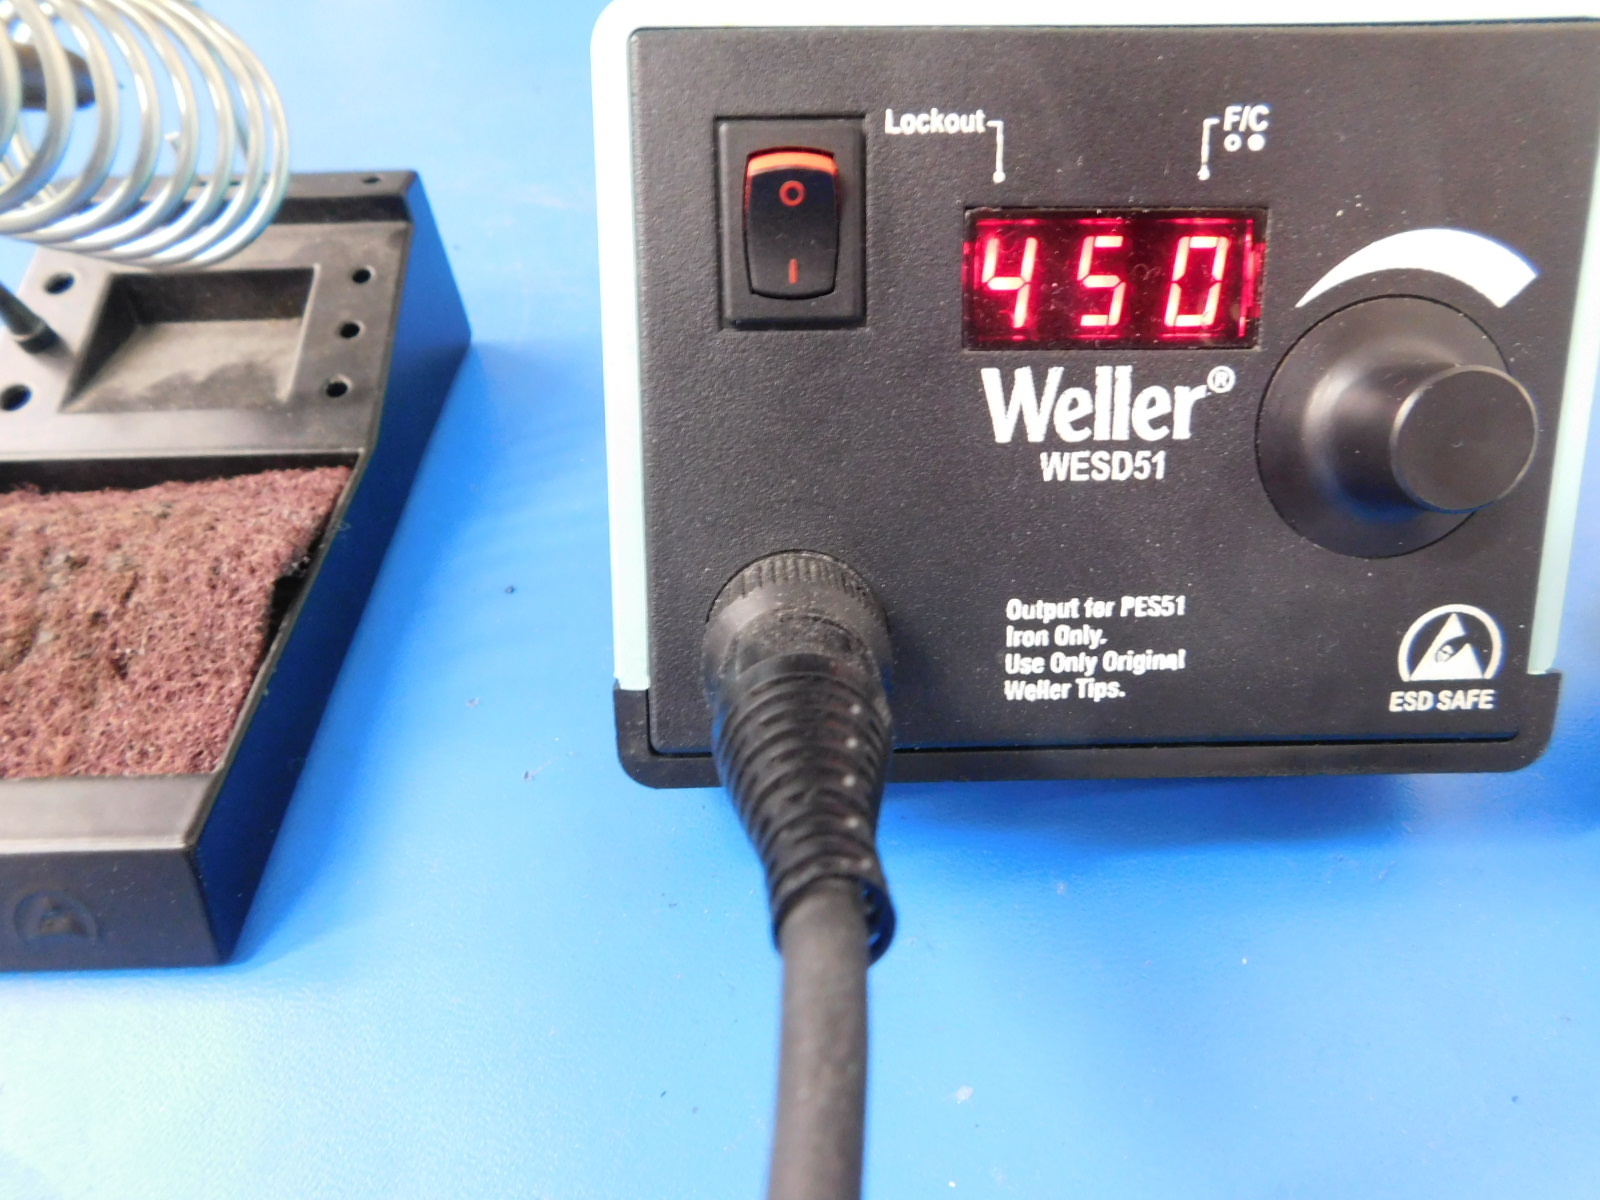
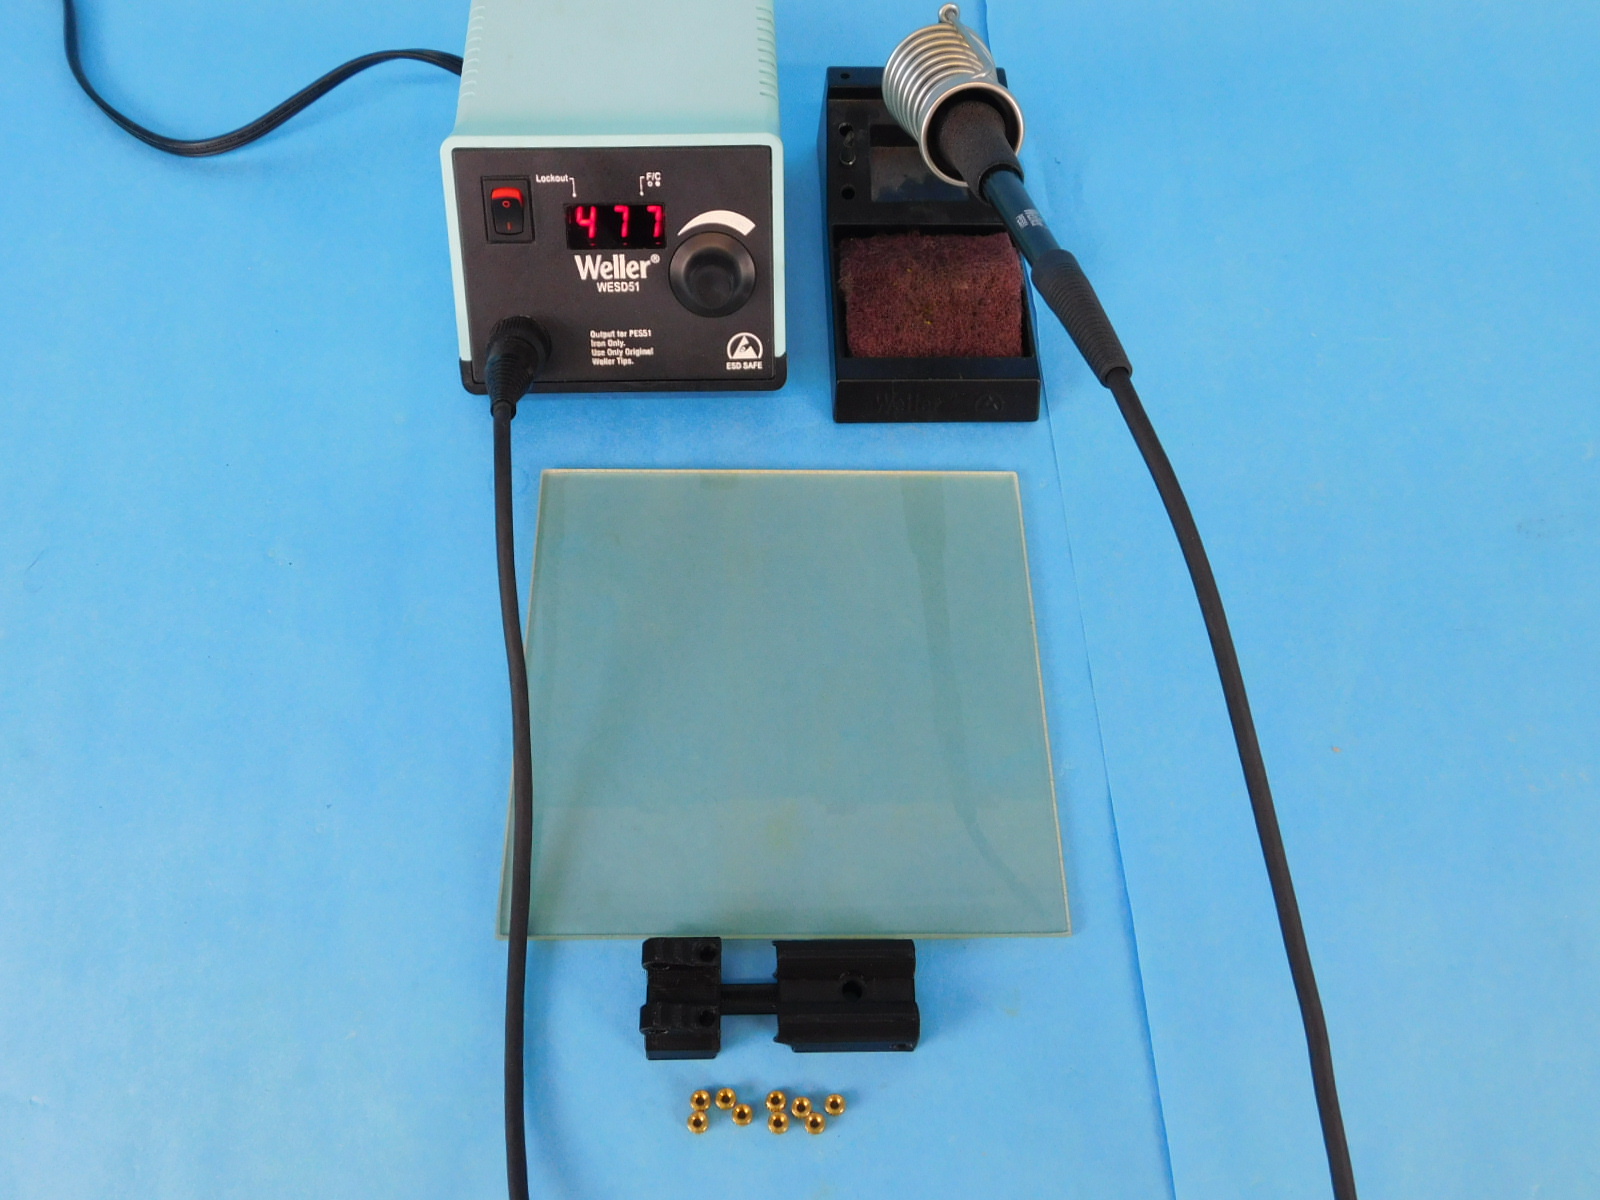
-- Weller WESD51 Digital Soldering Station
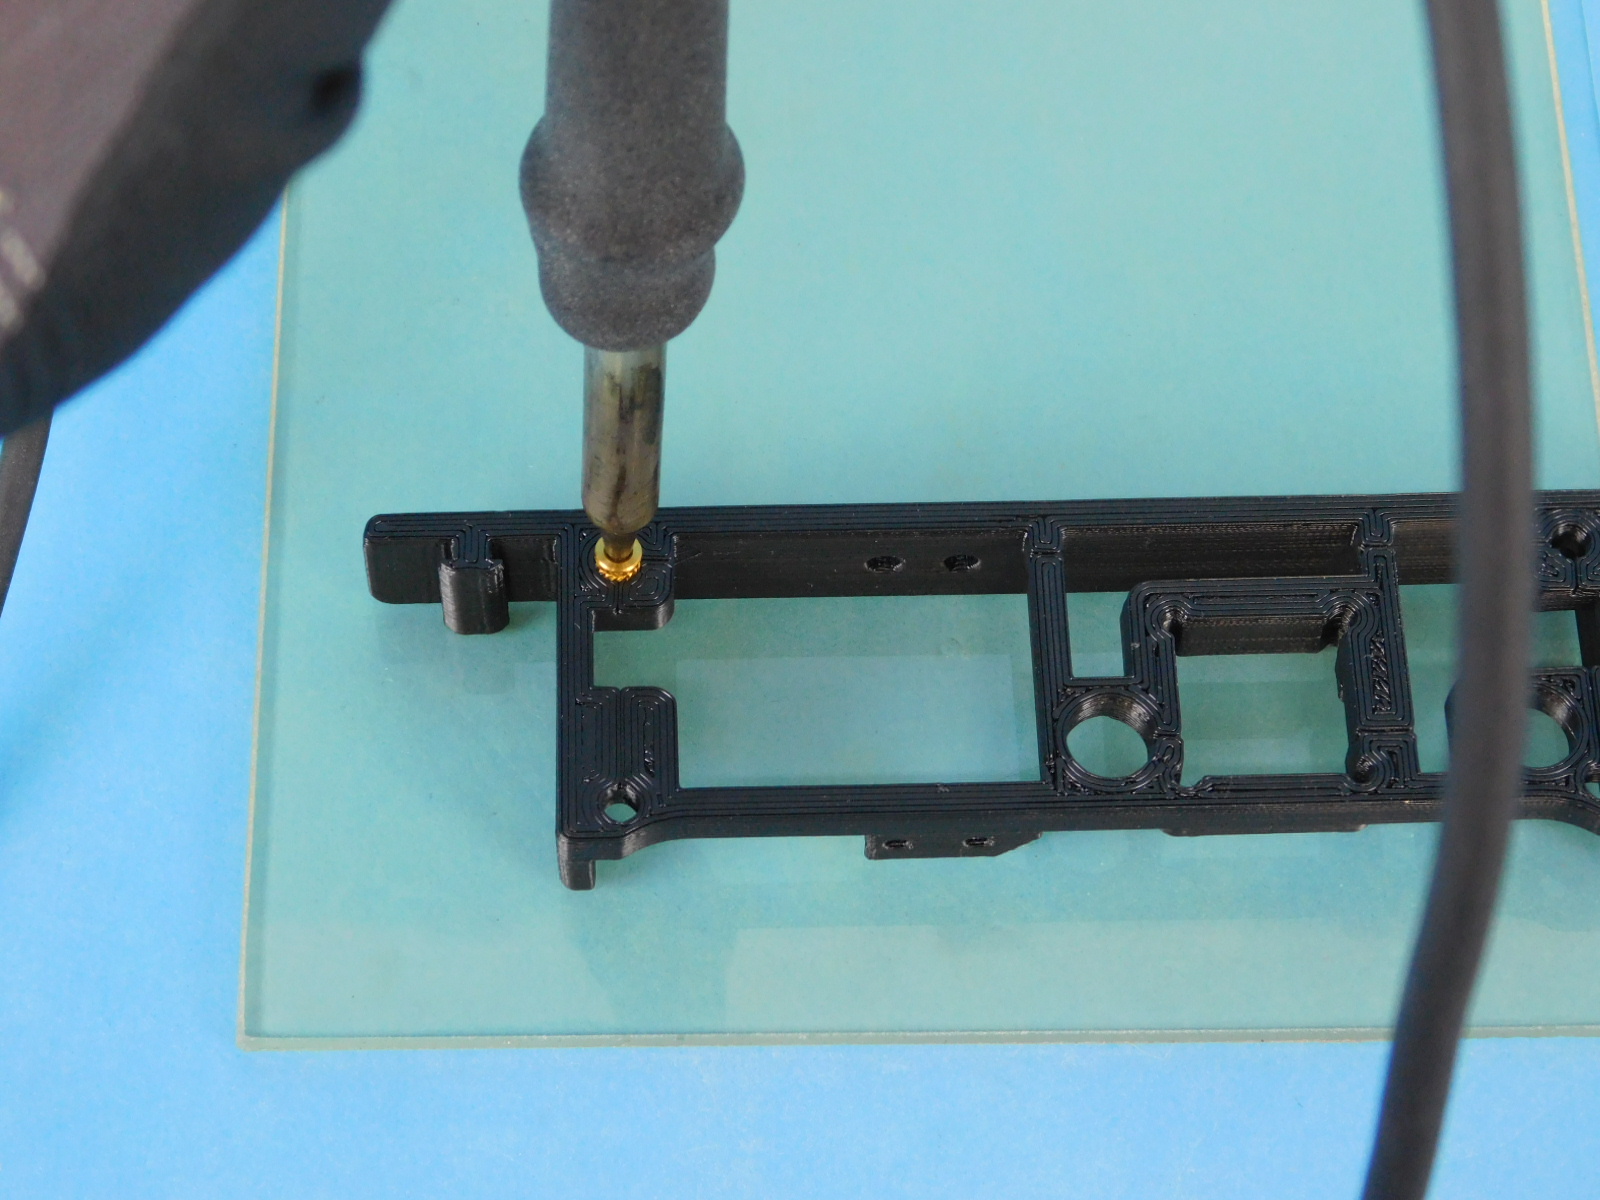
-- Glass surface
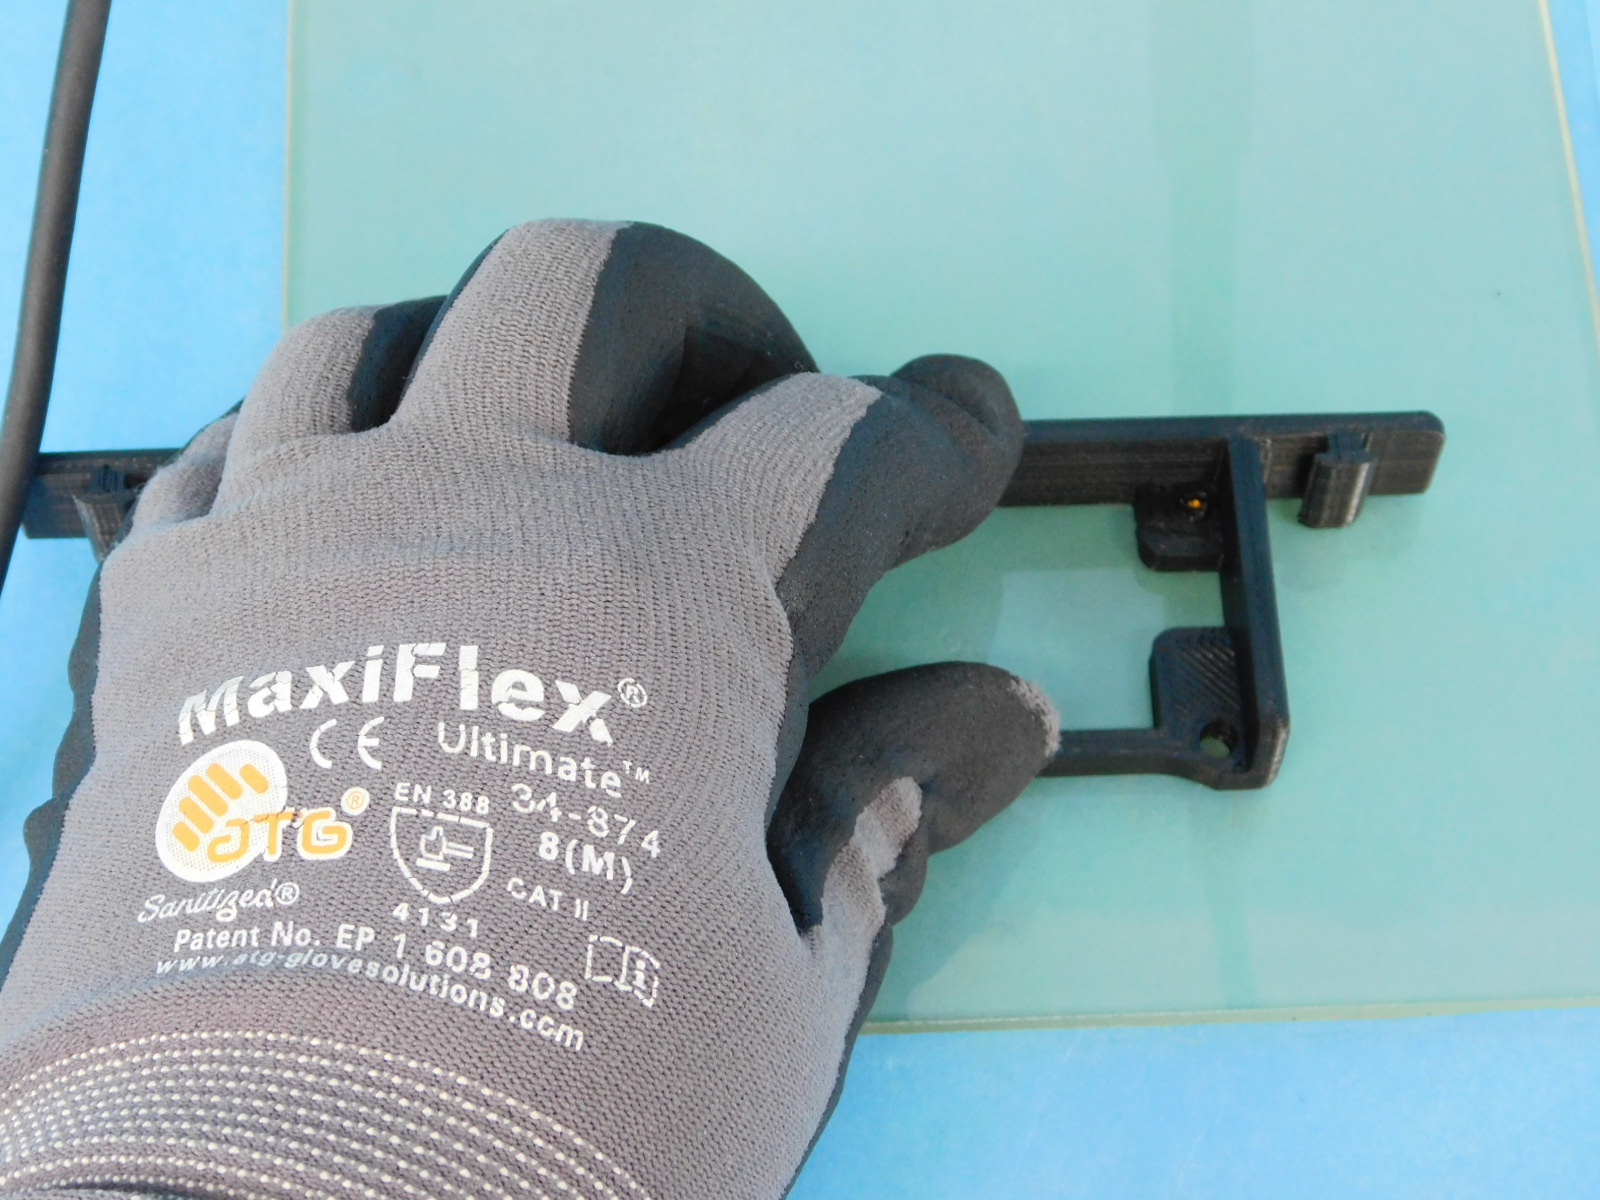
-- Printed part
-- Thermal Insert
-- Set Soldering Iron to 450 degrees Fahrenheit prior to starting inserting procedures
To prevent the Soldering Iron Tip from going to deep into the printed part, a Weller ETA 1/16" / 1.60 mm Soldering Screwdriver Tip that is slightly rounded from a dremel is recommended

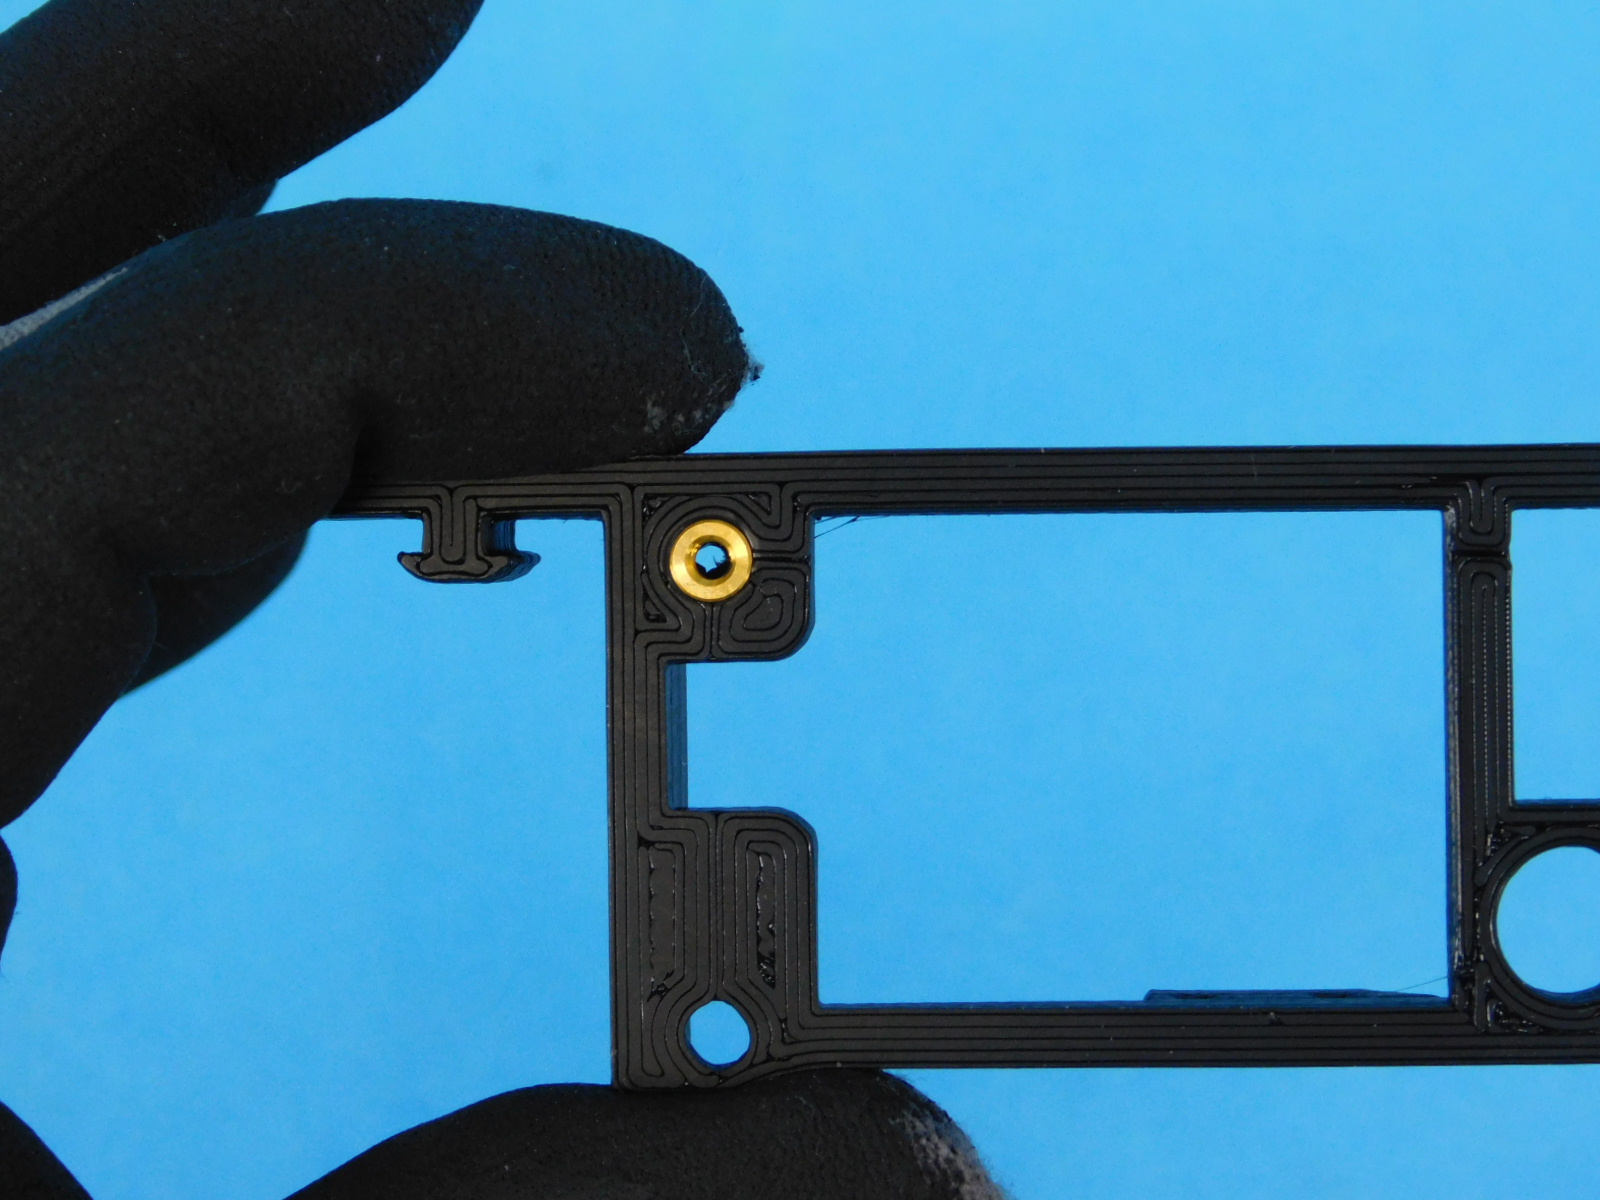
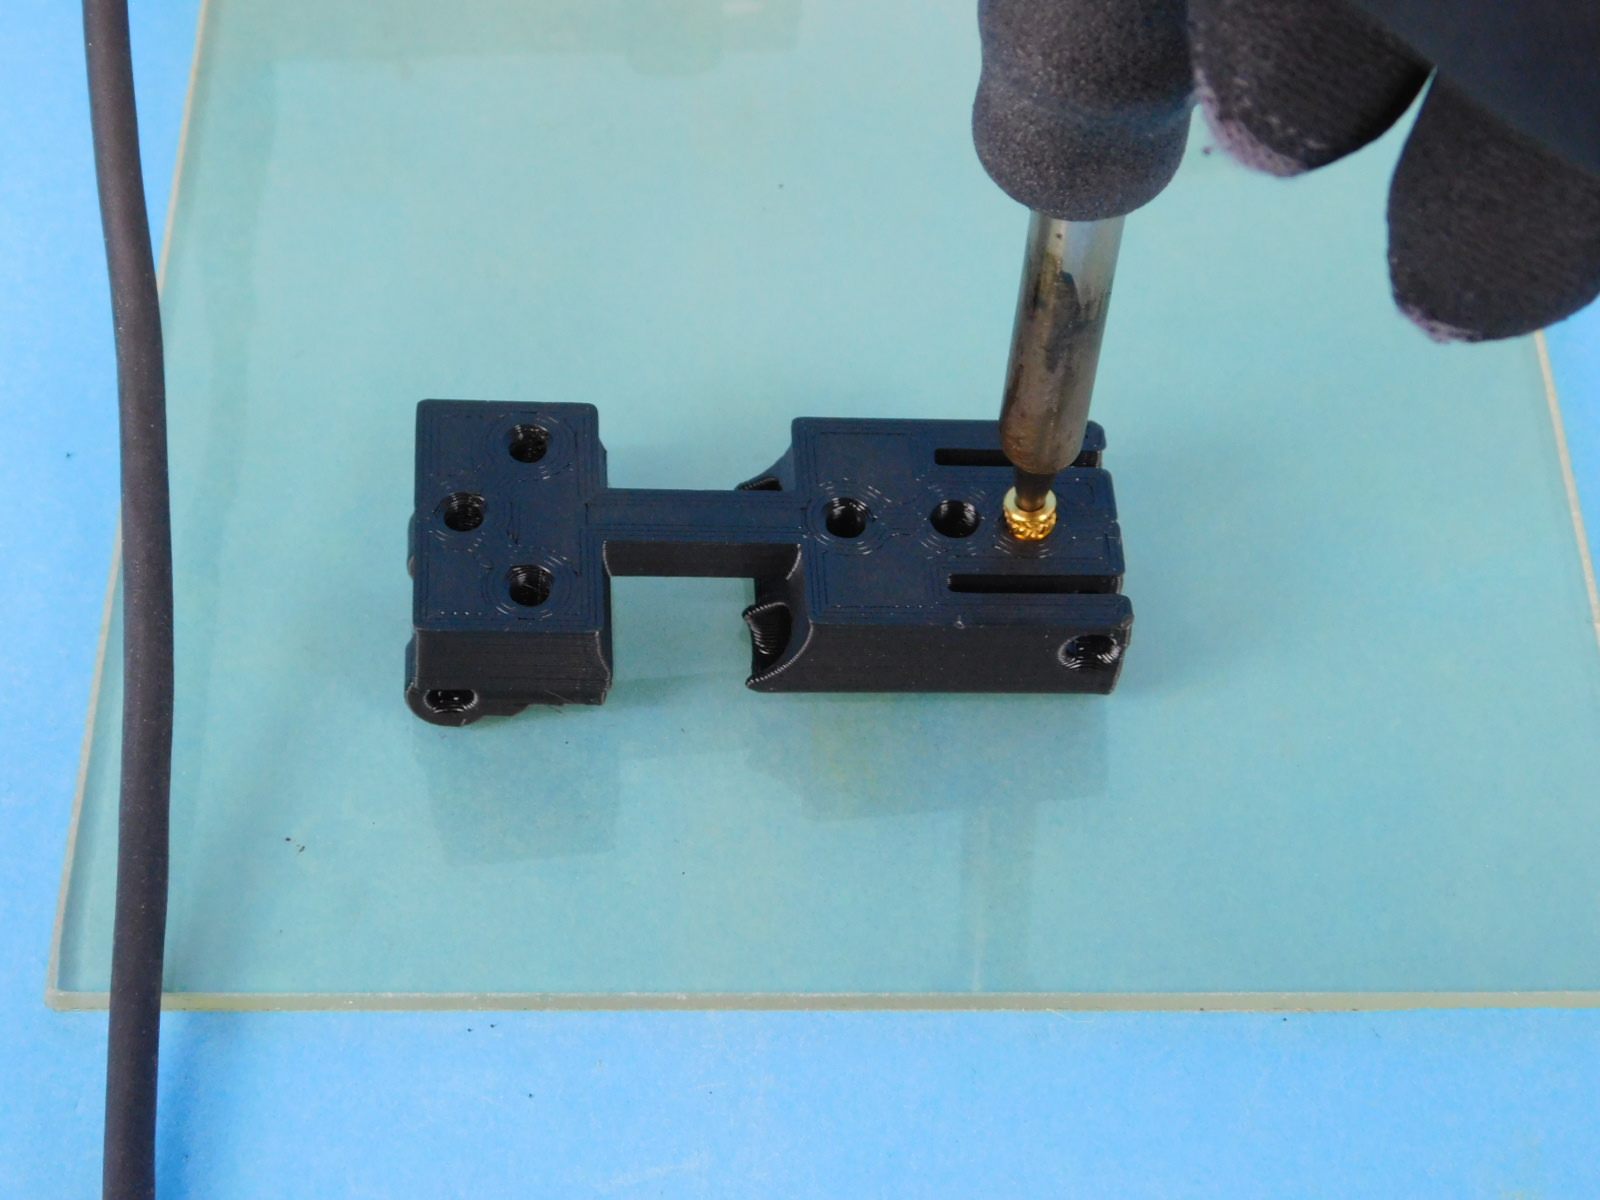
This is an example of how to do this glass technique with a PP-GP0358.
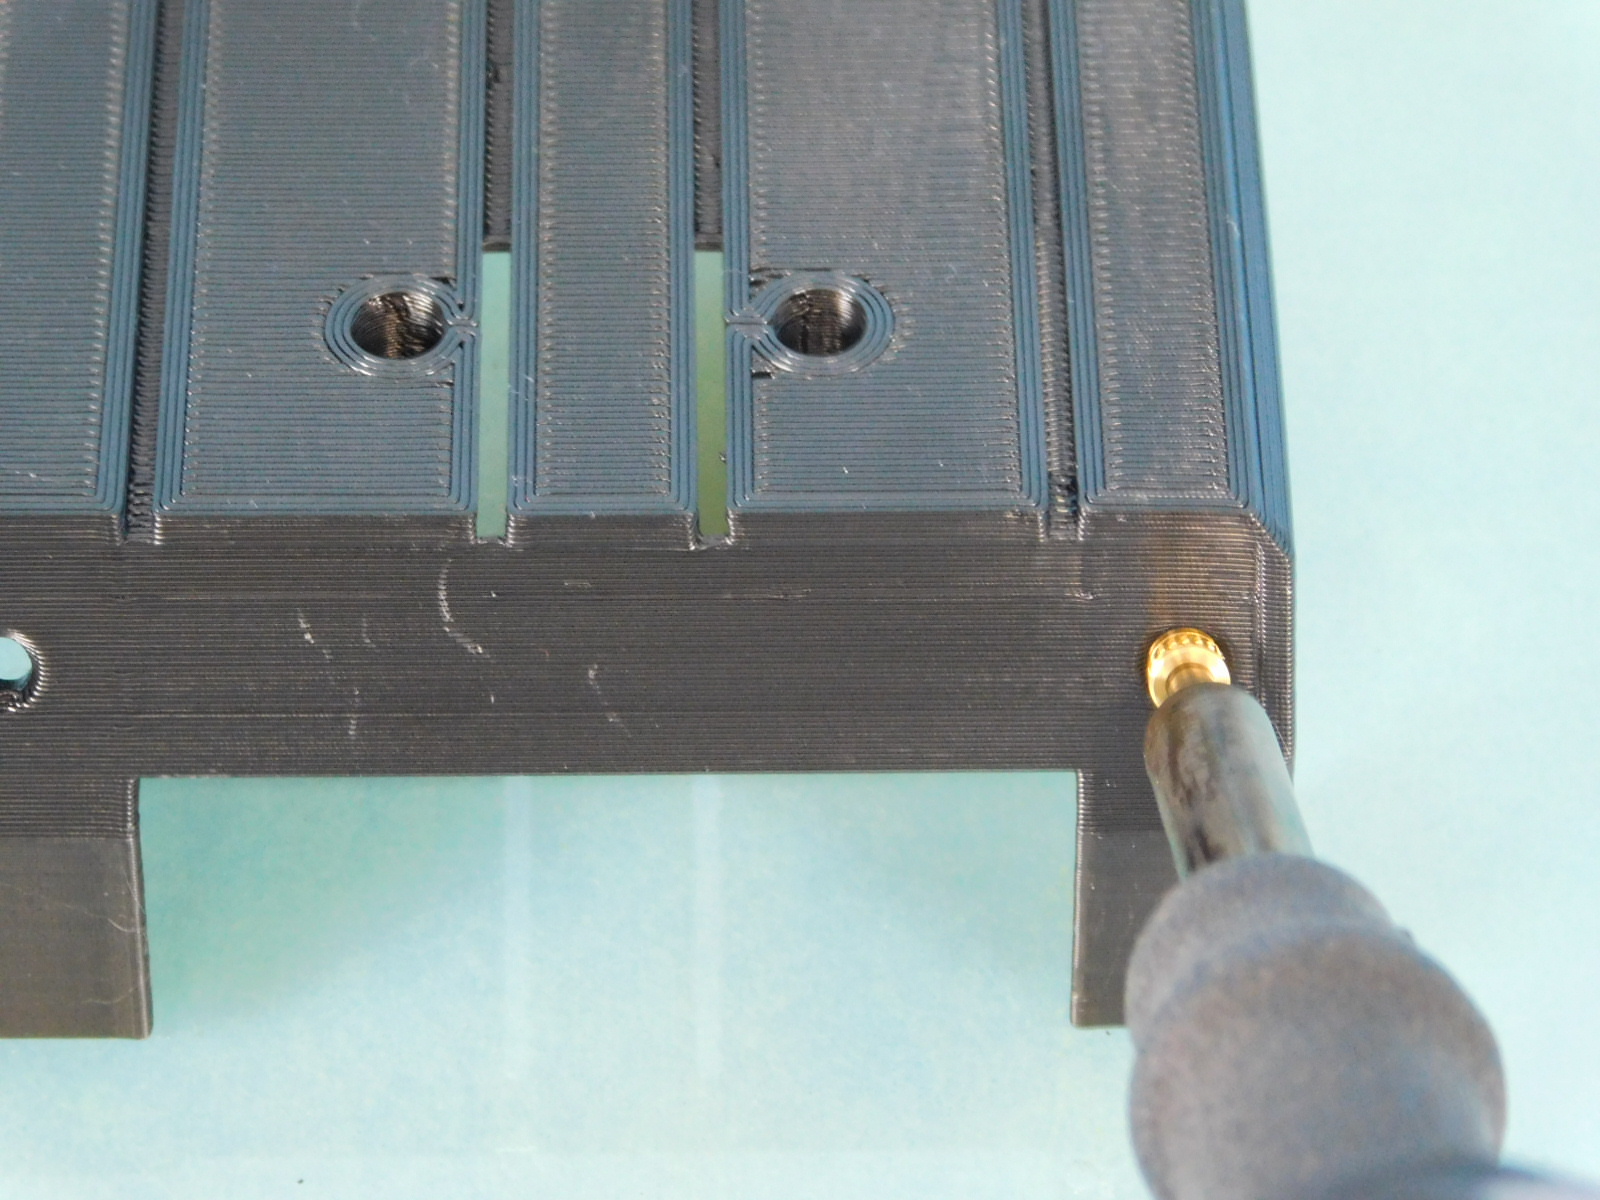
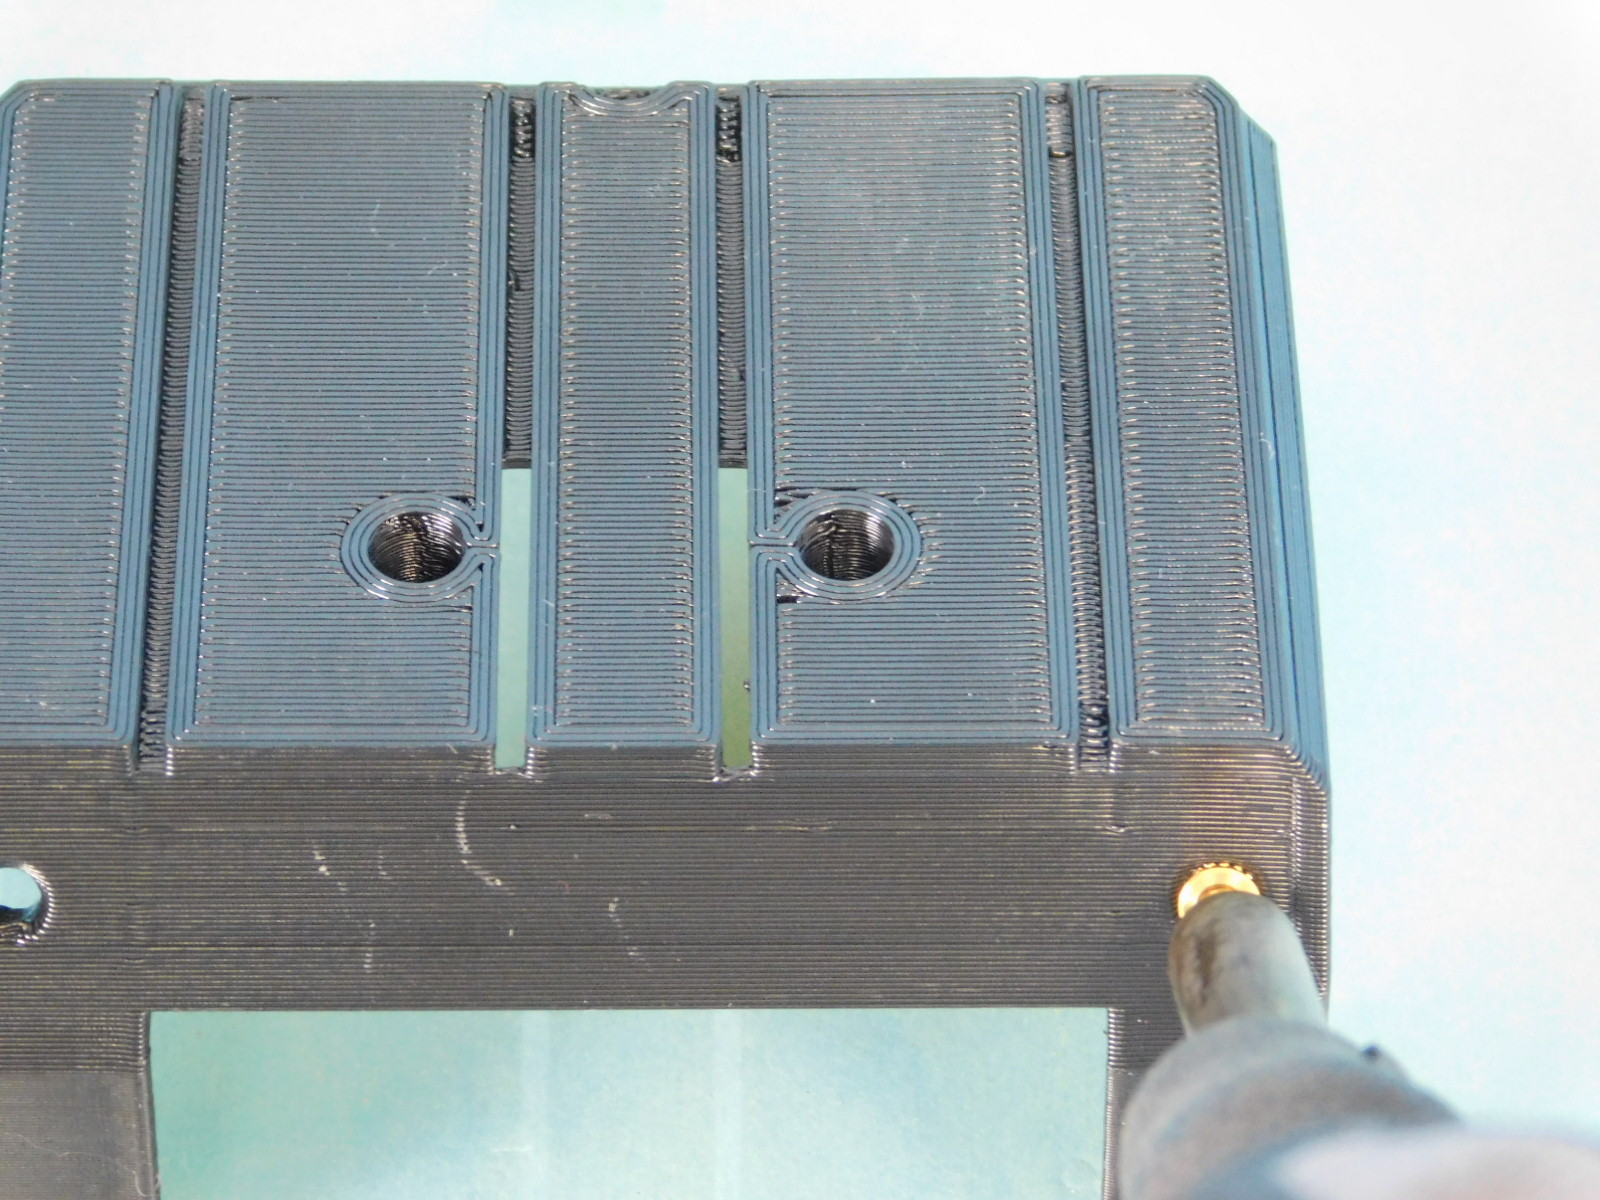
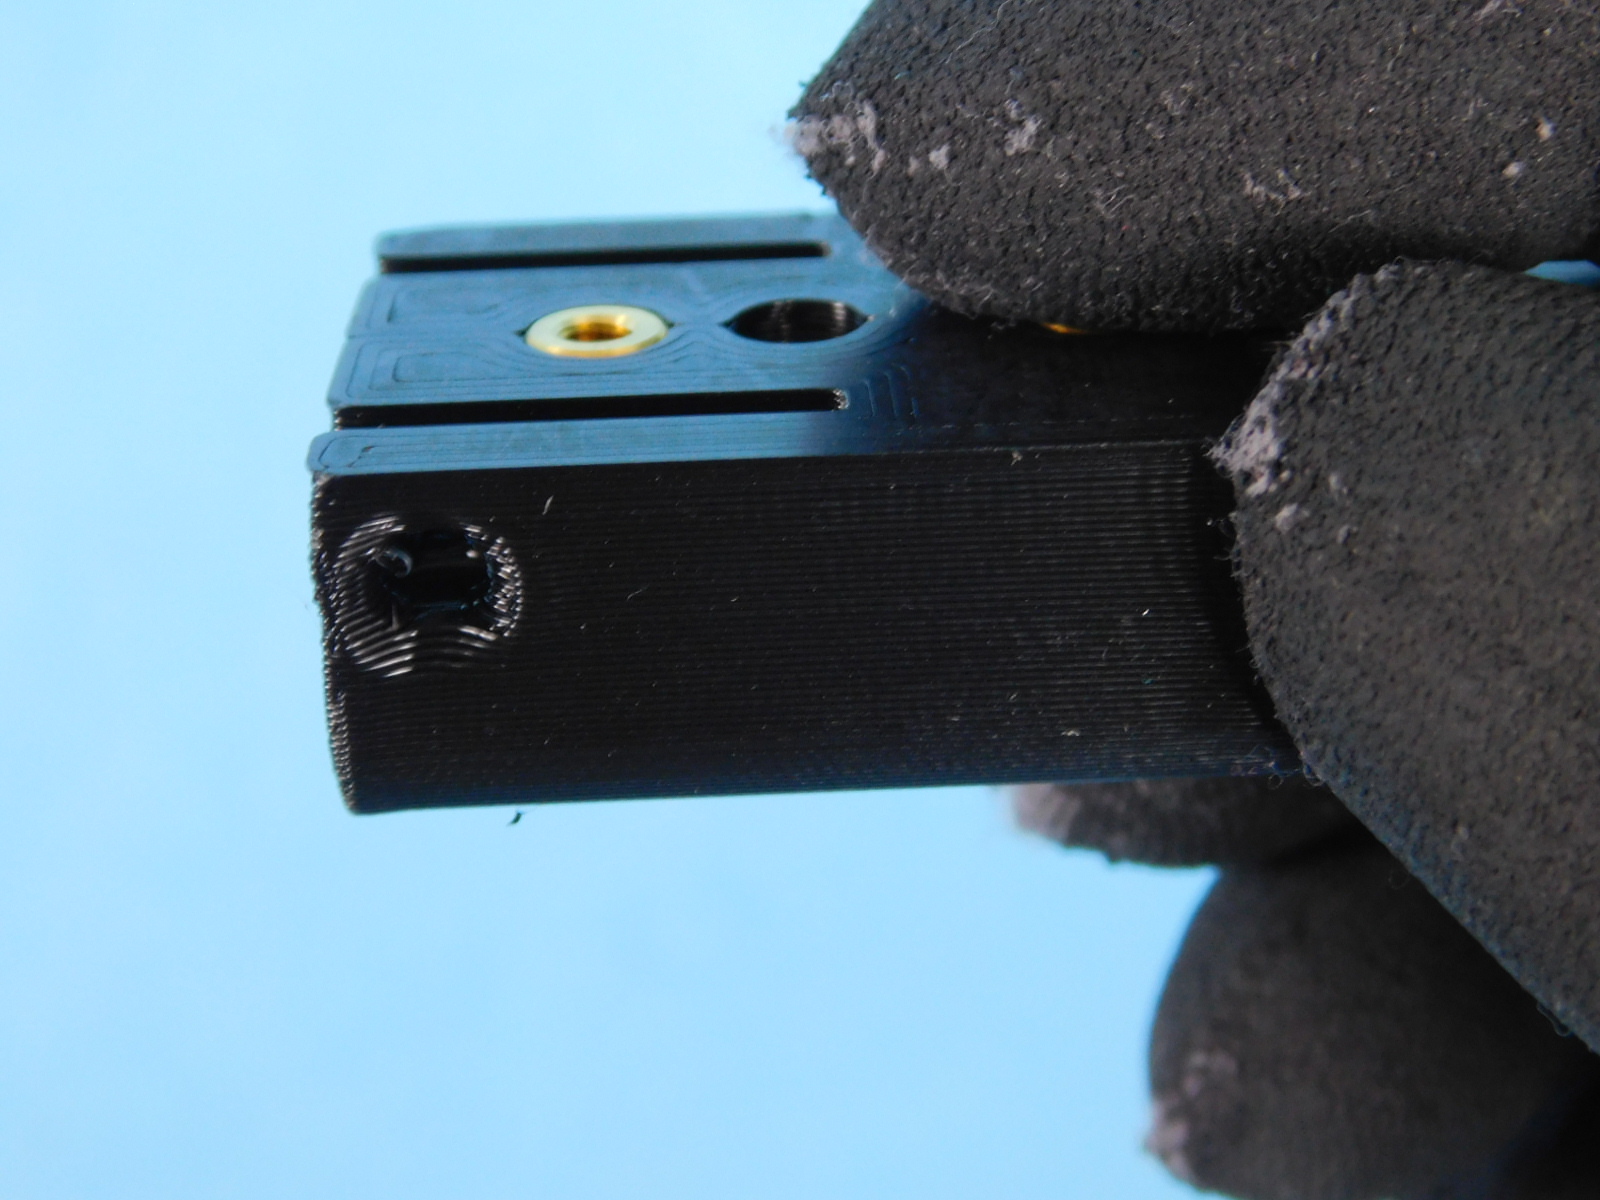
Start by pressing the insert in about 95% of the way in. Hold the iron in the insert so the insert gets nice and warm. Then remove the iron and press the printed part down firm onto the glass. This should push the insert flush with the printed part with no bloom. This will also make sure the insert is nice and straight.
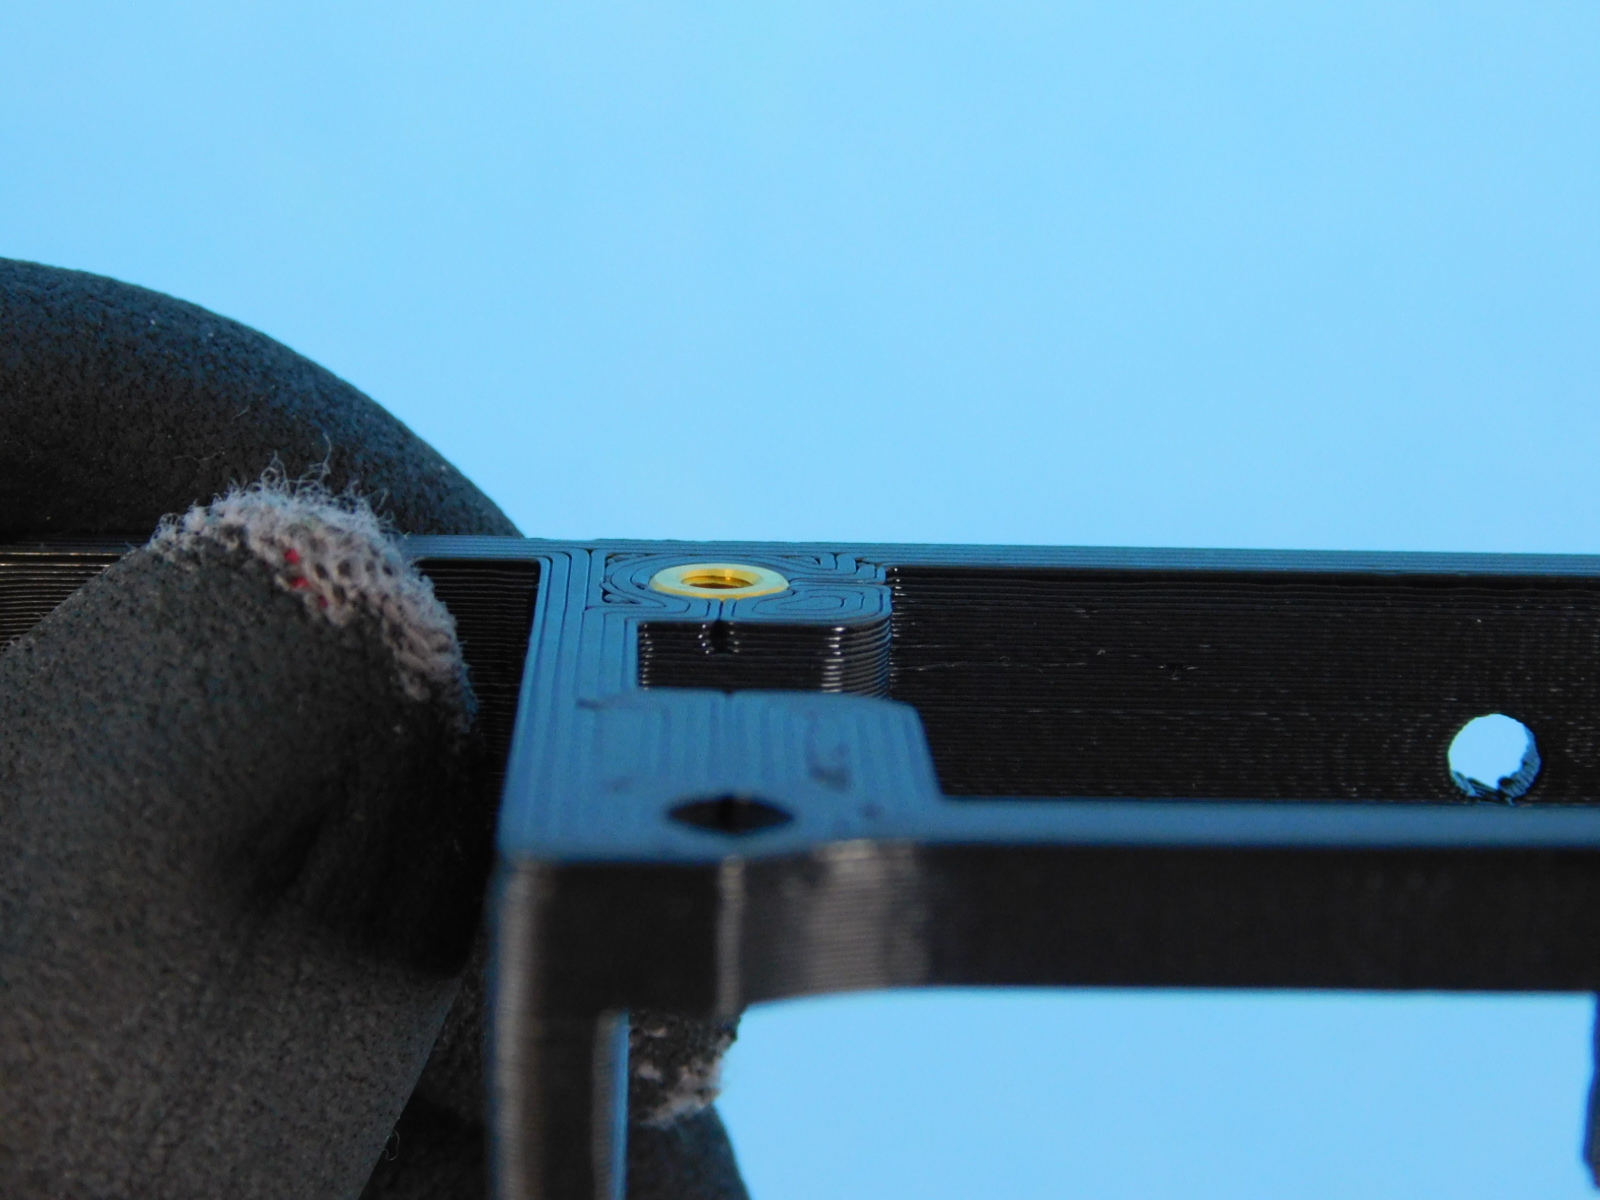
This is an example of using the glass technique on a PP-GP0415.
Start by pressing the insert in about 95% of the way in. Hold the iron in the insert so the insert gets nice and warm. Then remove the iron and press the printed part down firm onto the glass. This should push the insert flush with the printed part with no bloom. This will also make sure the insert is nice and straight.


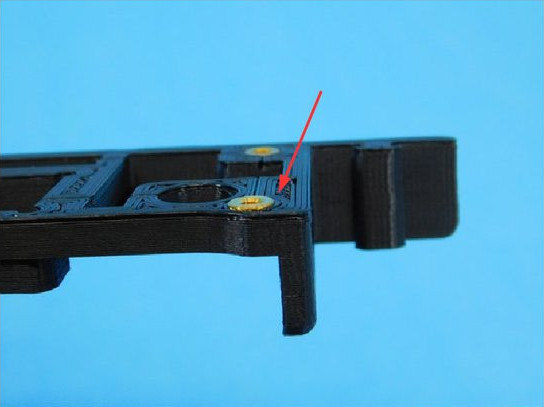
This is an example for doing the glass technique for PP-GP0408.
Due to the ridges around the inserts, these will not be pressed in flush. This is intentional since if the inserts get pressed in too far the name plate will get dented in. Push this insert in about half way, then flip and press.