Open HardwareAssembly Instructions
Guides for installation and assembly of the LulzBot line of products made by FAME 3D LLC.
Guides for installation and assembly of the LulzBot line of products made by FAME 3D LLC.
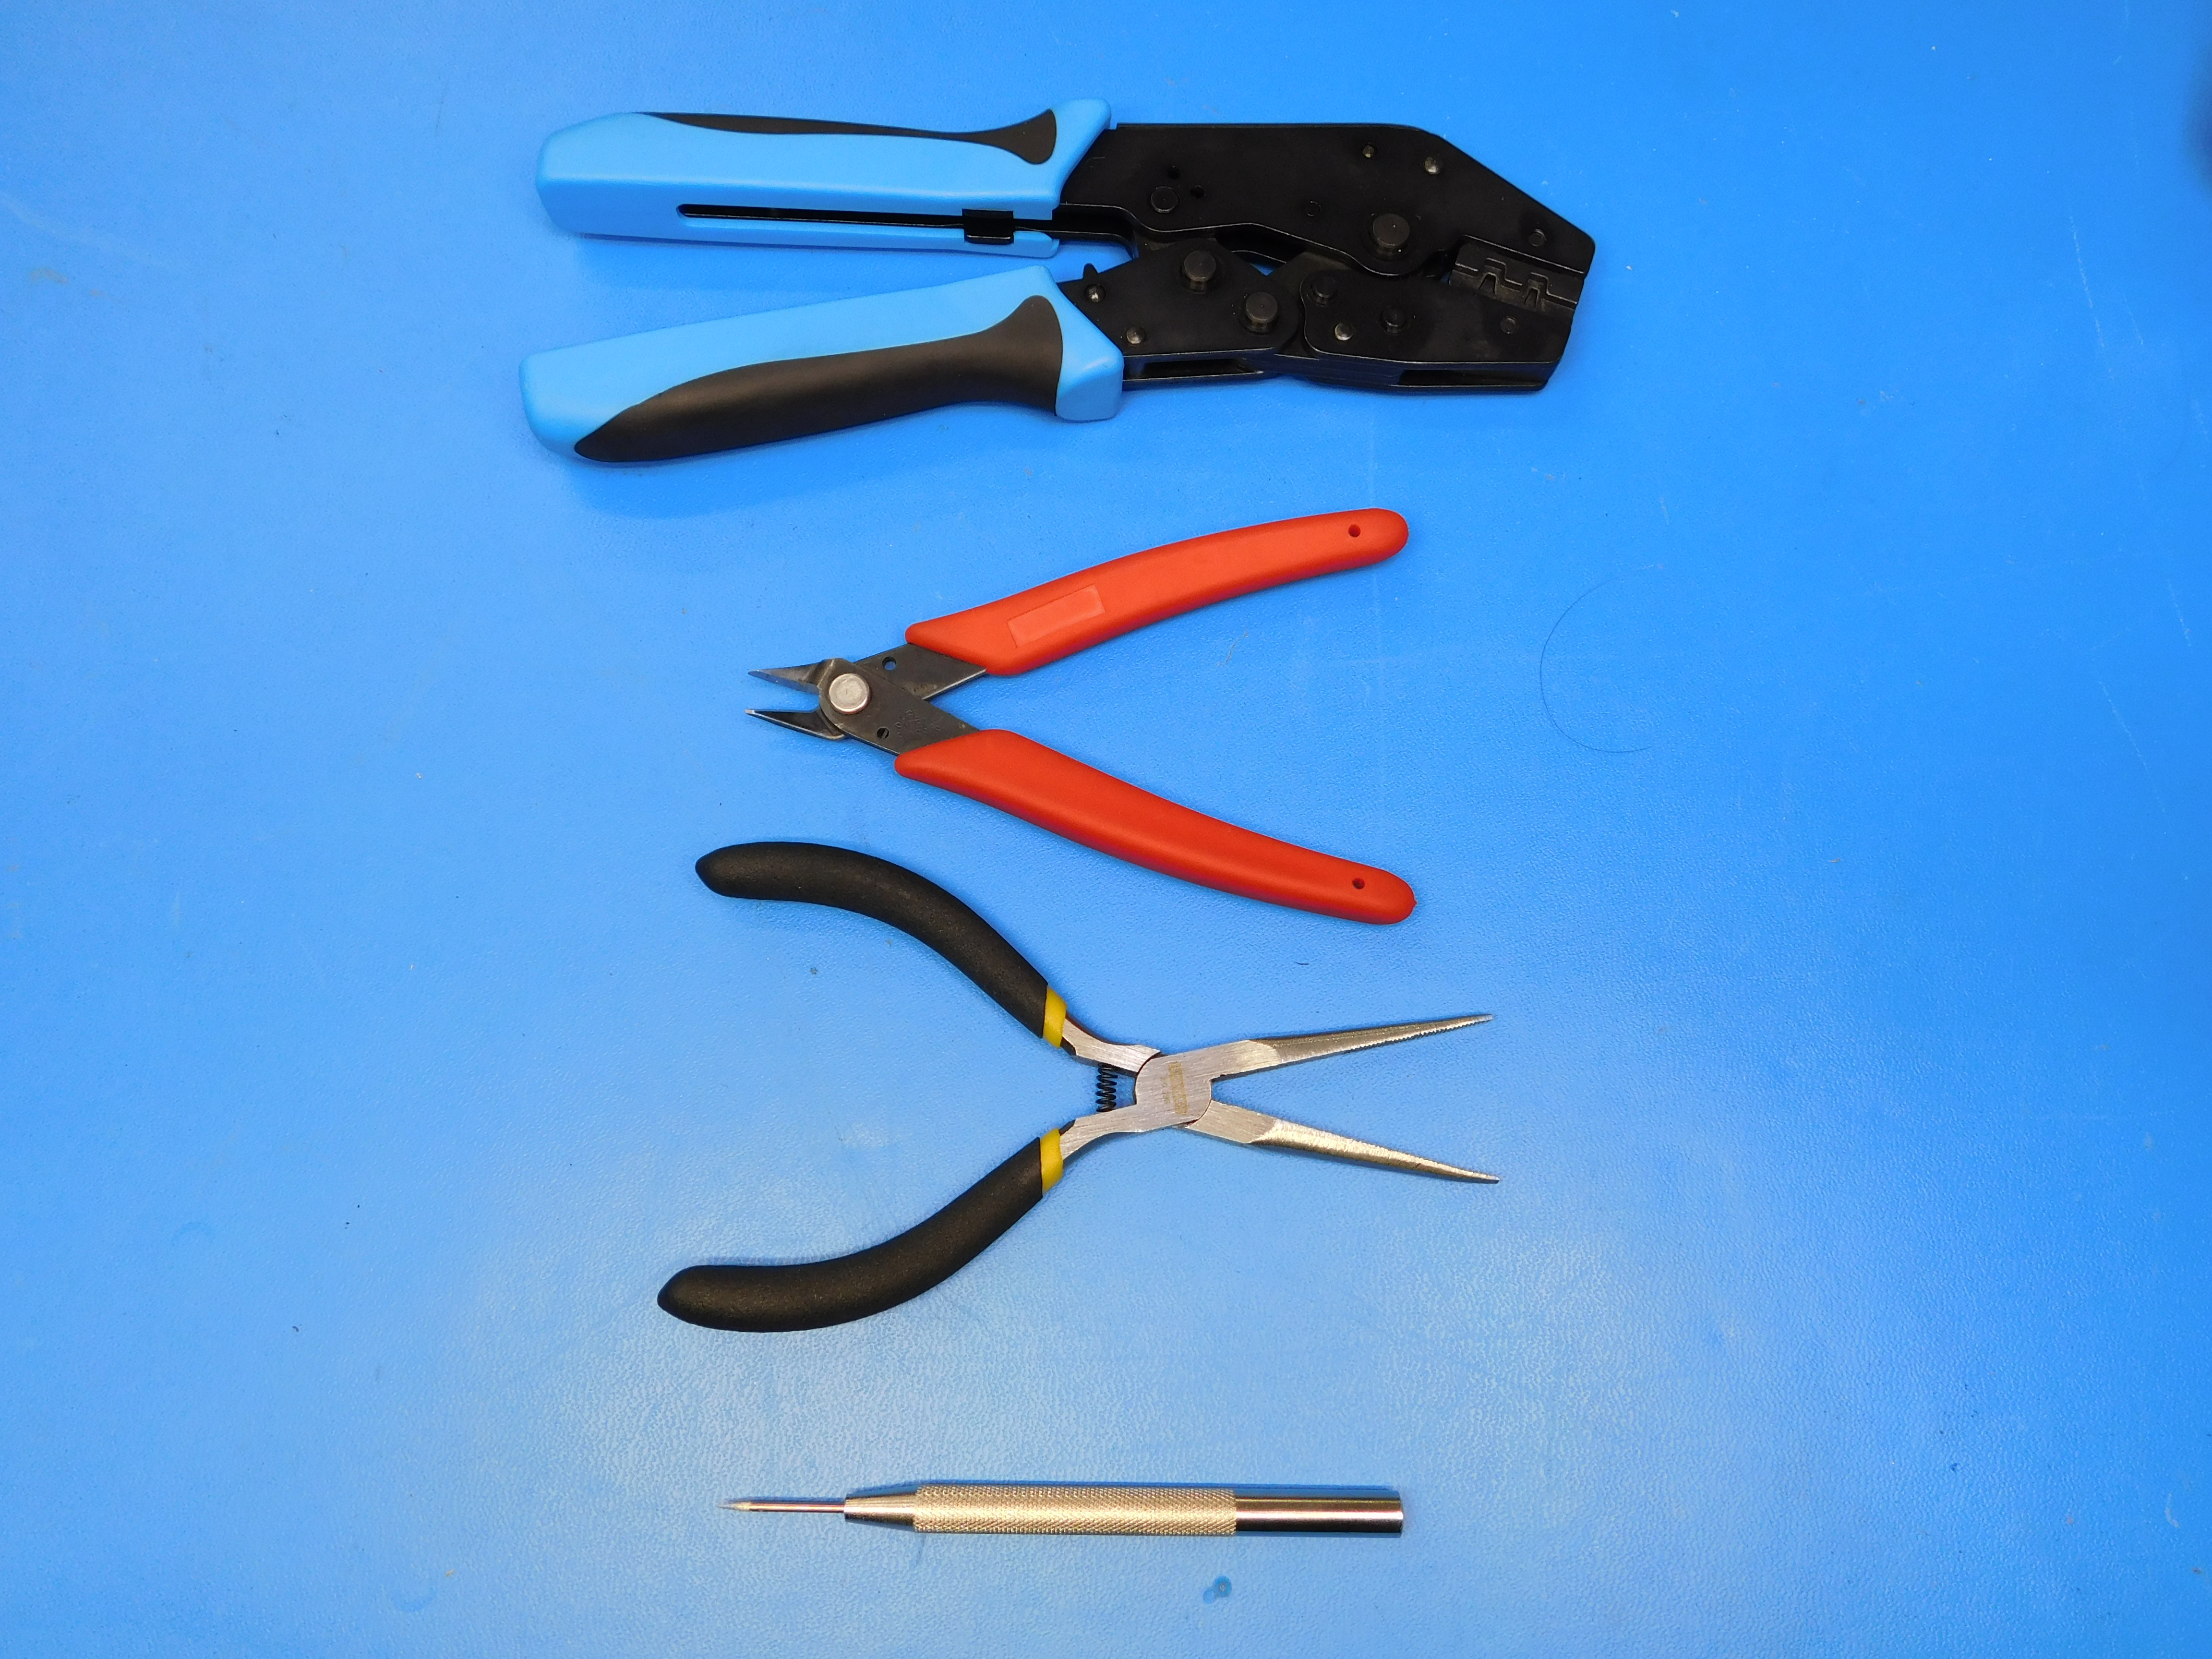
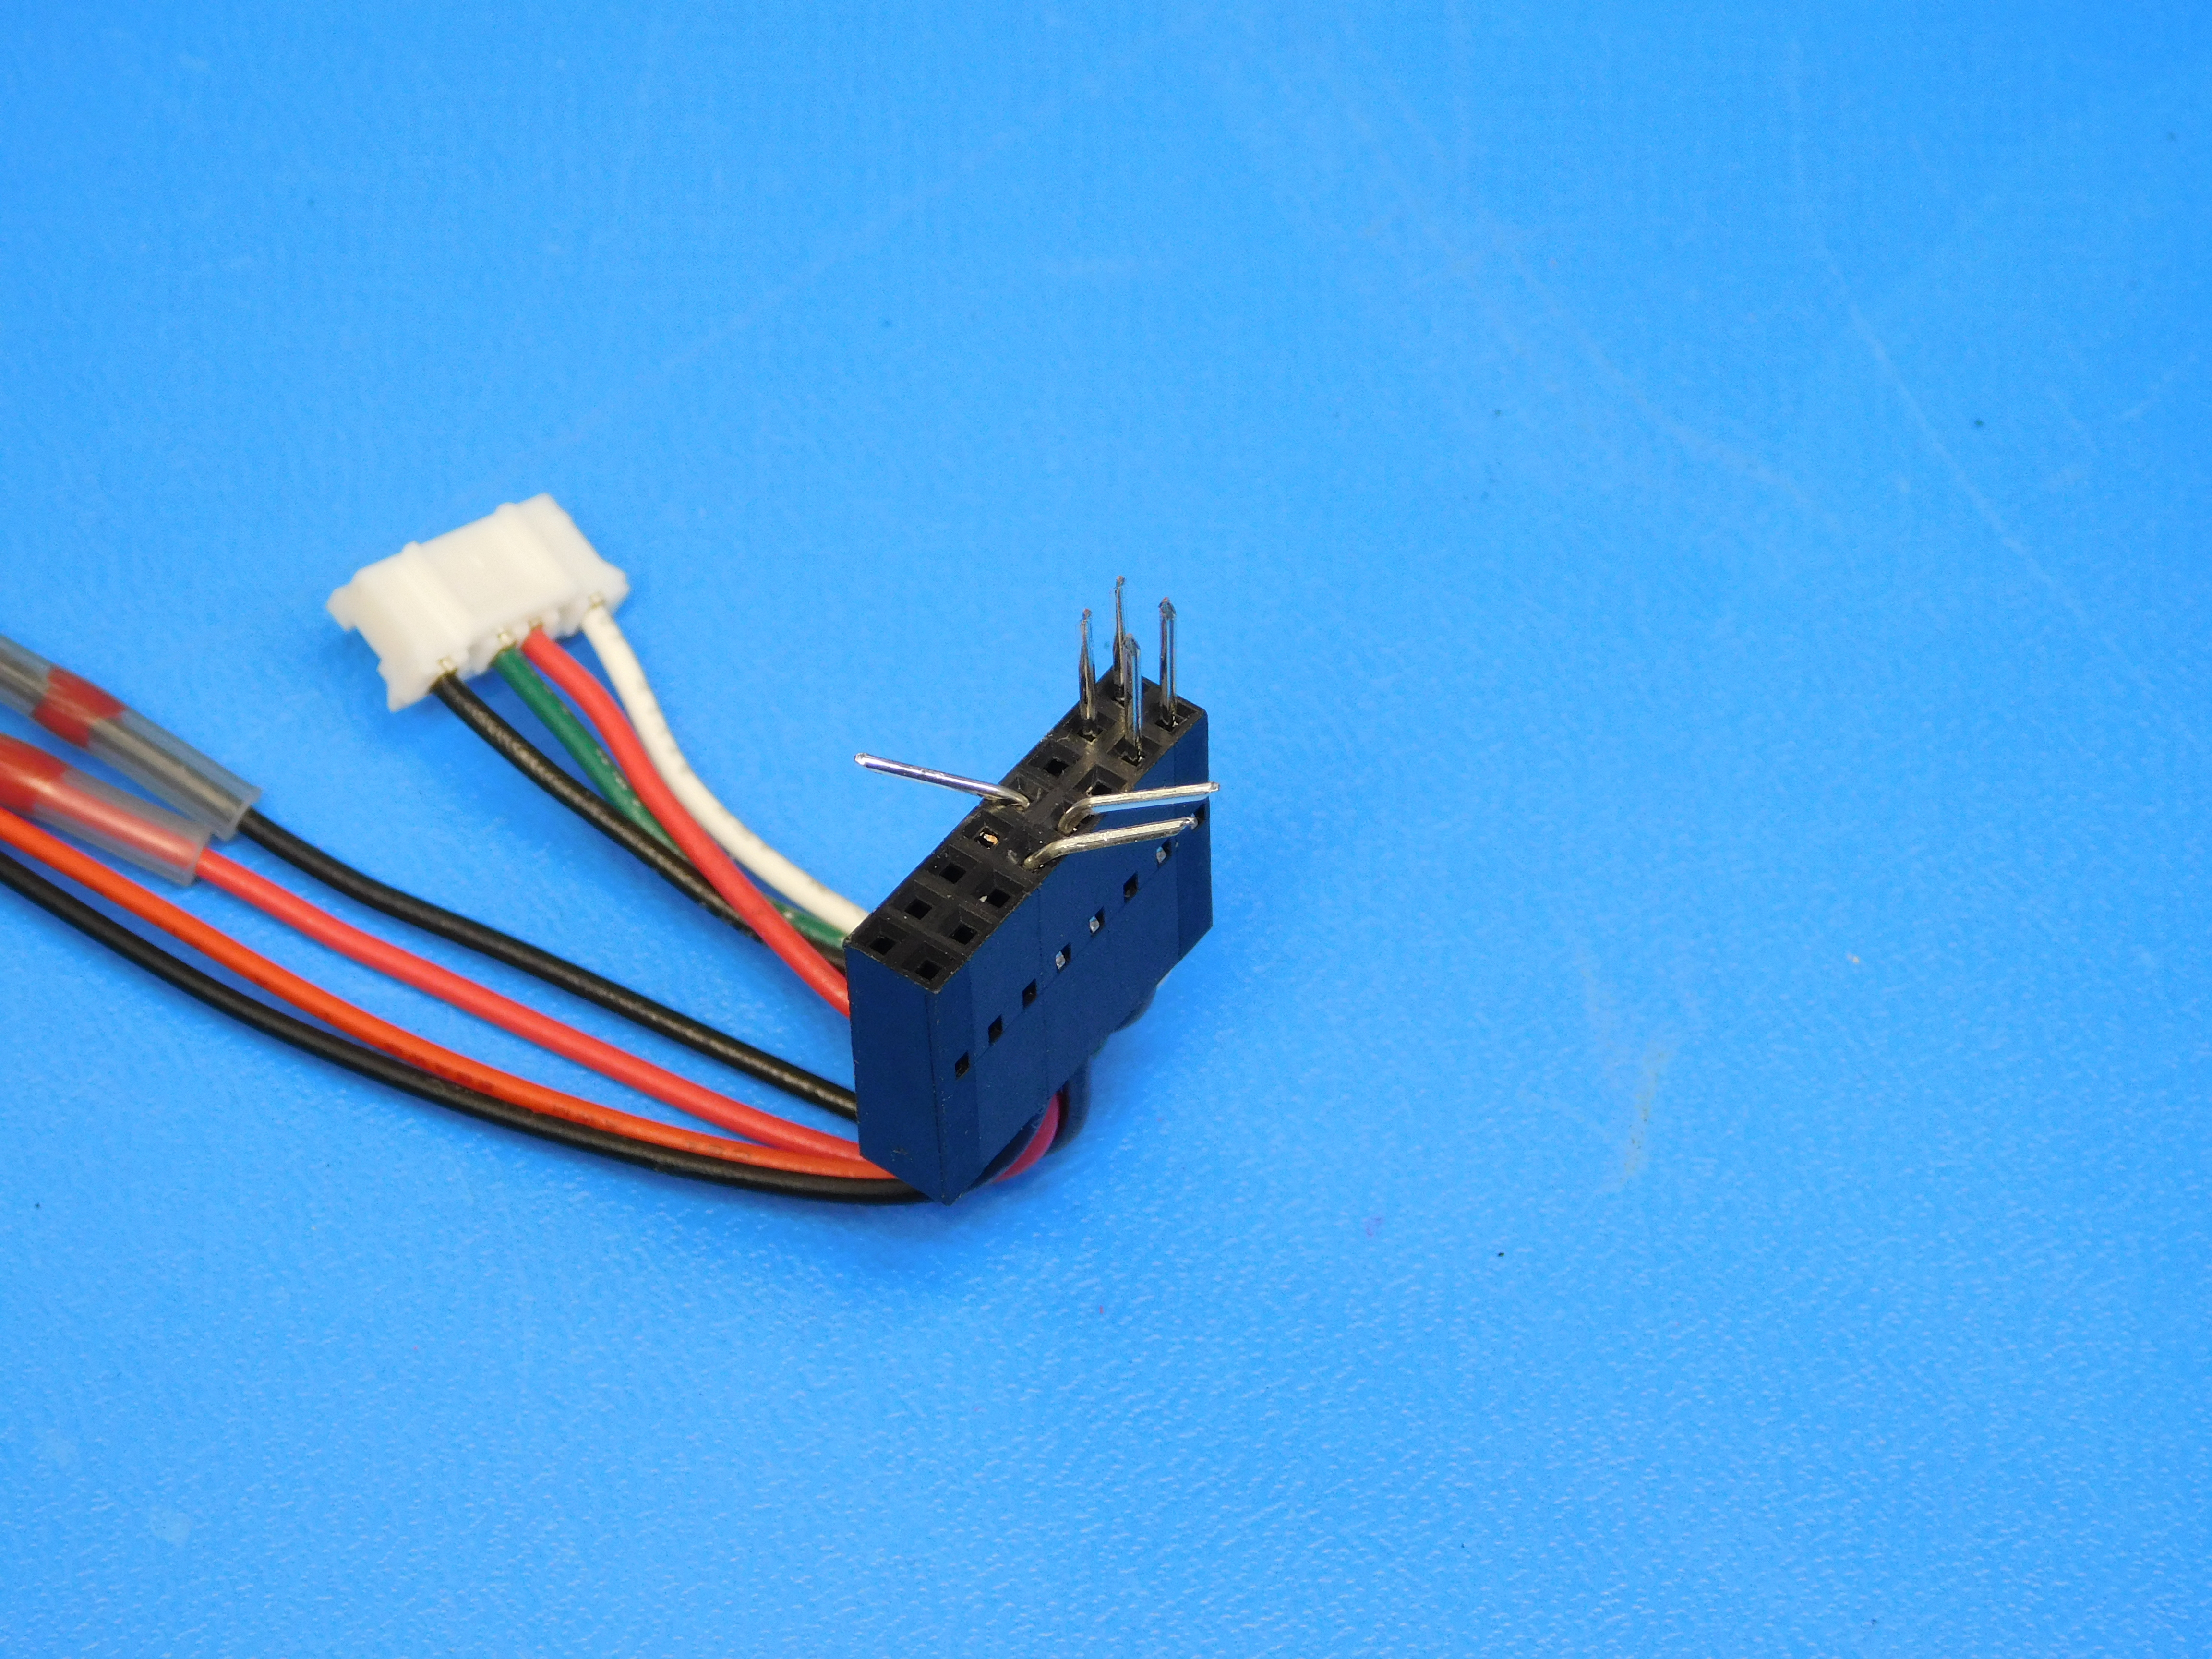
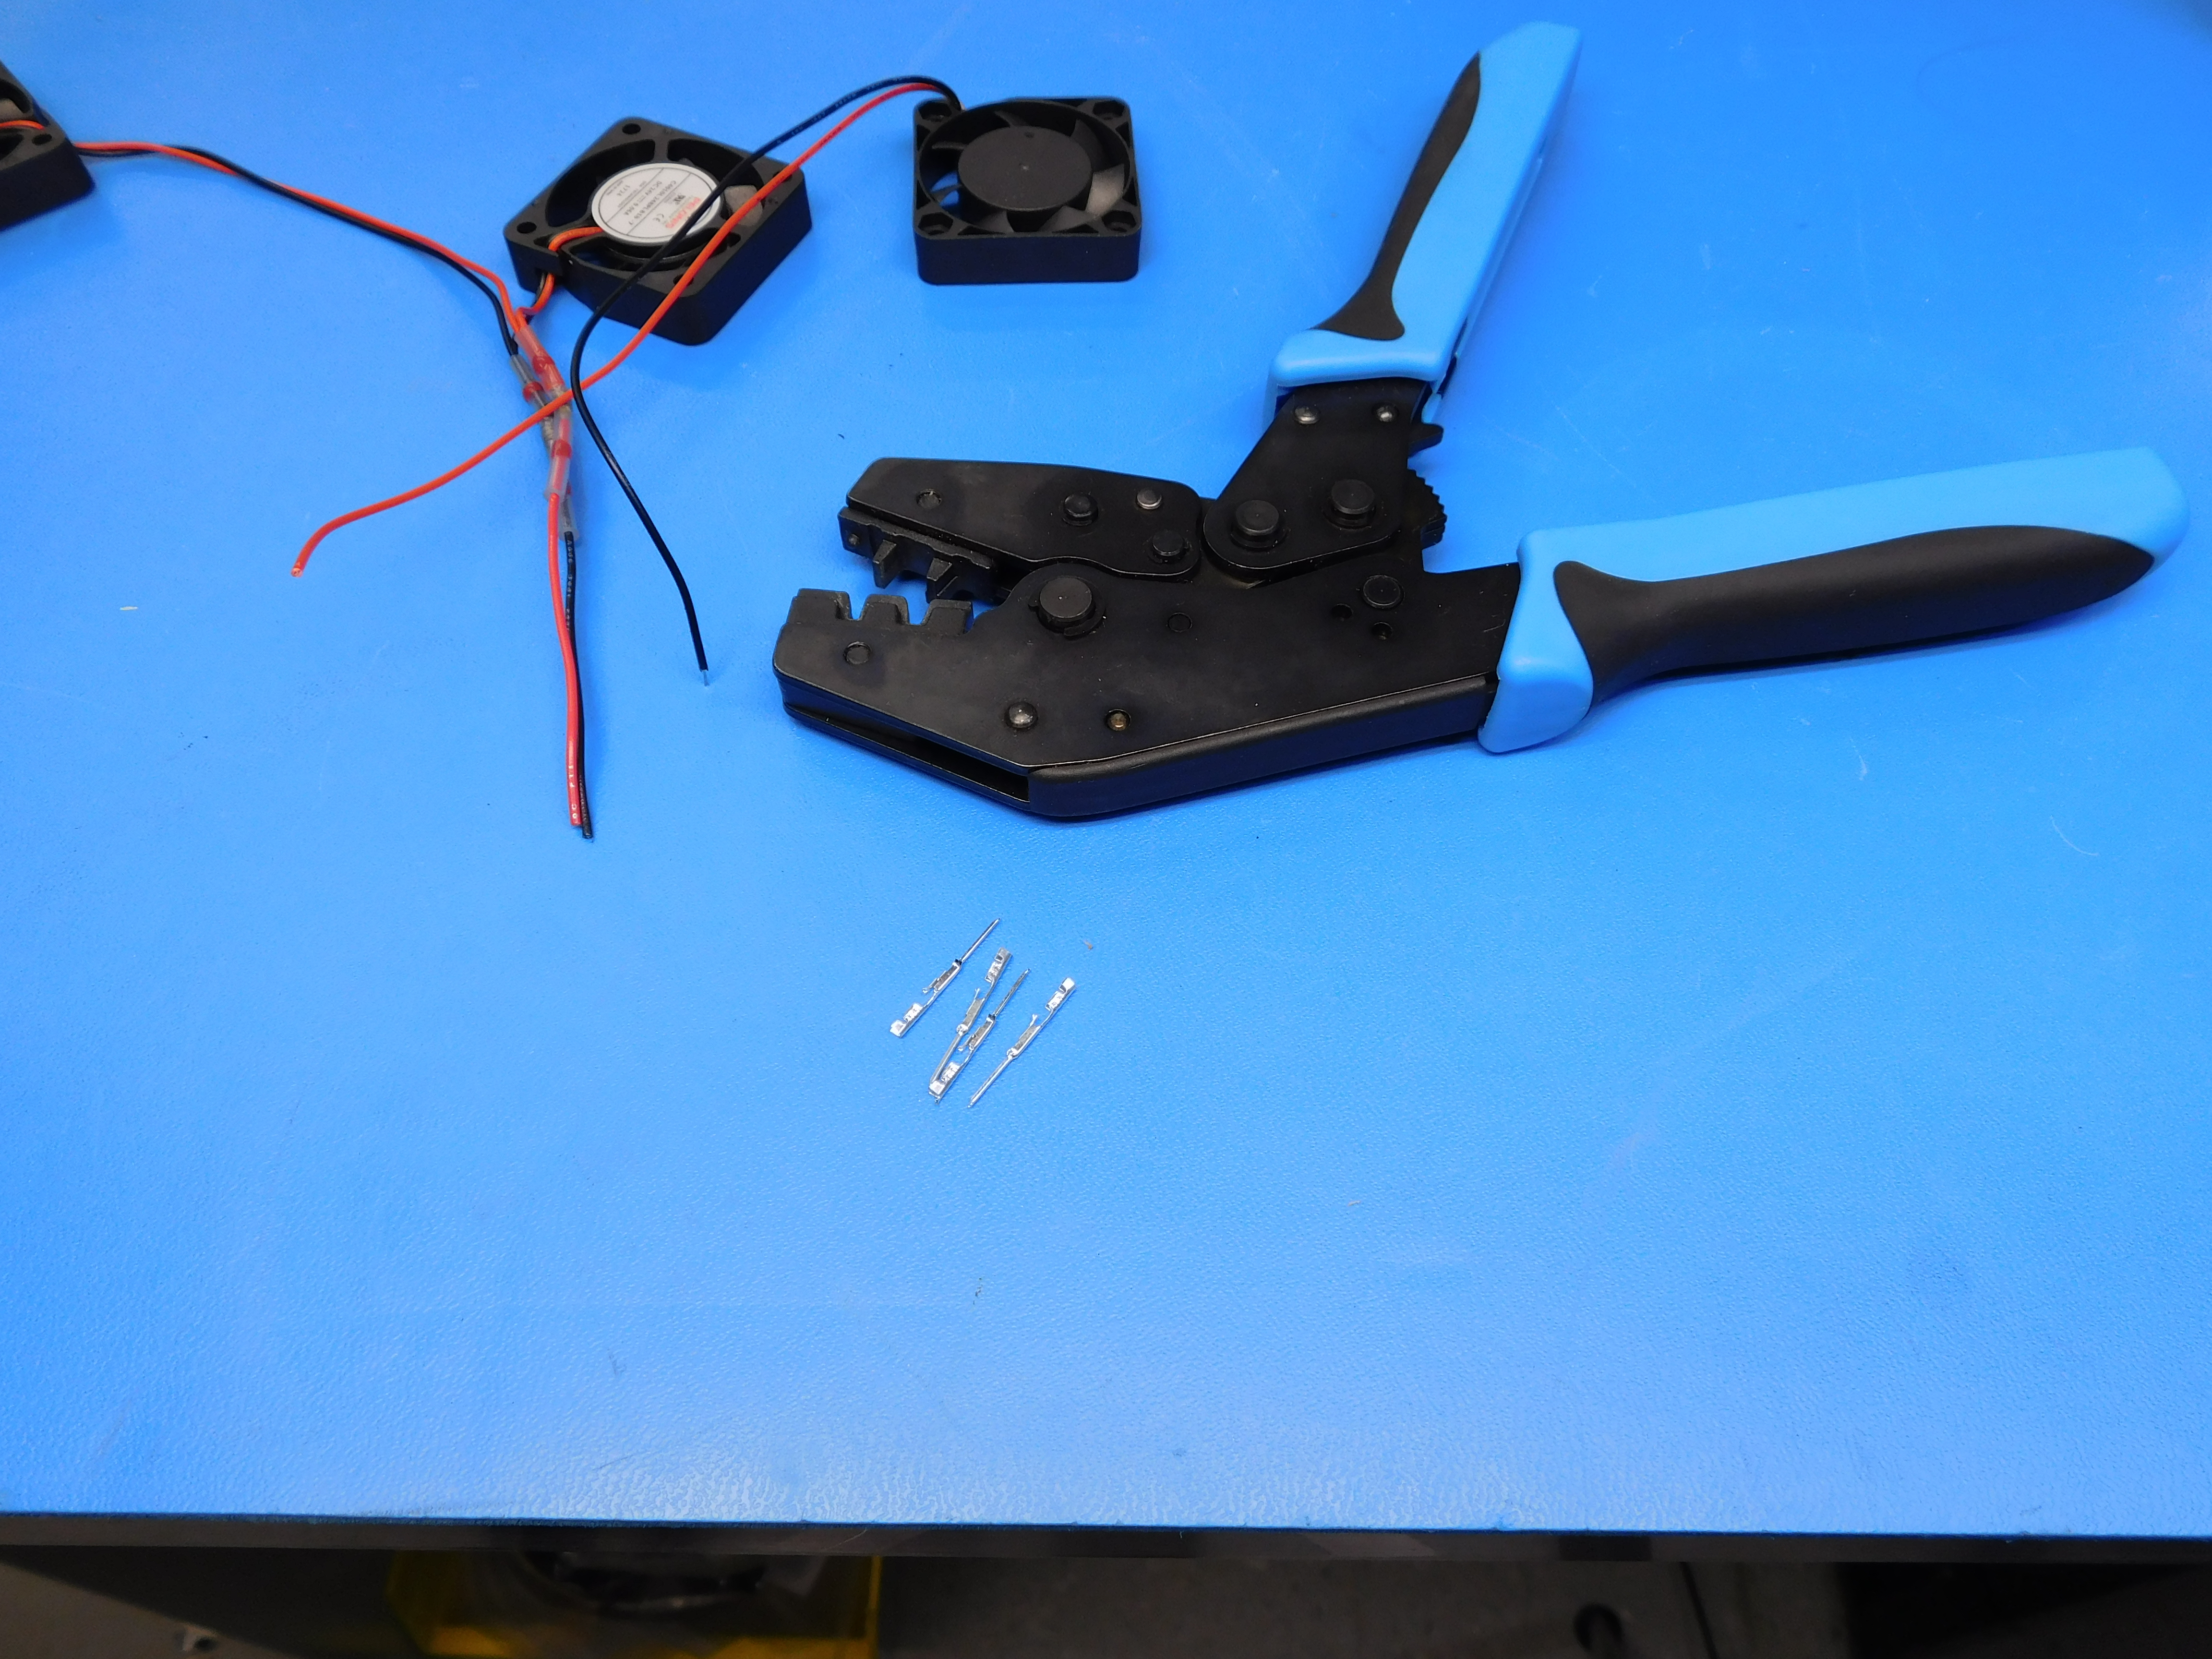
Gather the required tools and connector in need of repair. You will need some replacement molex connectors as well.
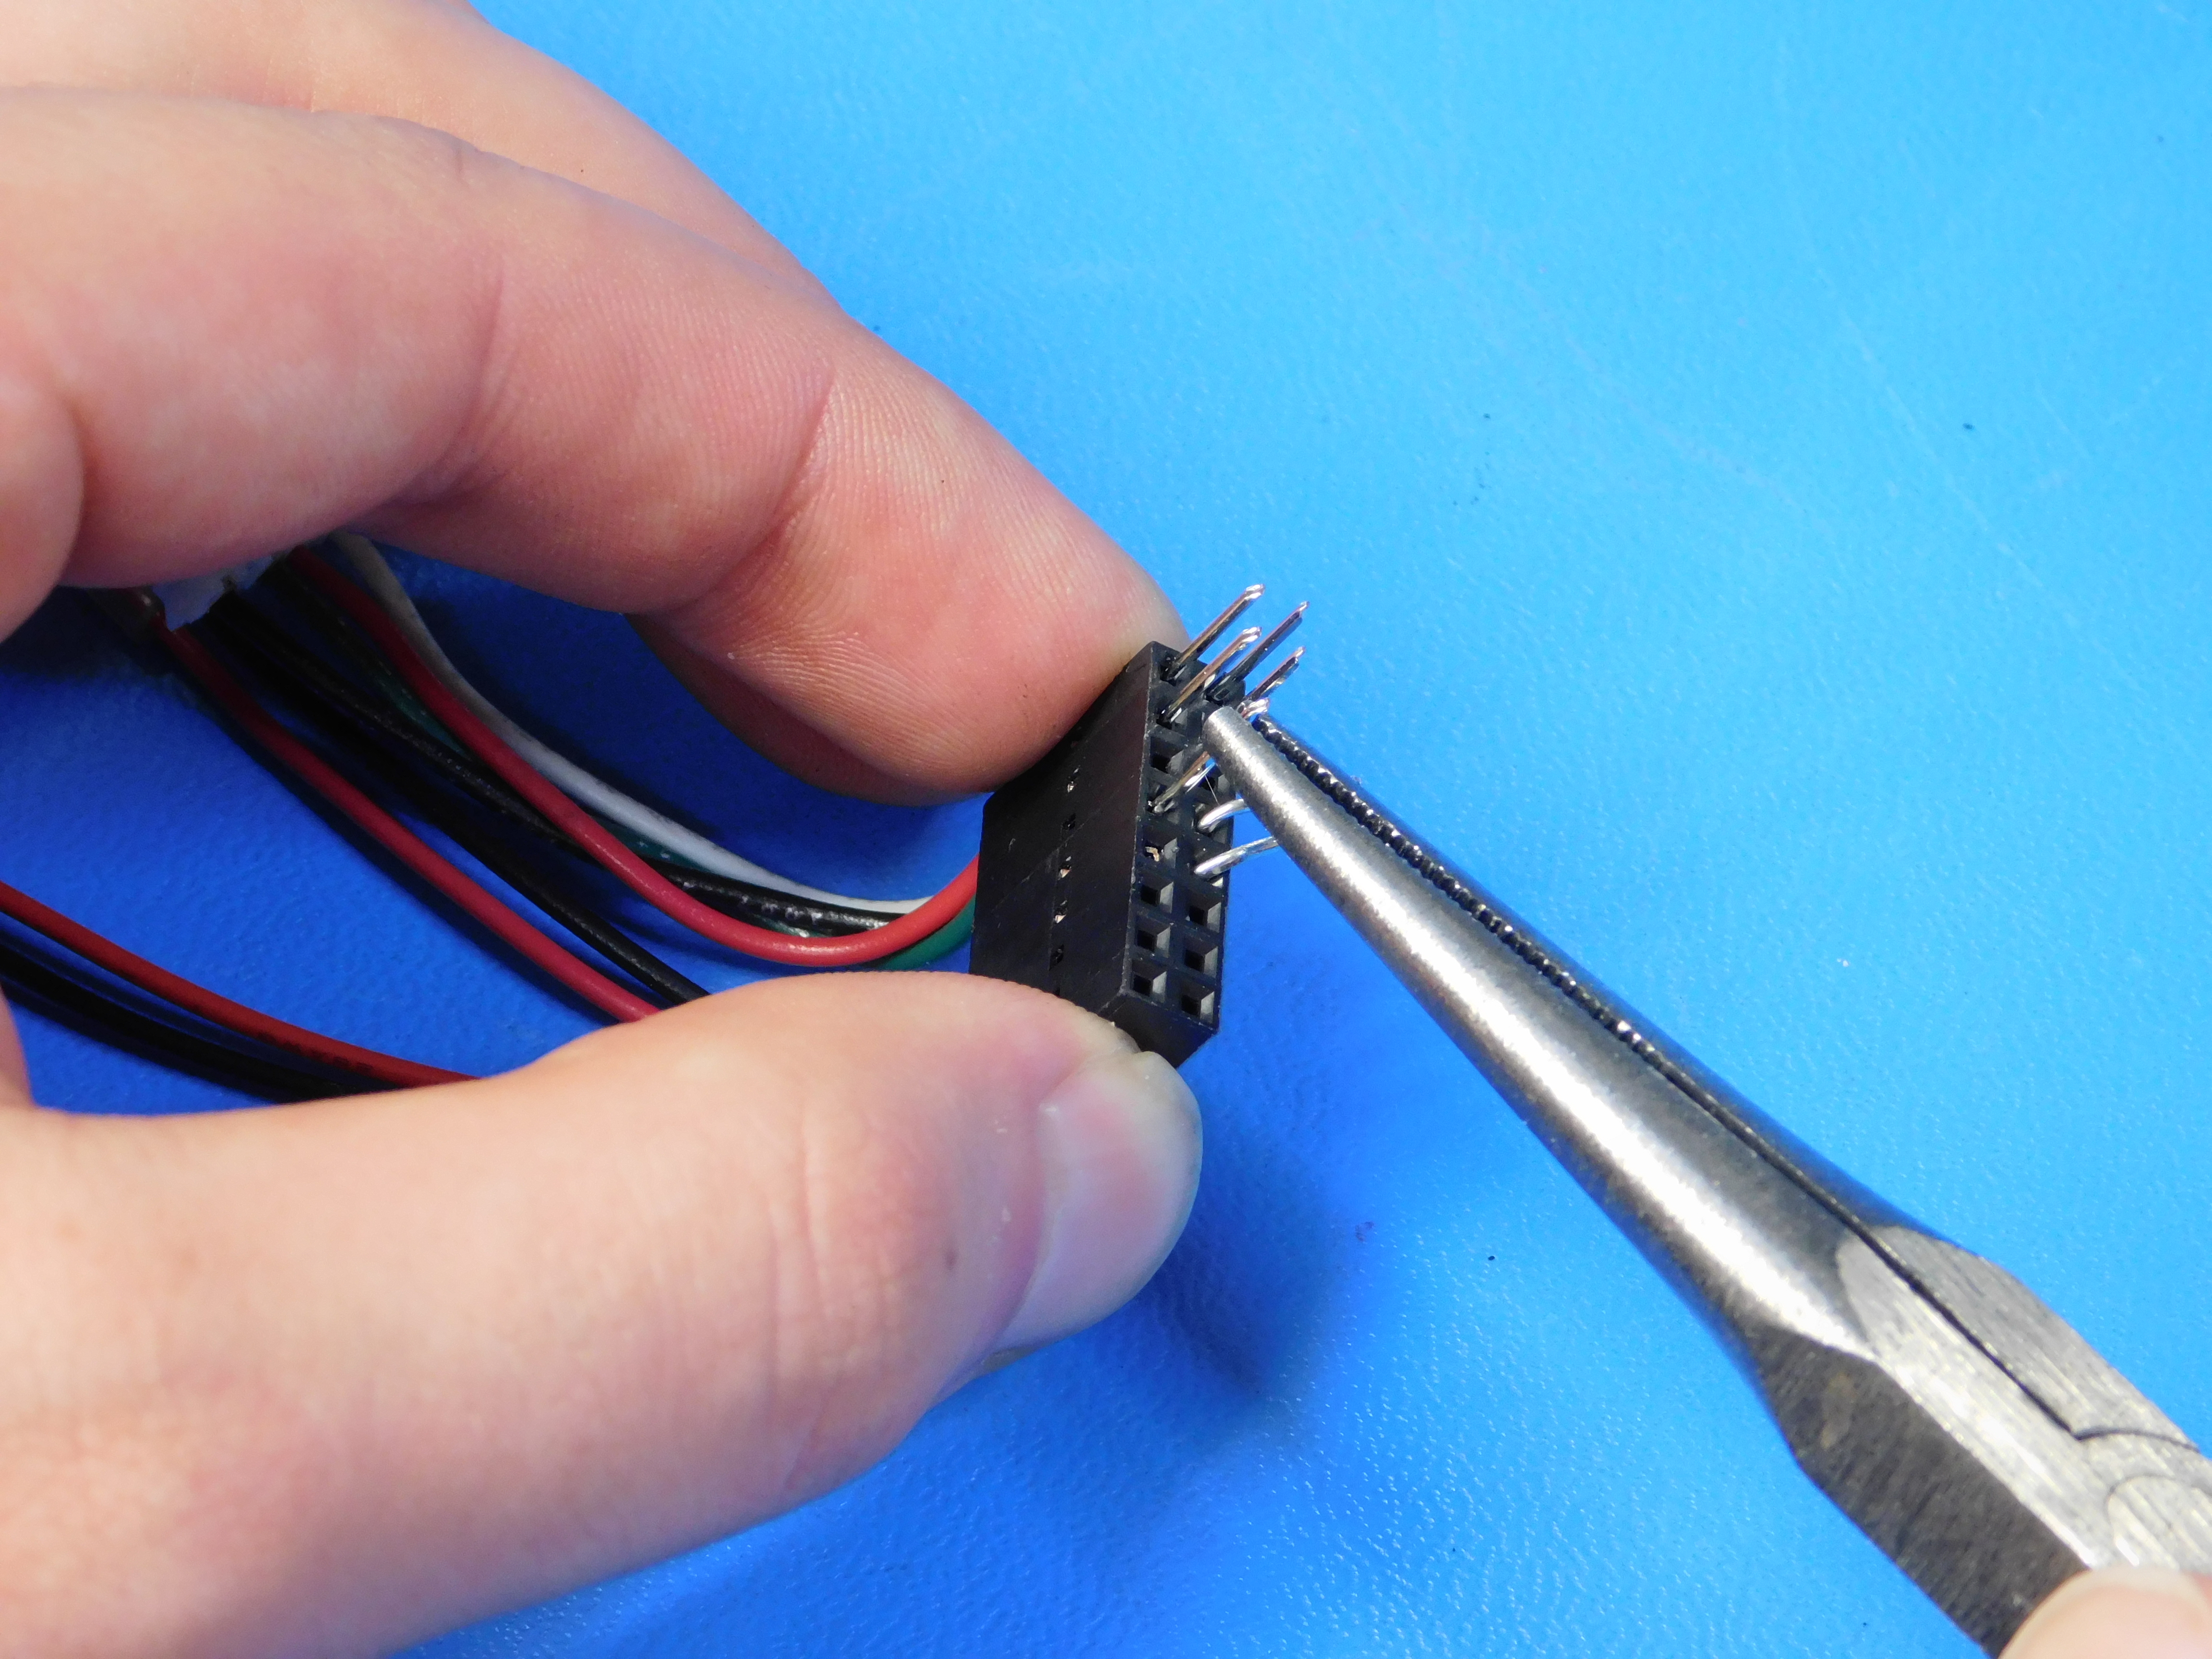
If there are any connectors that are just bent and not completely snapped, straighten them out with some pliers. Sometimes, this is all you need to do. The connection will be degraded slightly and not OEM spec, but sometimes it will work.
Using your poking device, depress the retaining tab(s) on the broken connector(s).

Gently pull on the wire(s) for the failed connector(s) until it comes out of the connector housing. It is a good idea to keep track of which connector goes where, so that you don't have to look up a wiring diagram later. A piece of tape wrapped around the wire and some marking on it works well.

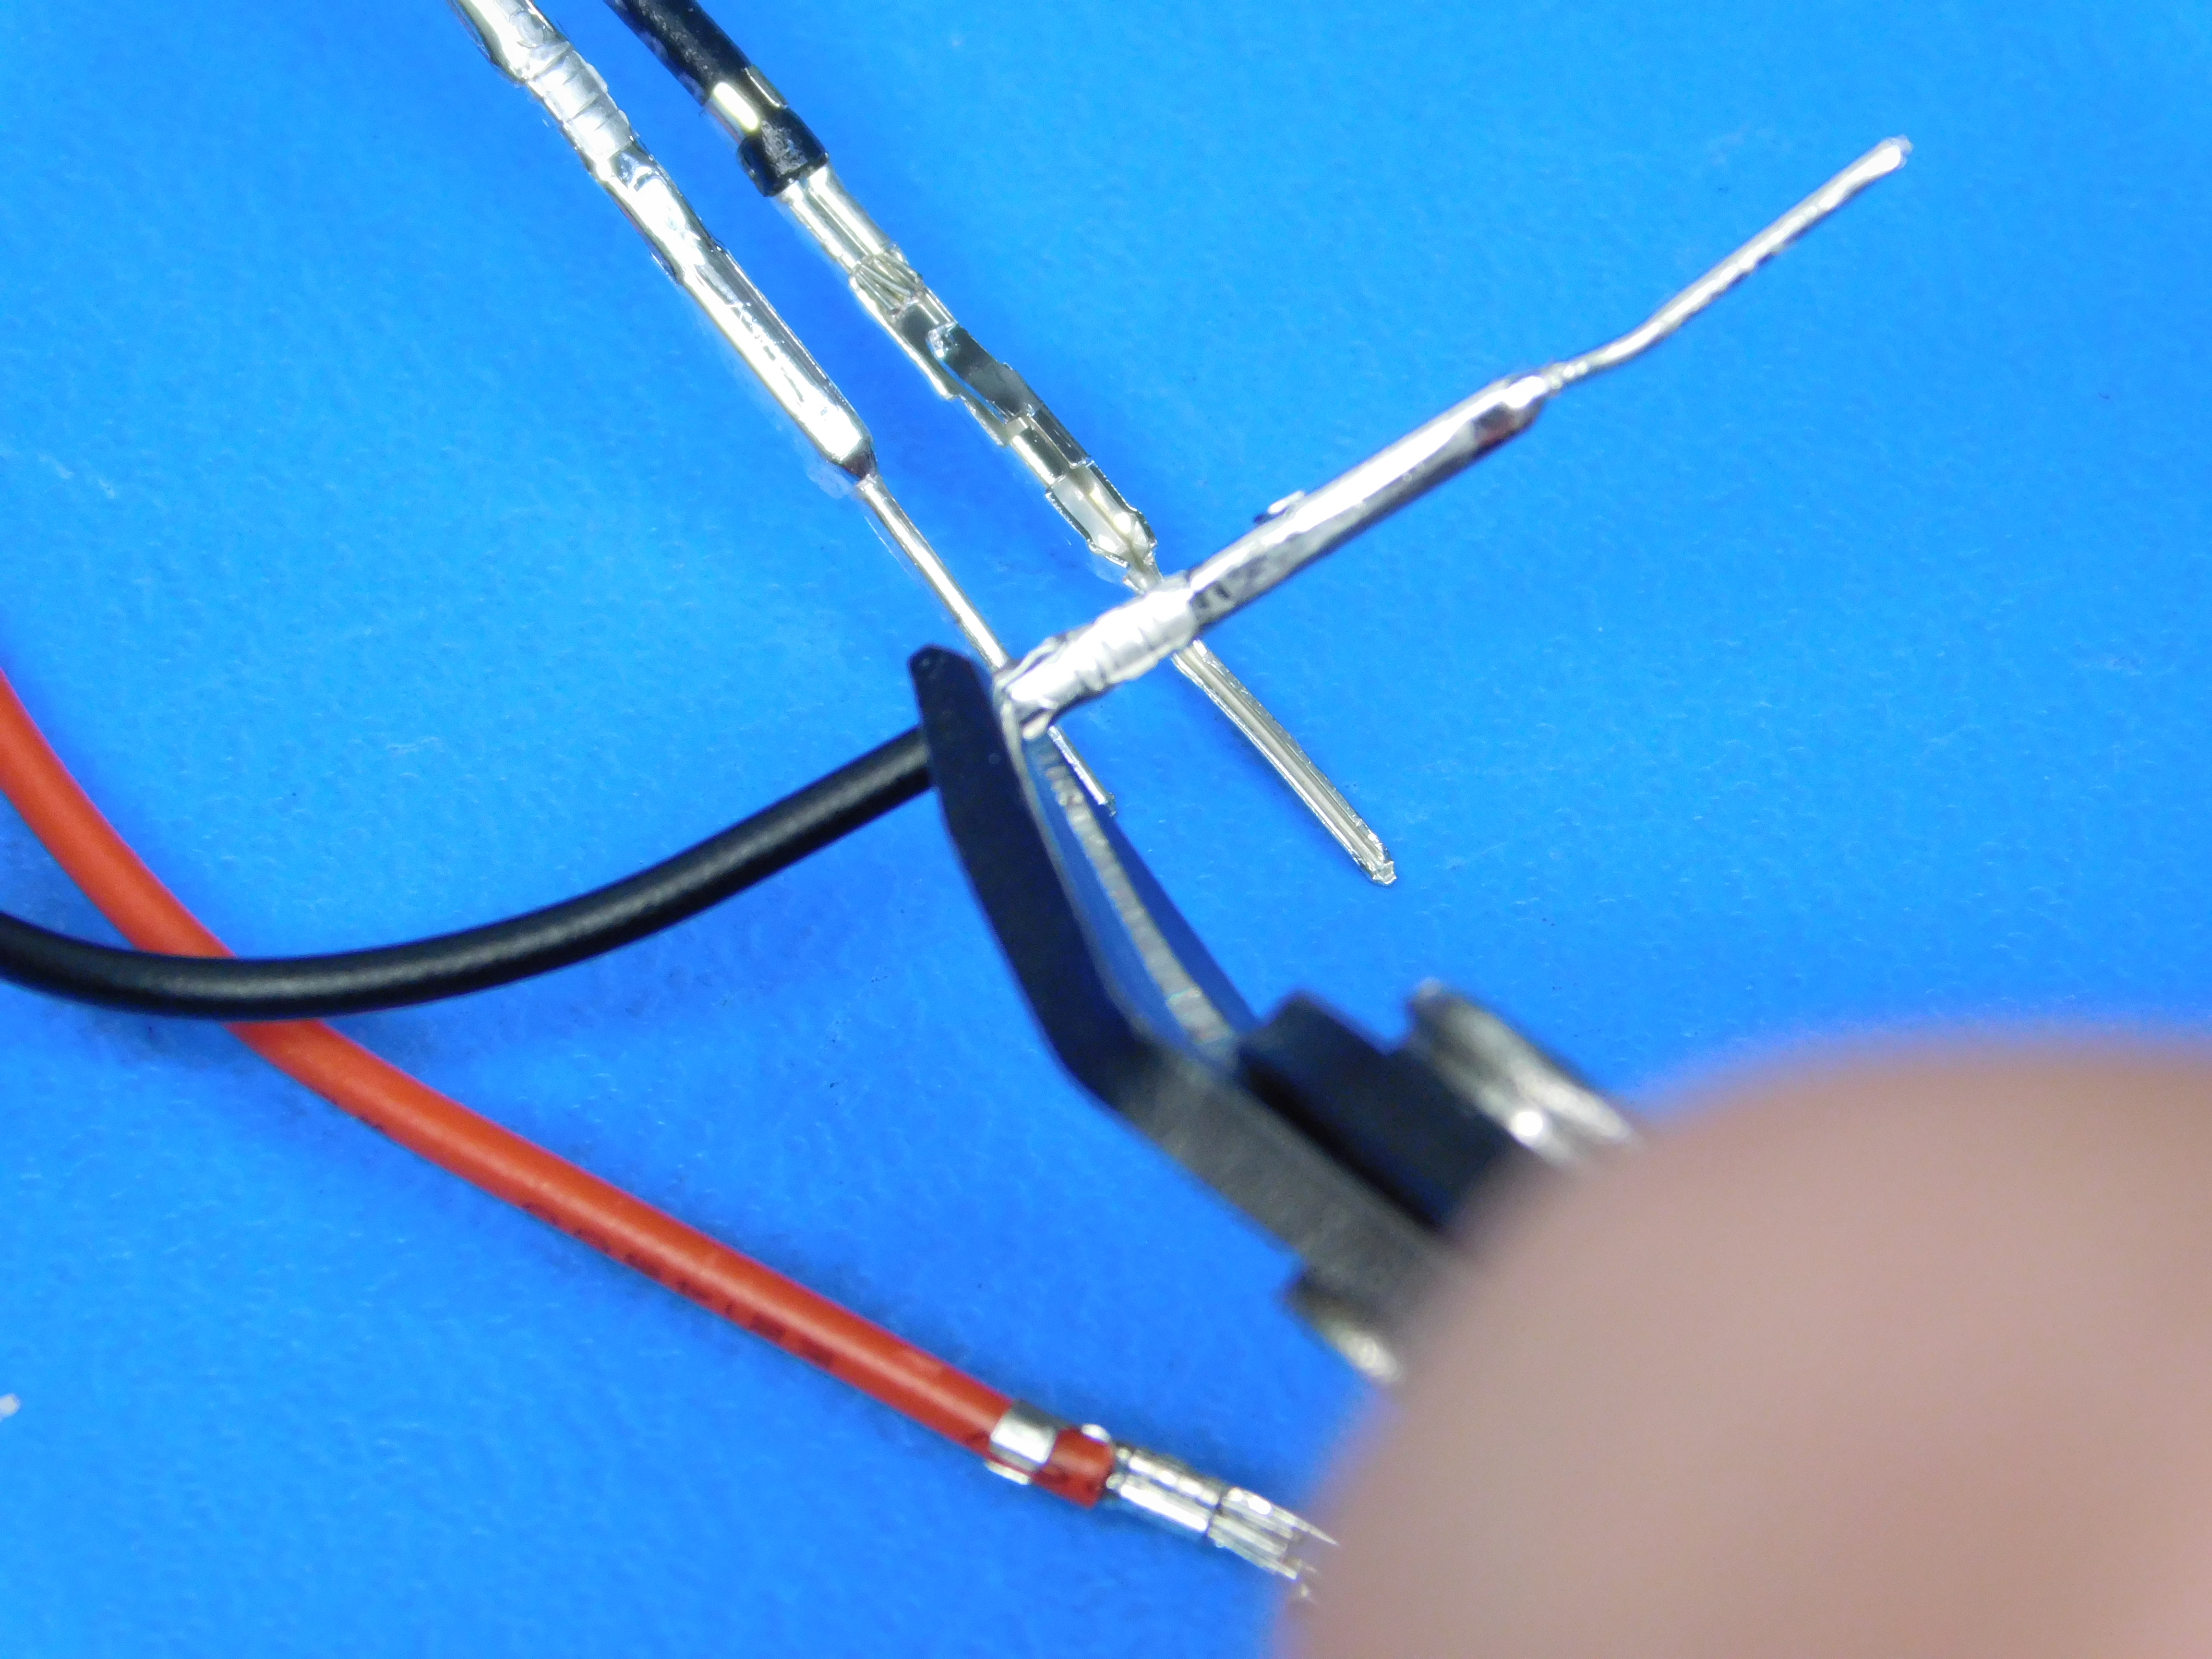
Cut off the failed connector(s). Leave as much length in the wire(s) as possible.
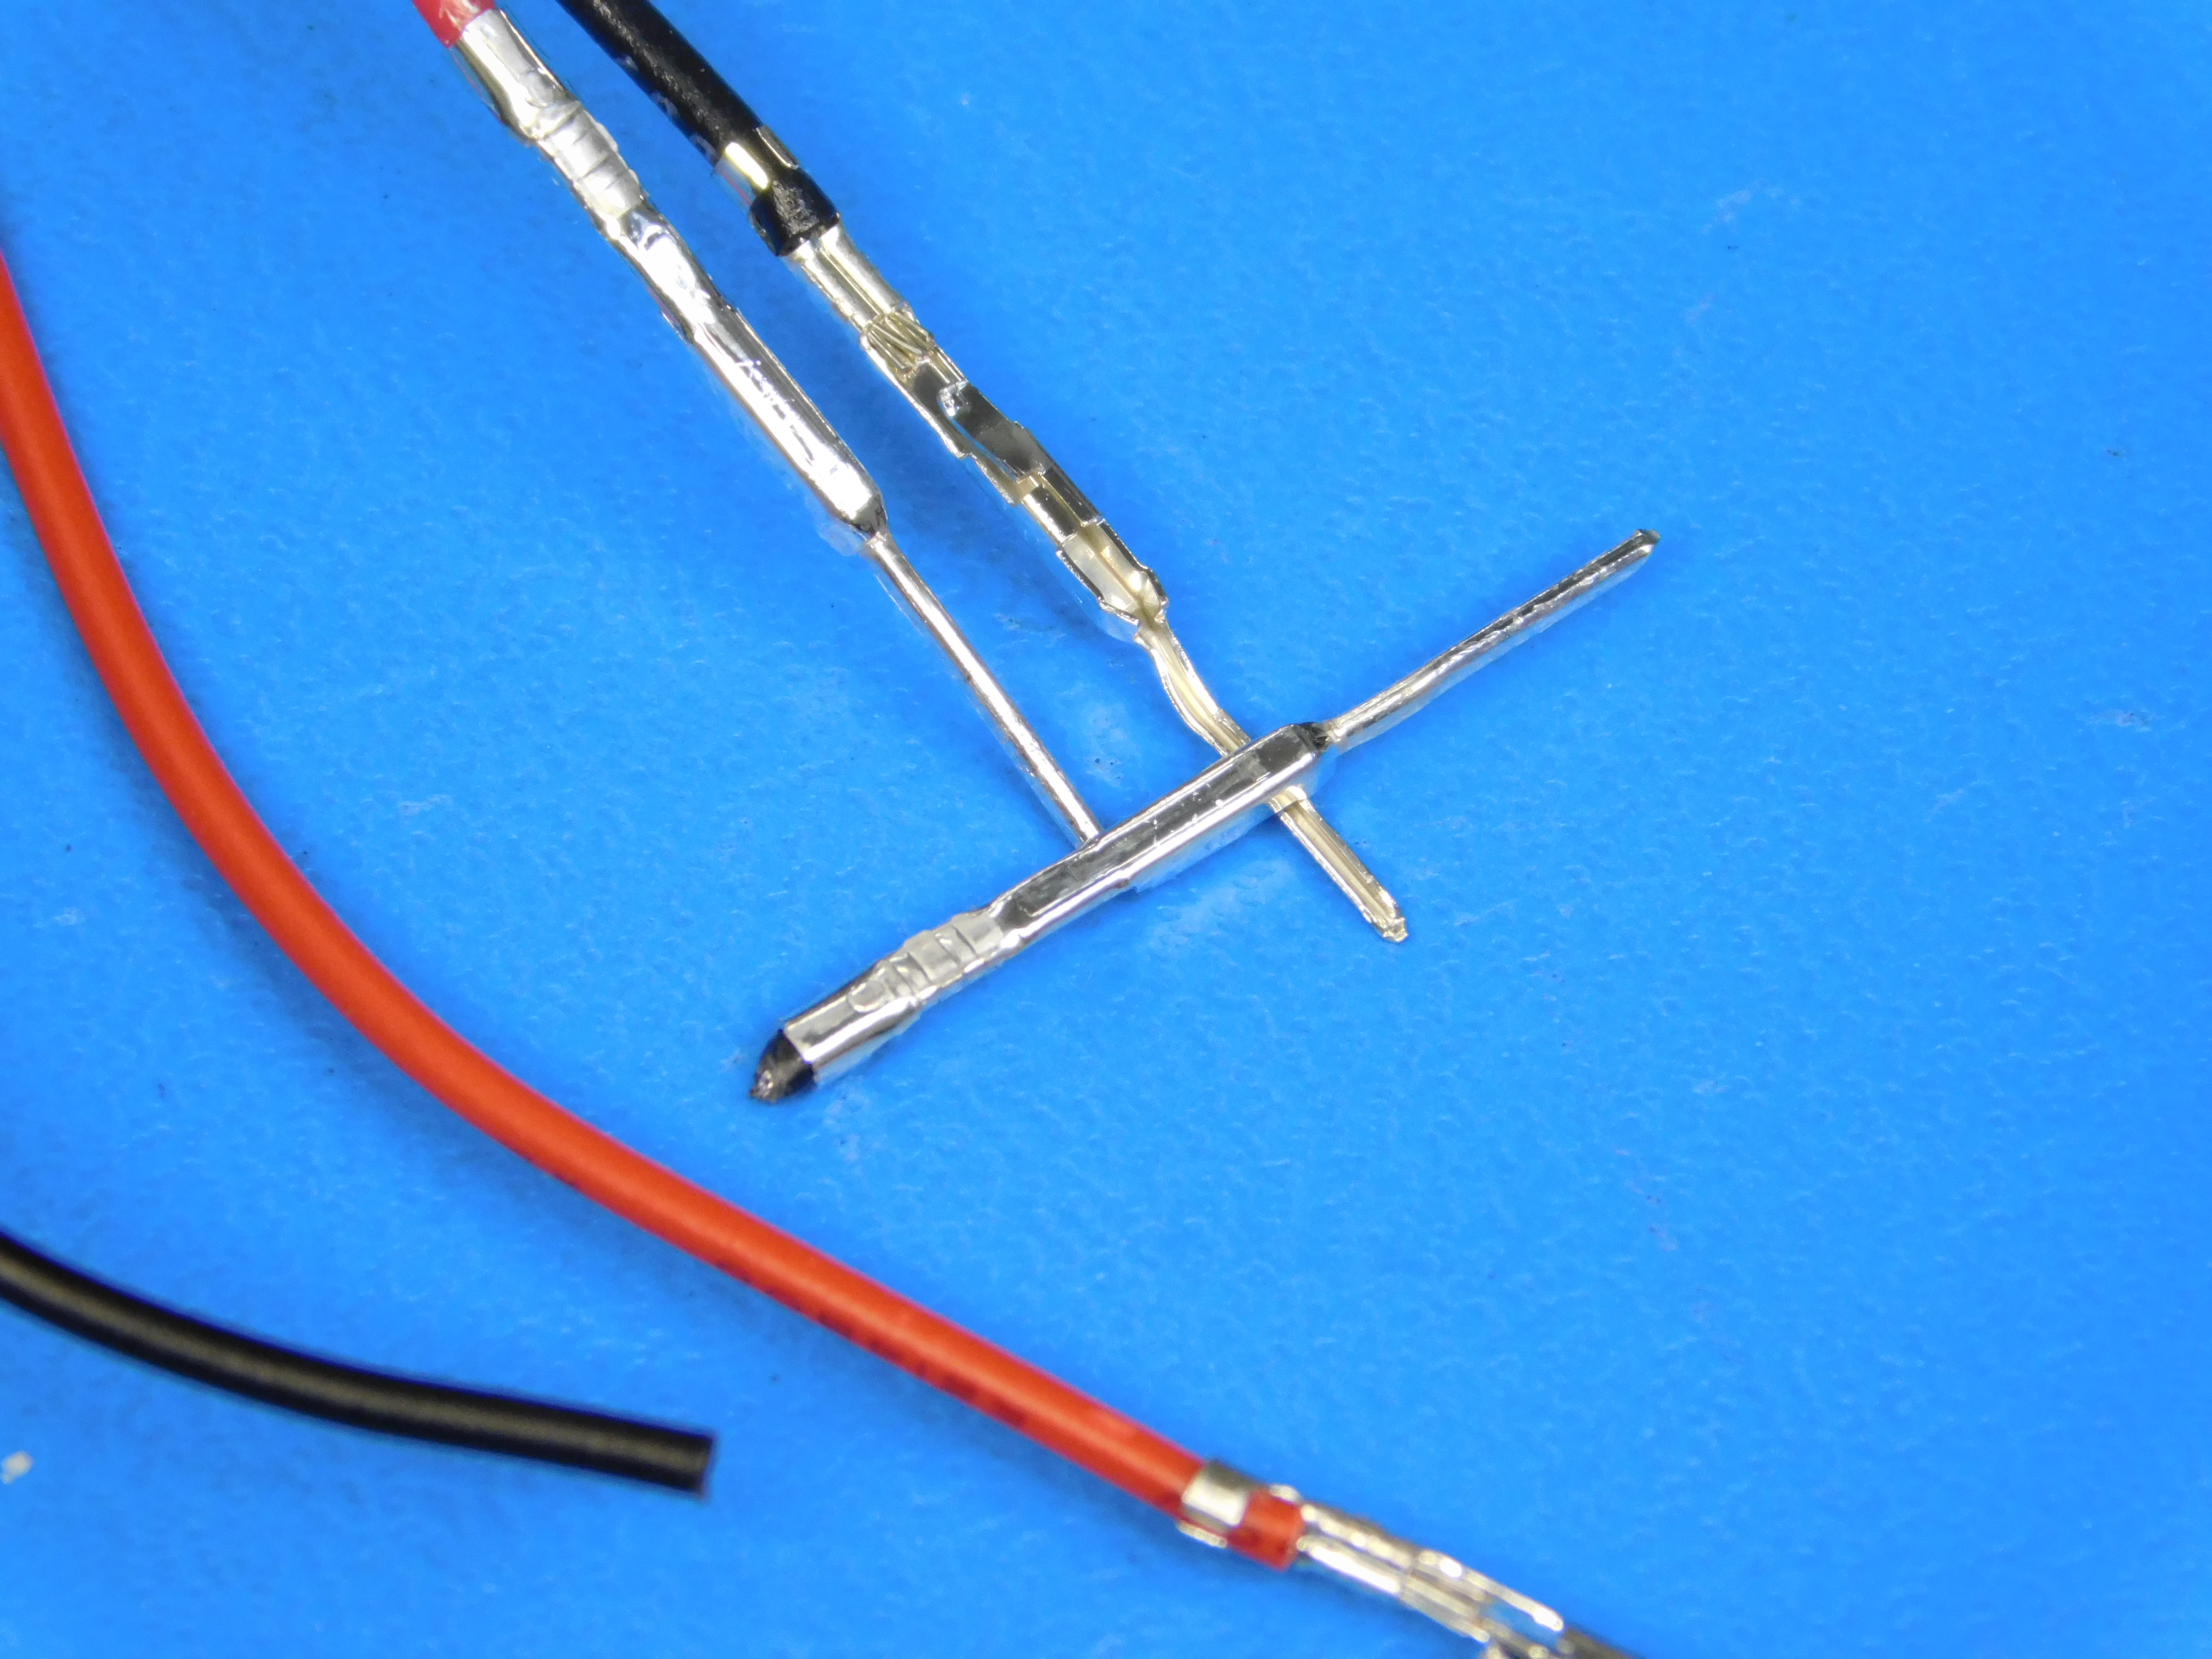
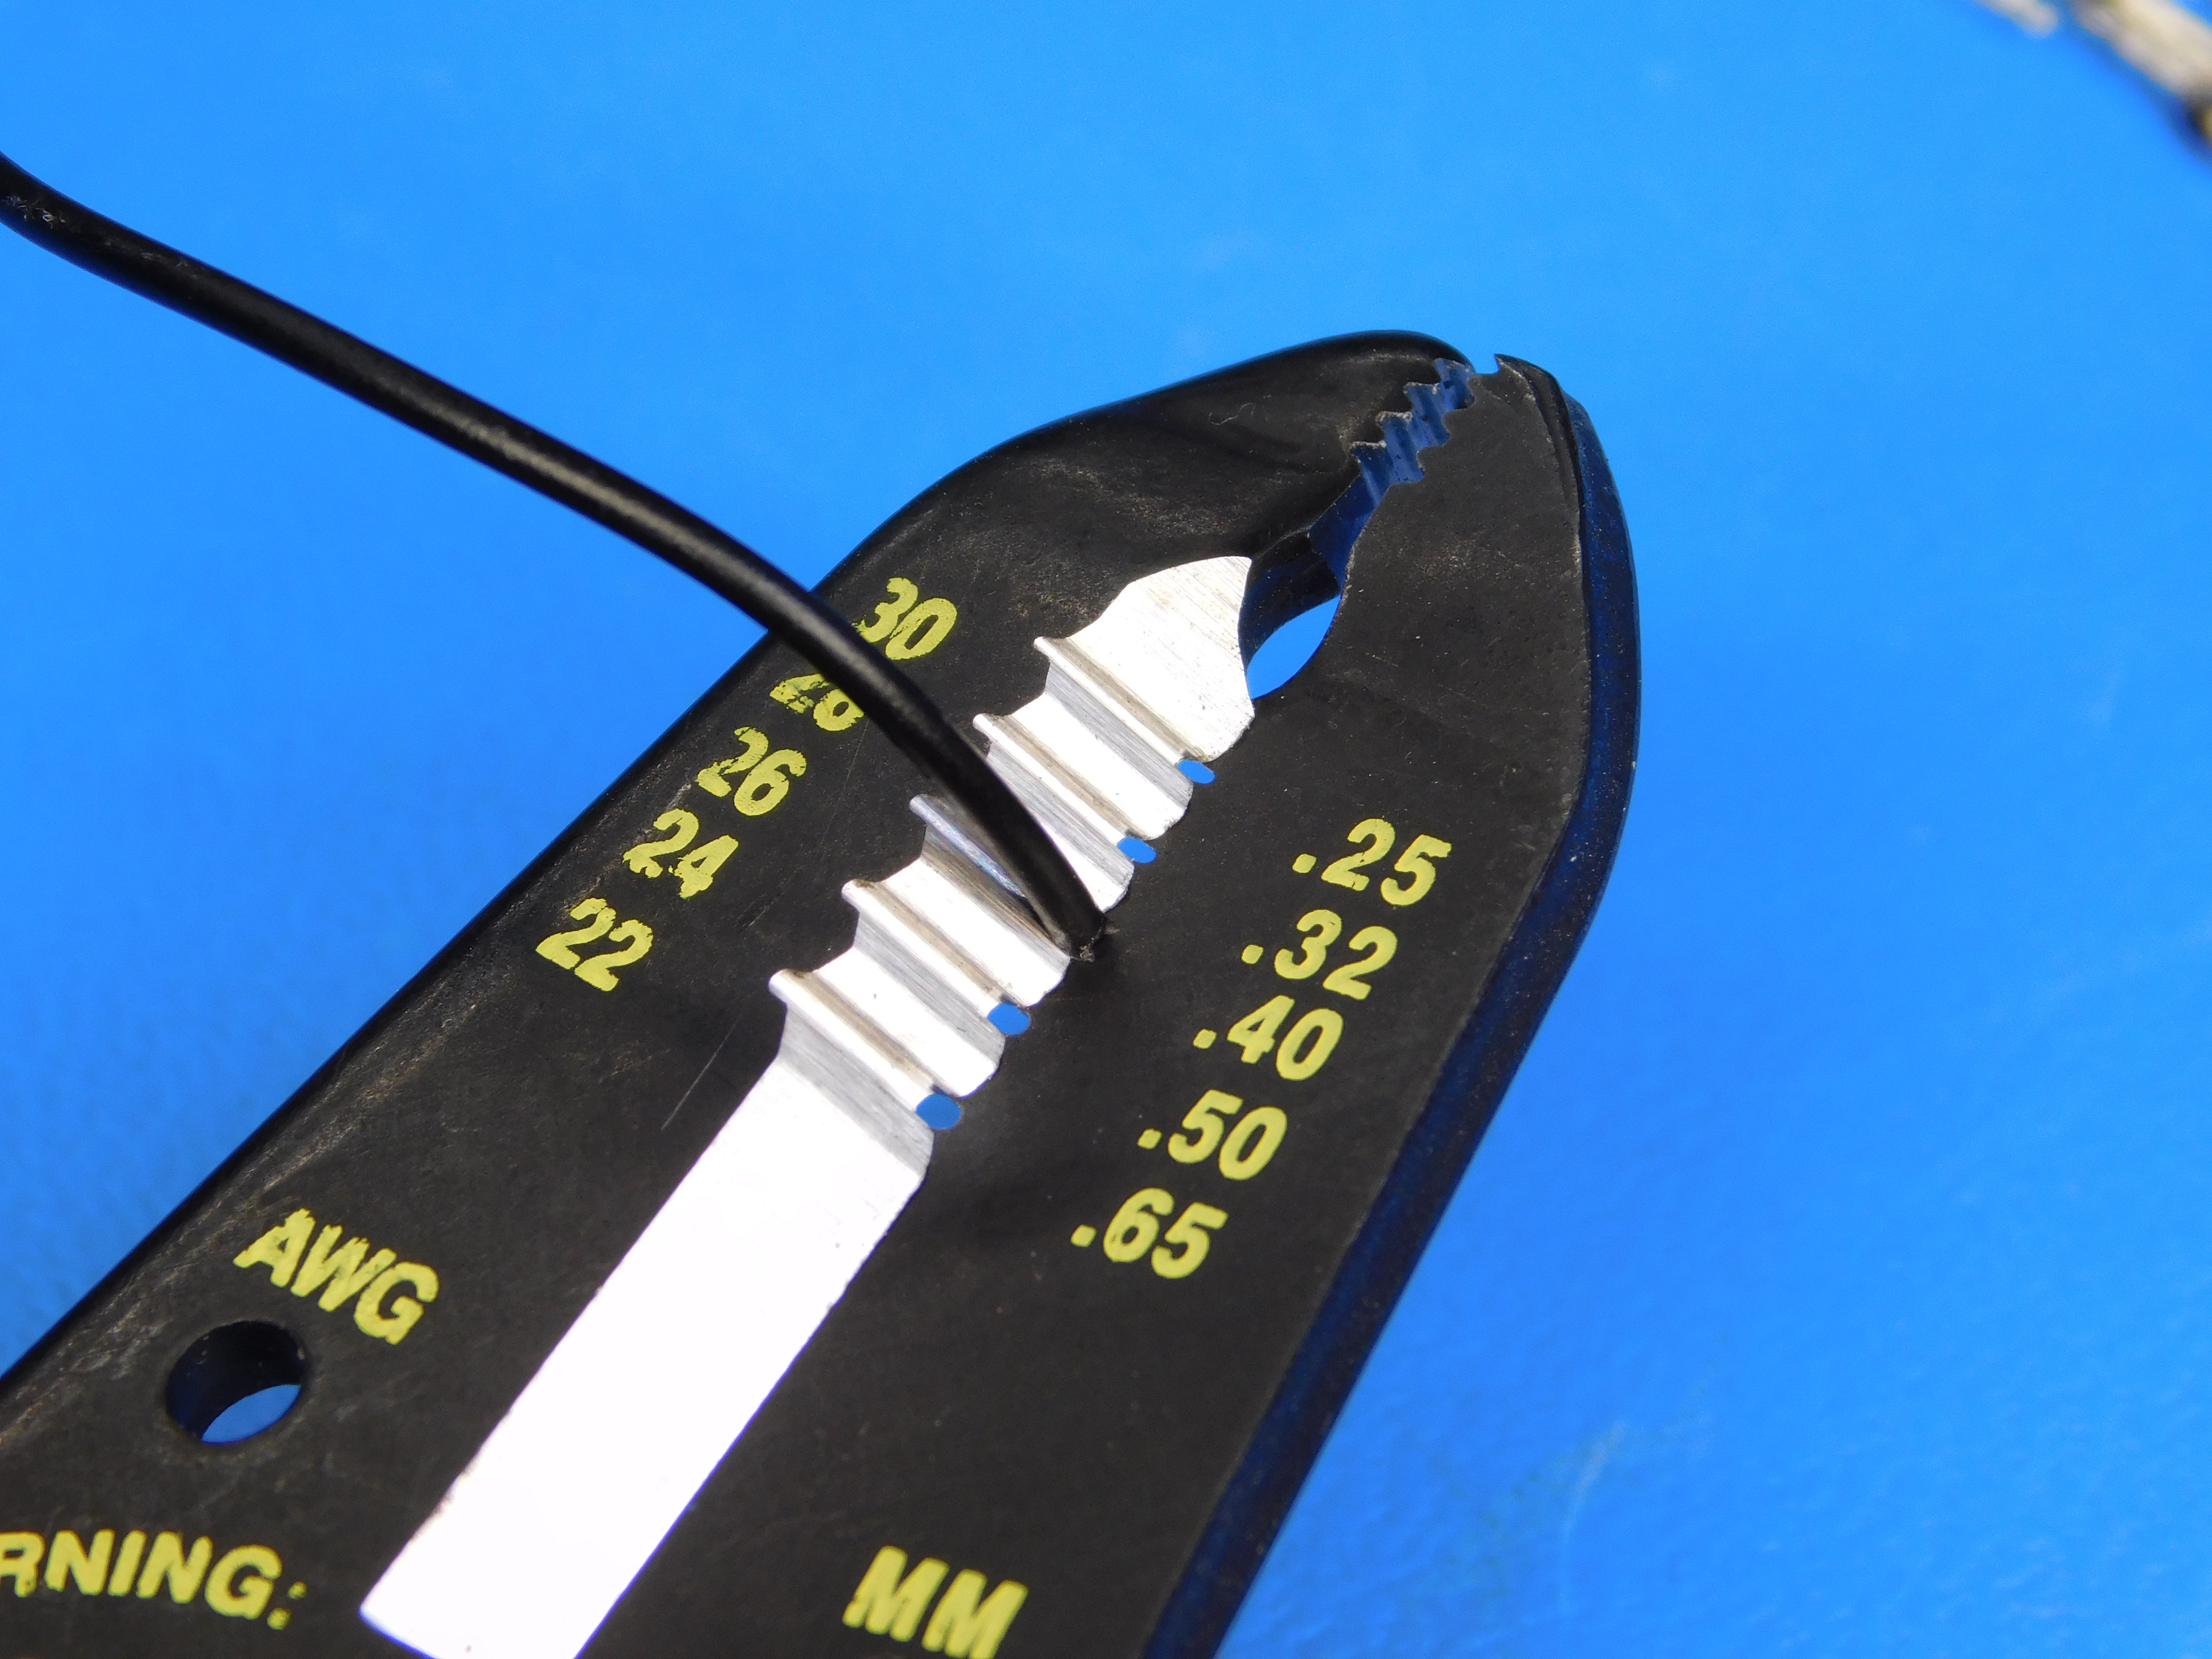
Strip about 2.5mm of insulation off of the end of the wire(s). Use strippers that are the same as the gauge of wire(s) that you have.
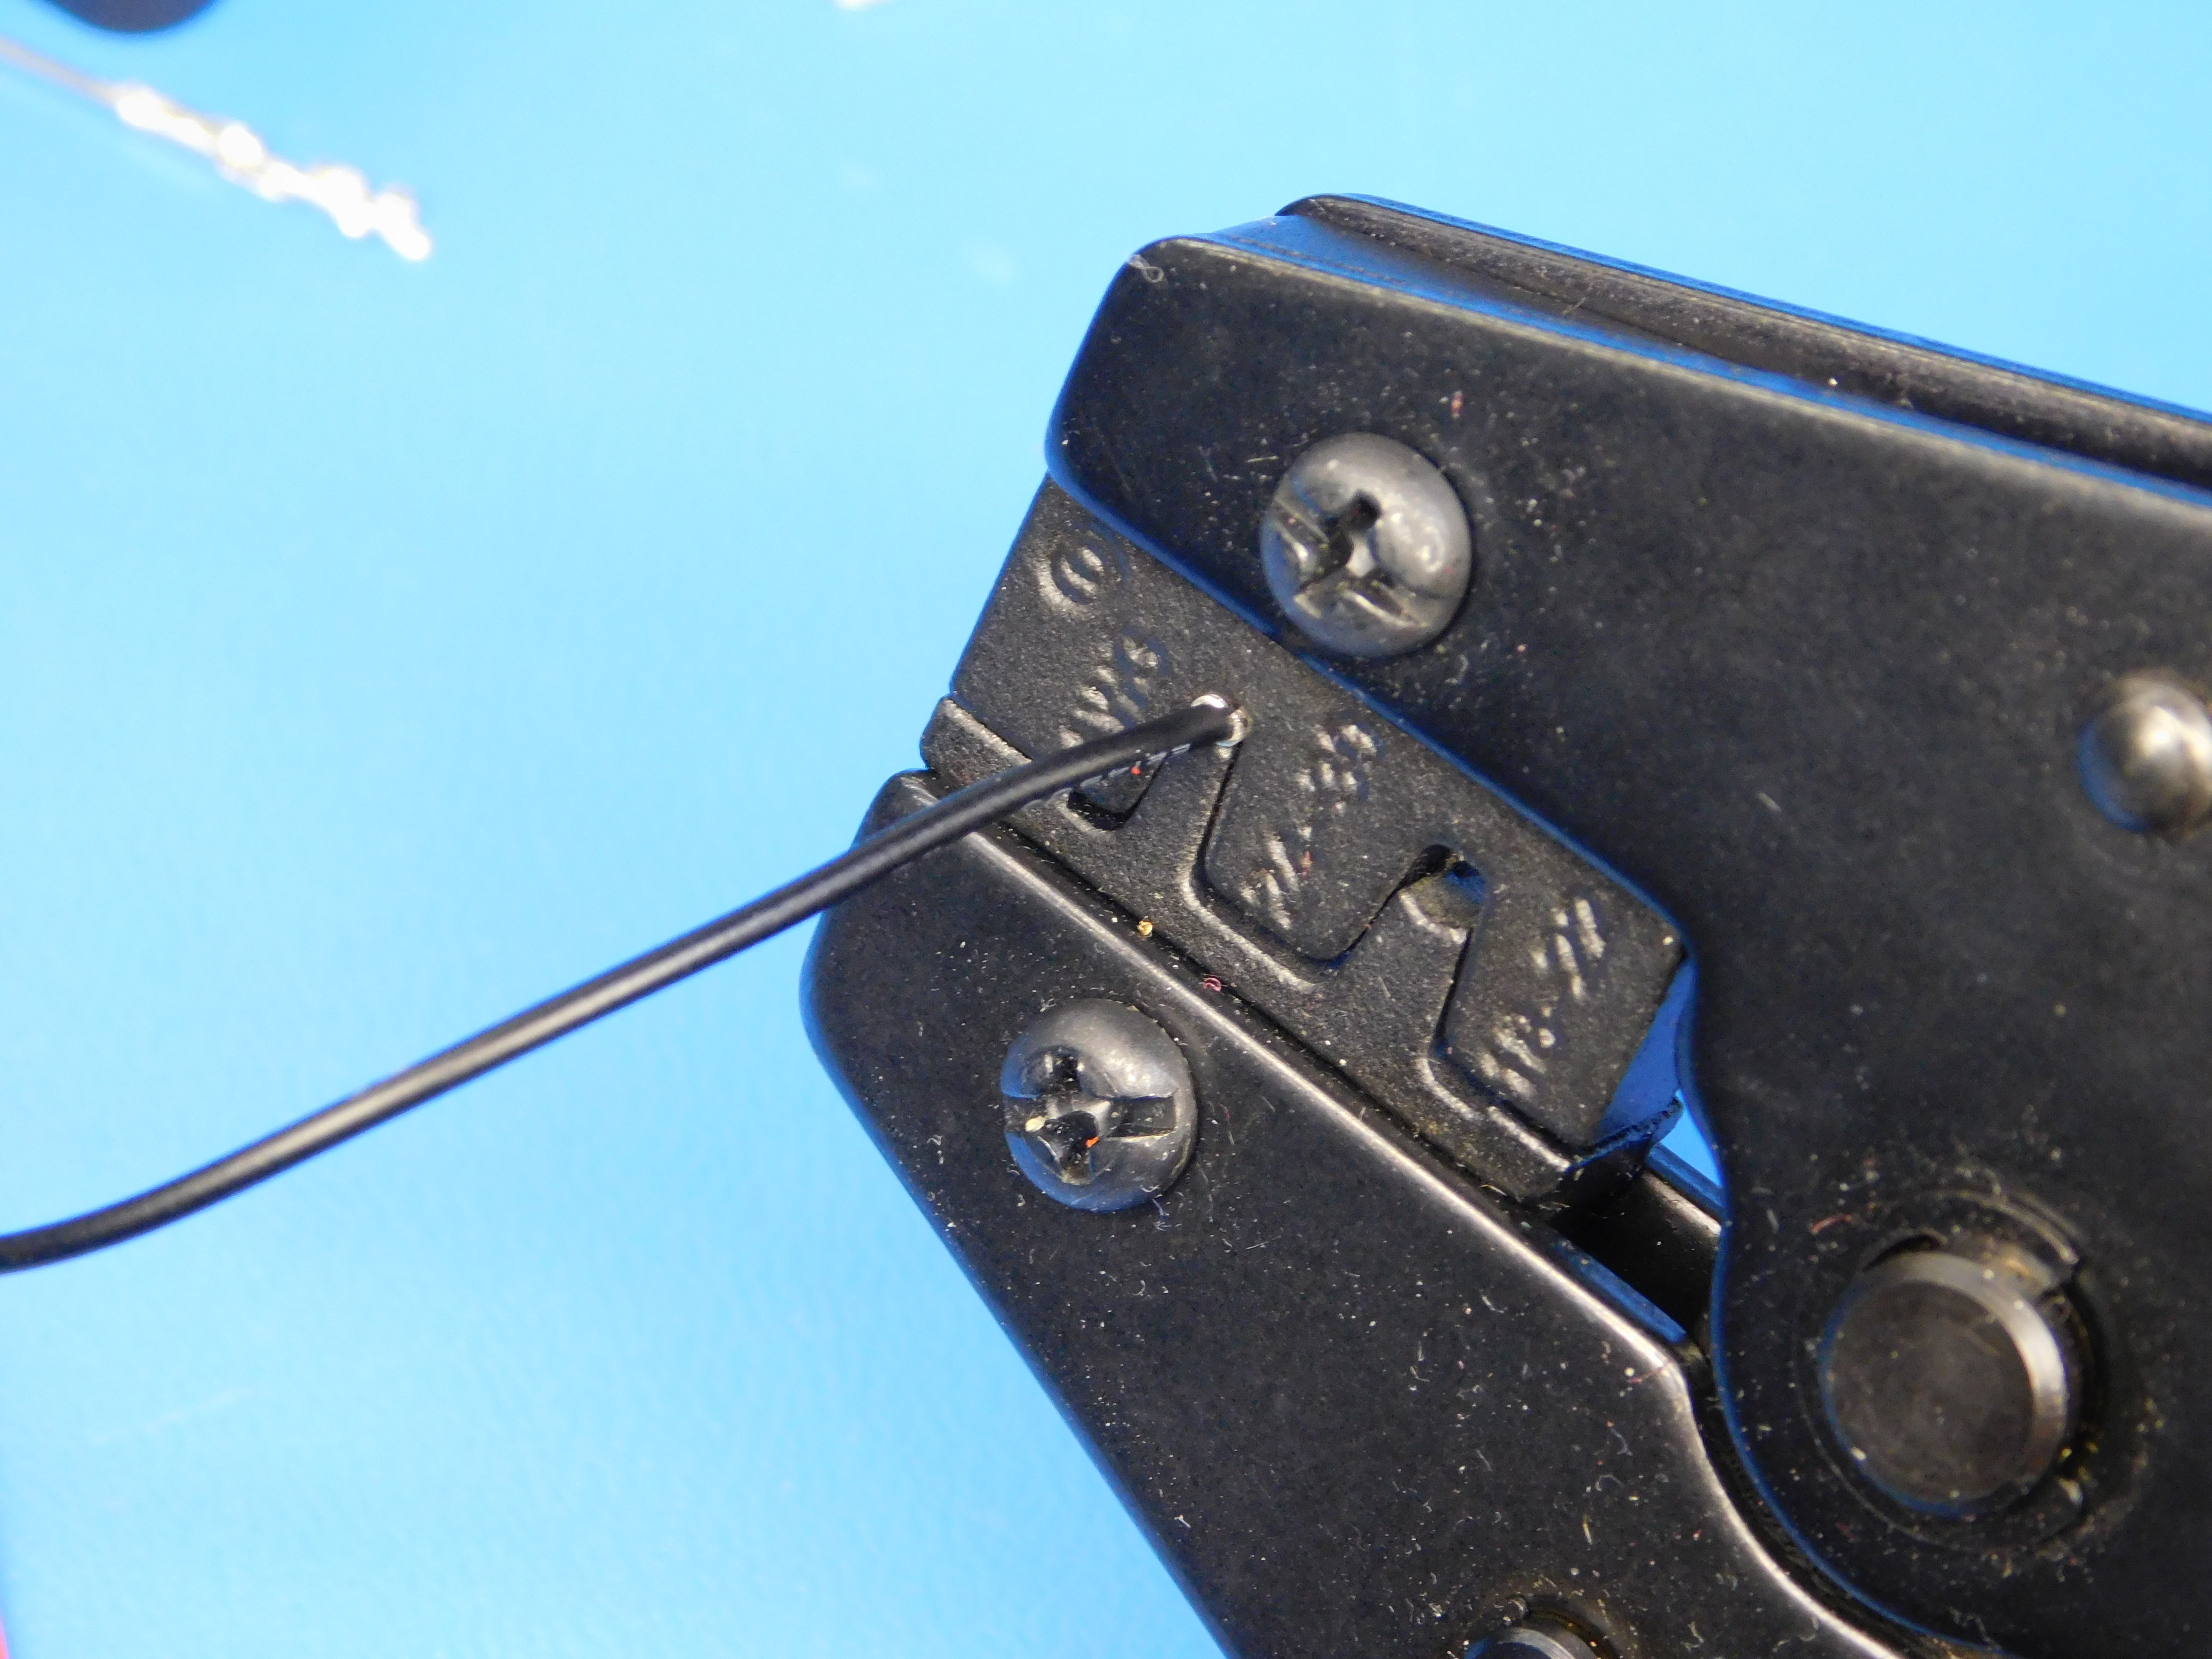
Take a new molex connector(s) and put it into the crimping tool as shown.
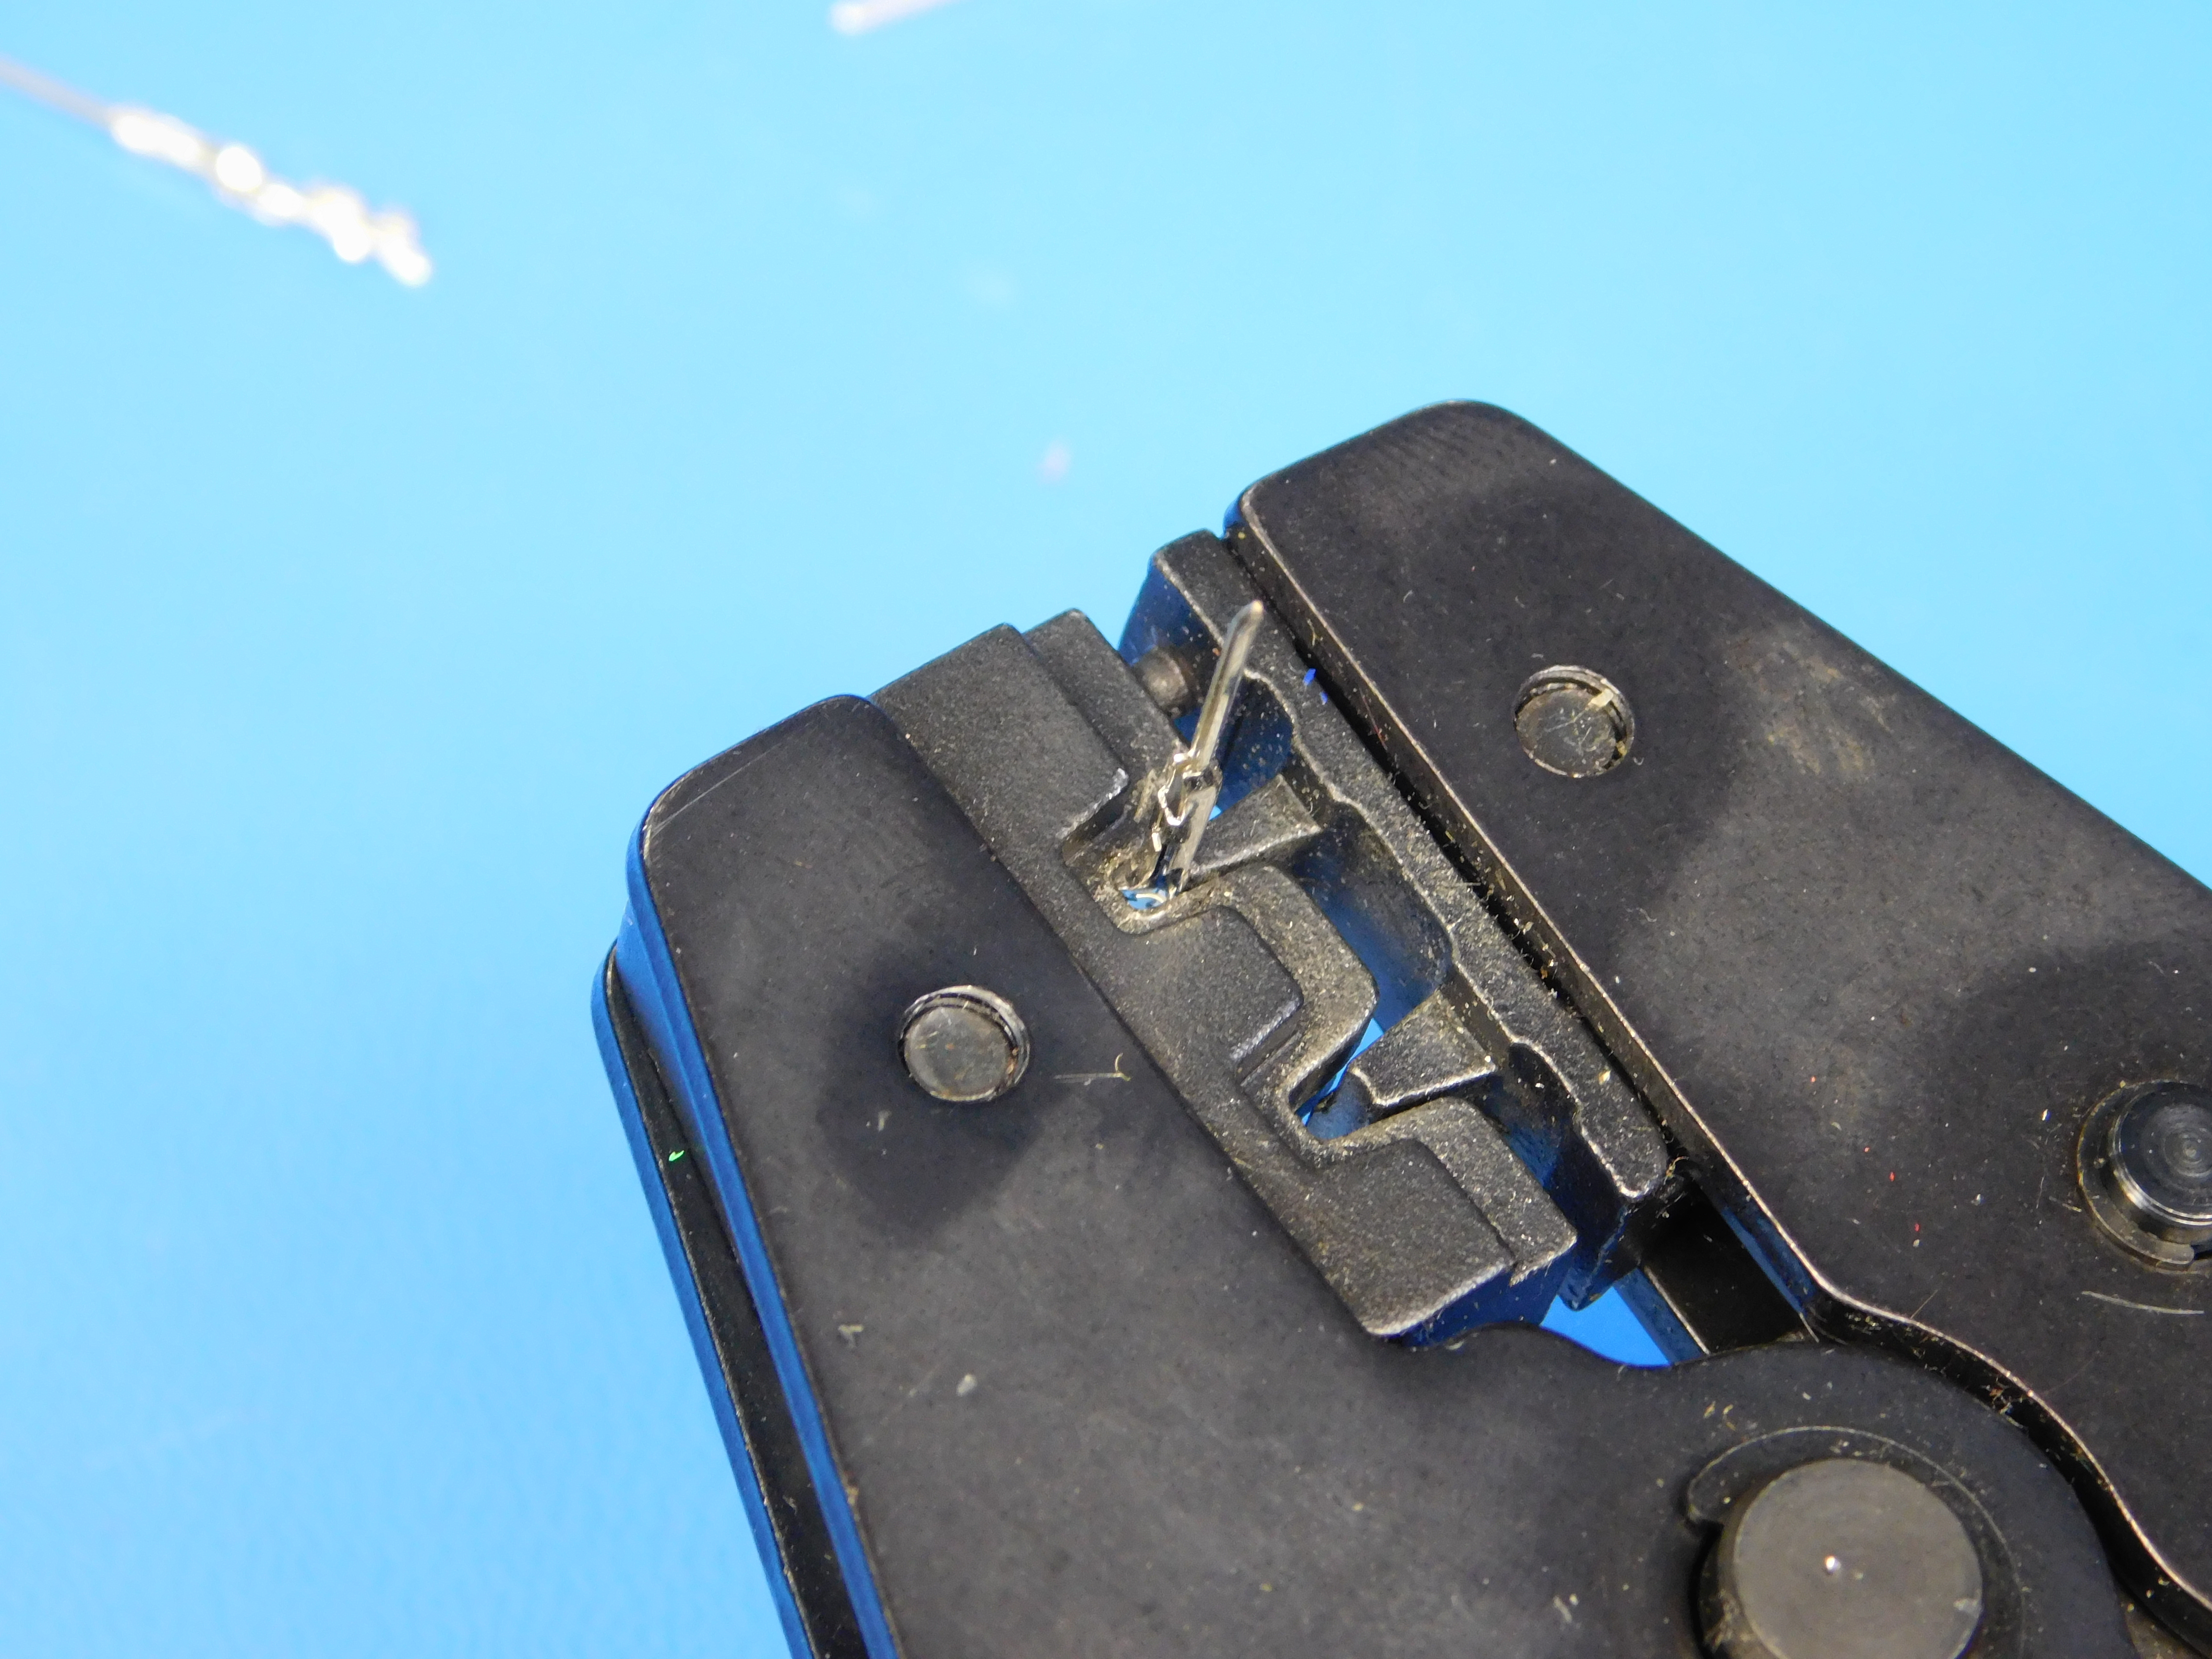

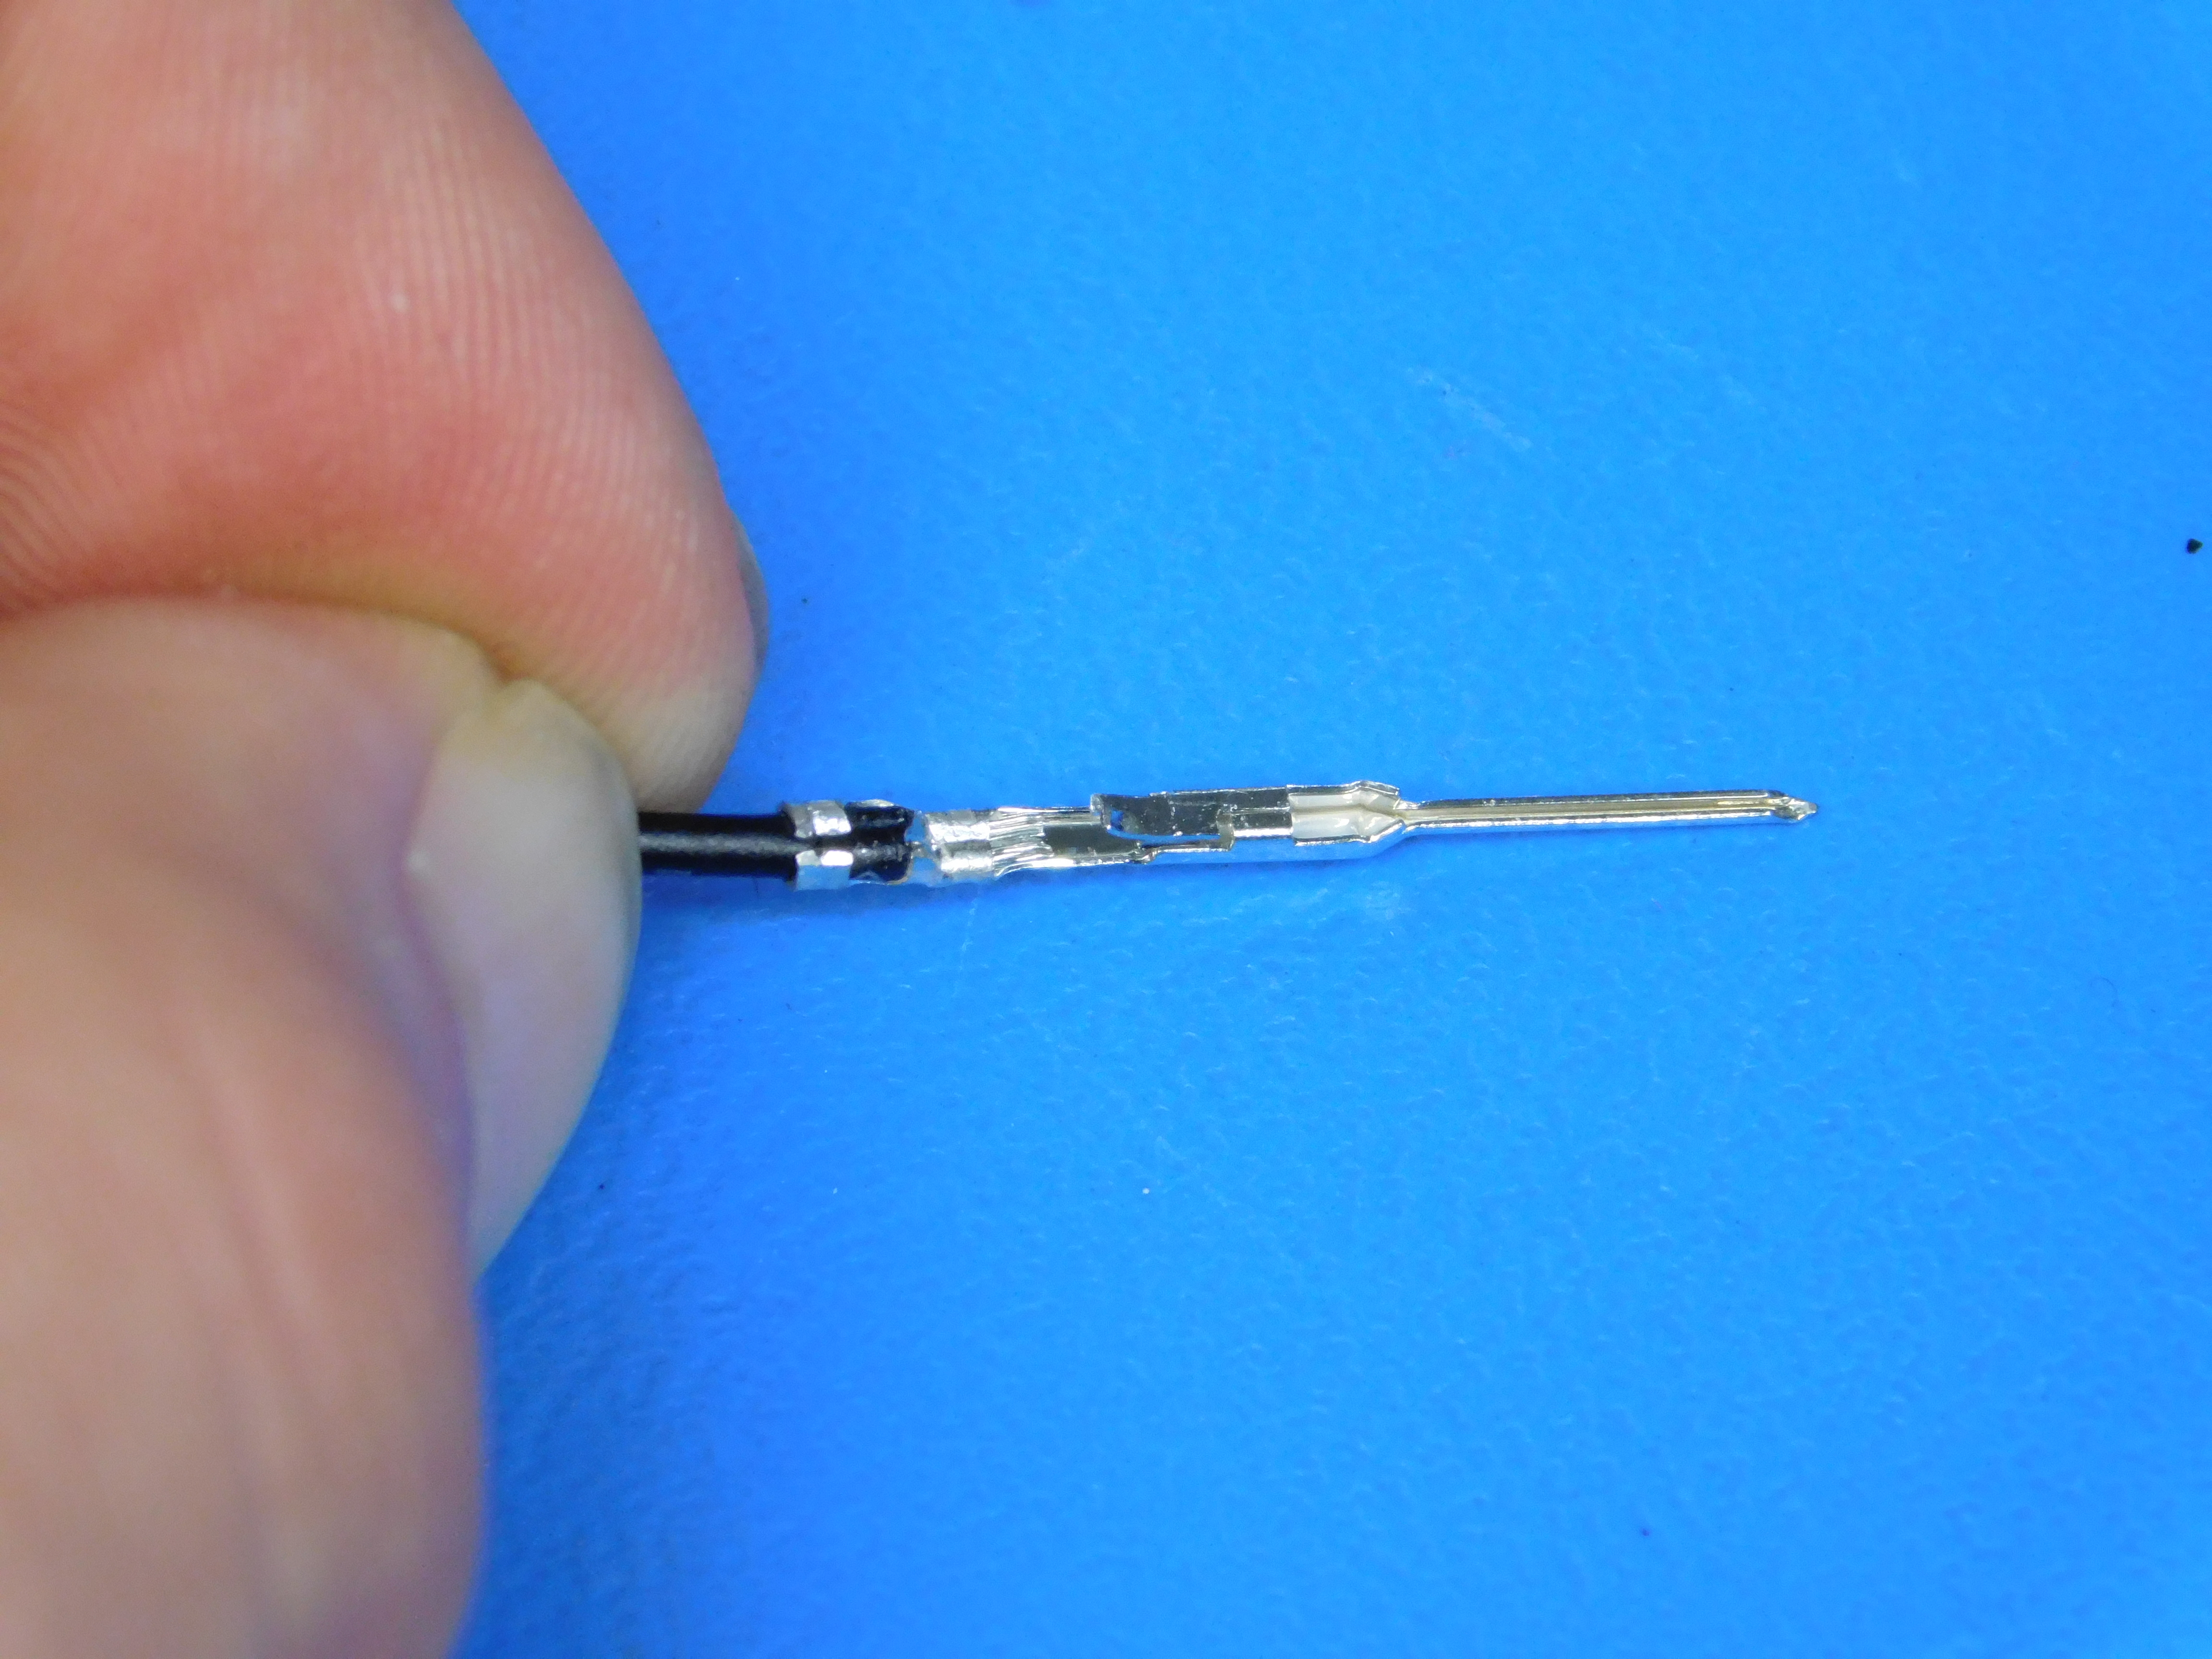
Put the wire(s) into the crimp(s). The insulation should go in about 2.5mm past the end of the crimp(s). Make sure there are no strands that do not go into the crimp(s). Squeeze the crimper tool to make the crimp(s). Make sure the wire(s) and crimp(s) do not move during the crimping process.
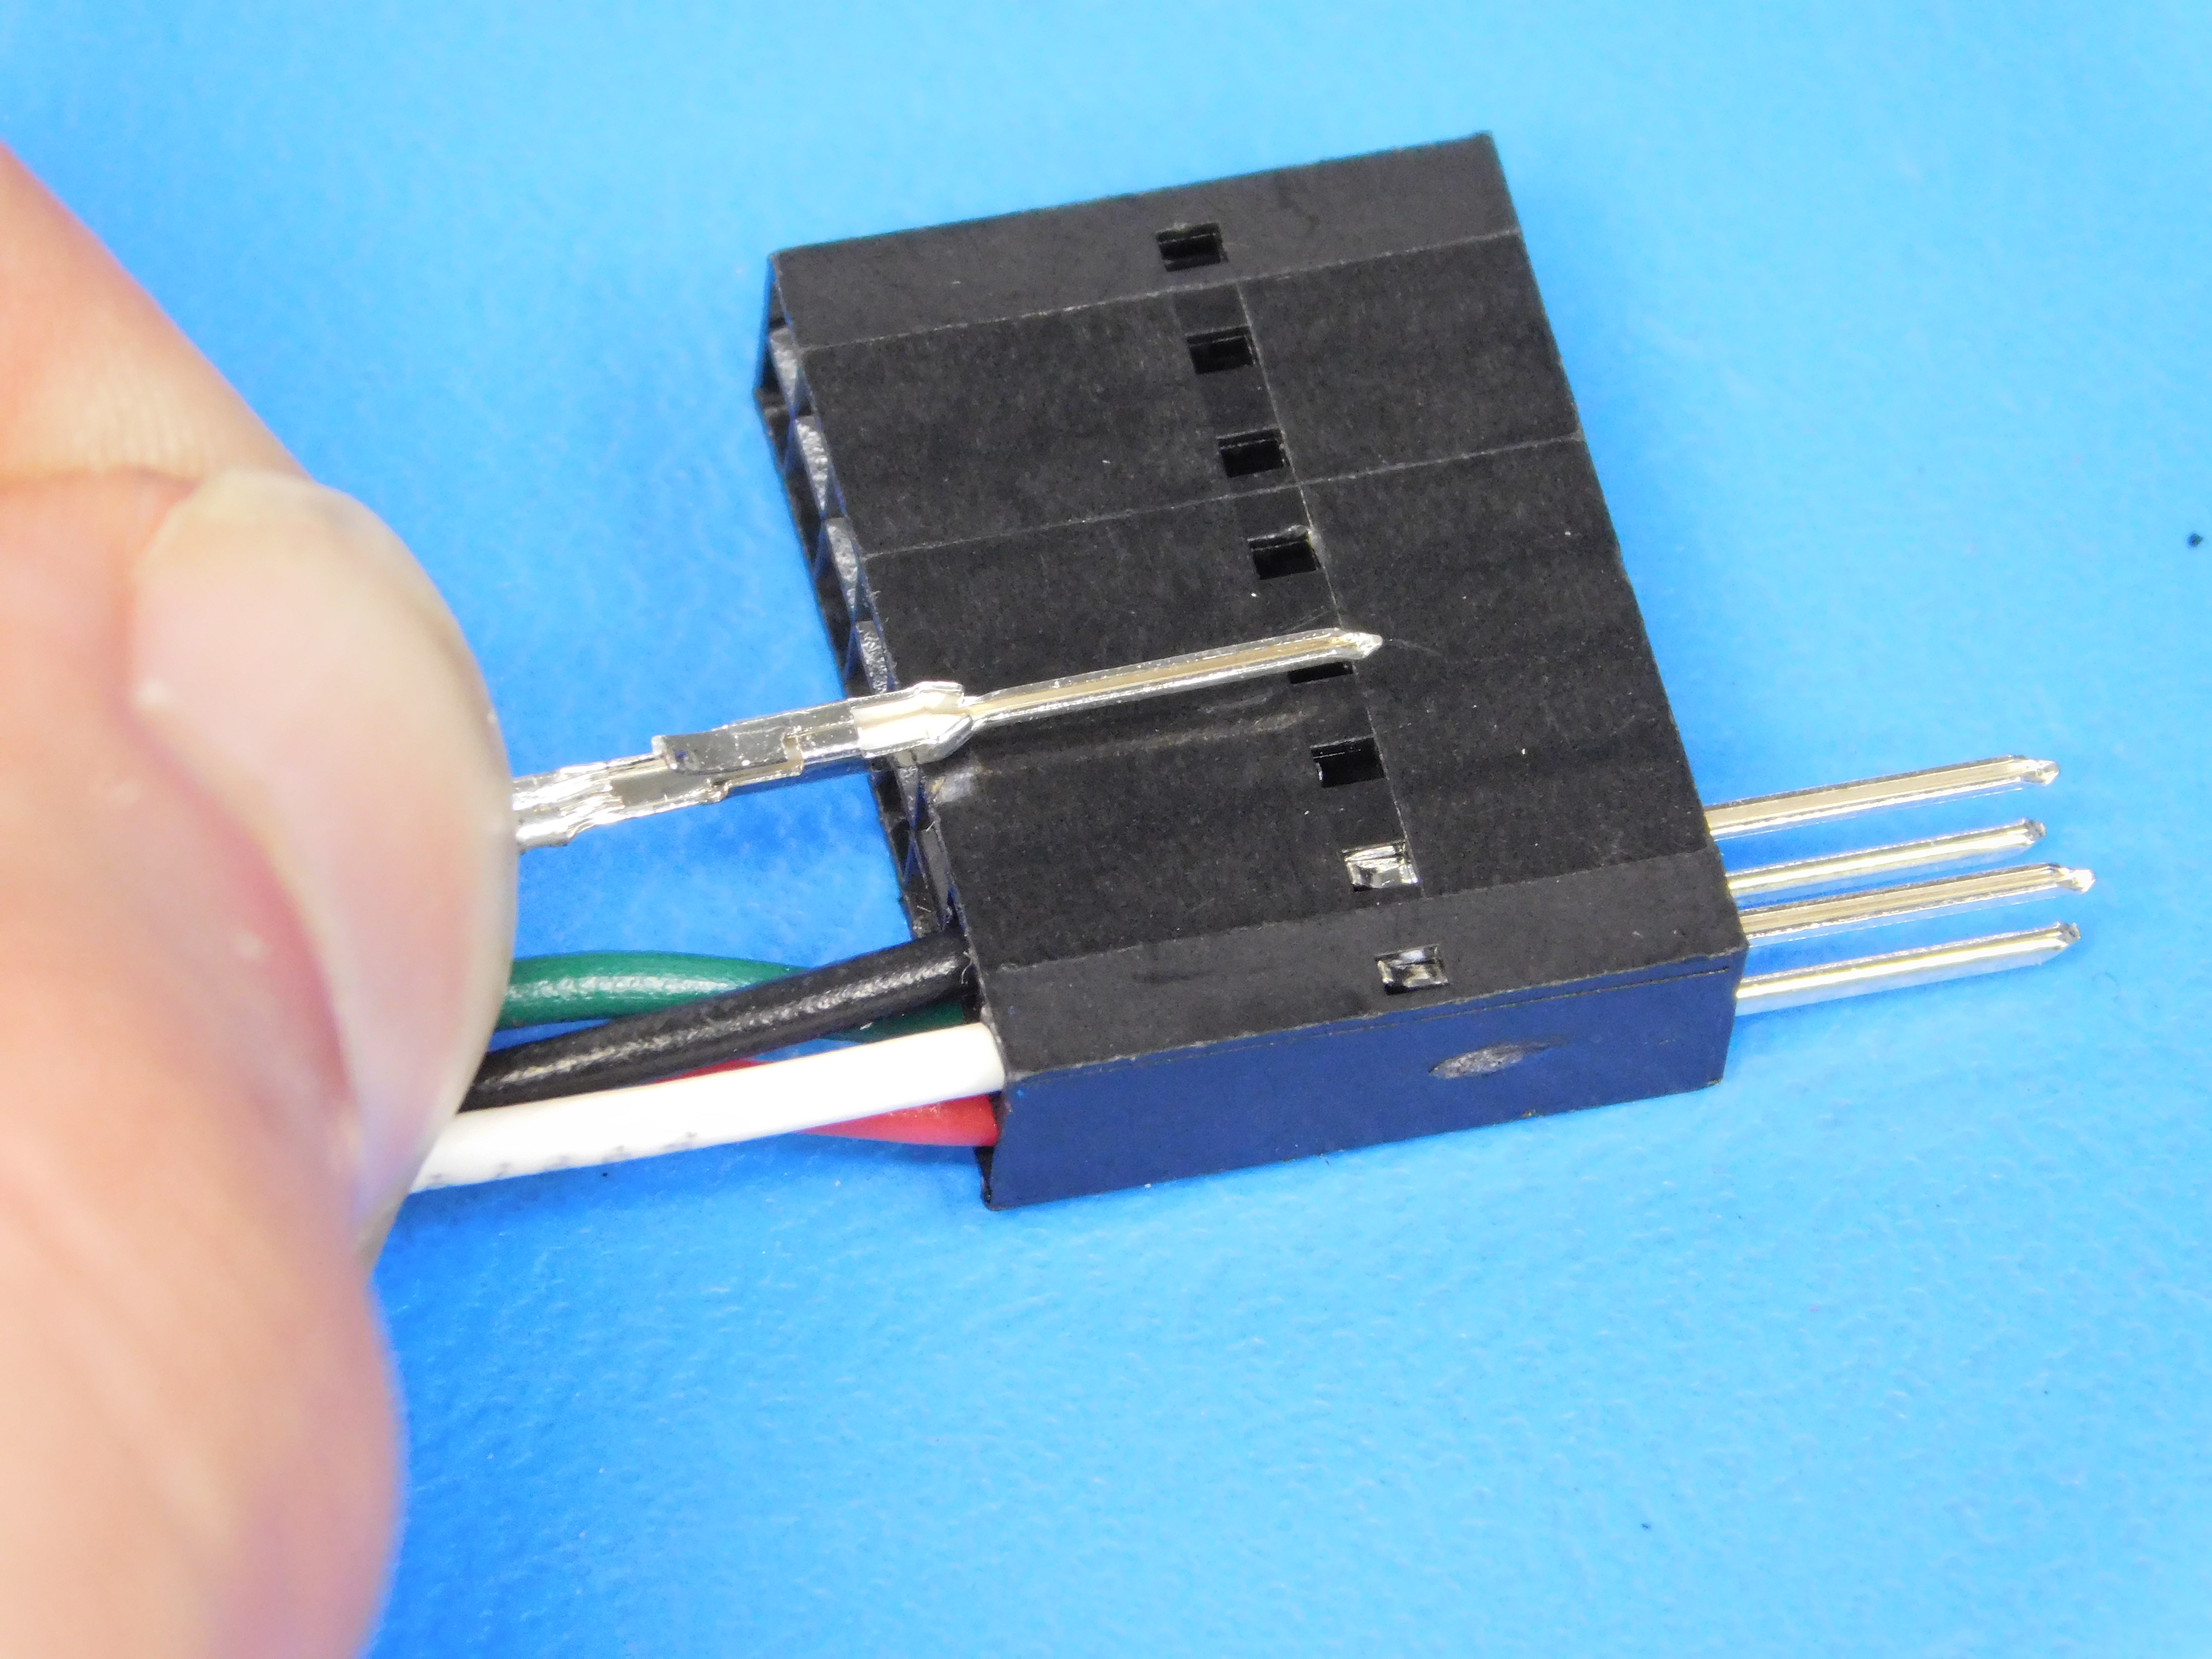
Orient the connector(s) so the retaining tab is aligned with the window in the connector housing. Push the connector(s) into the connector housing. Make sure the retaining tab(s) clicks into position. This should be an audible click. Pull on the connector wire(s) gently to make sure each retaining tab is working and each wire does not pull out.
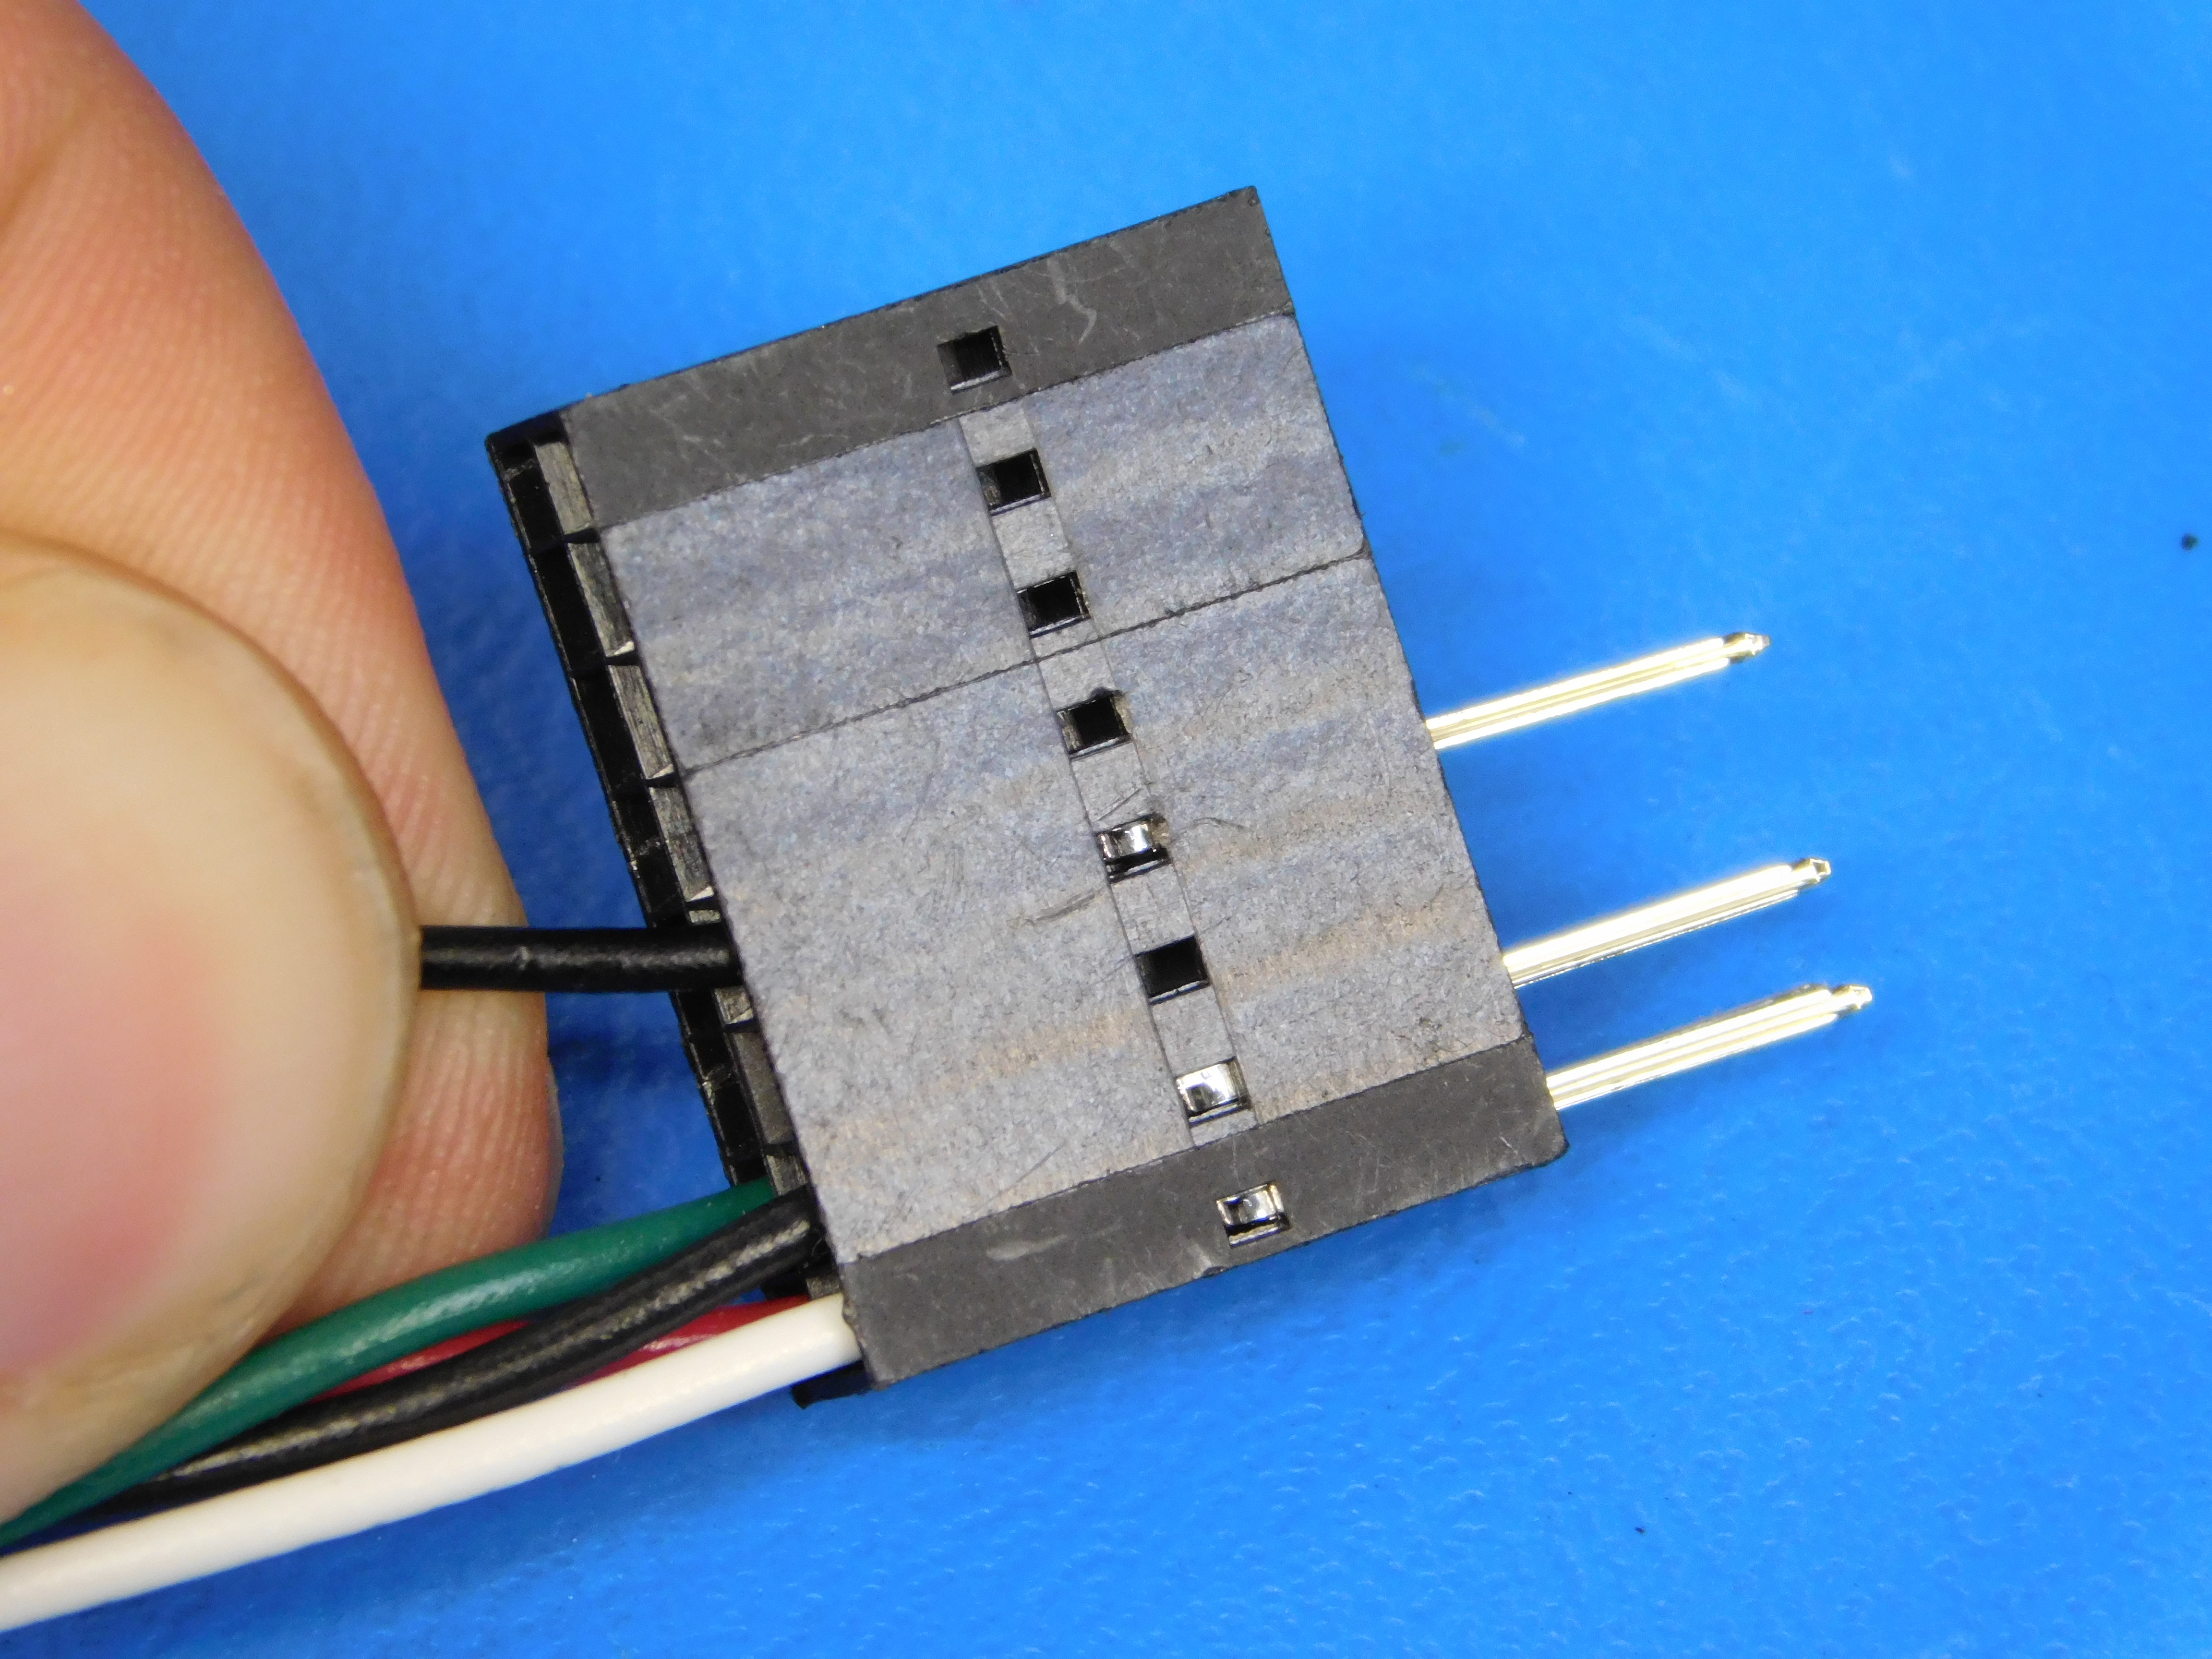
Make sure there are no strands of wire that did not go into the crimp, and that each connector is fully seated in the connector housing. Install the tool head and see if it works like you expect it to.