Open HardwareAssembly Instructions
Guides for installation and assembly of the LulzBot line of products made by FAME 3D LLC.
Guides for installation and assembly of the LulzBot line of products made by FAME 3D LLC.
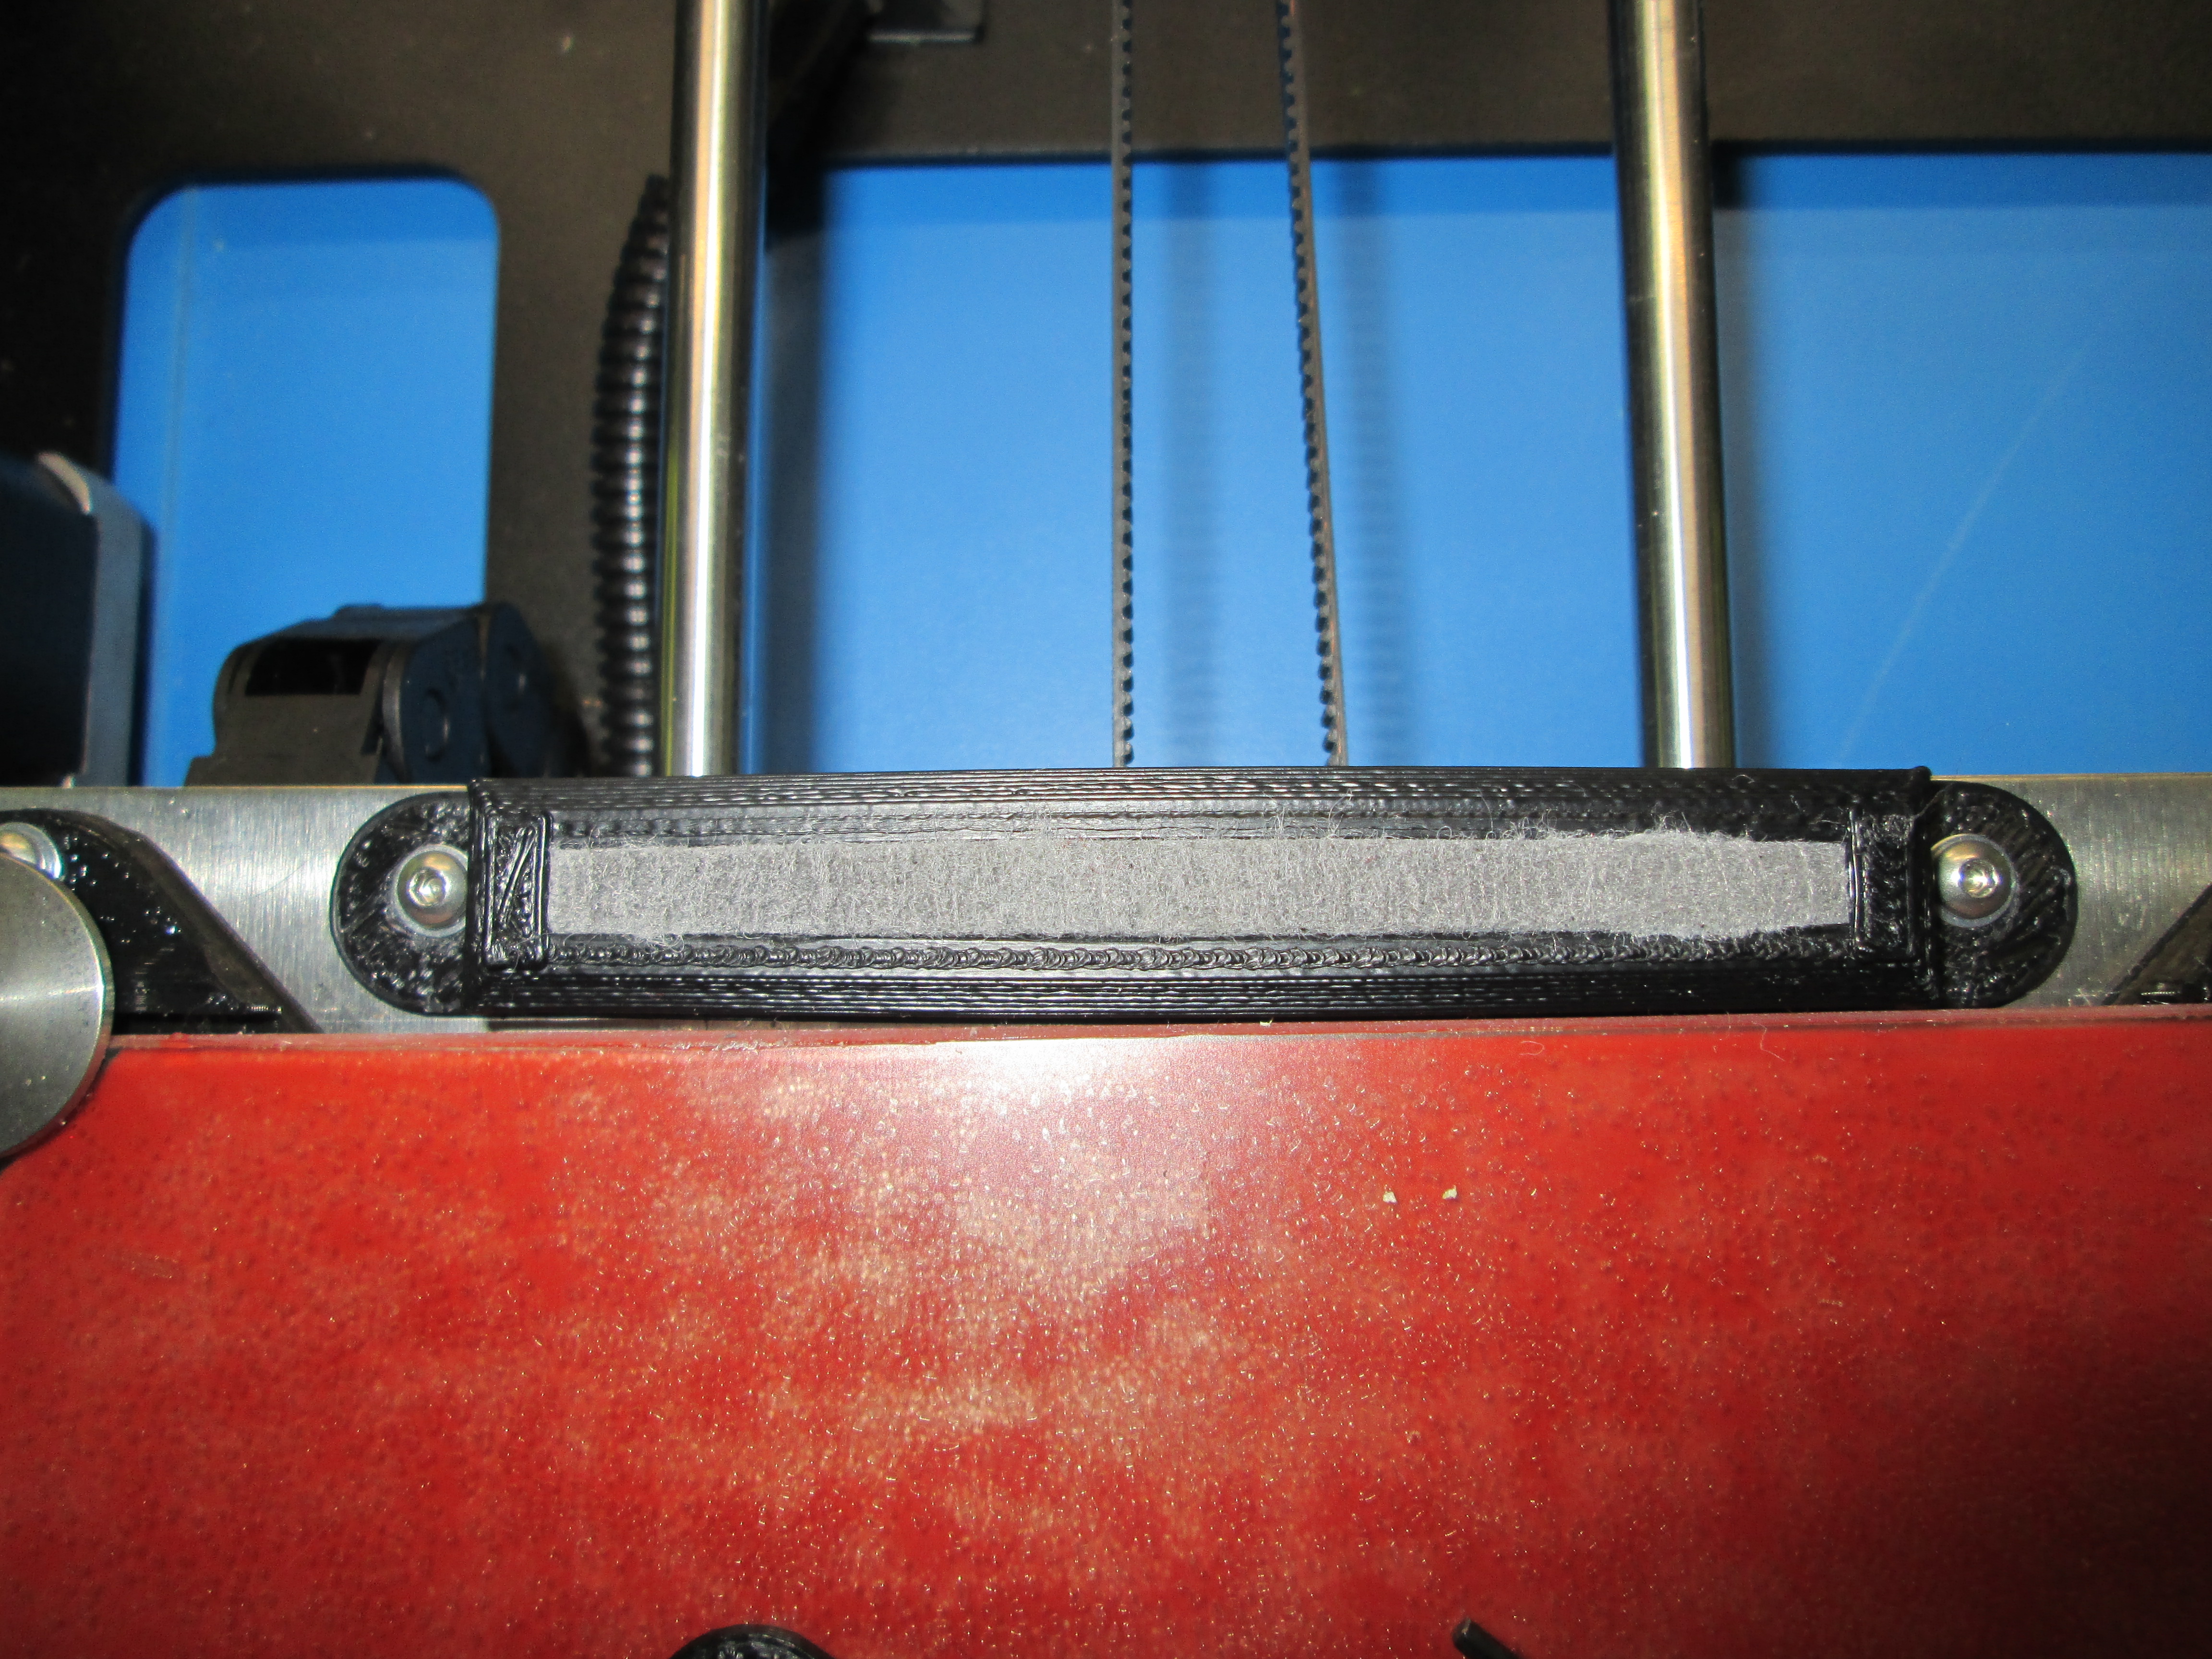
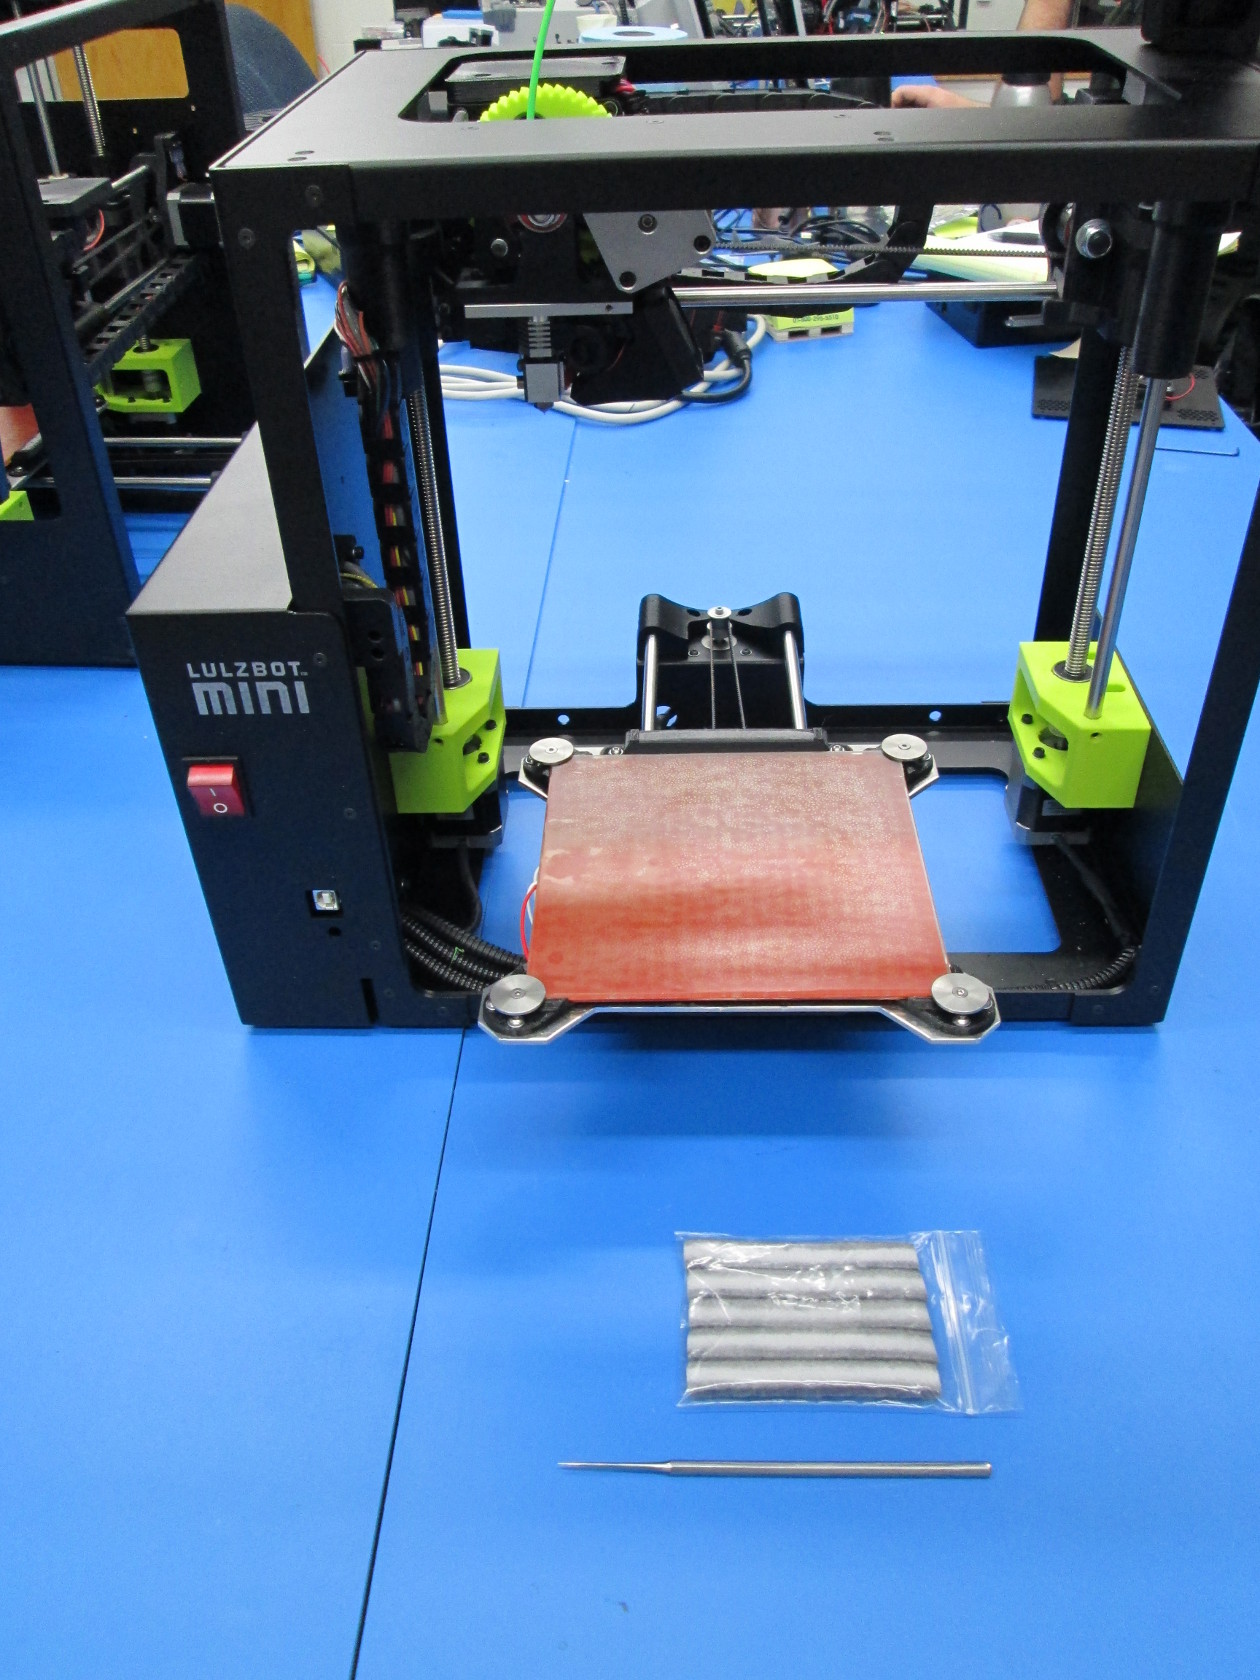
To change the wiper pad on the LulzBot Mini, you'll need:
The dental pick that was included in your mini's toolkit (if you've lost it, don't worry. A pen works just as well)
The set of replacement wiper pads
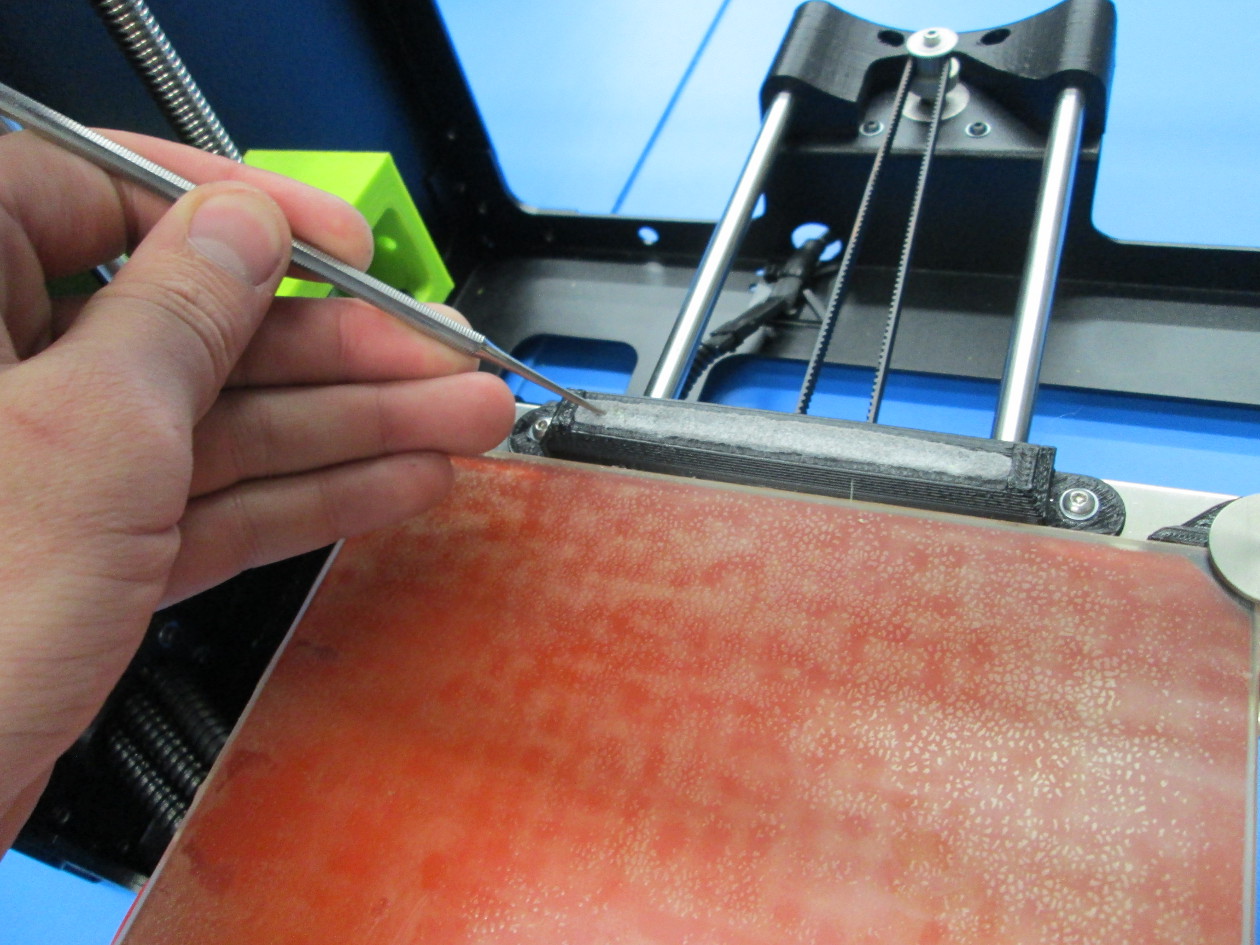
Poke the dental pick into the wiper pad near the left side as shown.
Use the pick to pry one side of the wiper pad out of it's mount.
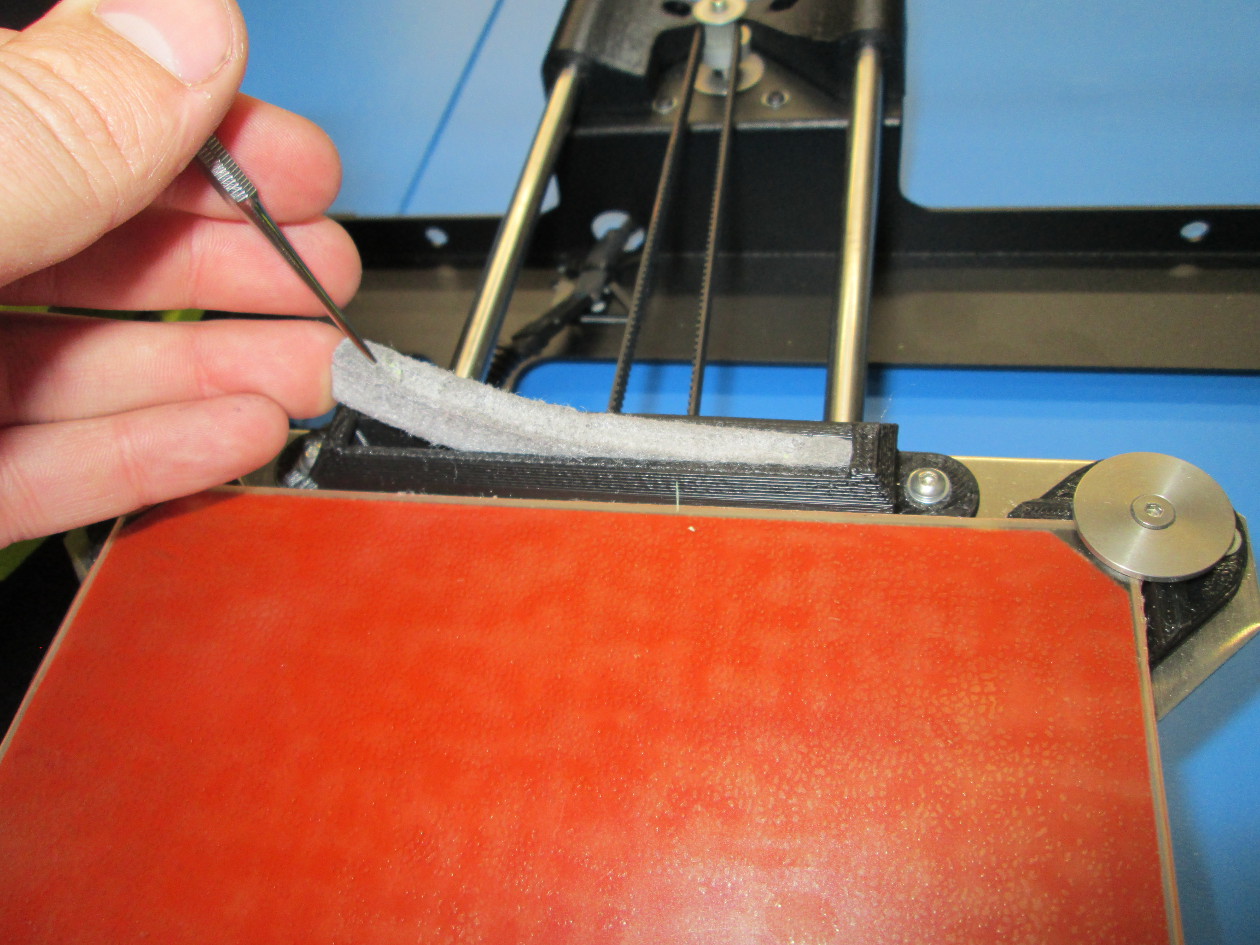
Once one side is lifted out of the wiper mount, you can pull it out with your fingers.
The pads are double sided, so if the bottom side of the pad is still fresh, you can simply flip it over and reuse. Otherwise you'll need a new wiper pad to install. We include a 5 pack of wipers with each Mini, and they're also available on Lulzbot.com.
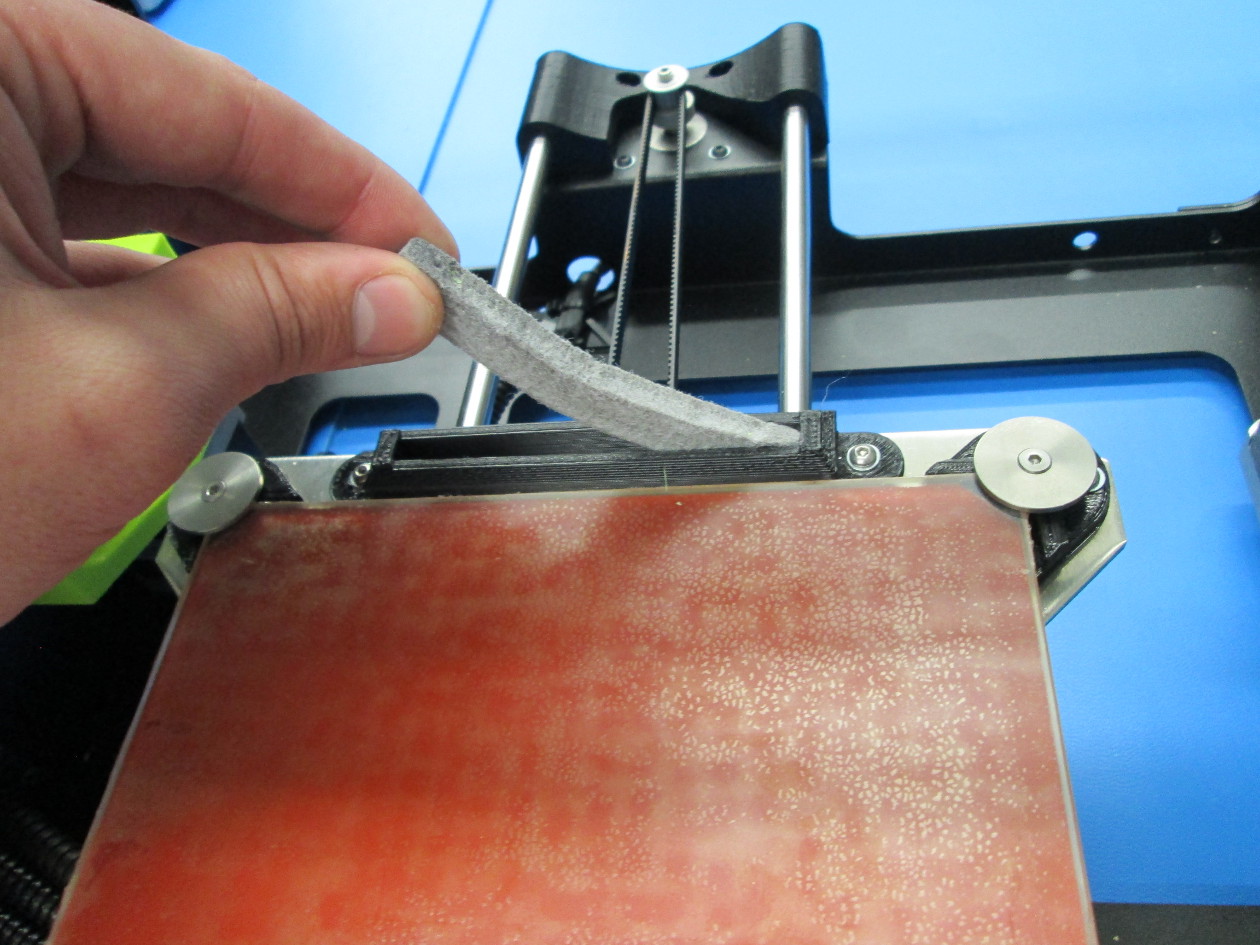
Take the new pad and slip one end of it into the wiper mount as shown.
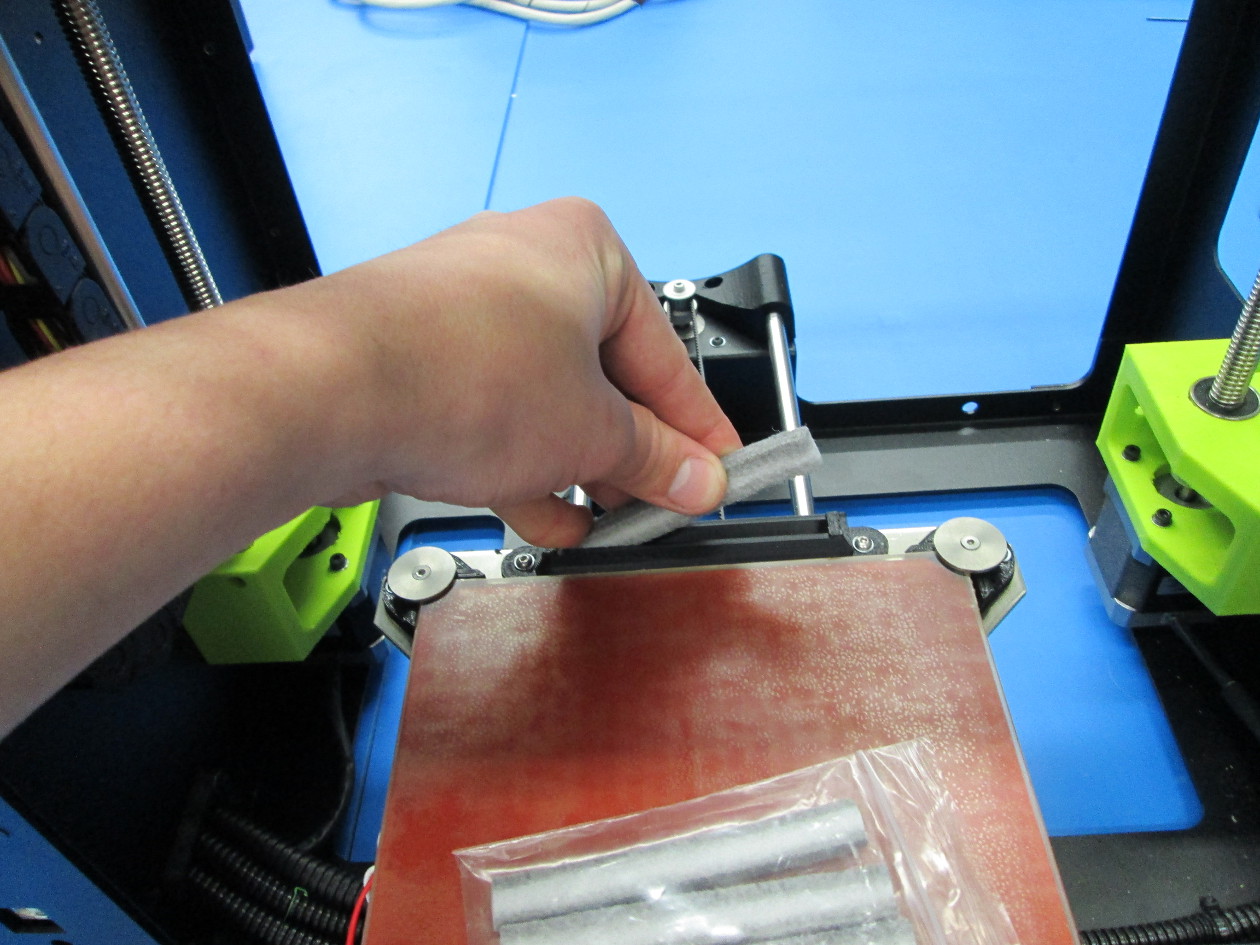
Bend the wiper pad to get the second side inserted into the wiper mount
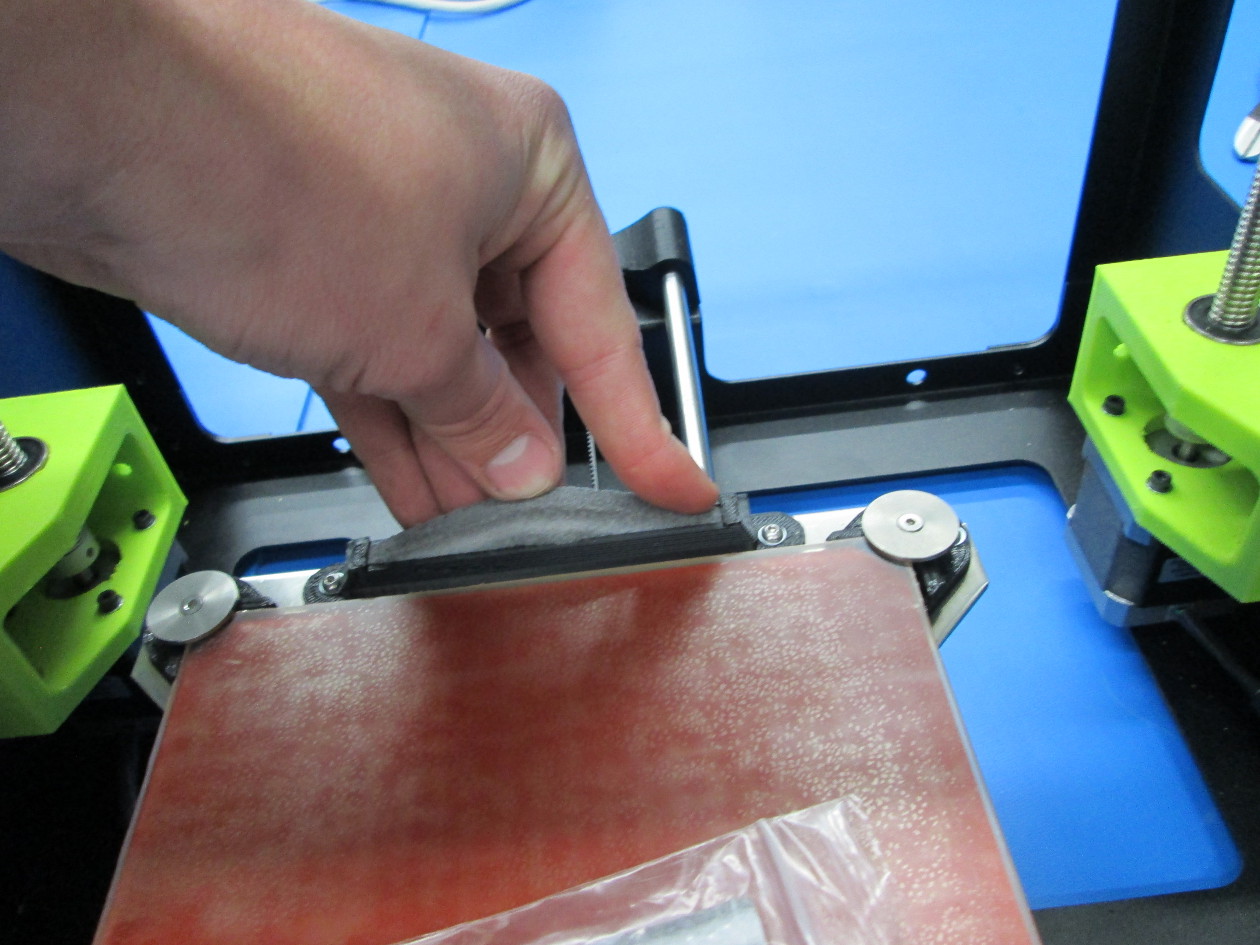
Press the wiper pad into the wiper mount using your fingers, make sure that it's just about flush with the top surface.
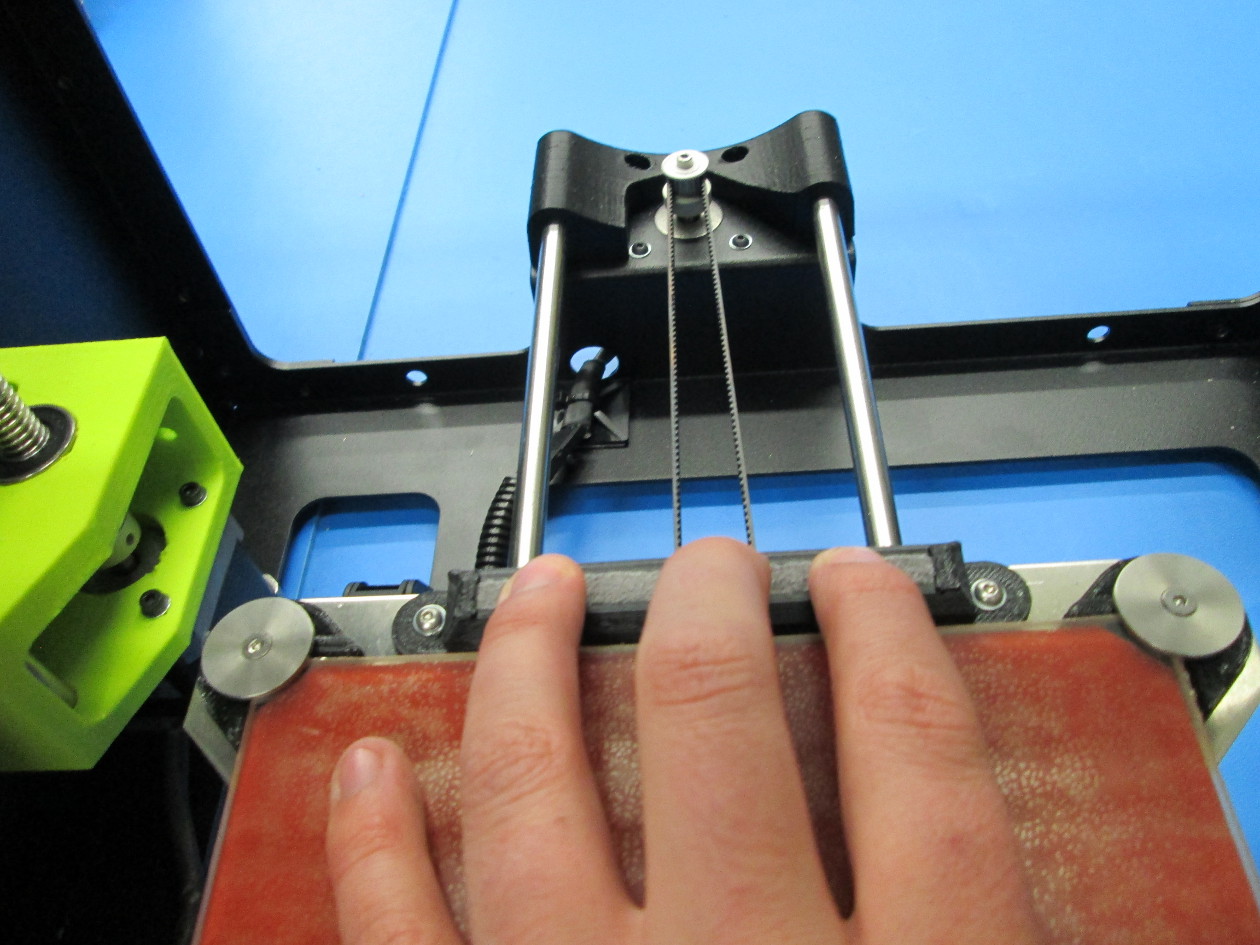
You're done! Load up a file and get printing again, the first couple prints will help settle the wiper pad into place.