Open HardwareAssembly Instructions
Guides for installation and assembly of the LulzBot line of products made by FAME 3D LLC.
Guides for installation and assembly of the LulzBot line of products made by FAME 3D LLC.
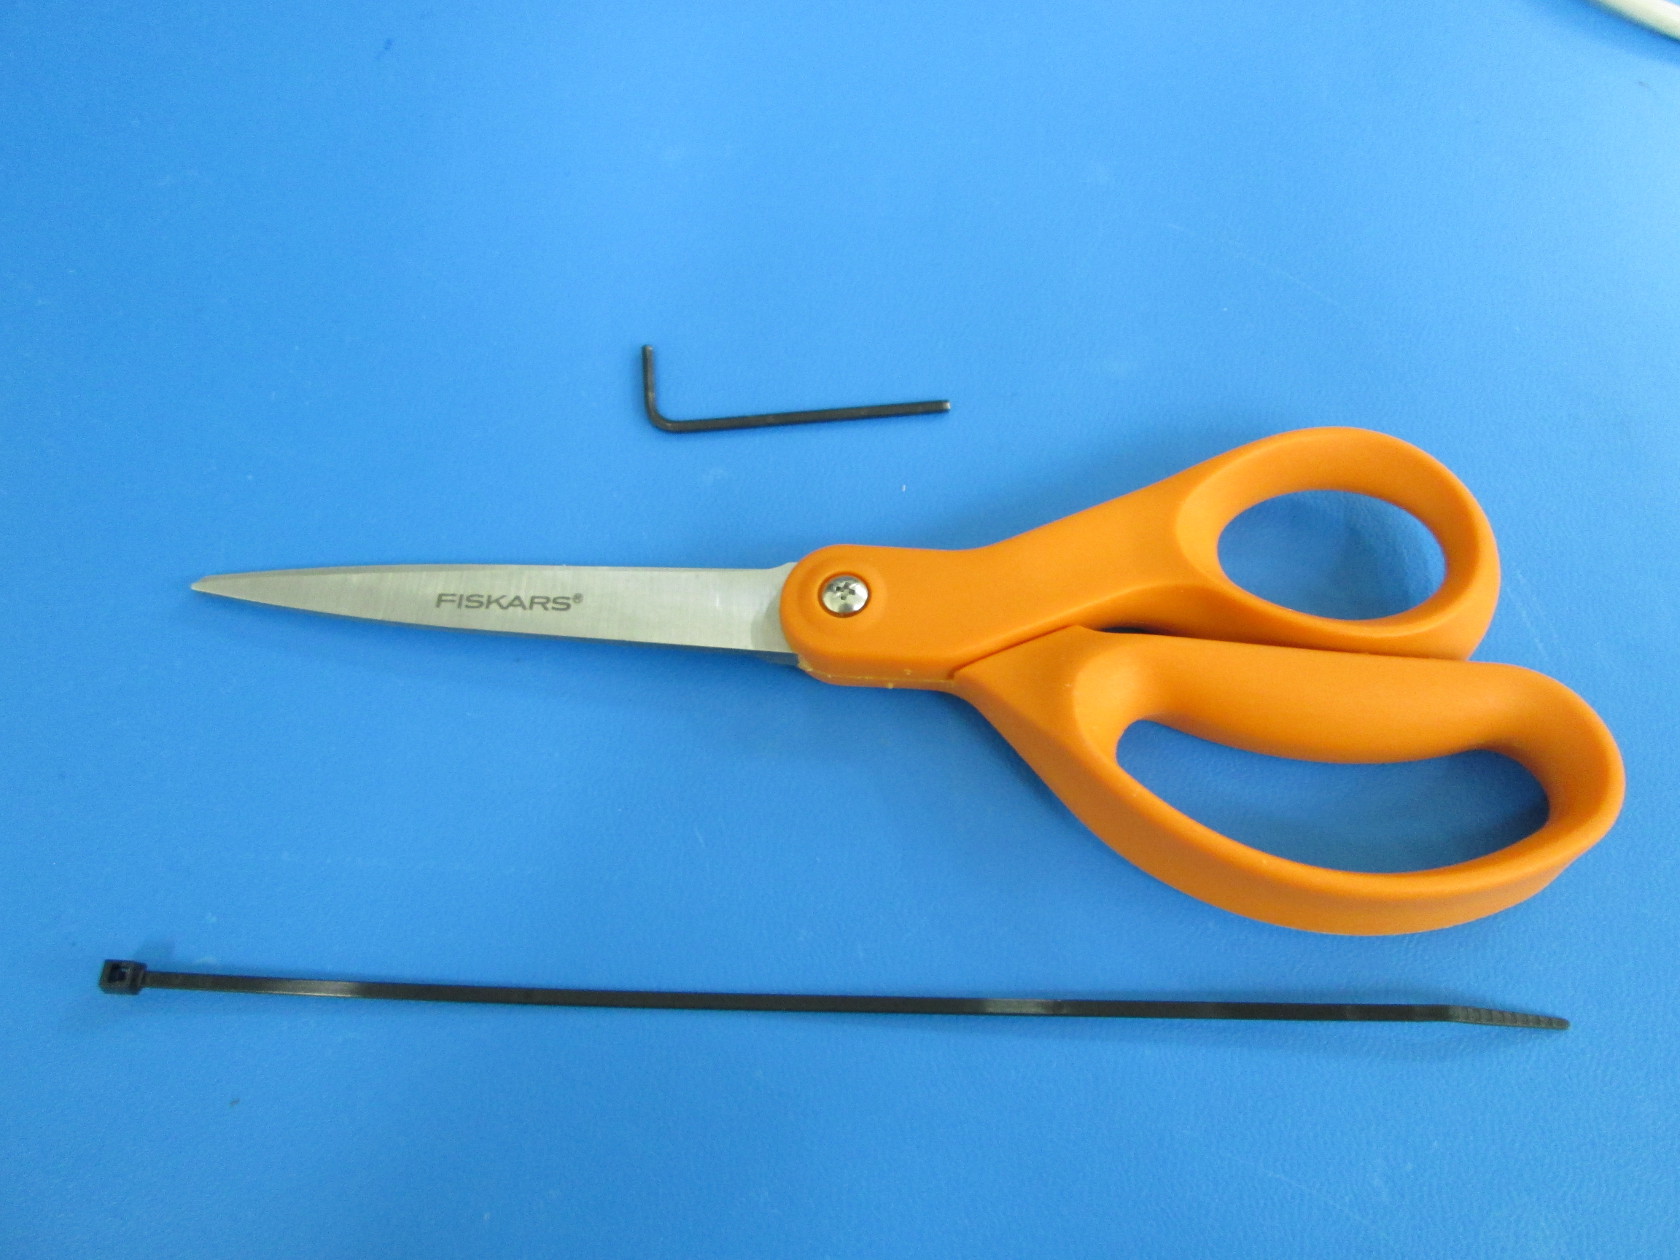
-2mm hex screw
-Scissors/other tool to cut zip tie
-Zip tie
-Unplug the USB from the front of mini
-Unplug the power cord from the back of mini
-Move spool arm down position
-Turn Mini over so that handle is on the table/ground
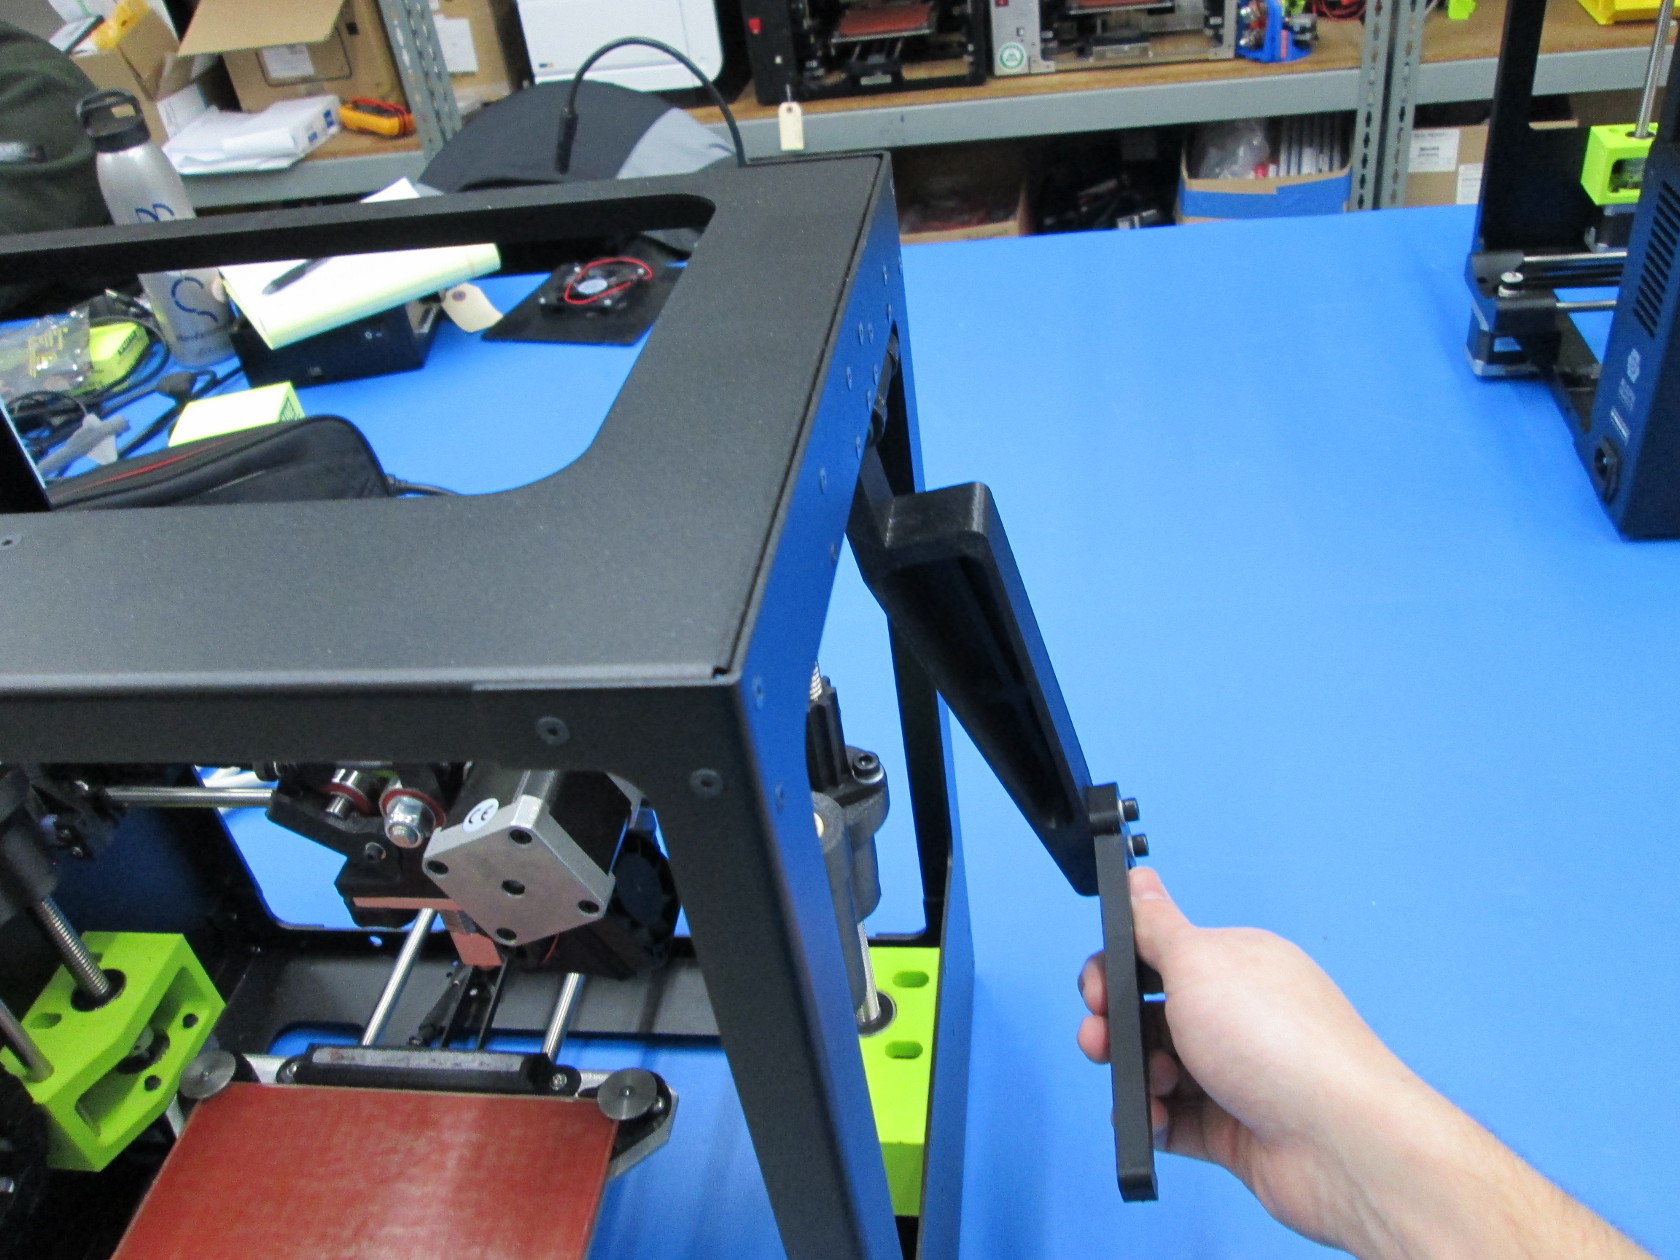
-Pull the bed forward toward you
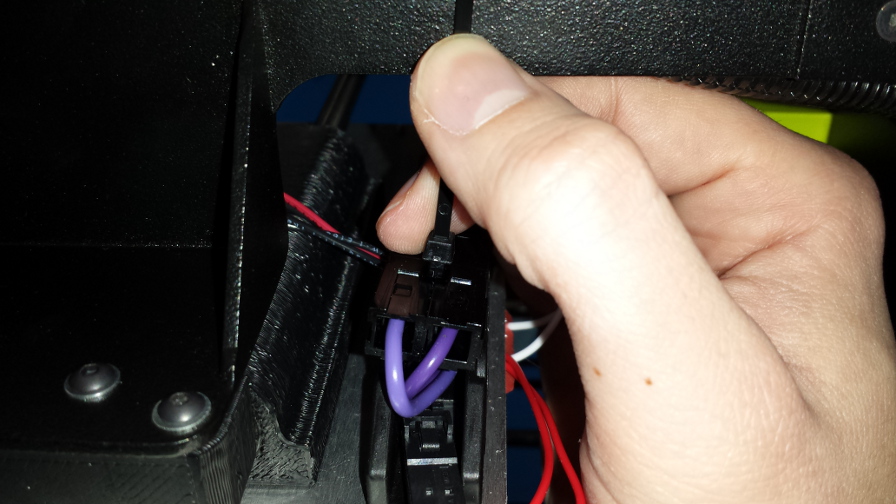
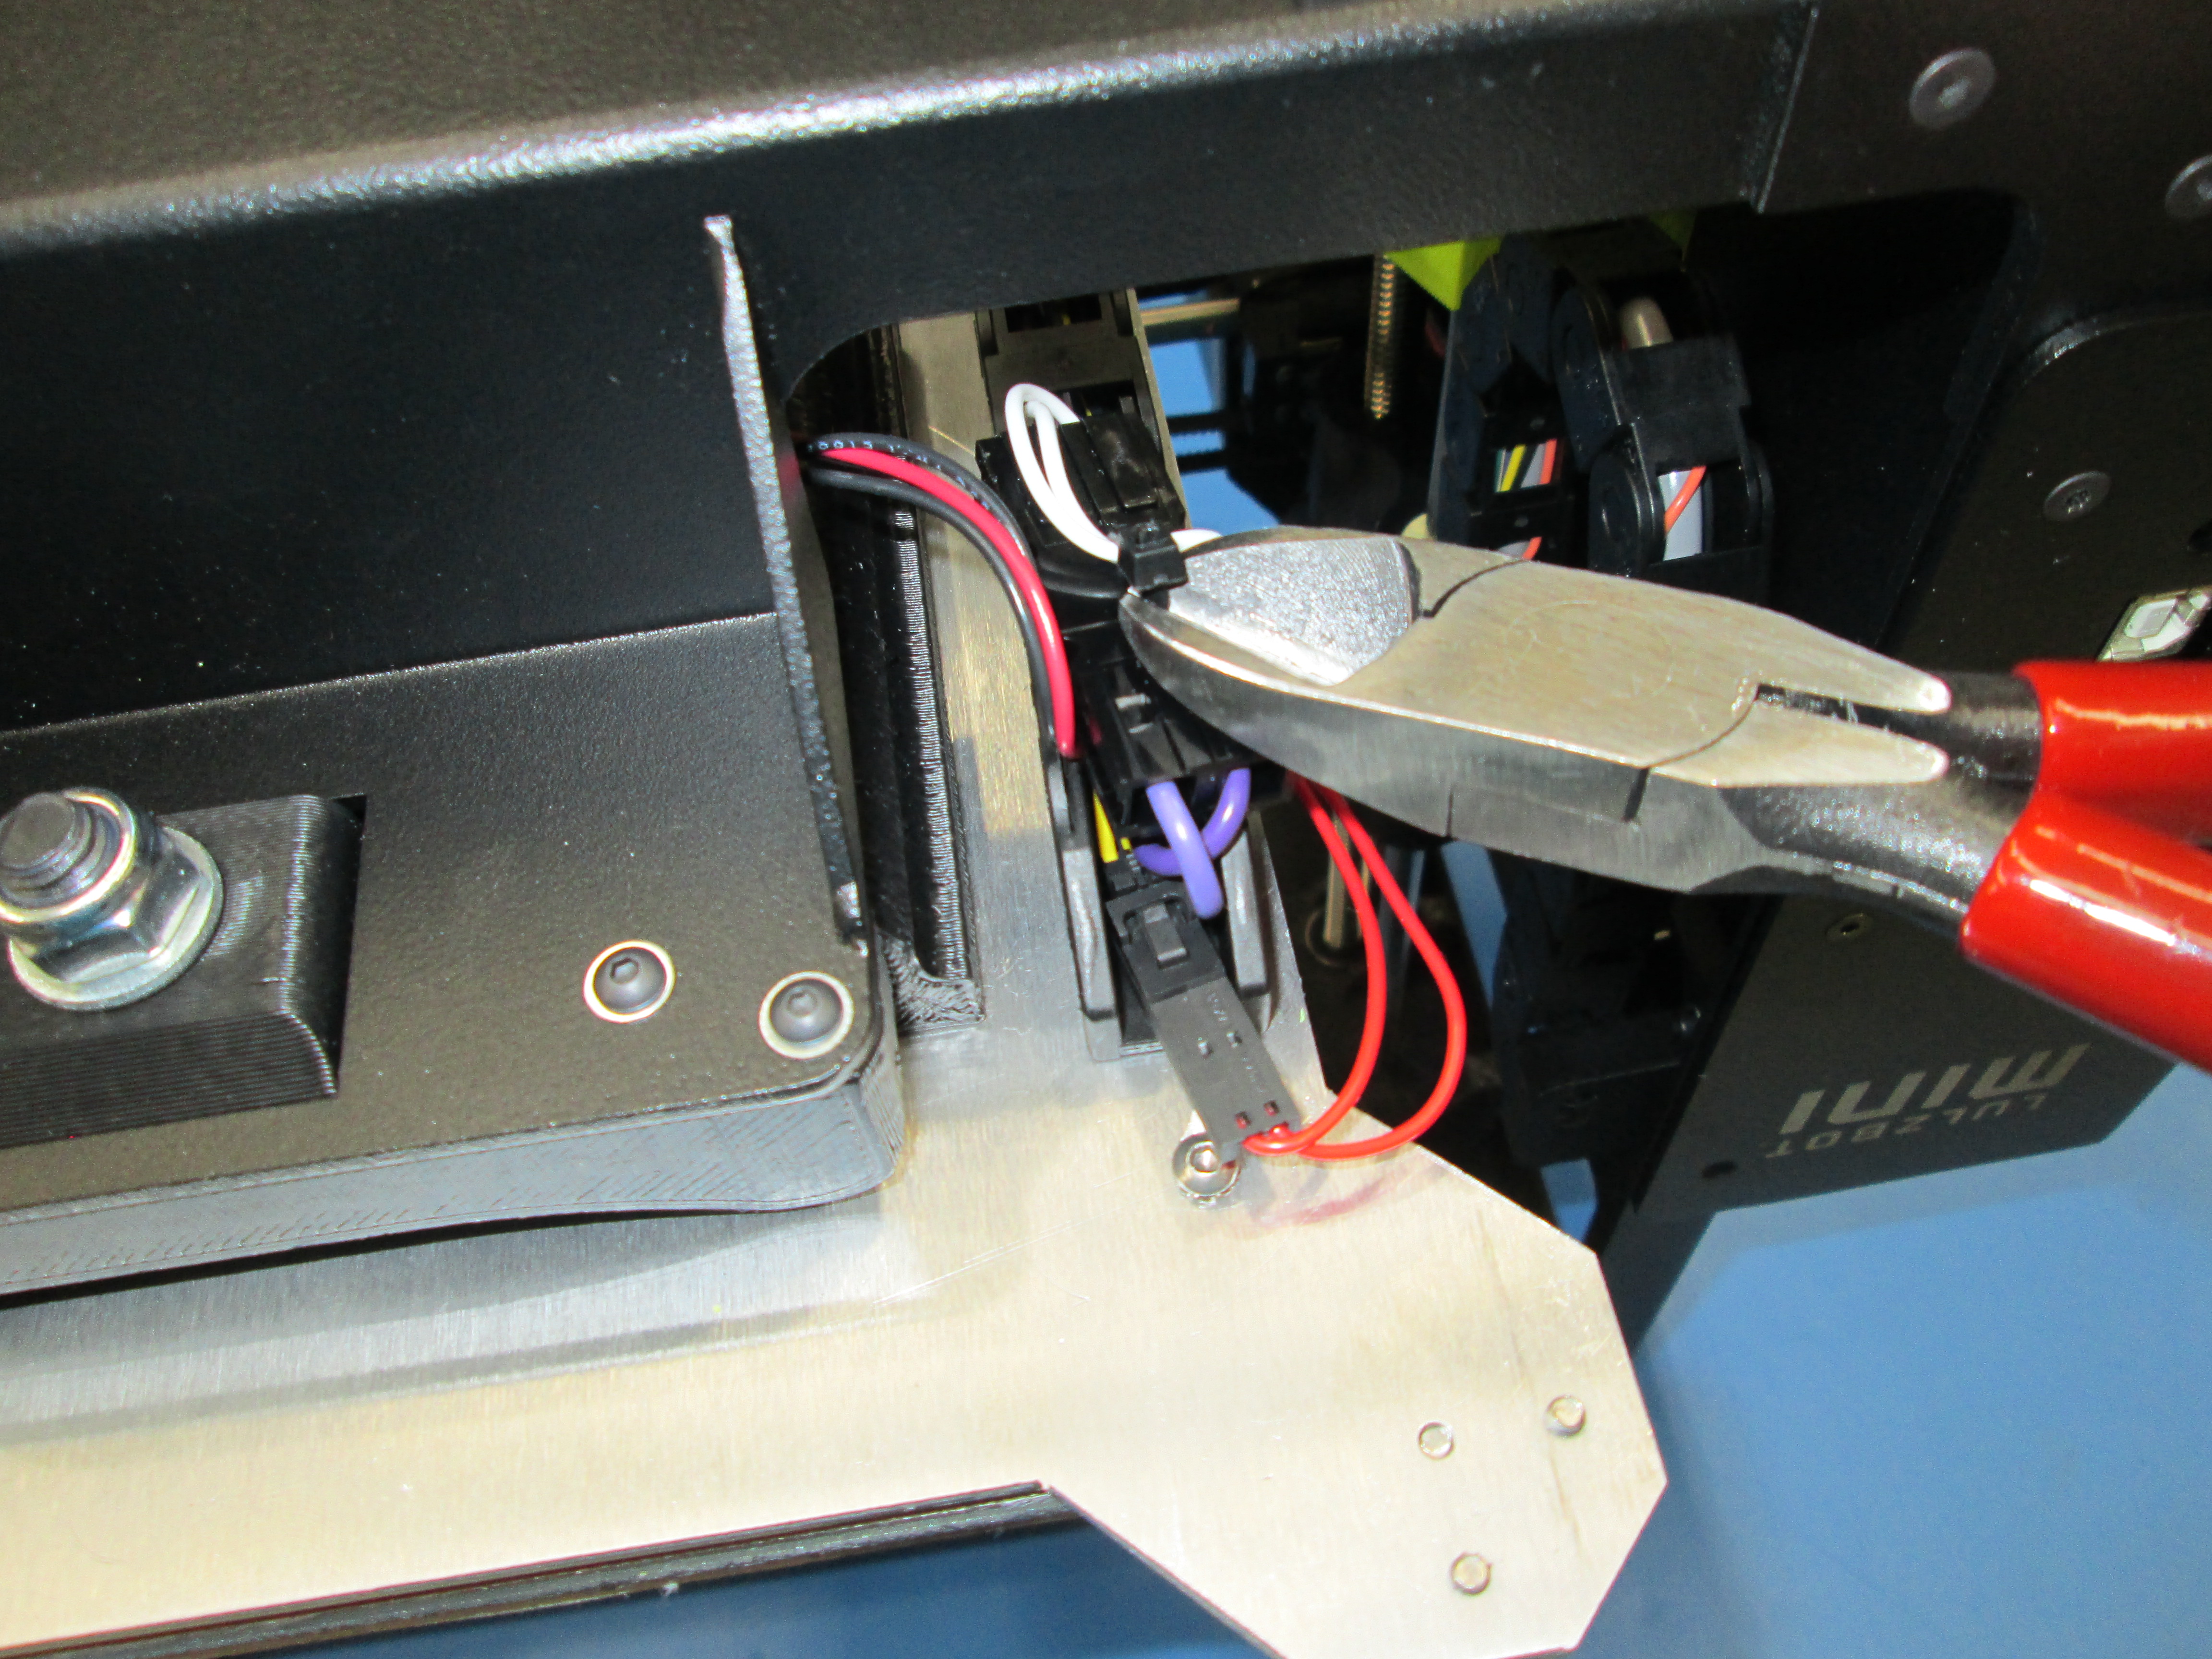
-Cut zip tie with scissors/other tool to cut zip tie
-Pull zip tie out
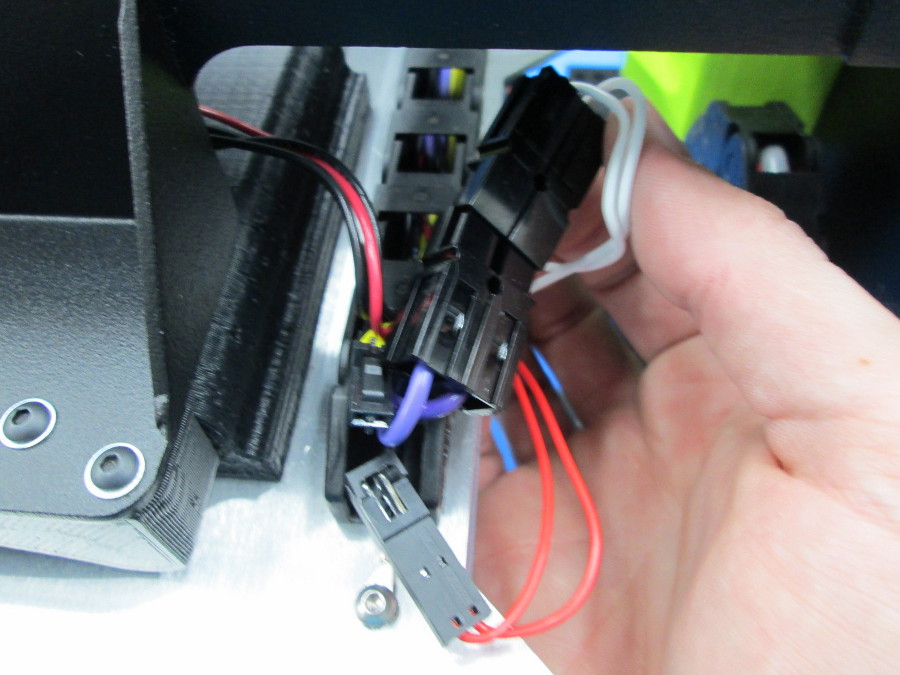
-Pull bigger connector apart
-Push tab then pull smaller connector apart
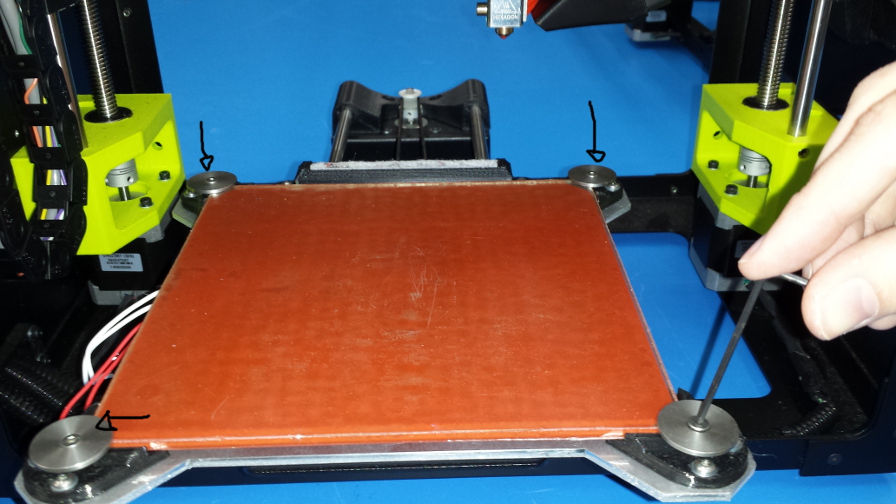
-Using the 2 mm hex, unscrew the 4 bed screws
-When bed screws are all the way out, bed washers will also come off
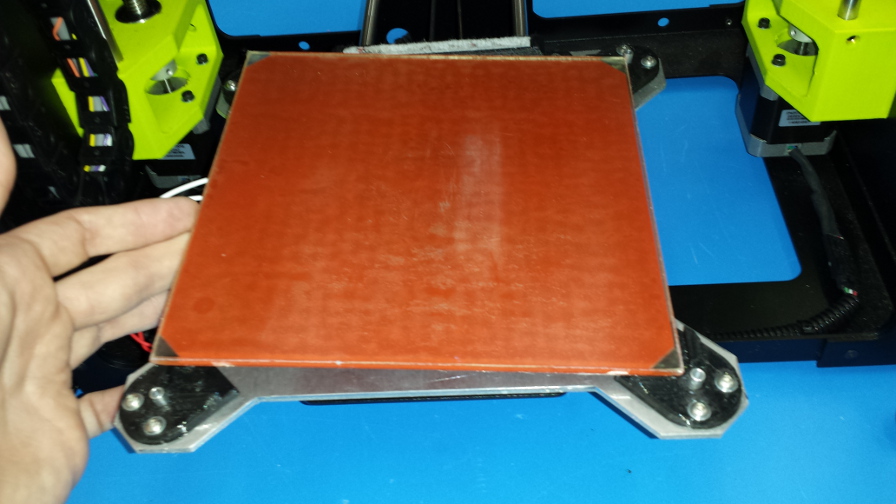
-Remove bed

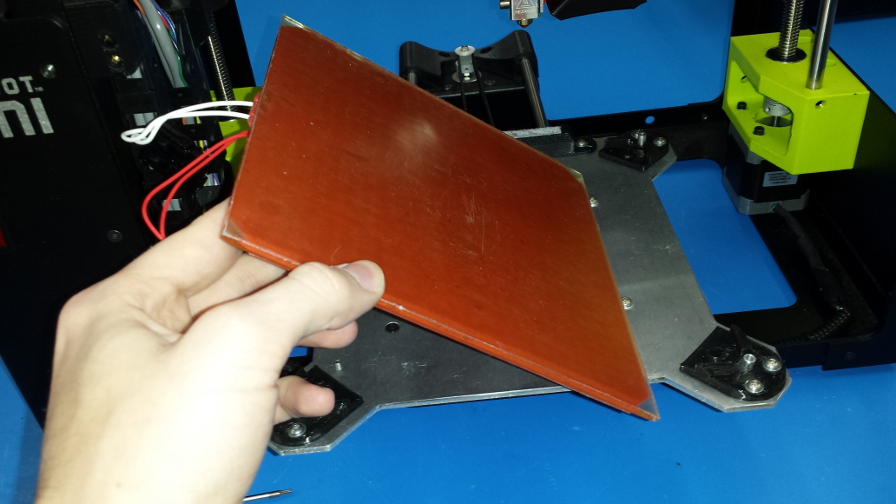
-Place the glass bed back onto the the bed plate with the wires facing to the left.
-If the steel spacers have fallen out, push them back in the ninja flex.
-Put the screws into the washers, then place them into the steel spacers, use your 2mm hex to screw them back in(screws should be snug but not over tightened).
-There should be 4 screws and 4 washers and 4 spacers.


-Now that the bed is secure again turn your mini upside down.
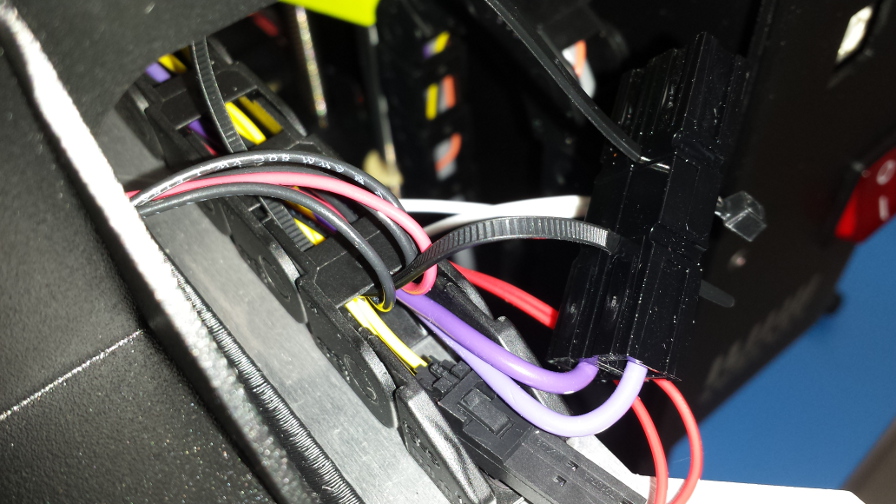
-Plug the bed connectors back in
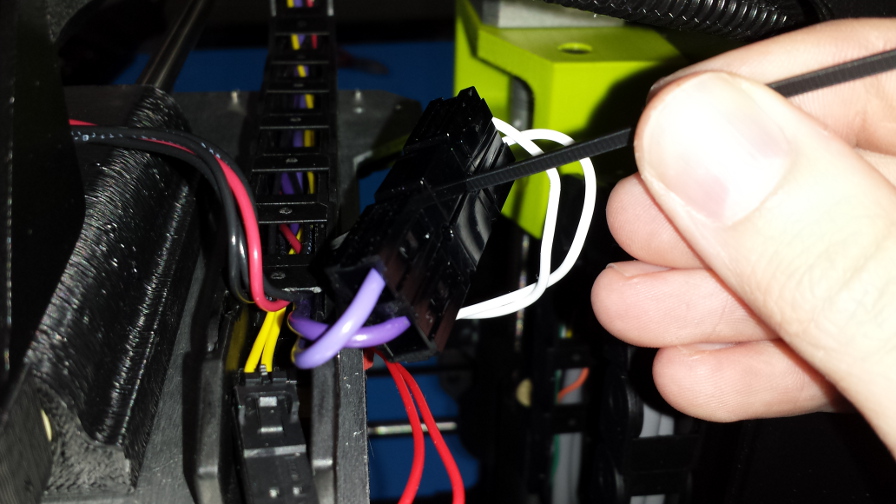
-Place zip tie through the top hole in the larger connector
-Then route the zip tie around the first rung on the harness guard and through the second hole on the larger connector
-Tighten and clip the zip tie