Open HardwareAssembly Instructions
Guides for installation and assembly of the LulzBot line of products made by FAME 3D LLC.
Guides for installation and assembly of the LulzBot line of products made by FAME 3D LLC.
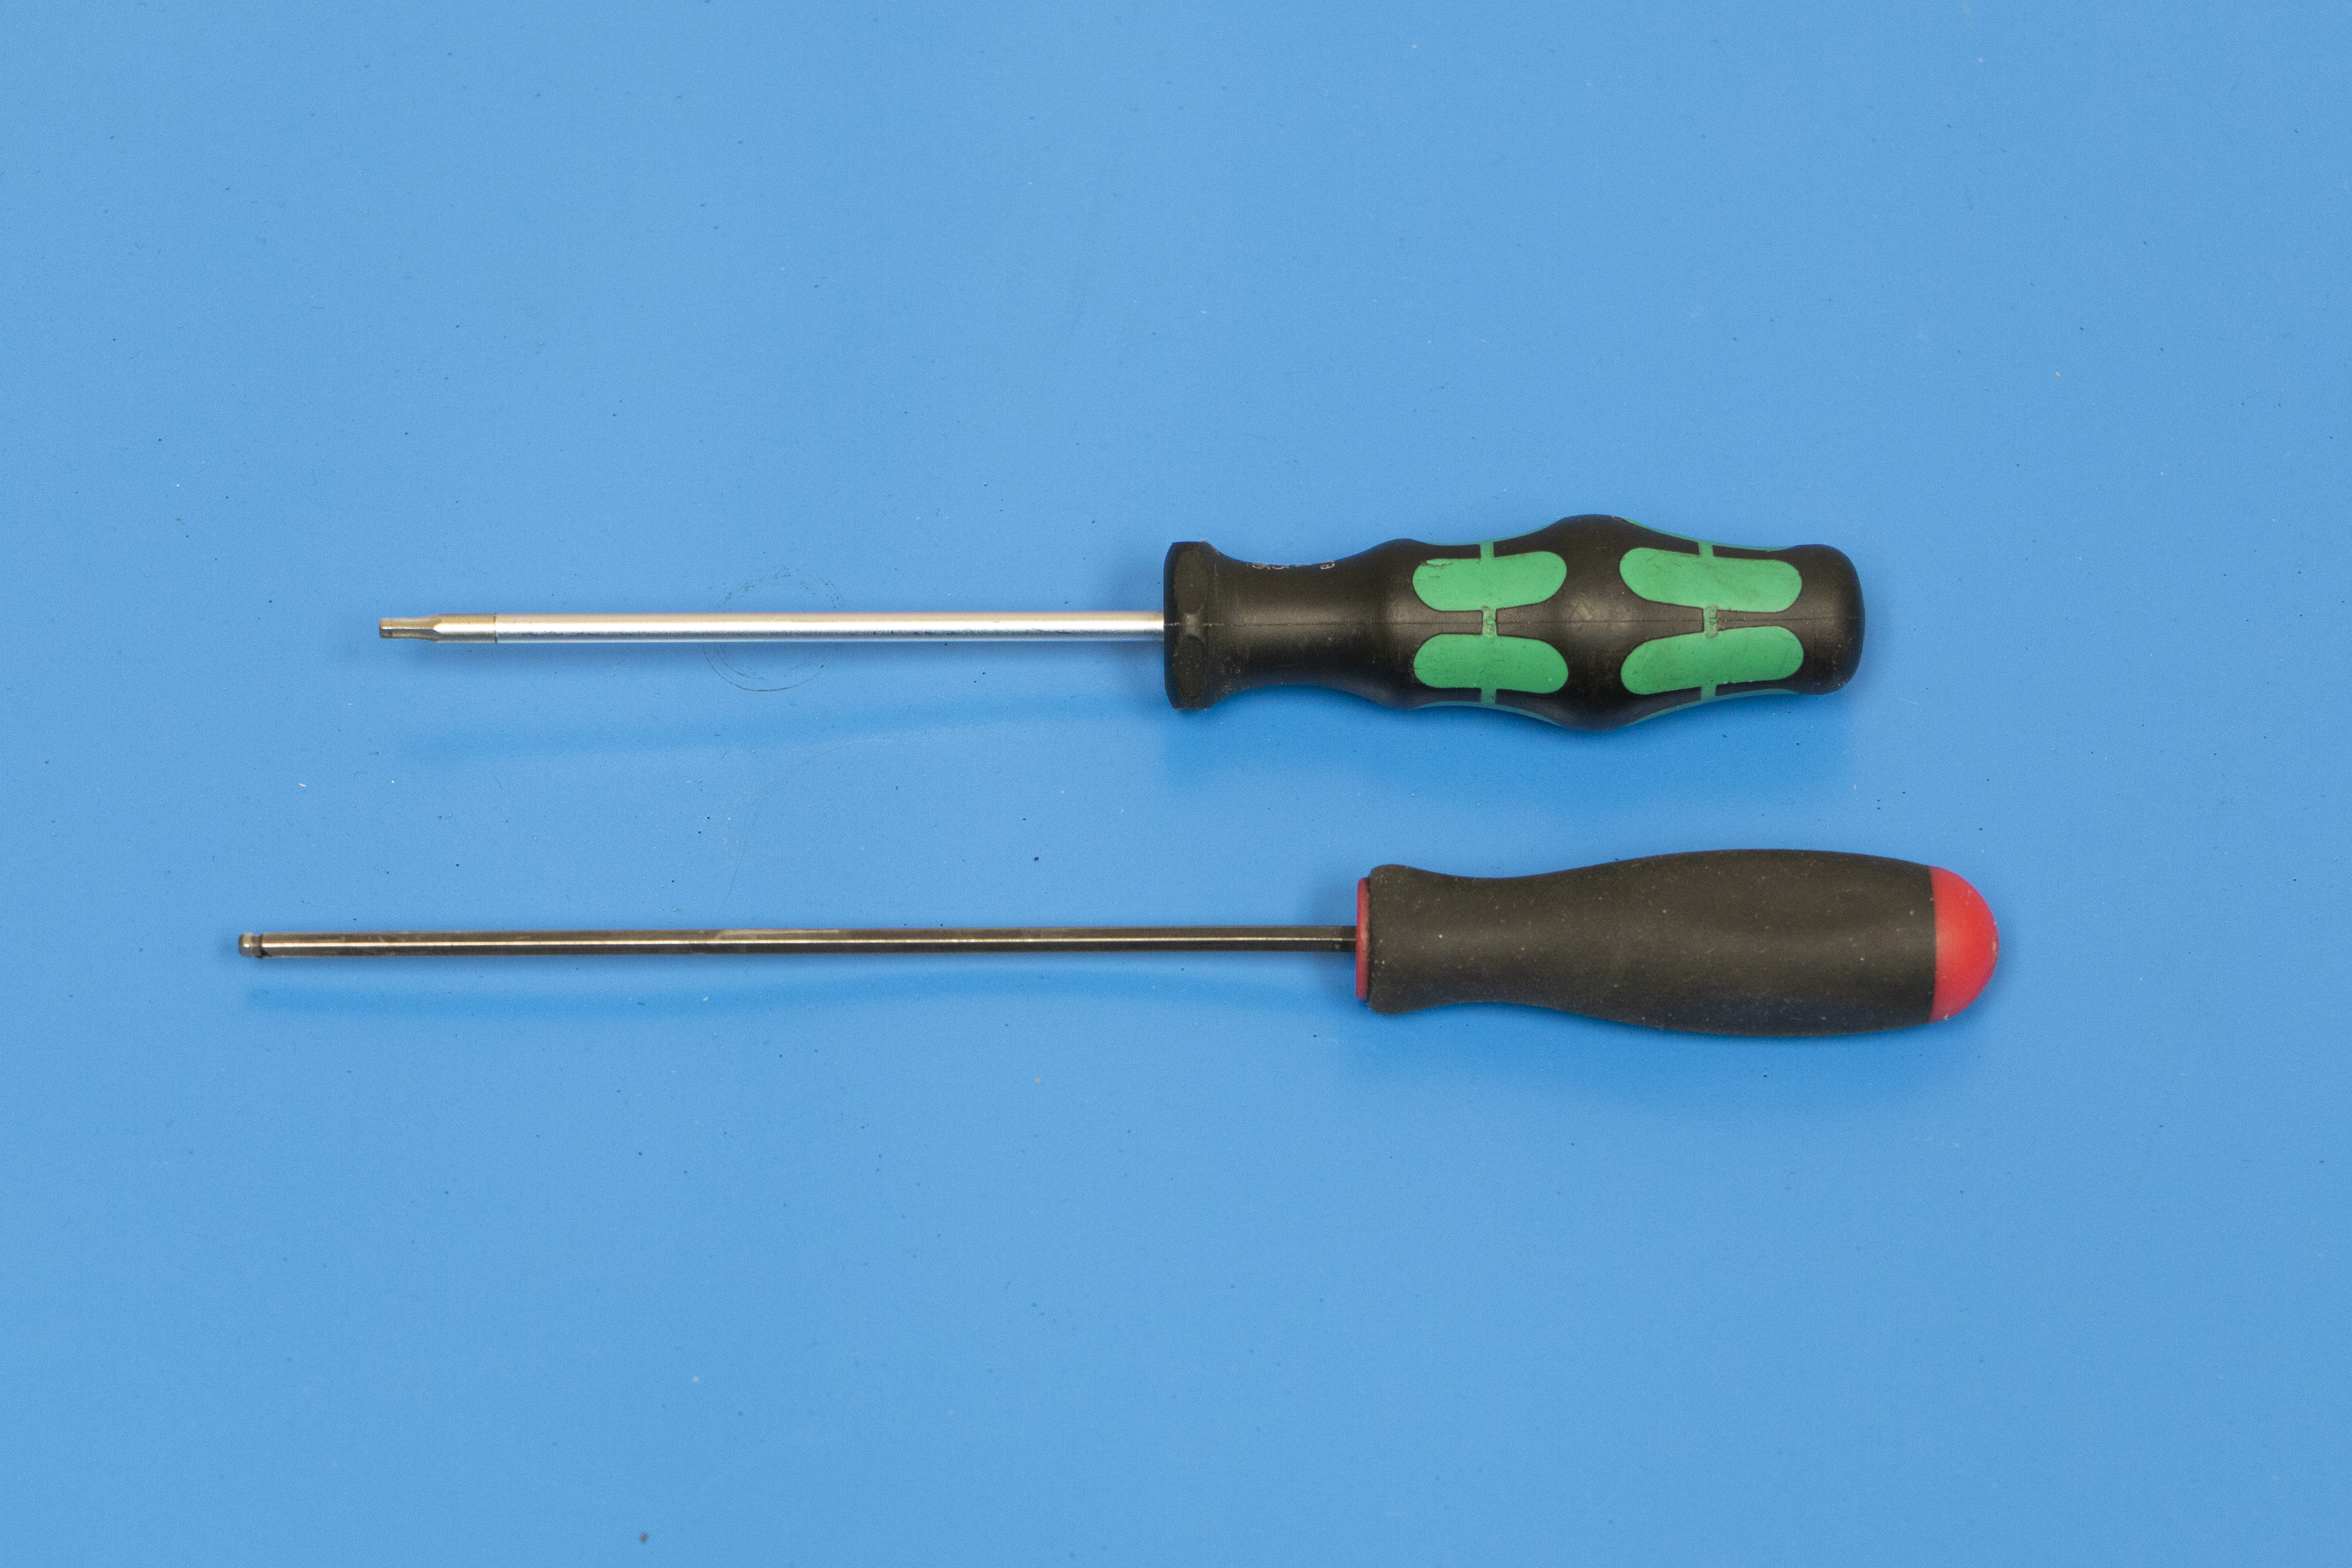
Required Tools:
2.0mm hex wrench
2.5mm hex wrench
Included parts:
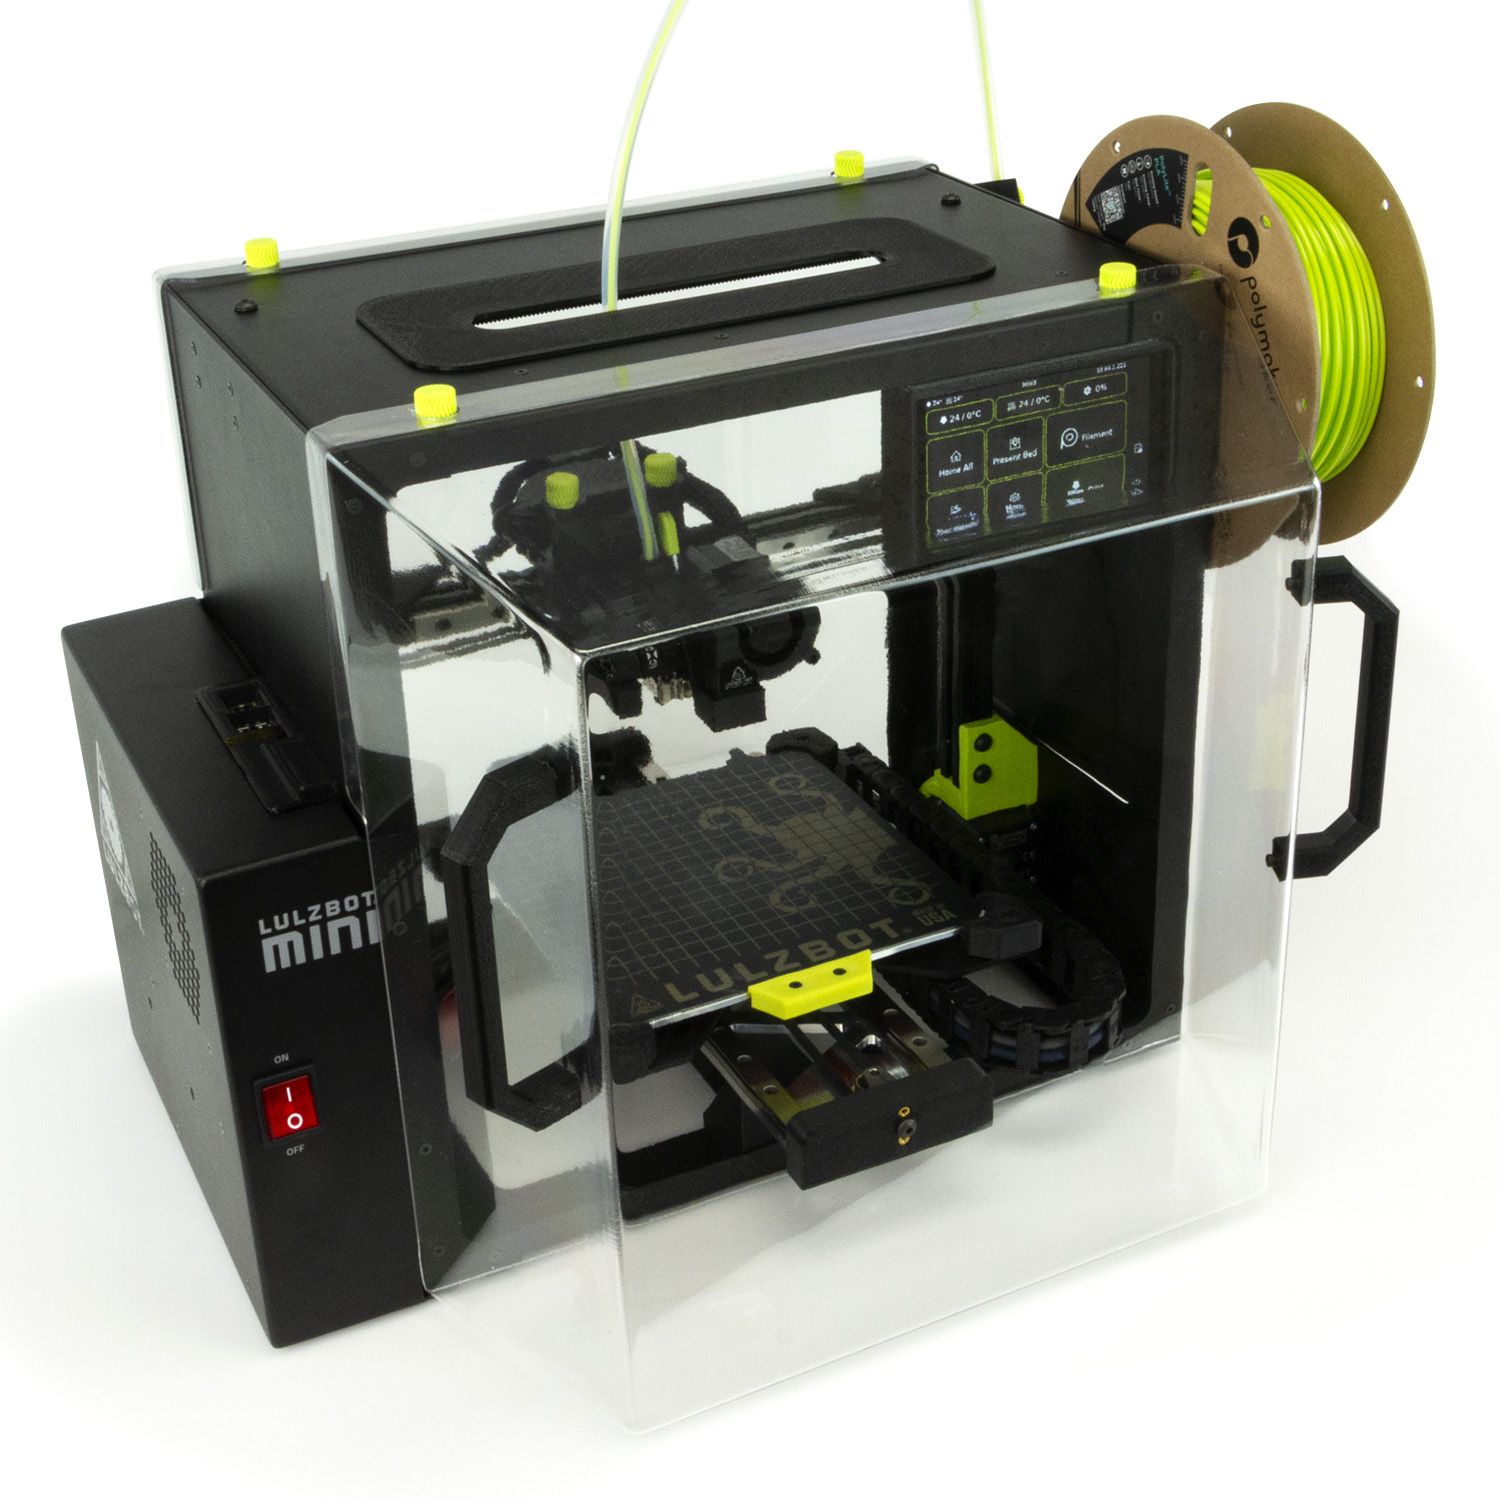
Mini 3 Enclosure Shell Front and Back Set
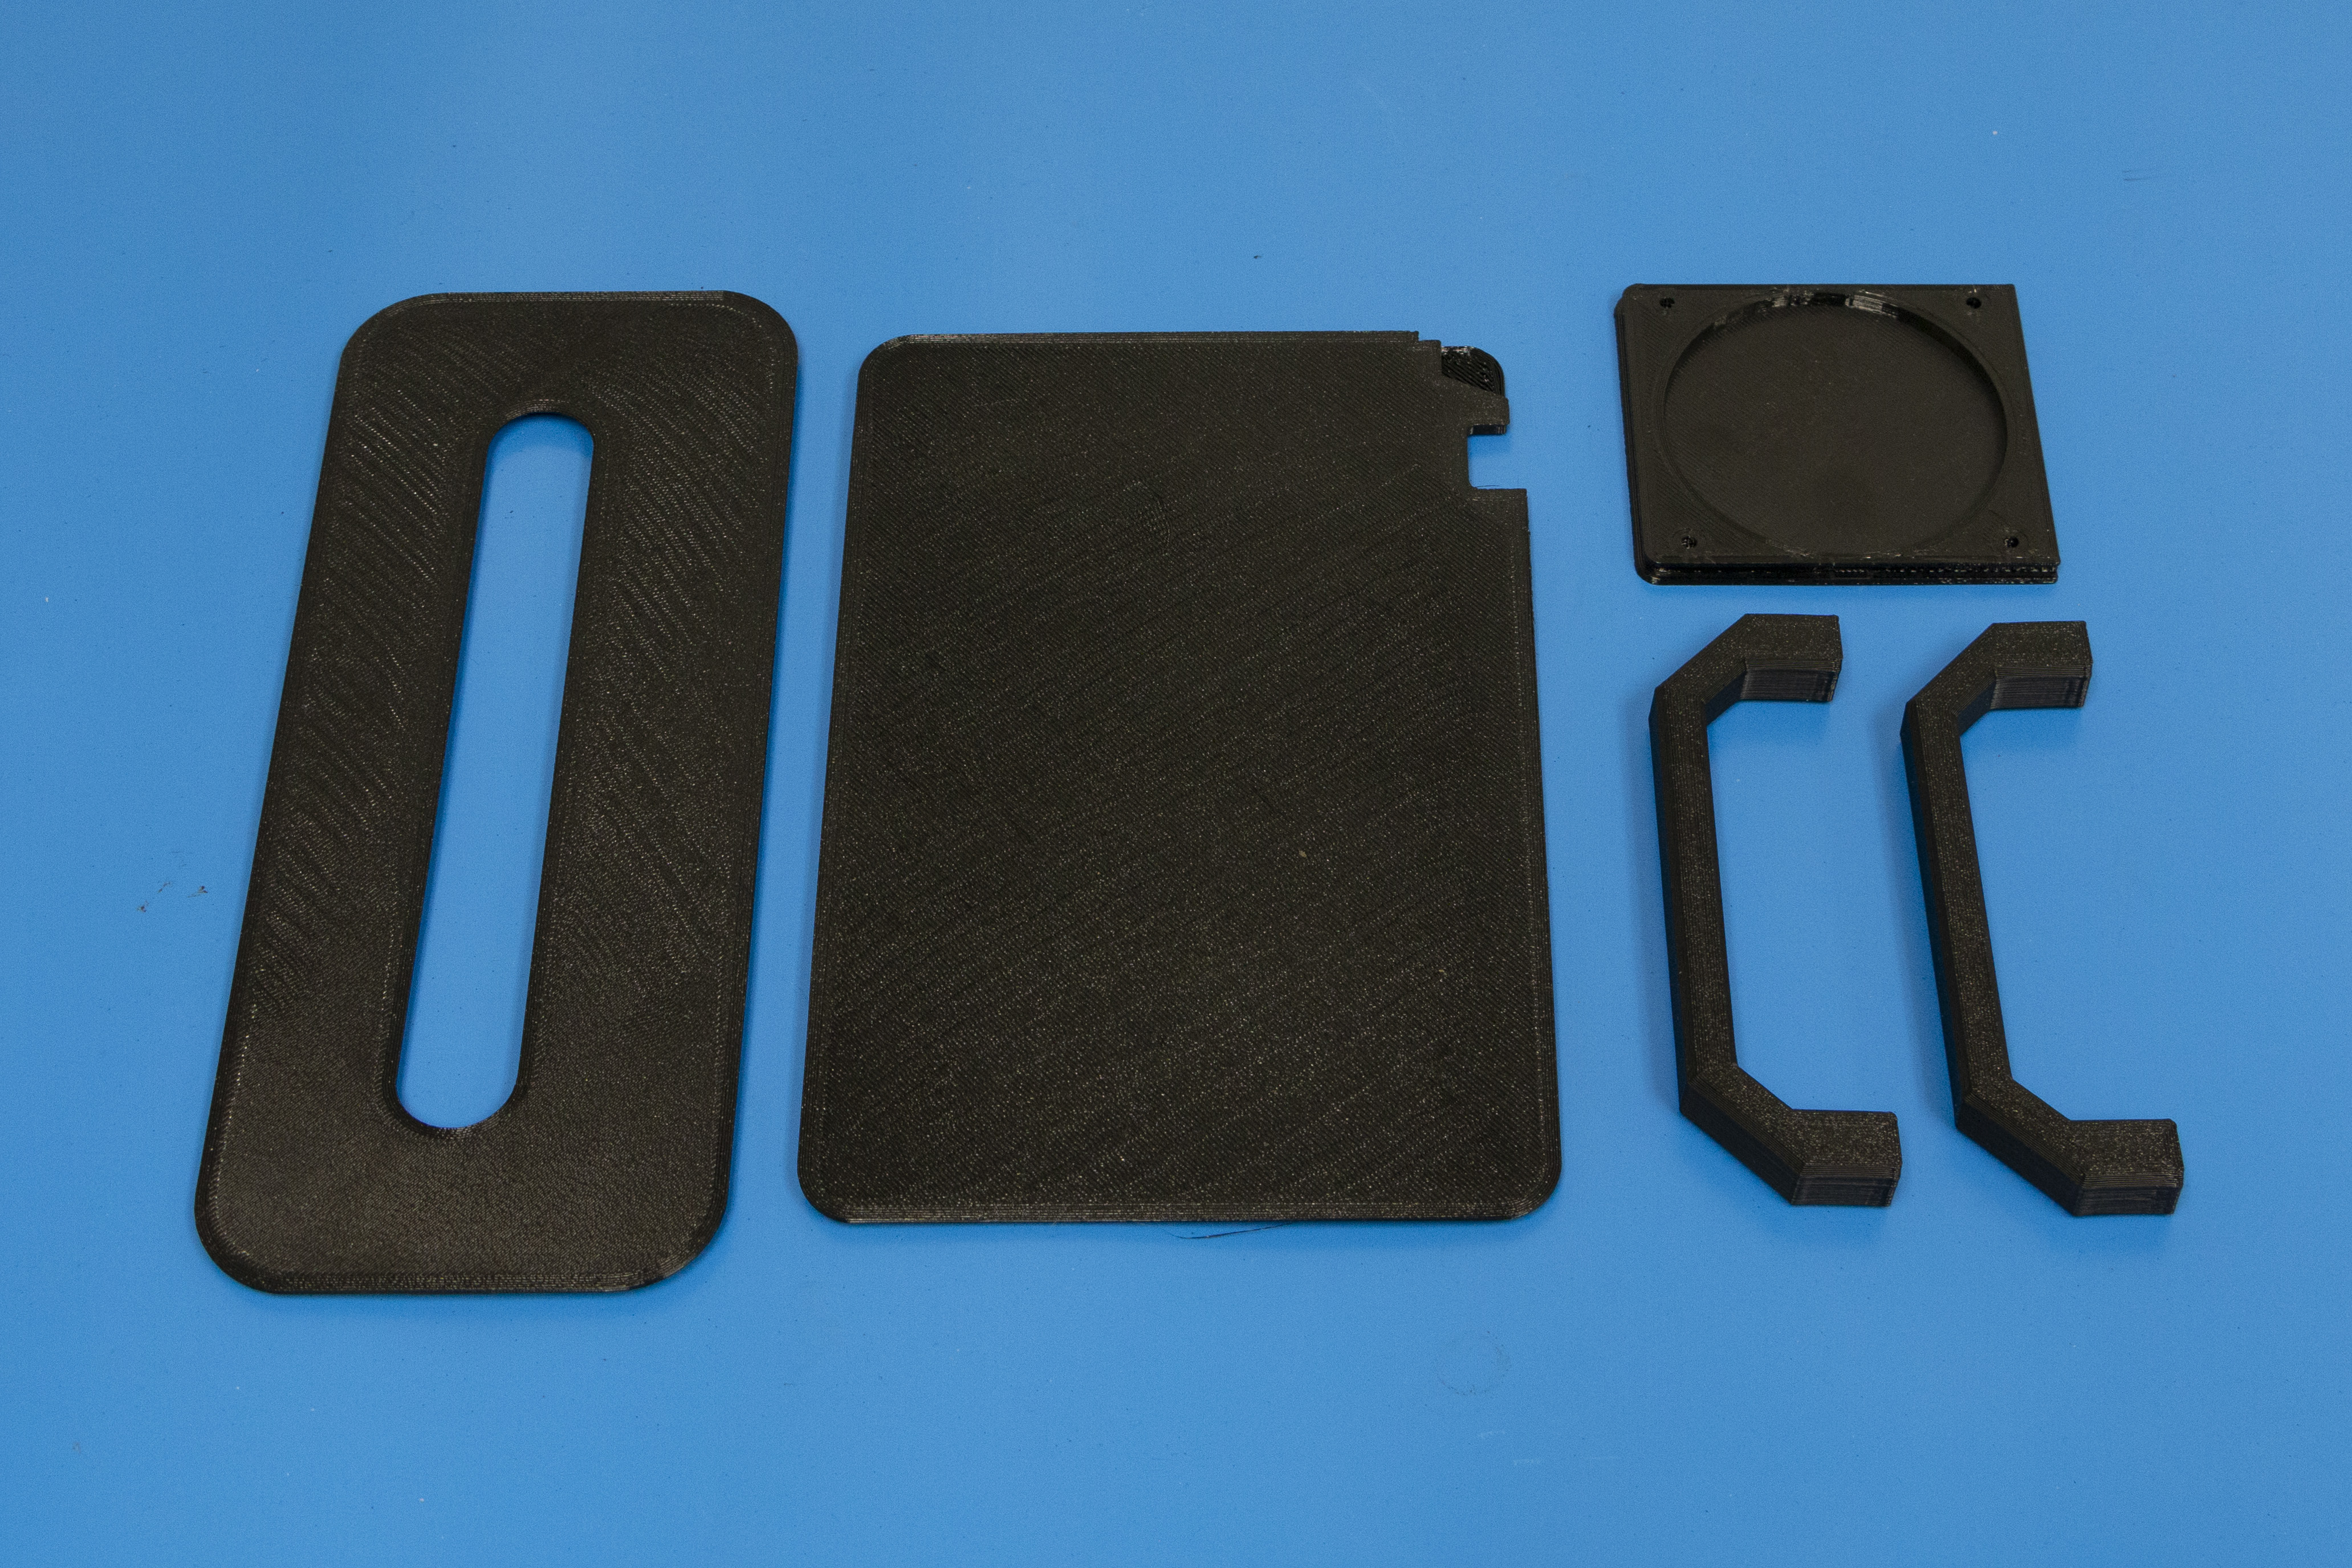
2x printed enclosure handles
1x printed enclosure side
1x printed enclosure top
1x printed fan bezel
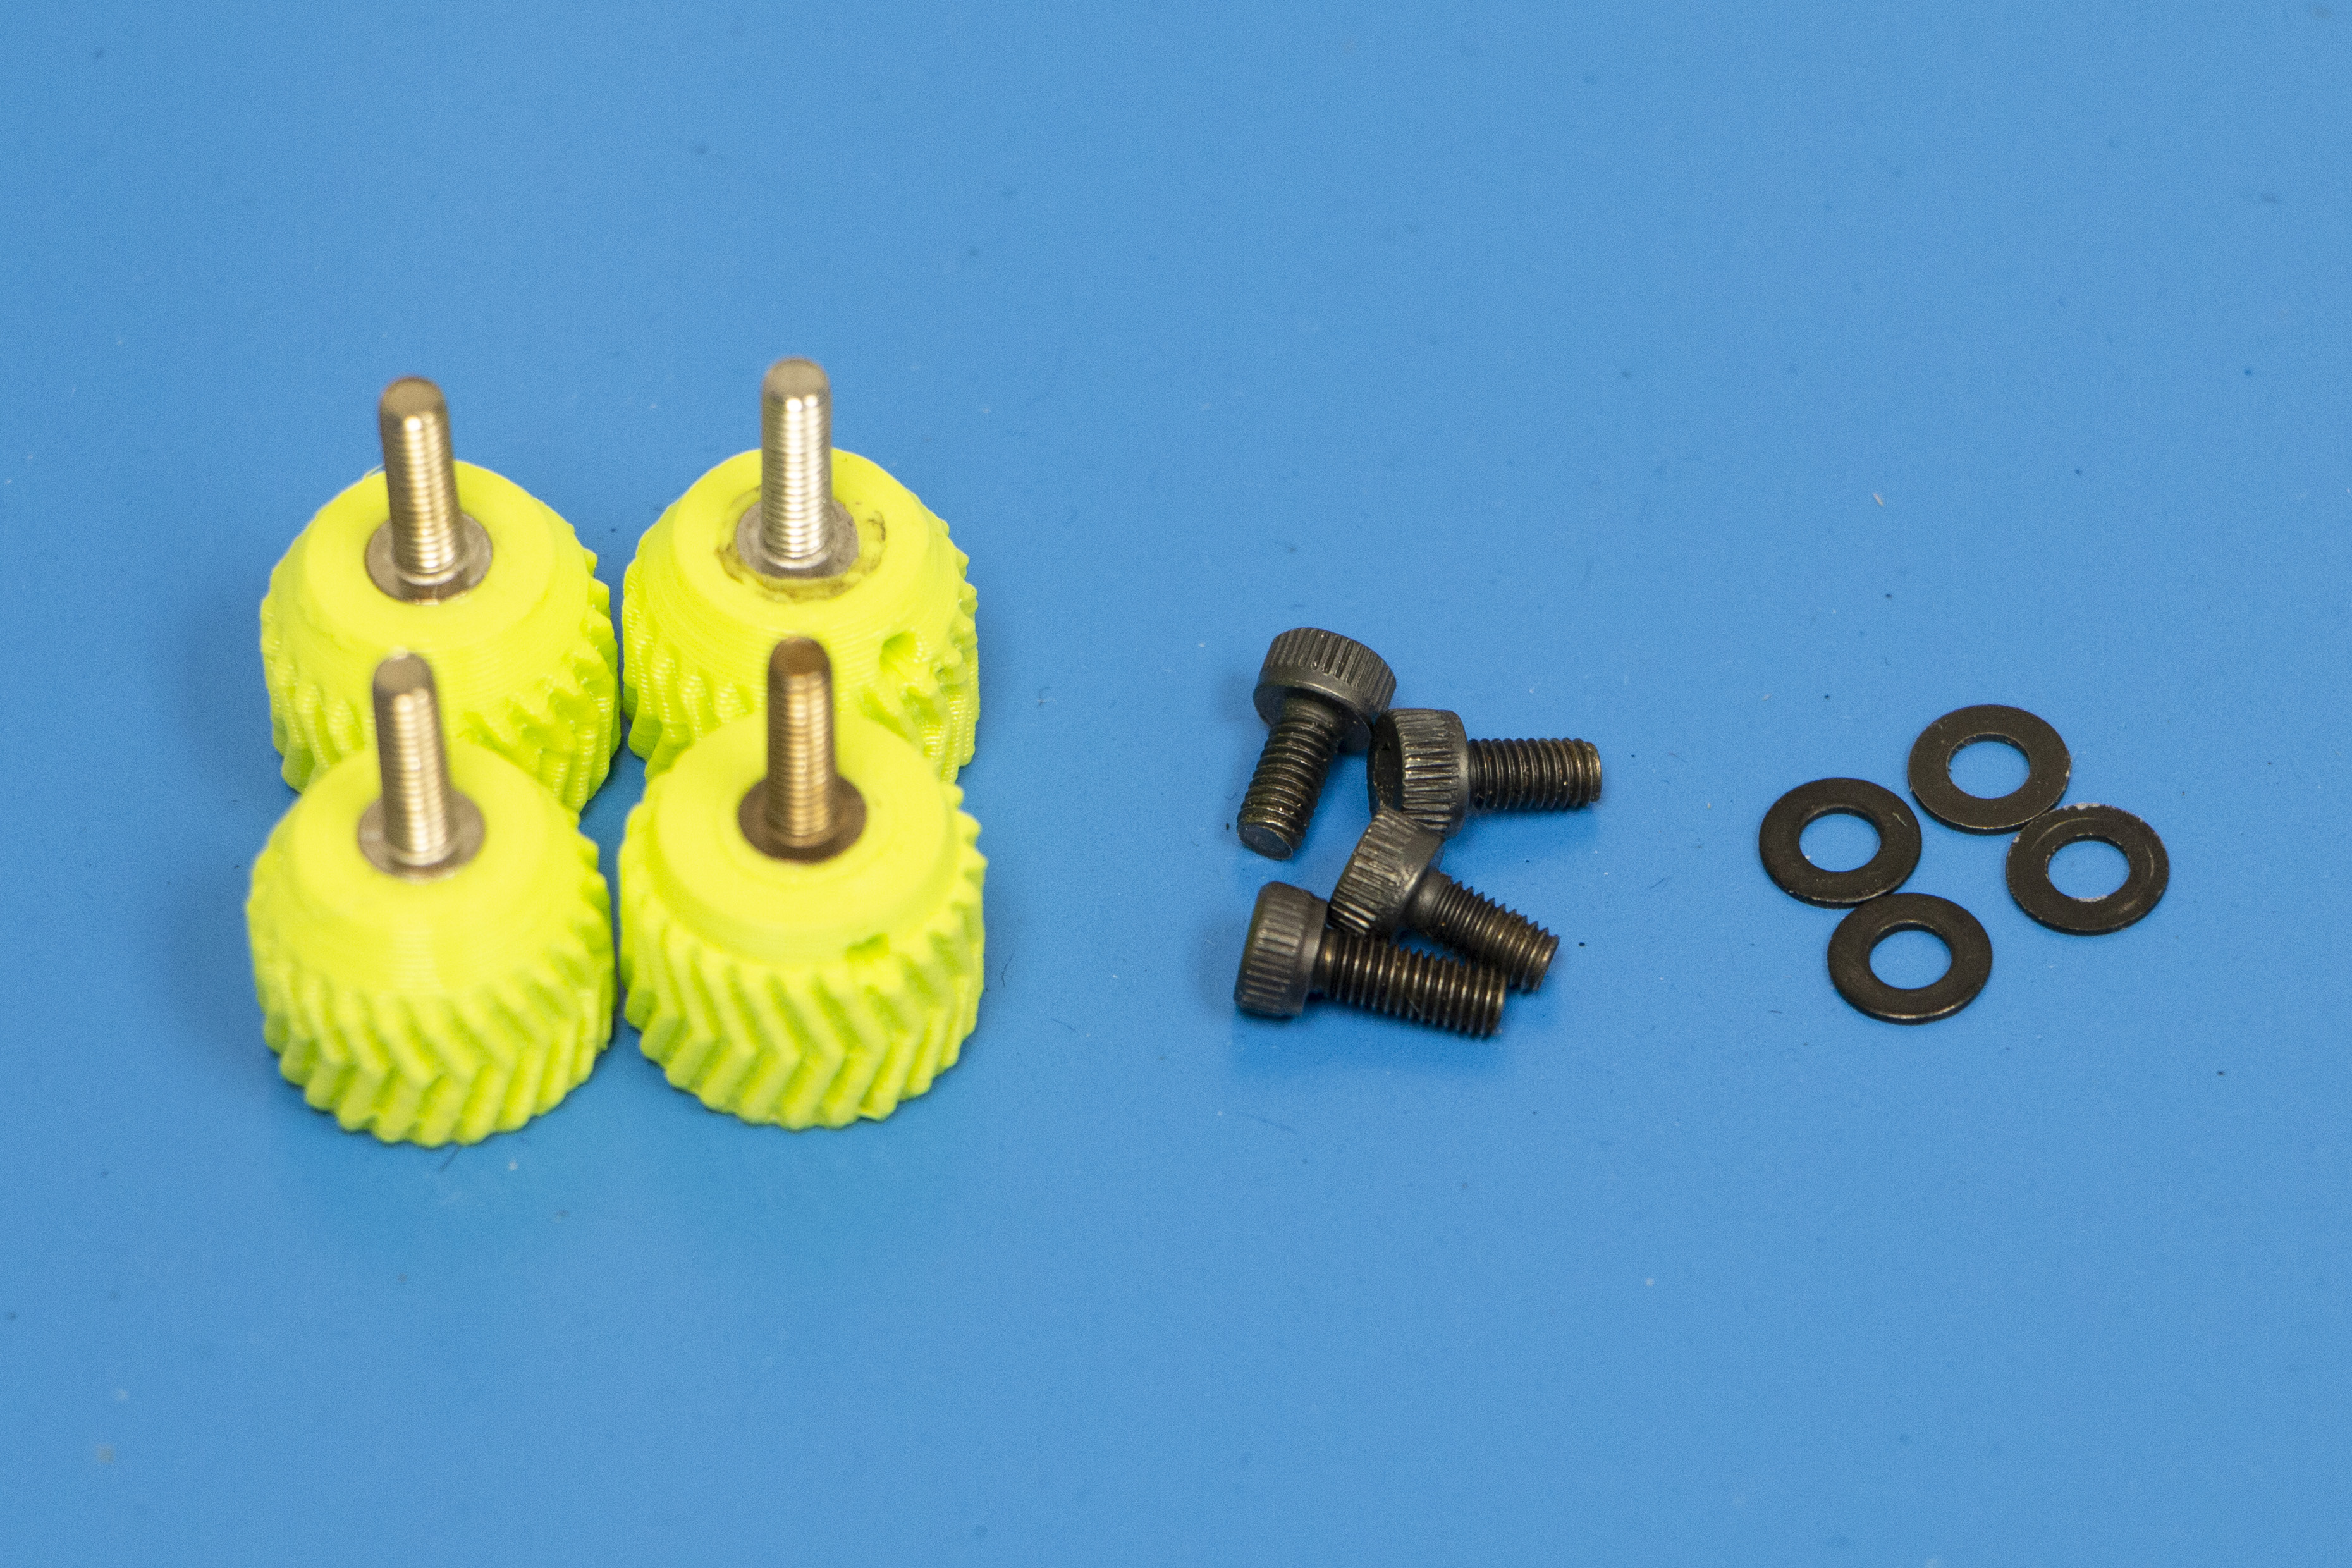
4x M3 x 8 screws
4x M3 washers
4x M3 x 12 thumb screws
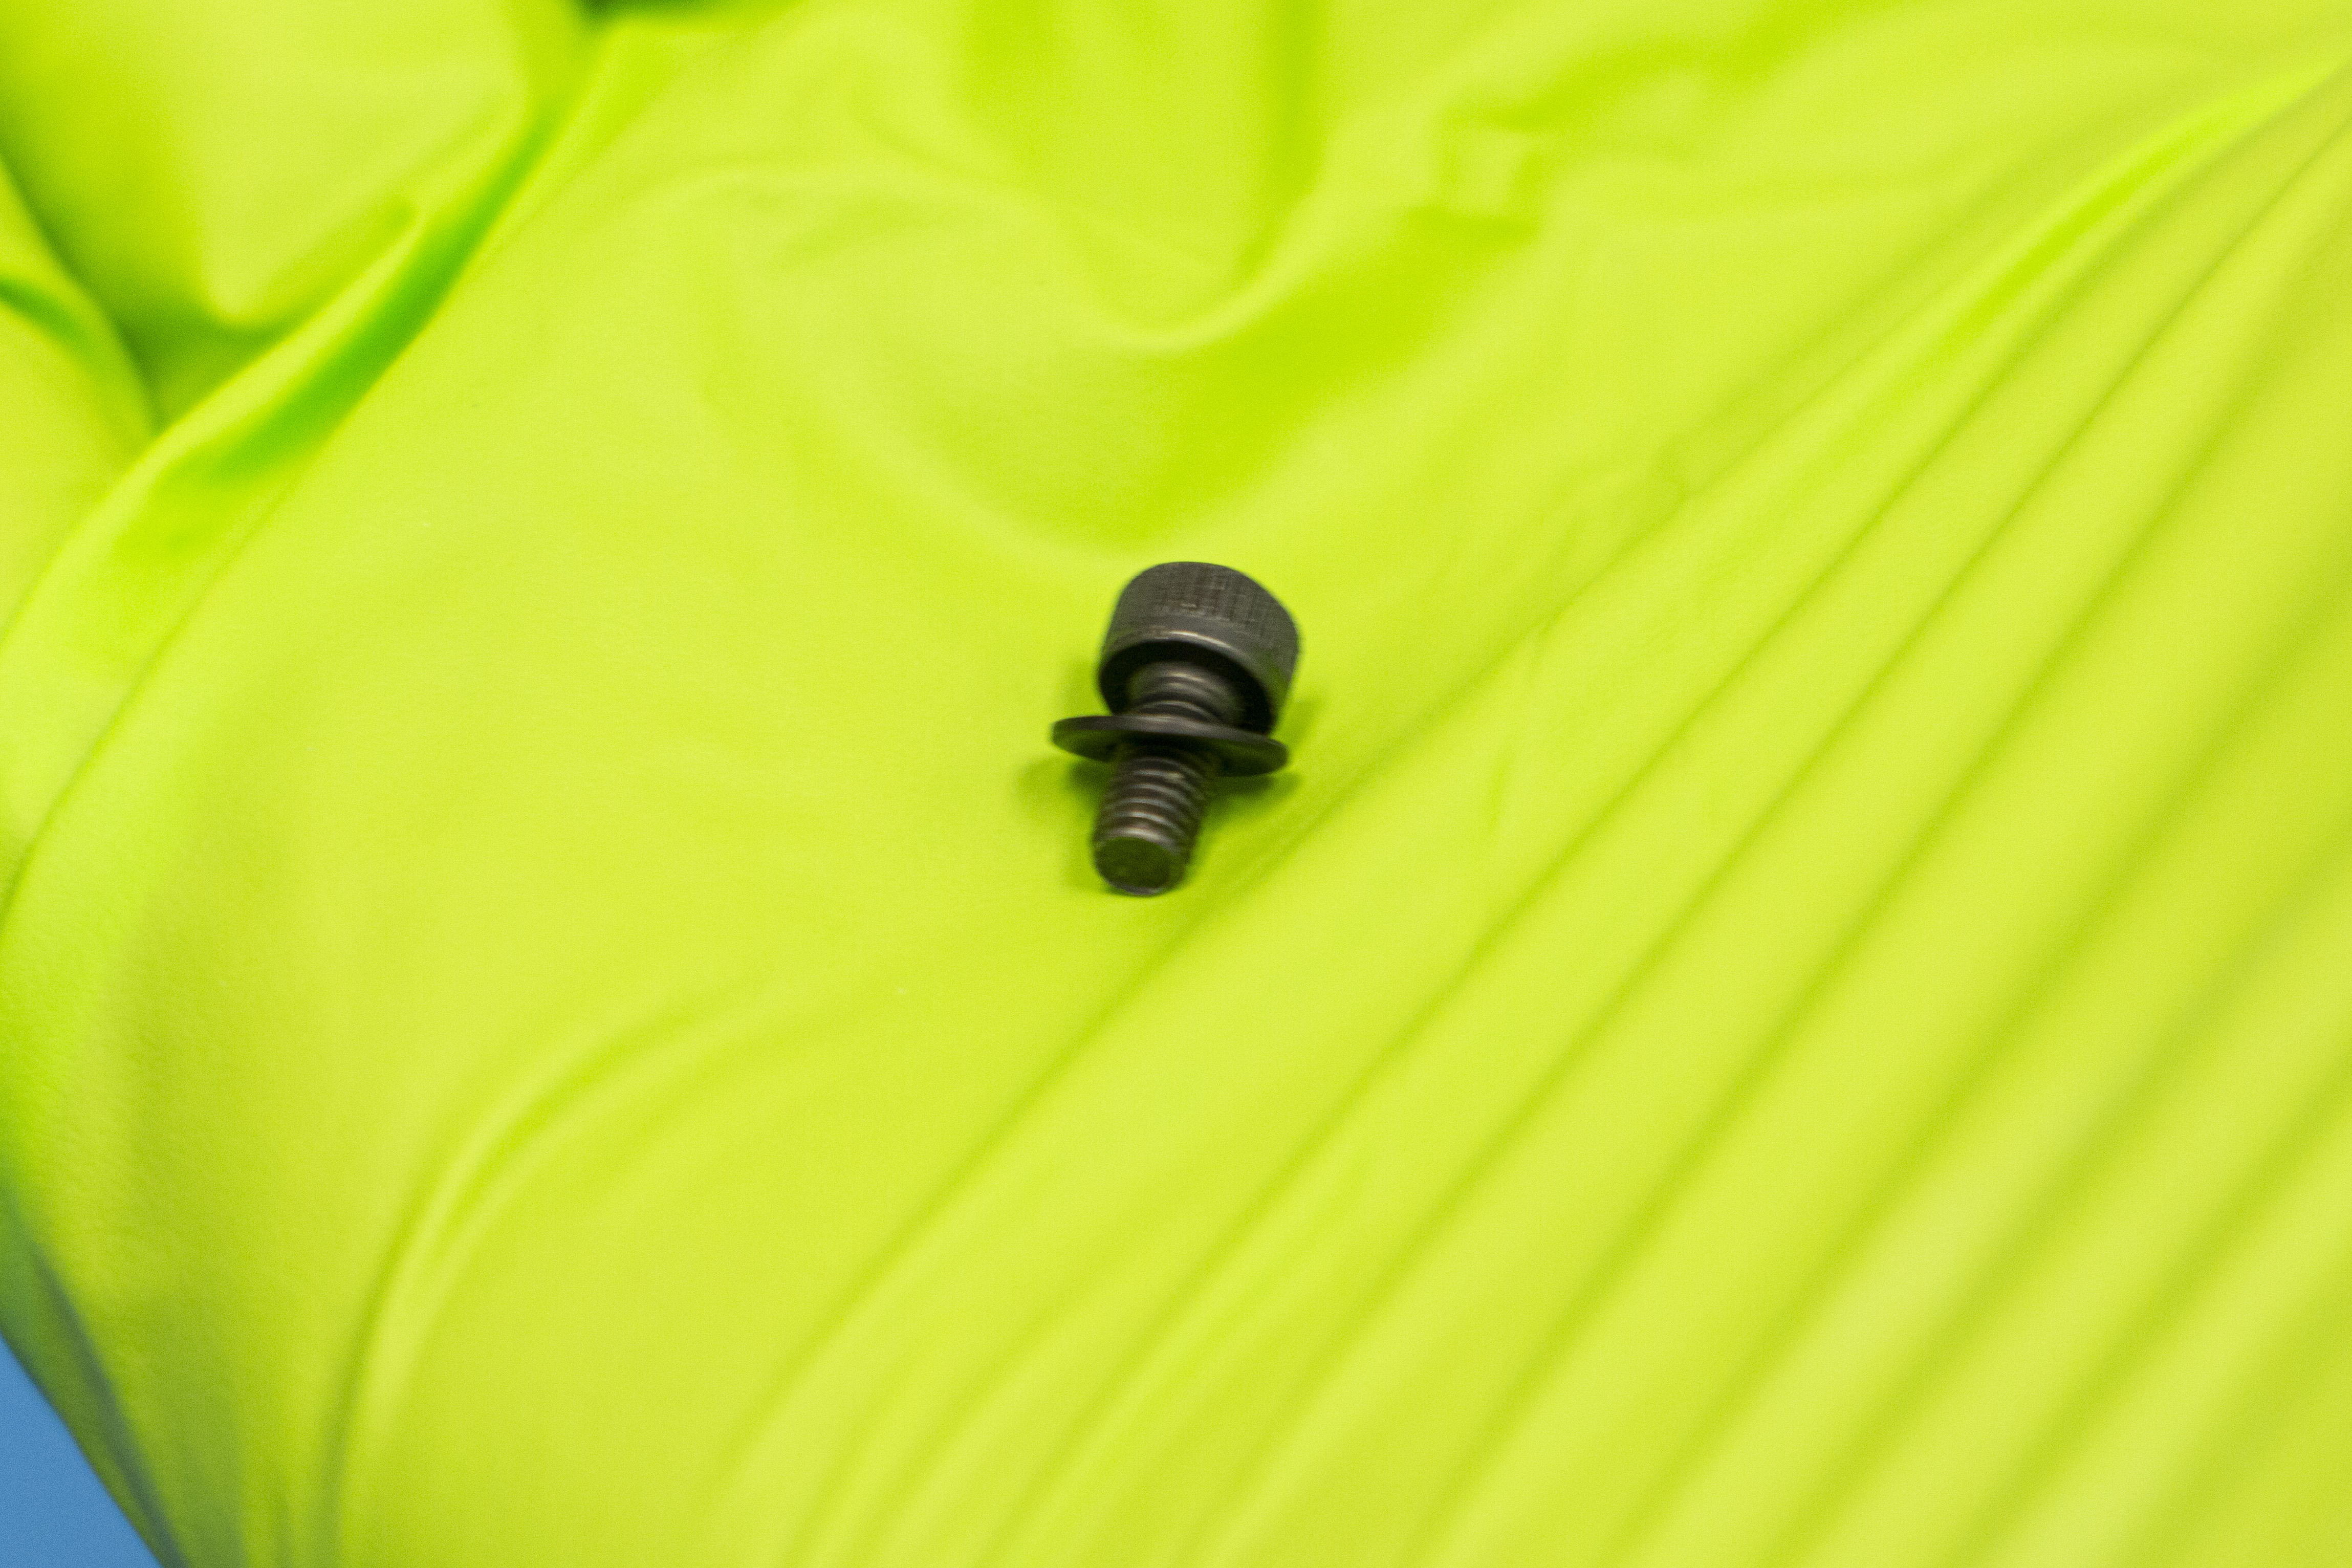
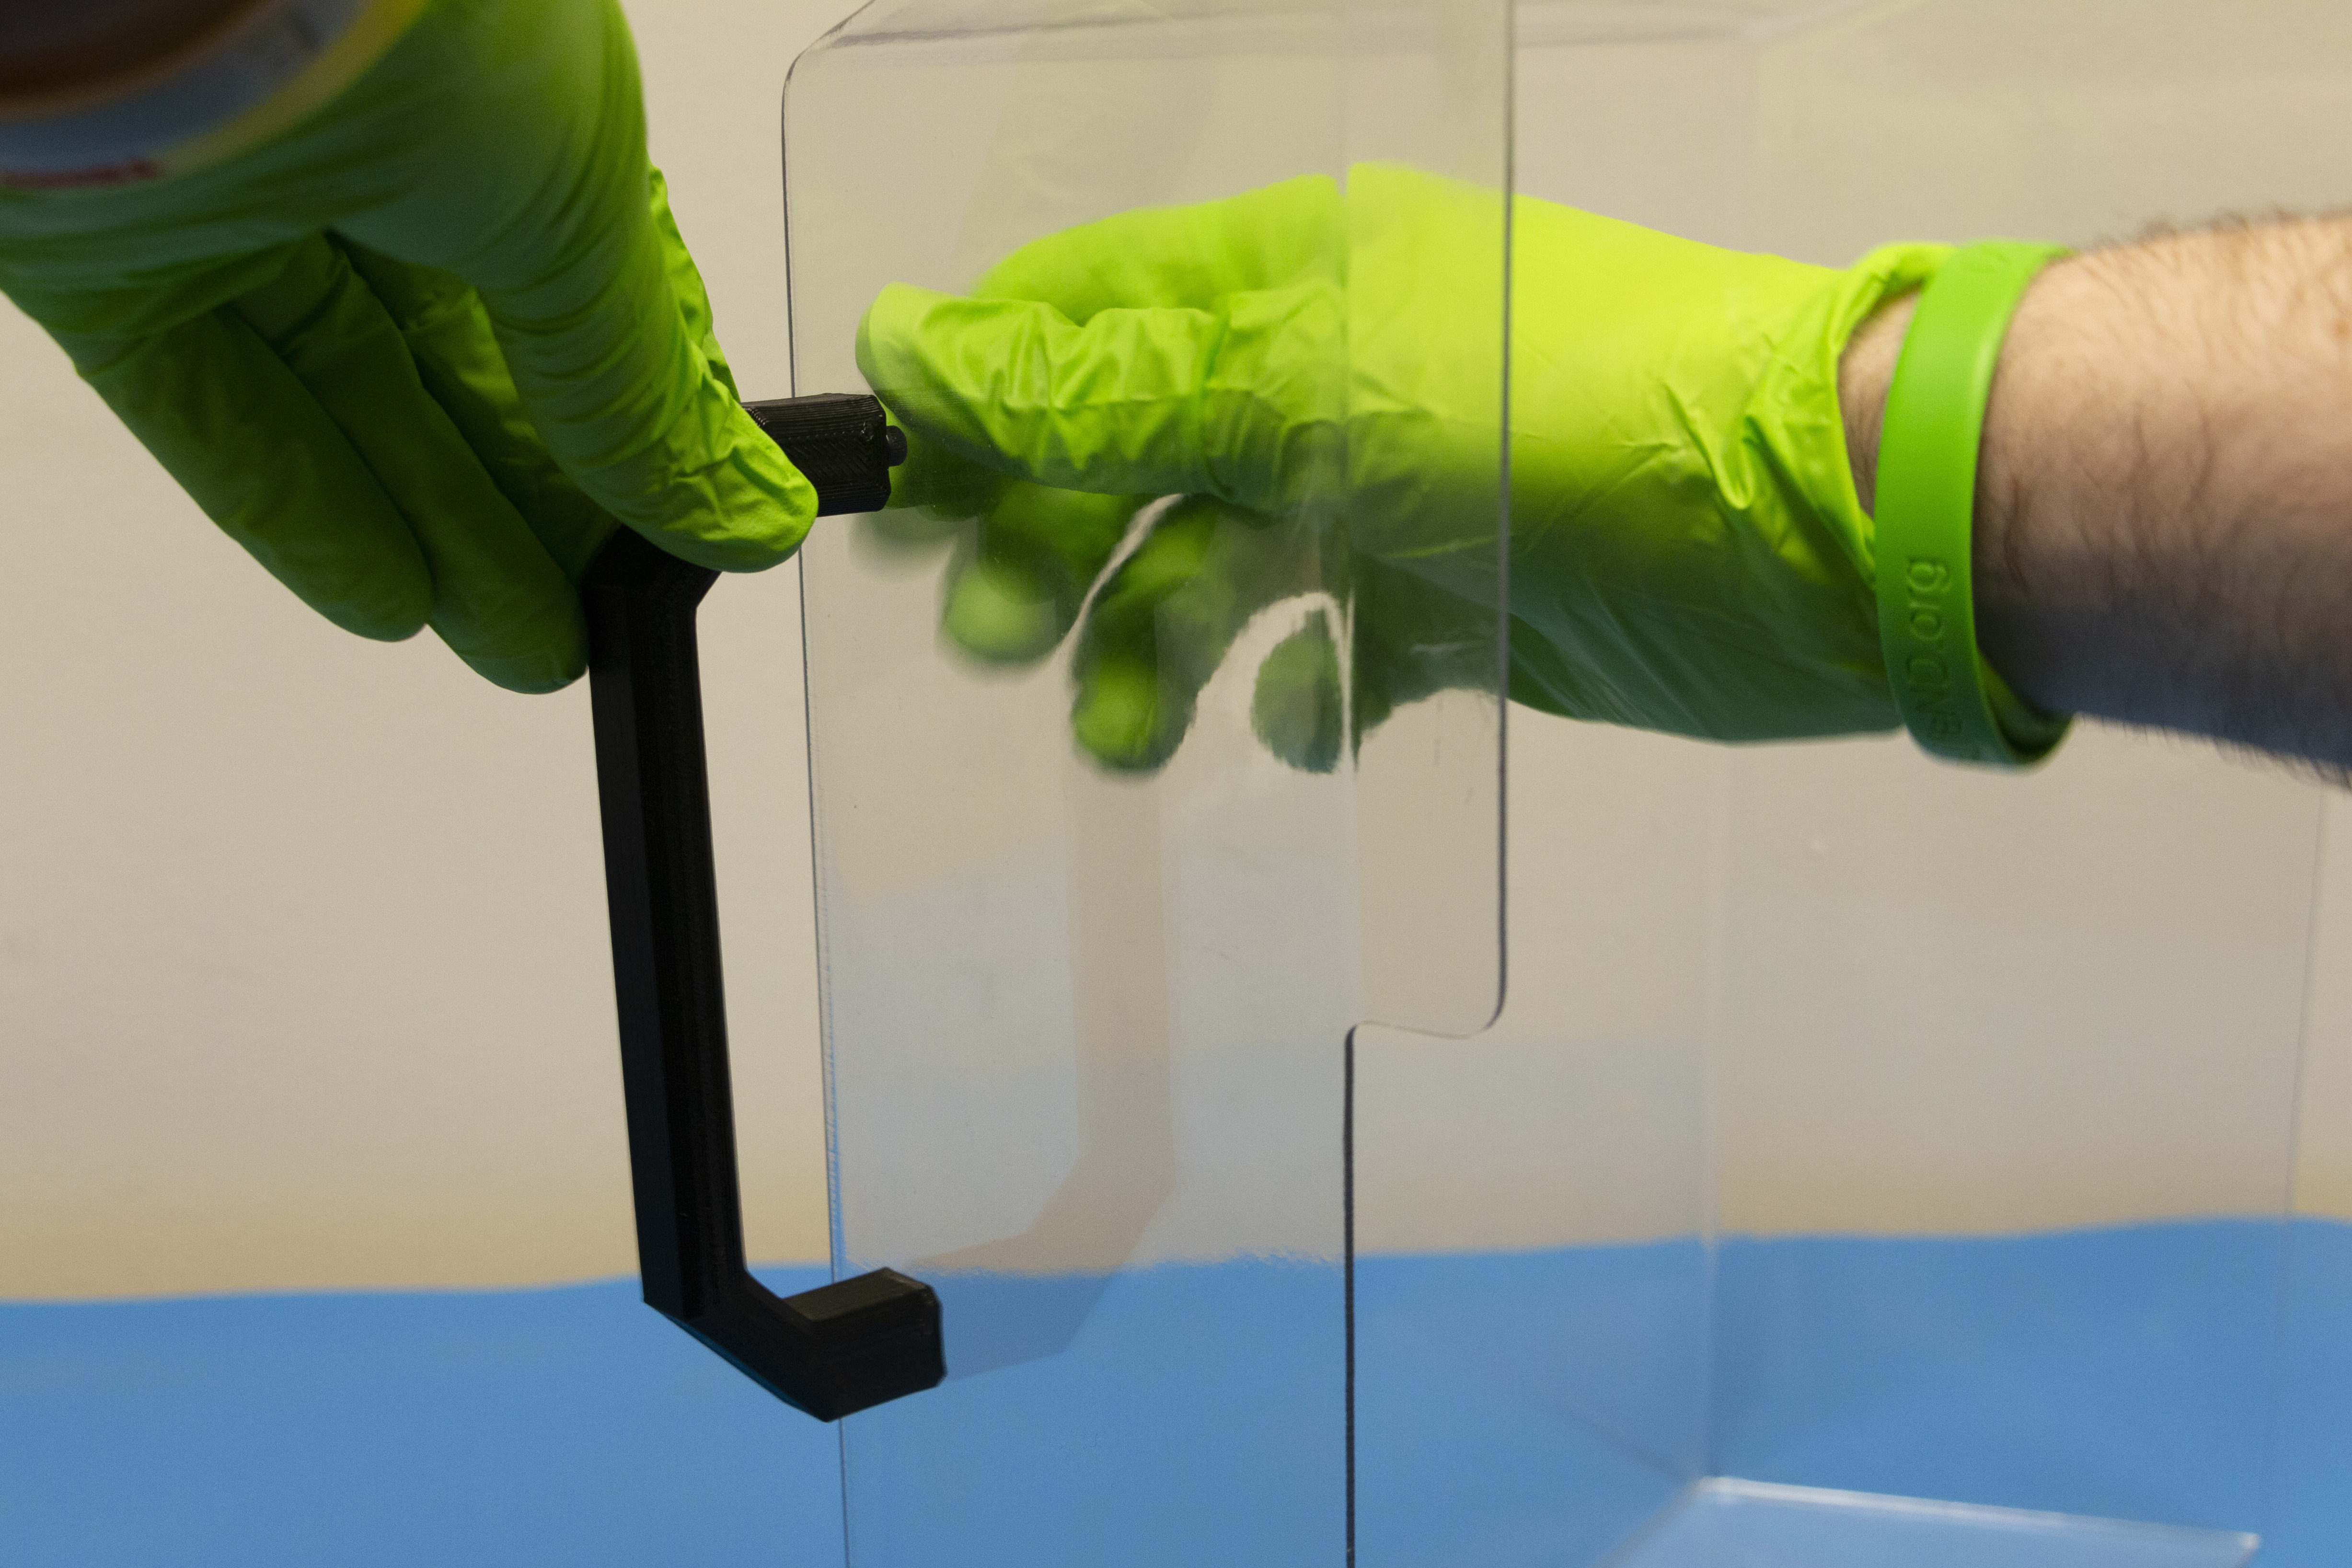
Place washer over screw and set into one of the small holes on the clear front panel and start threading the screw into the handle by hand to get it started. Ensure that the handles are facing outwards.
Secure both handles by hand threading the screws and washers through the clear panel.
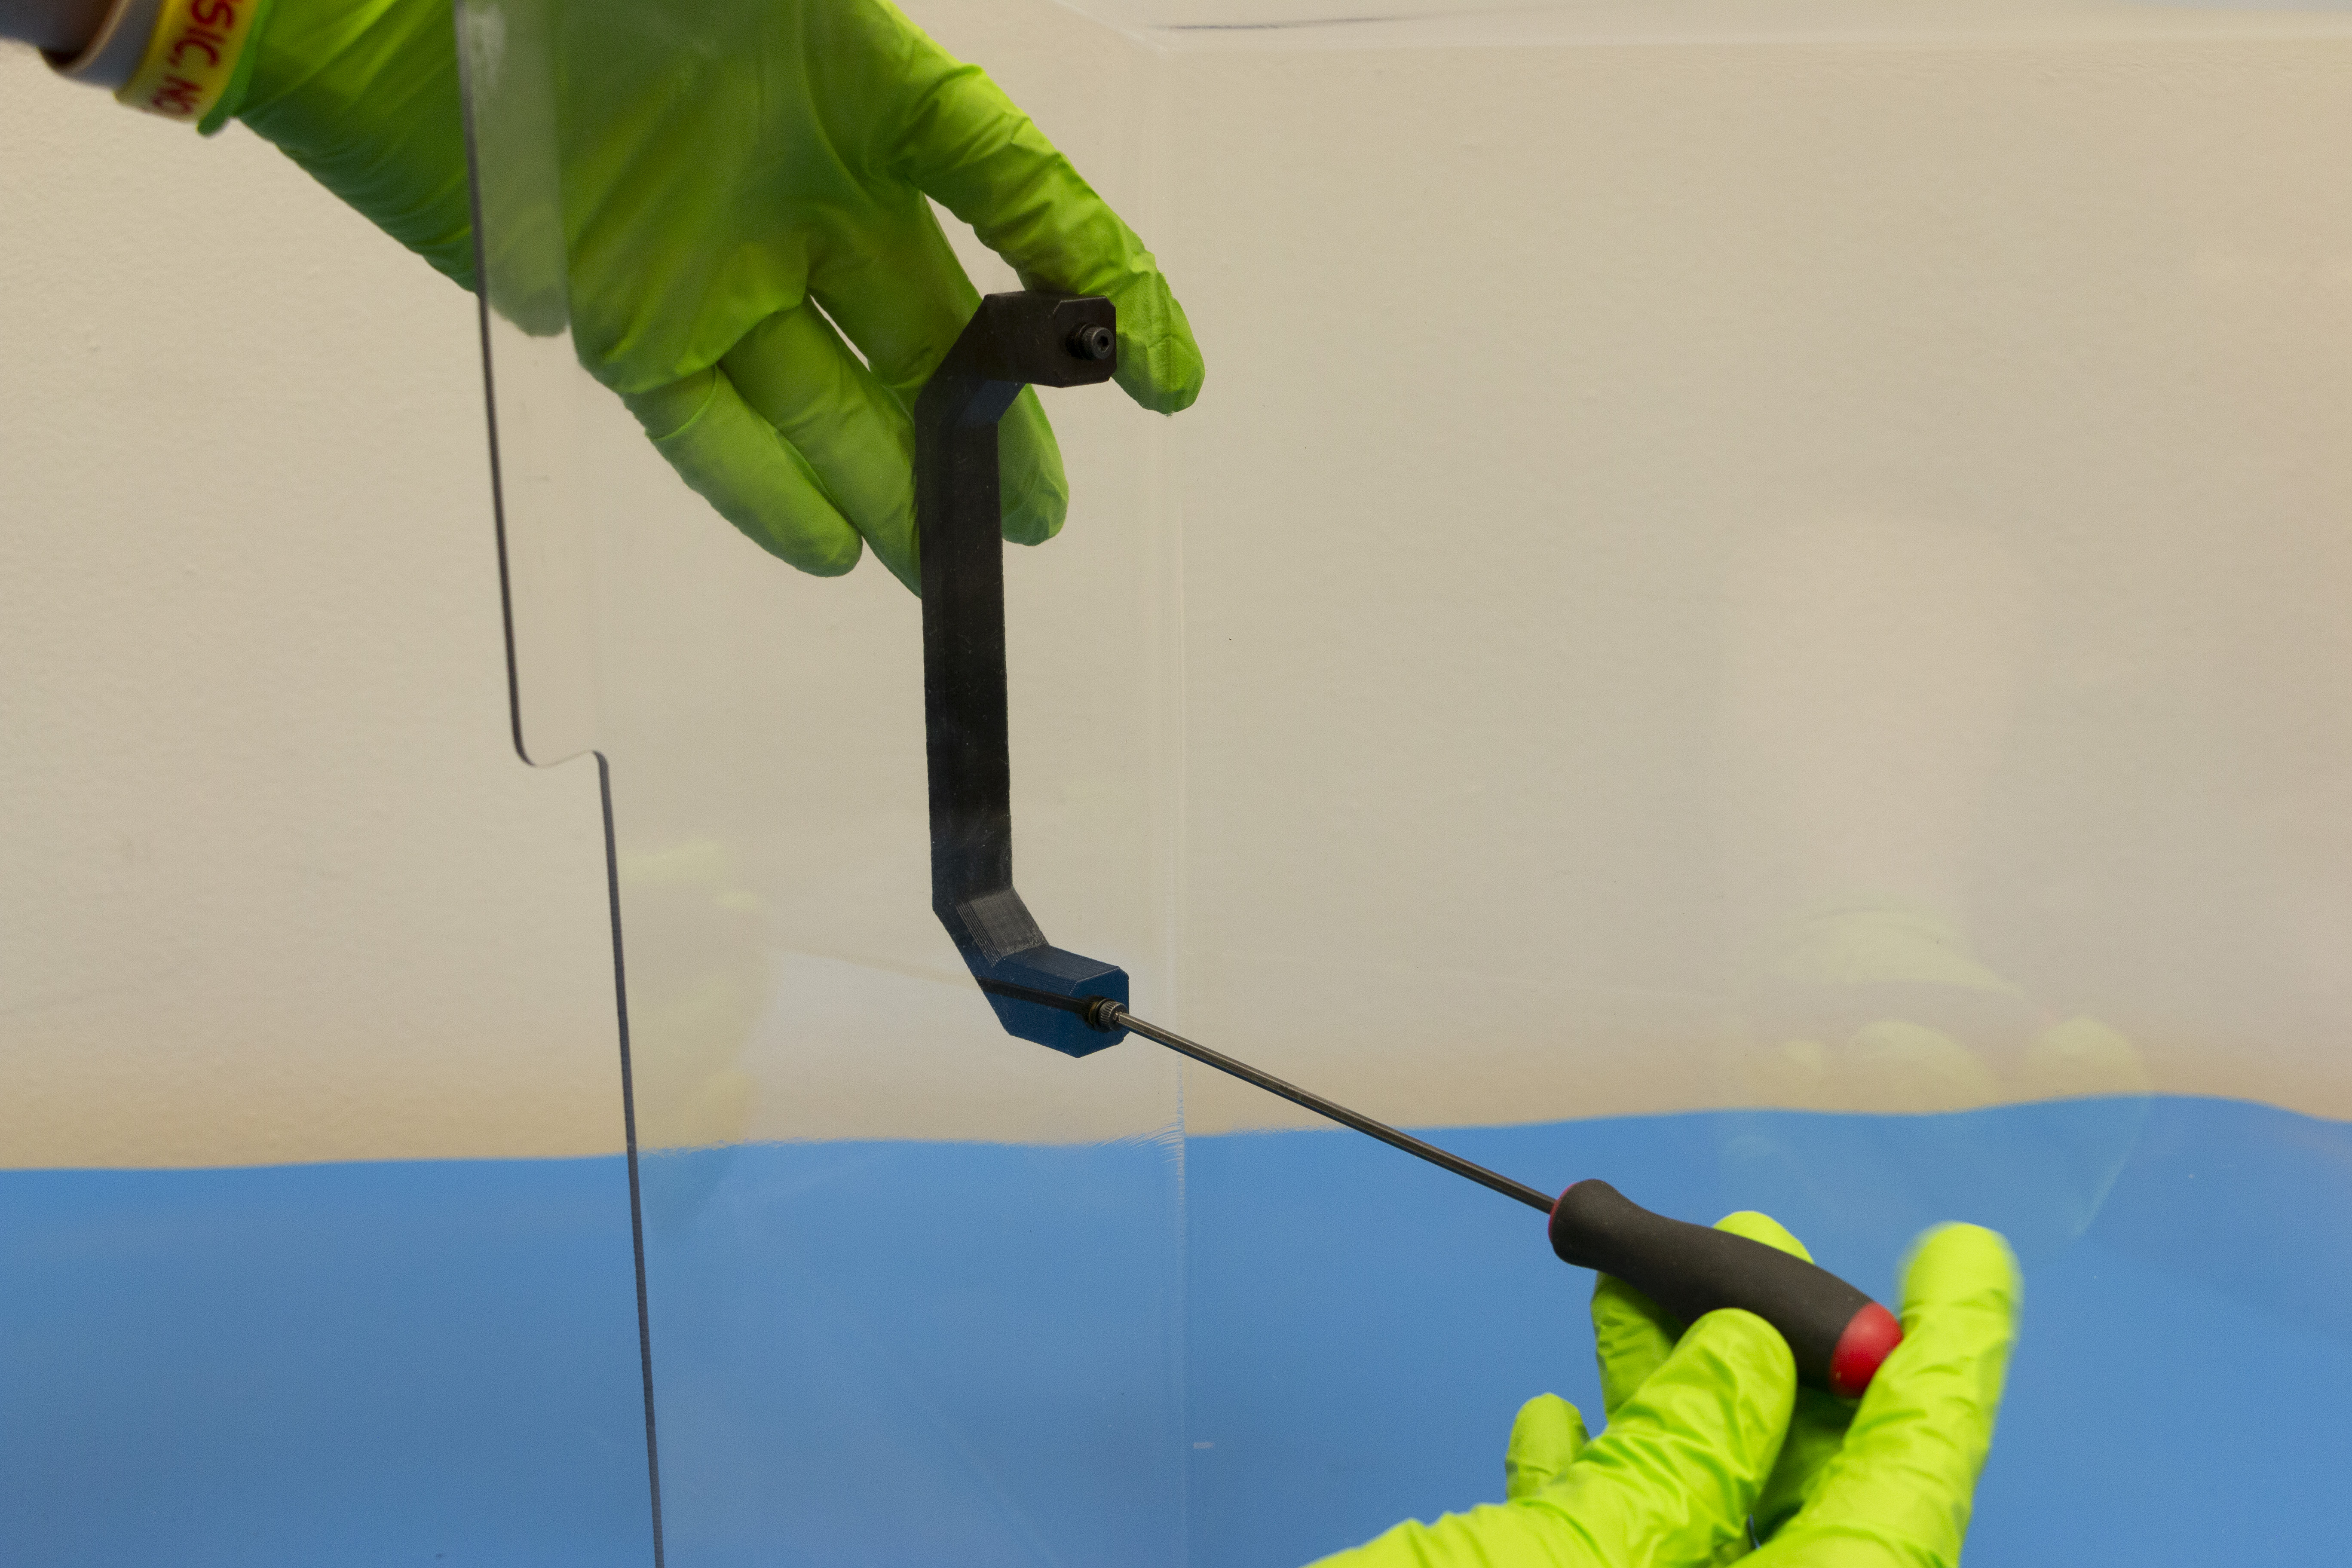
Use your 2.5mm hex wrench to tighten the screws into the handles.
Do not overtighten.
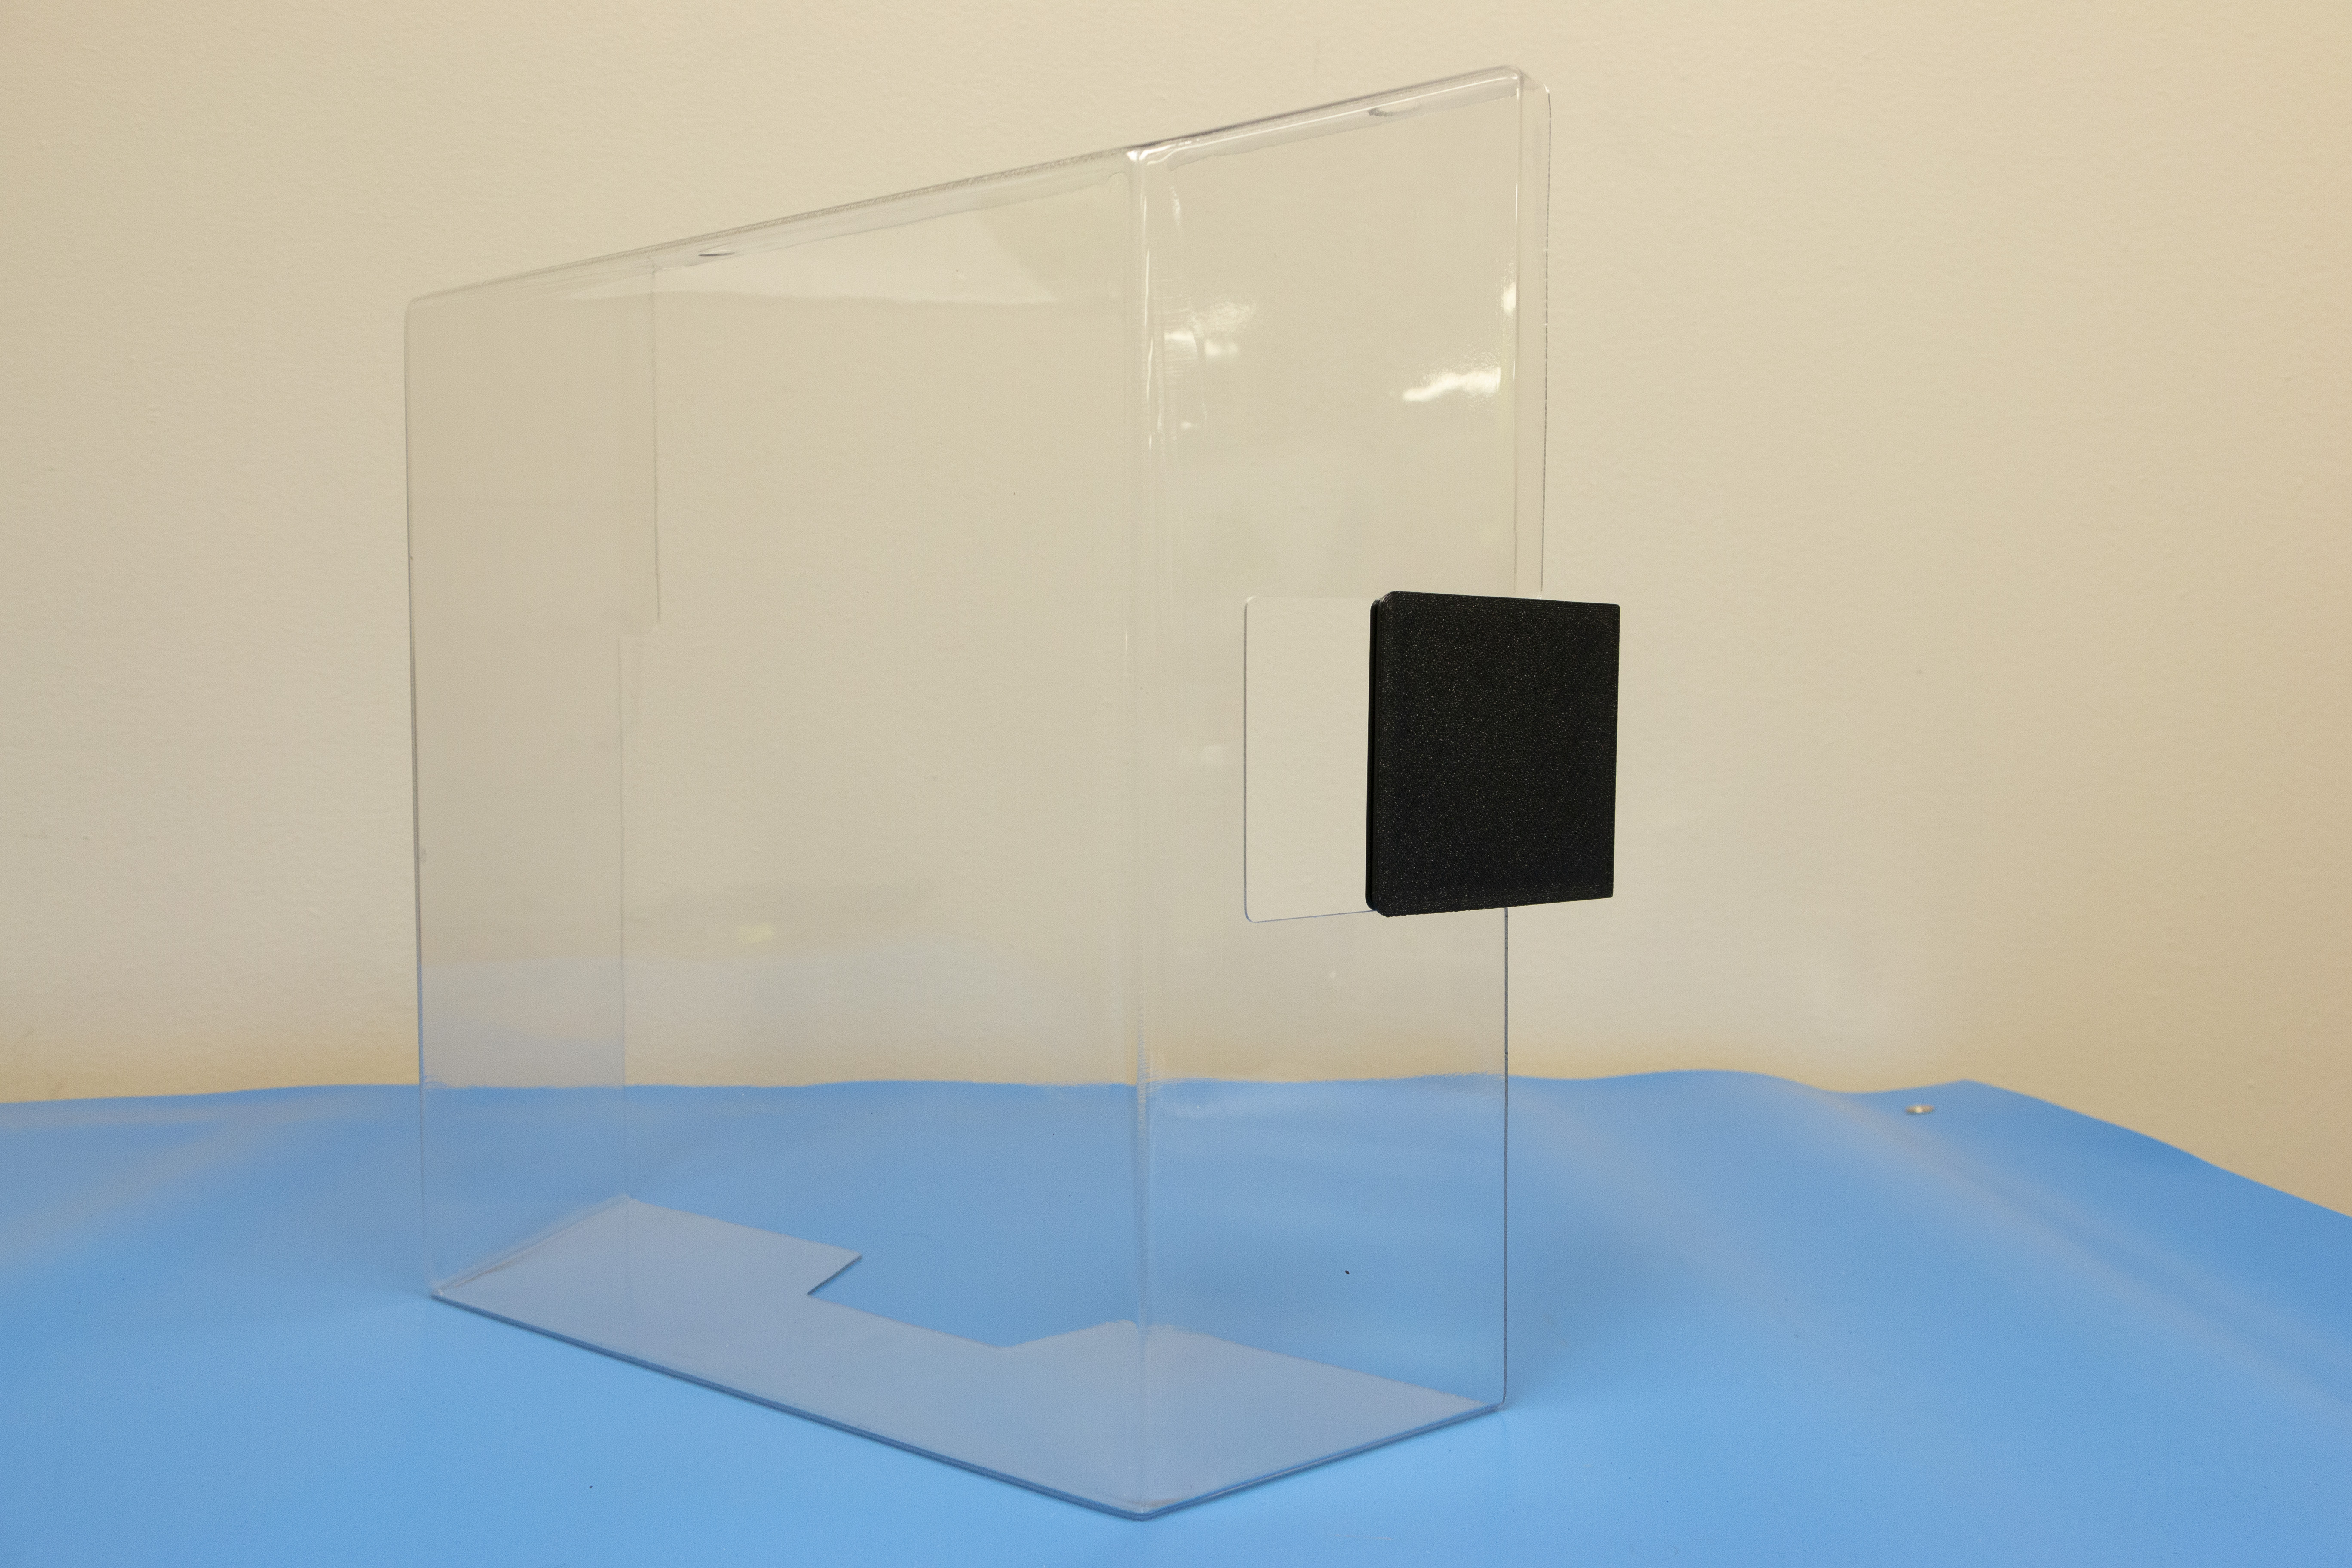
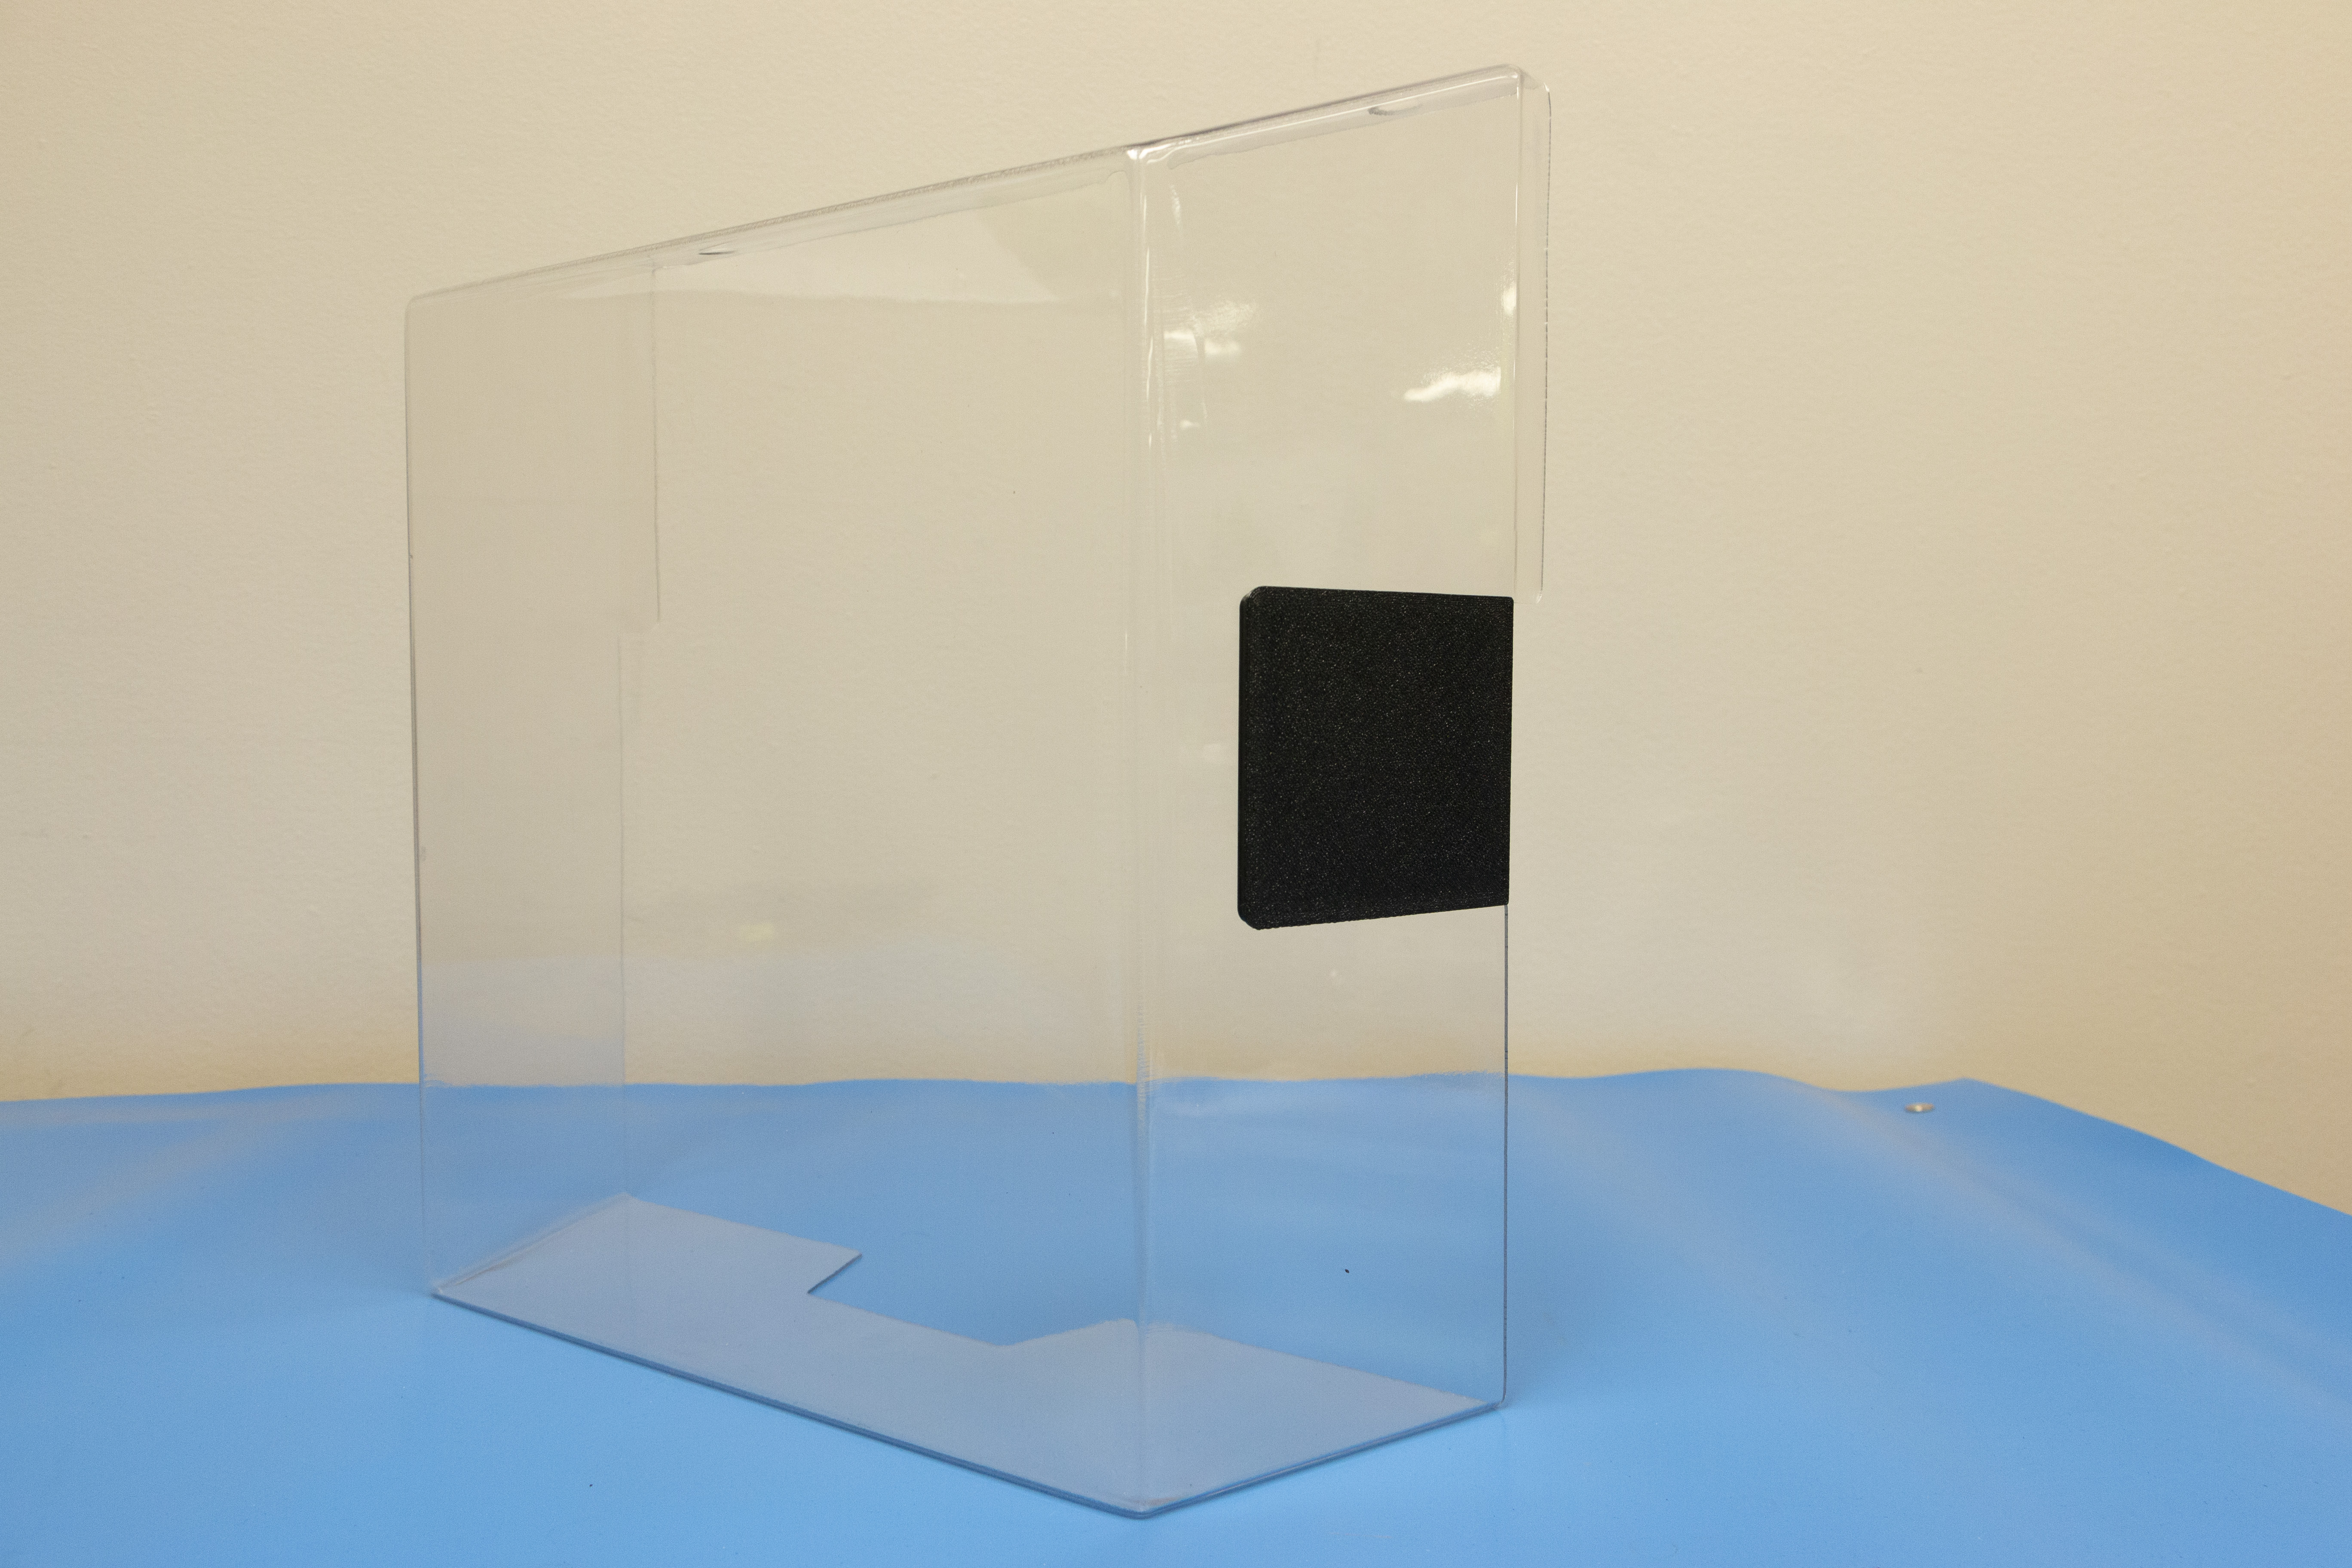
Take the fan bezel and slide into the clear rear panel.
Note the corners of the bezel.
The rounded corners will slide in, while the sharper corners will align with the edge.
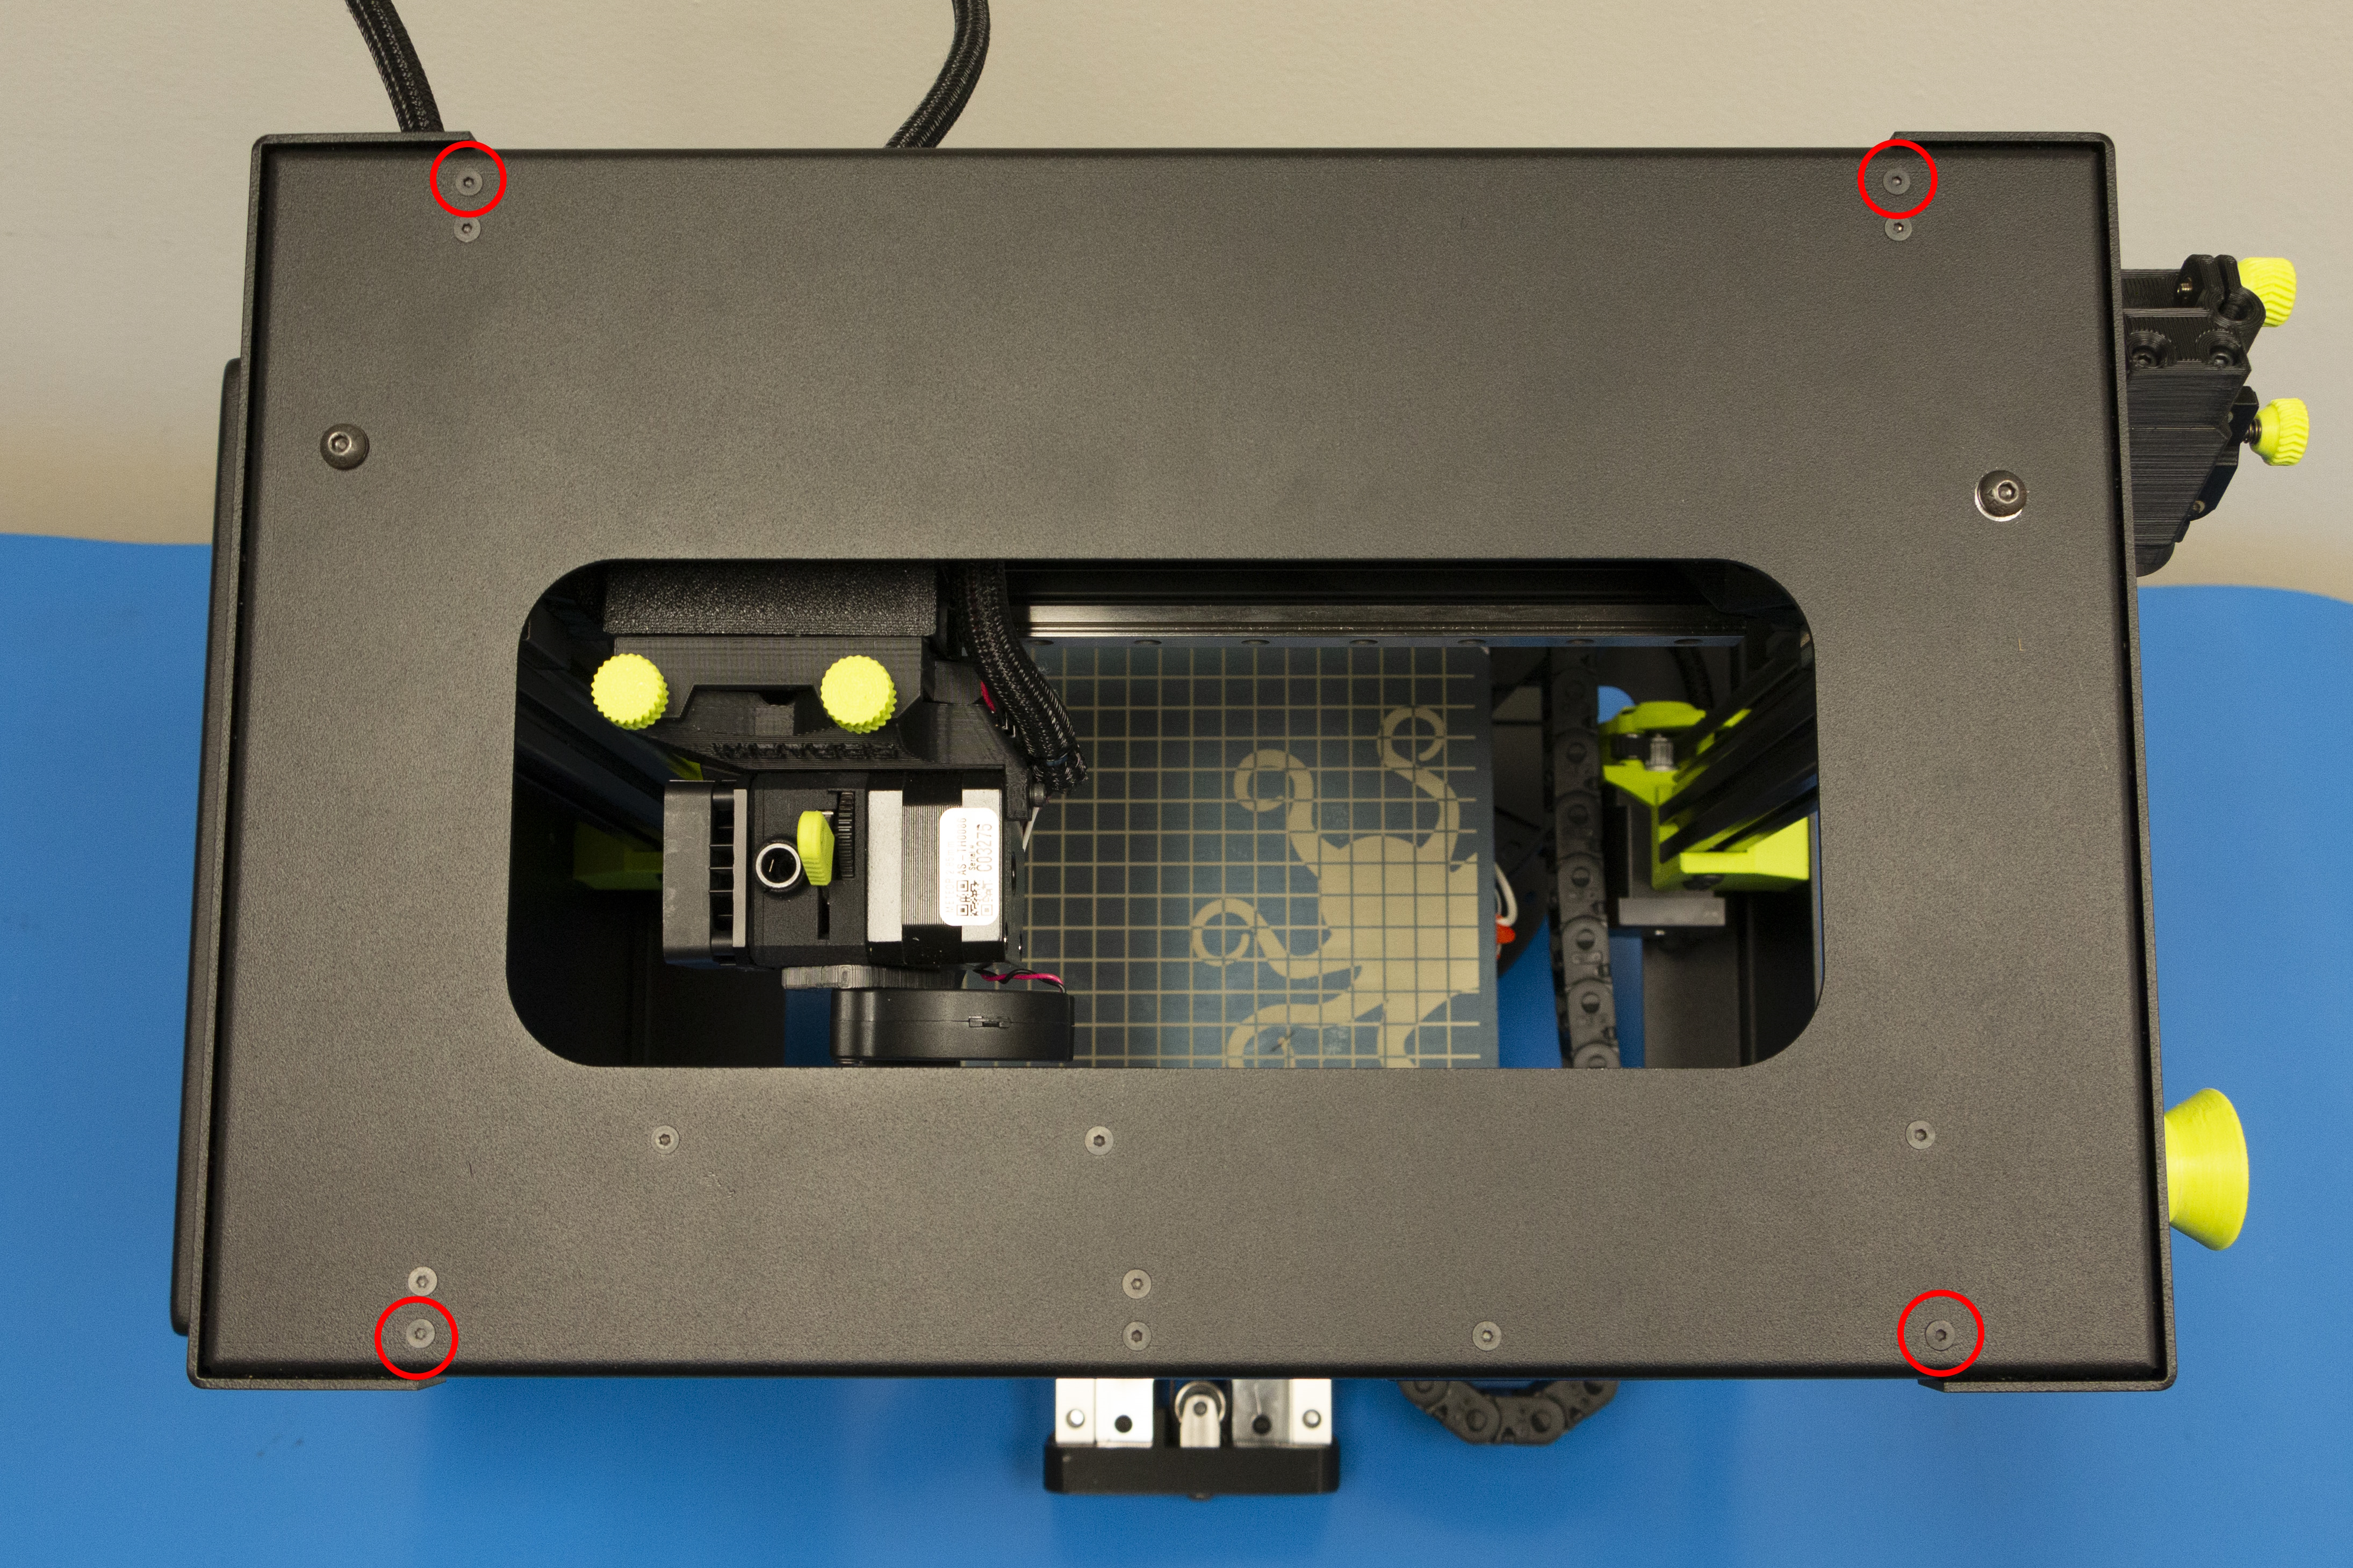
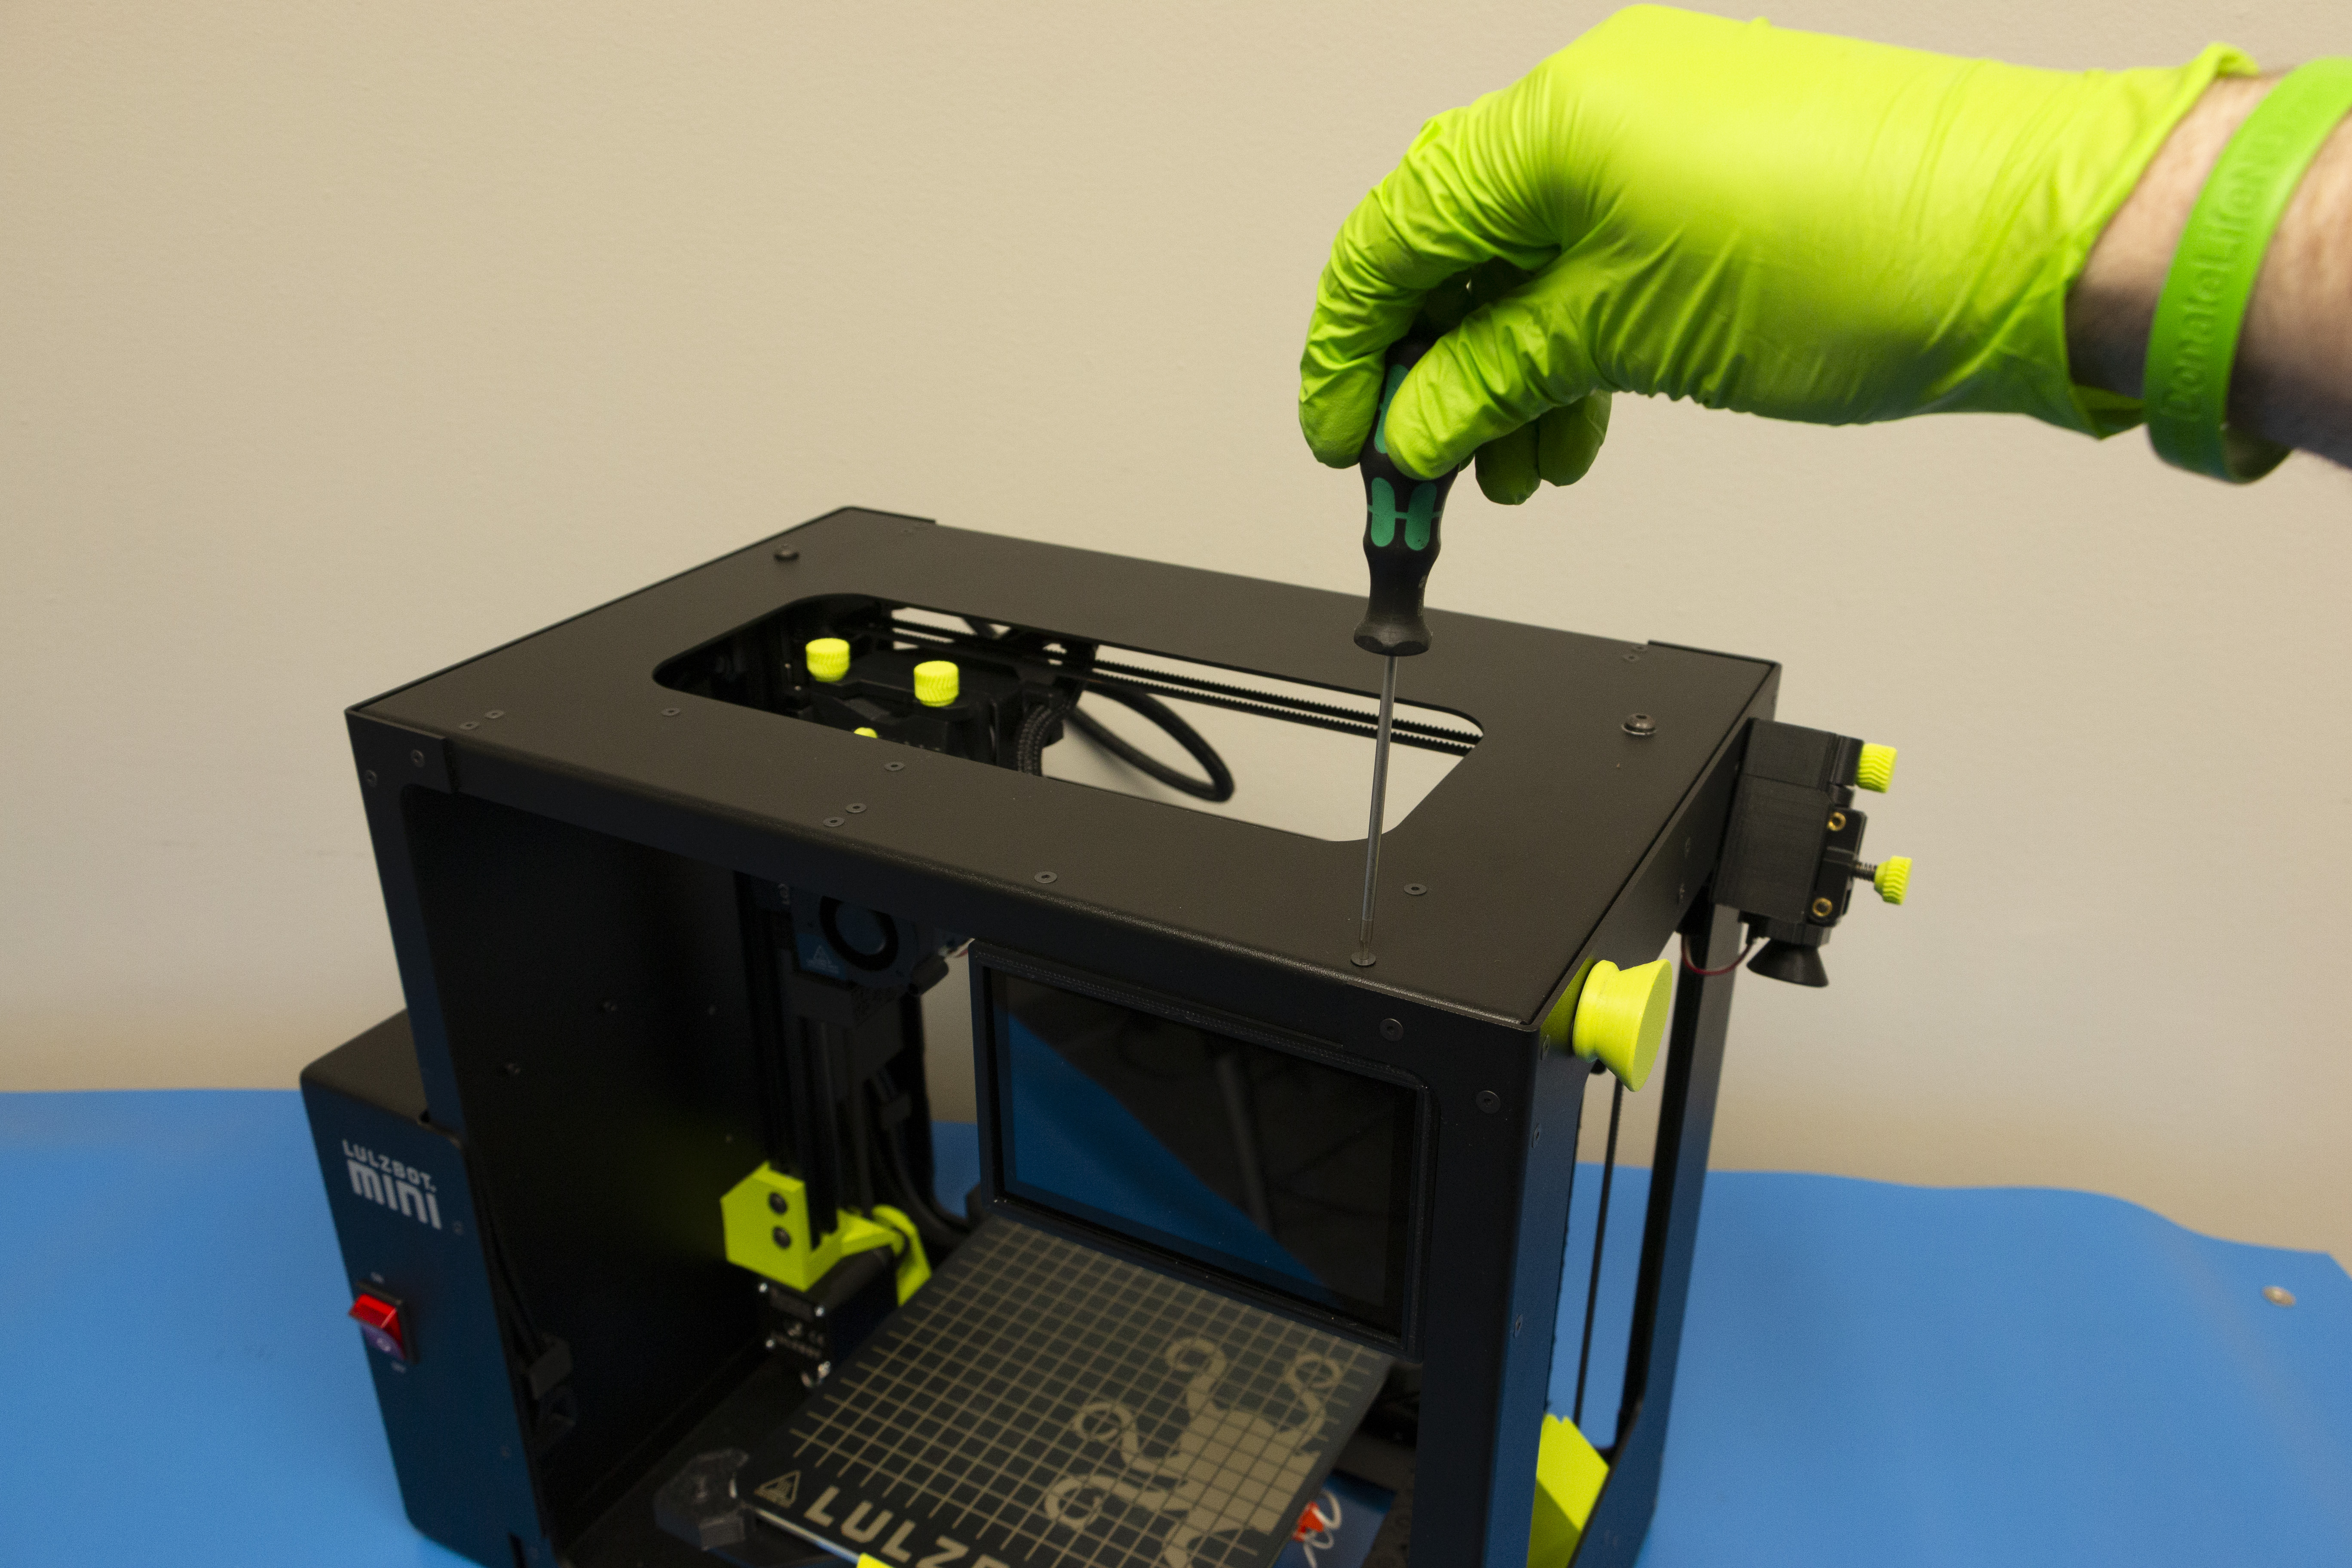
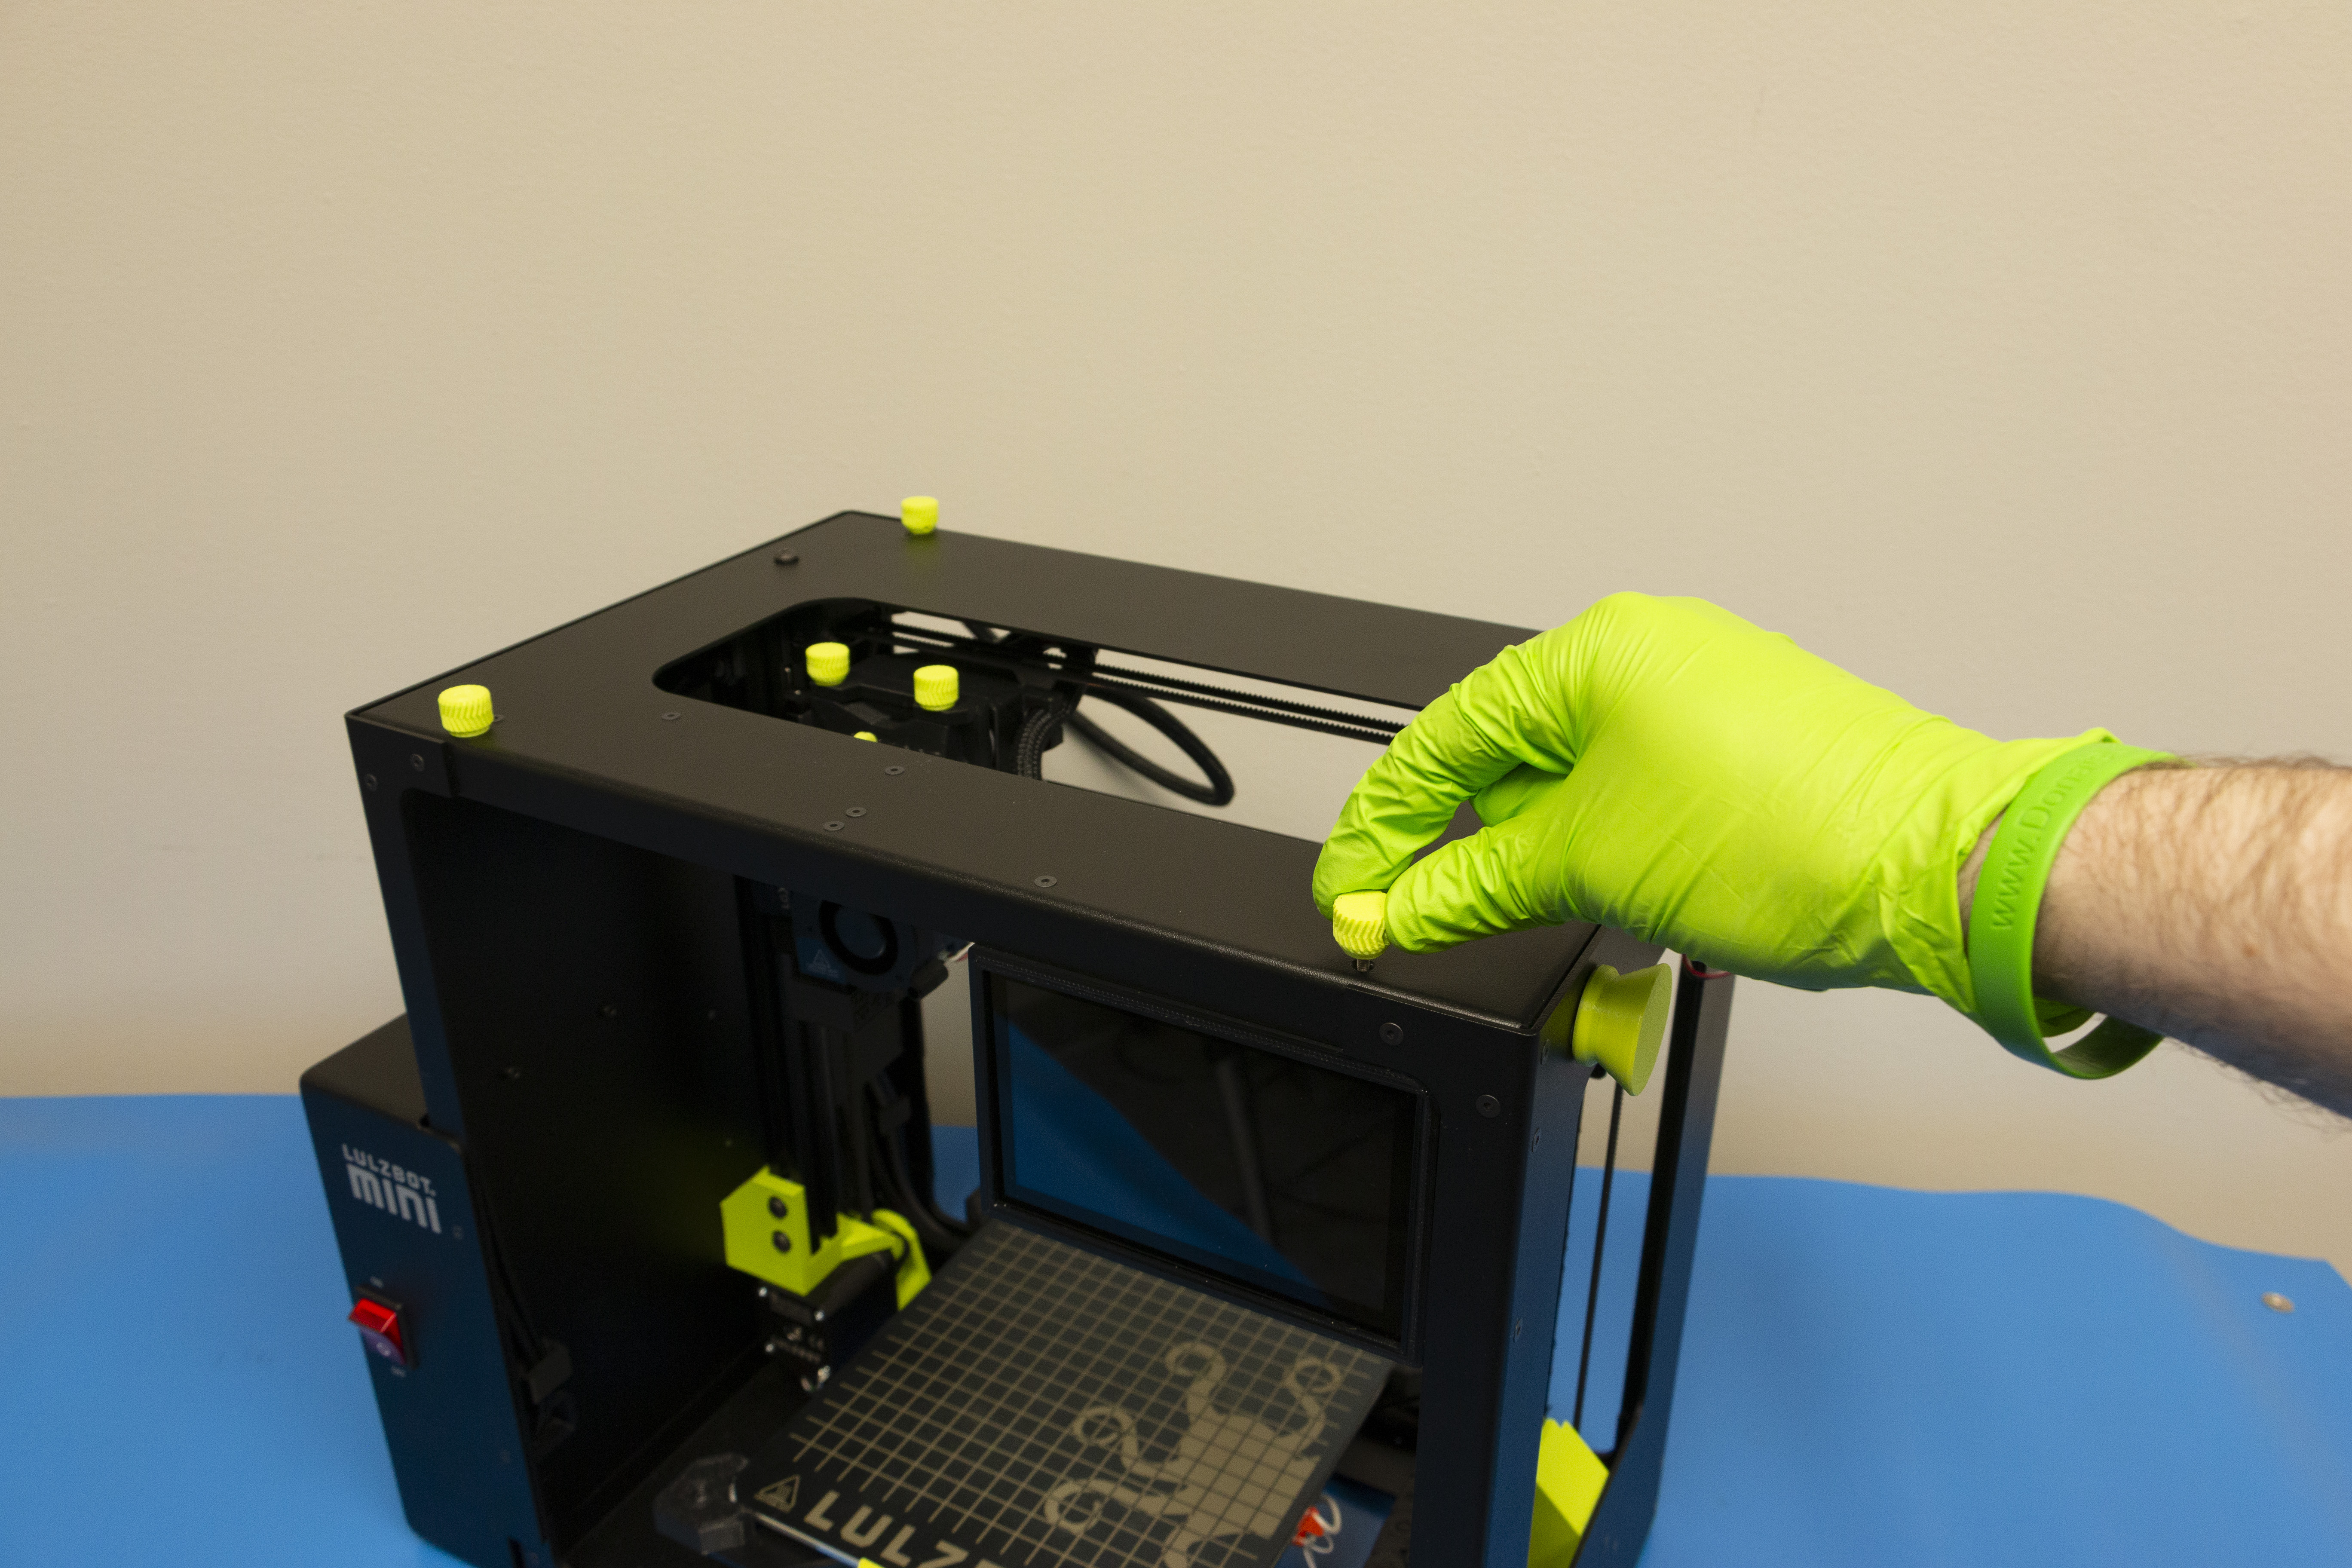
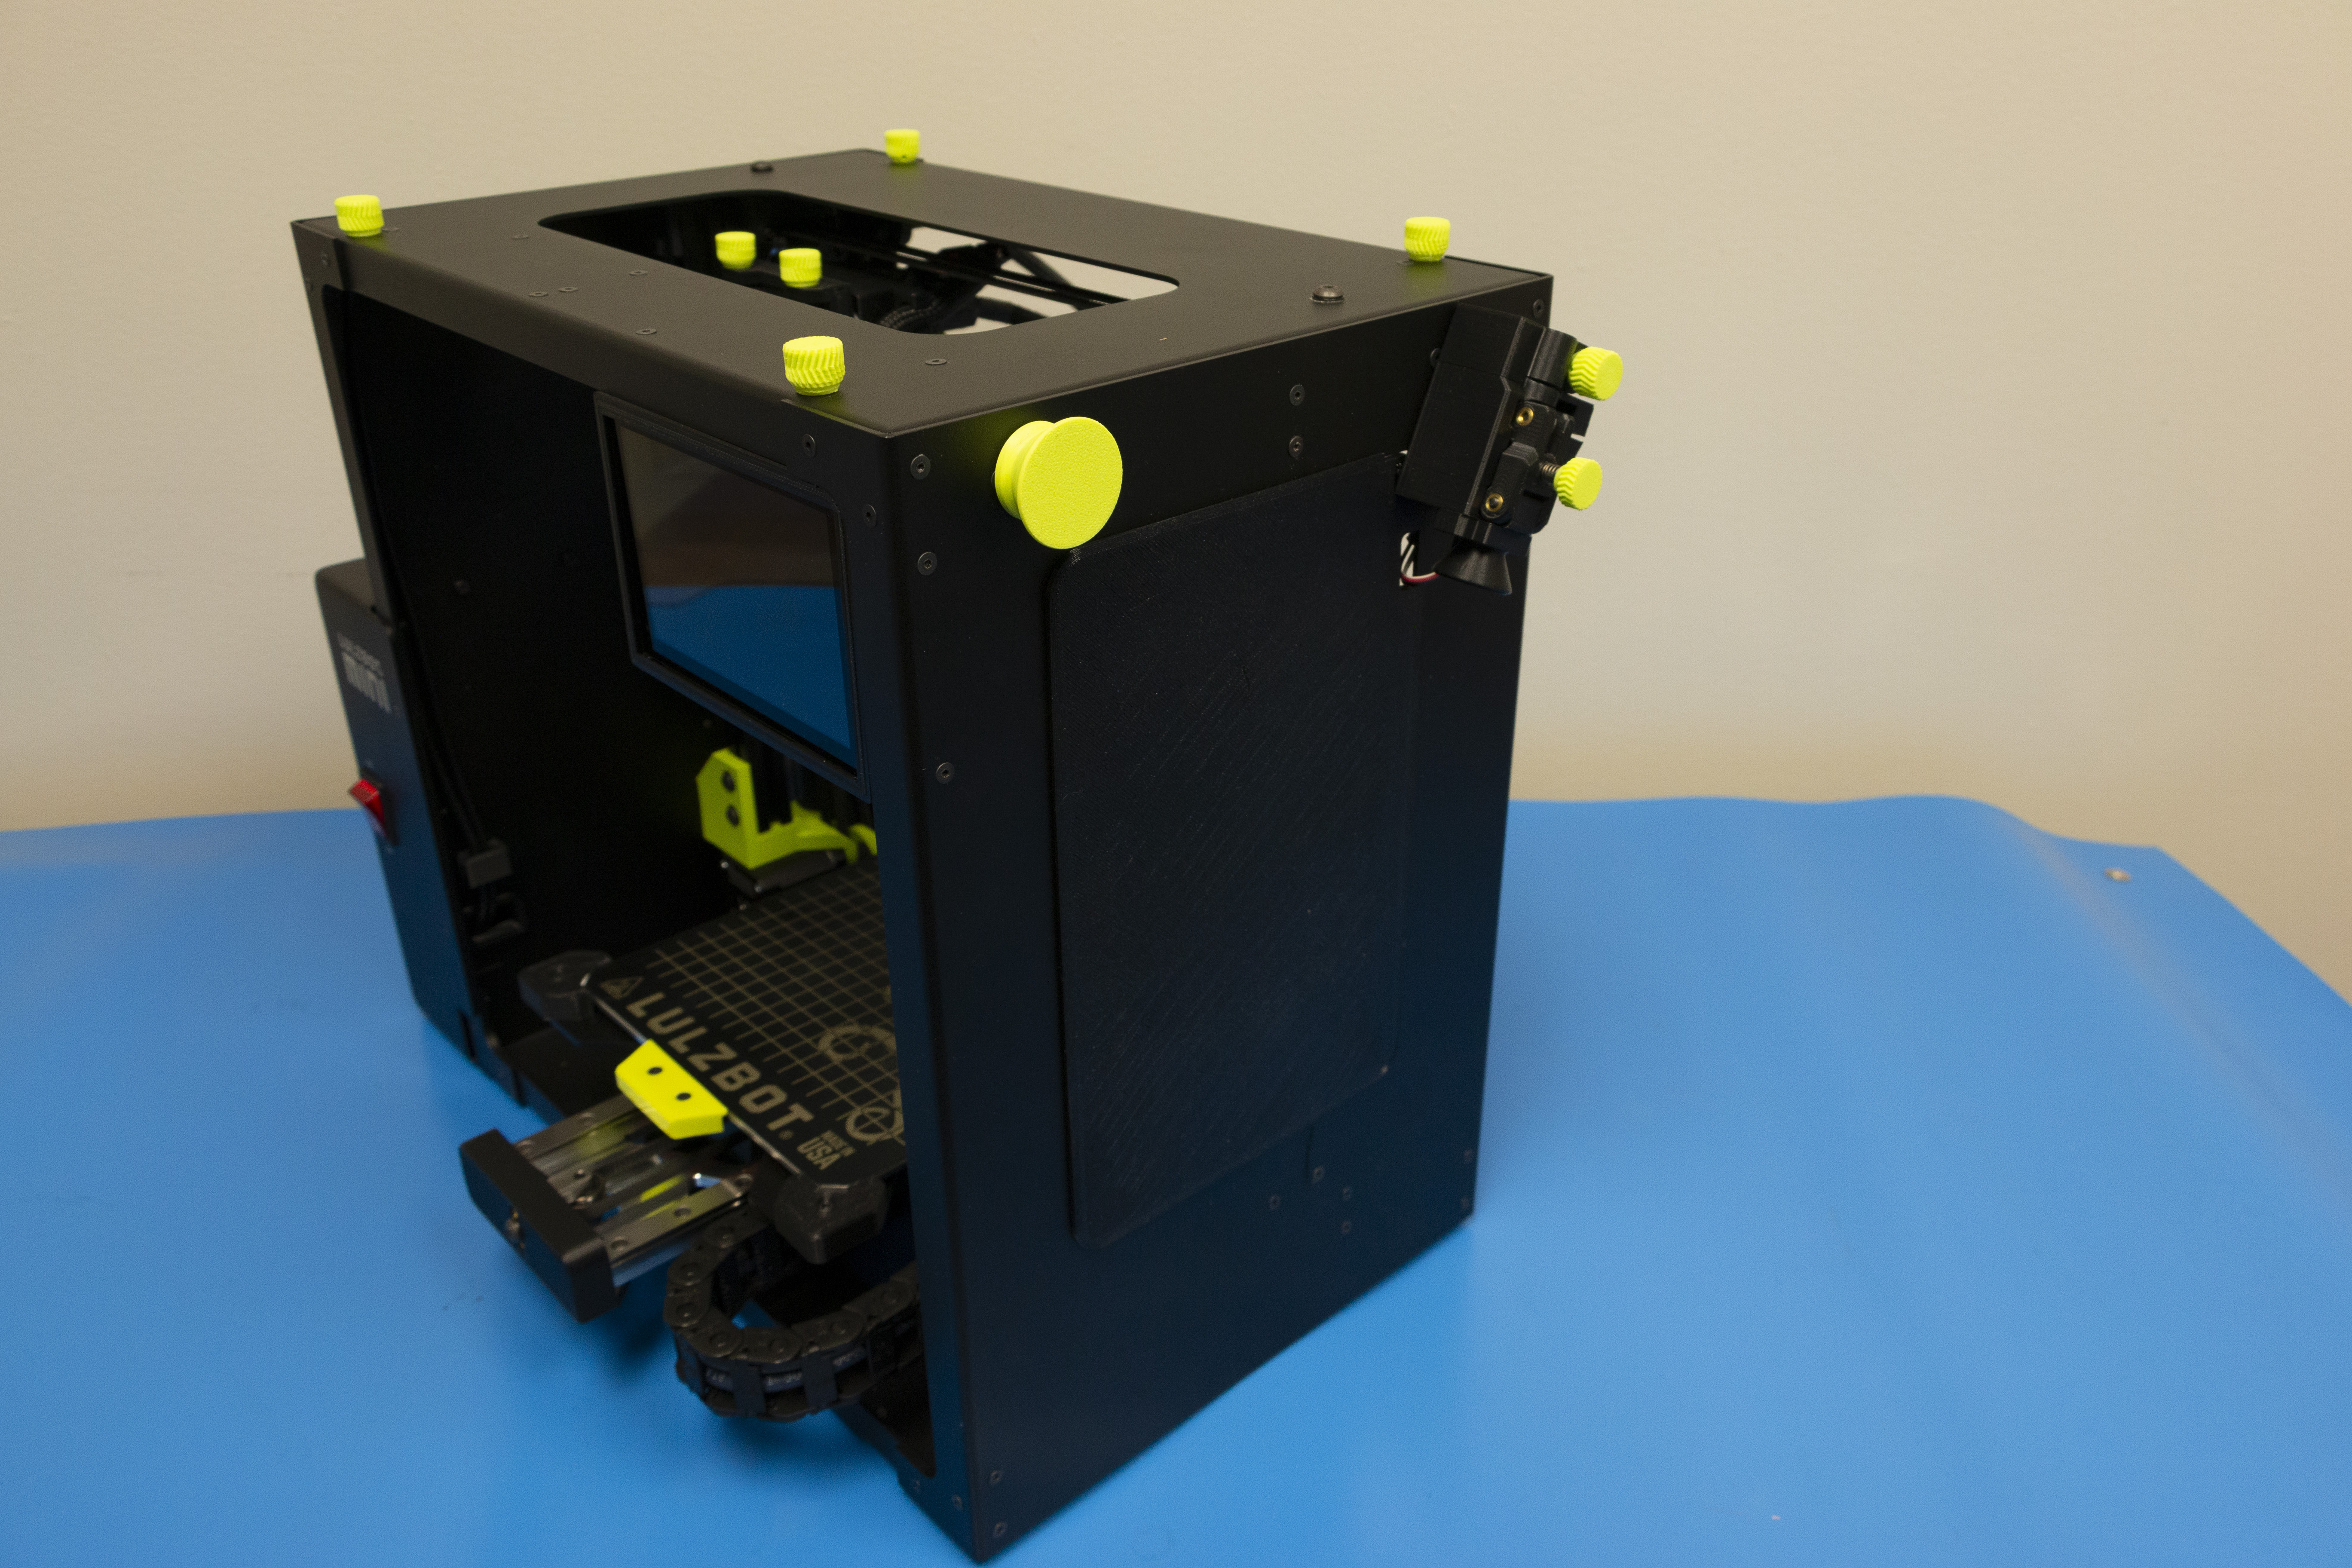
Using the 2.0mm hex wrench, remove the 4 outermost screws on the top of the 3D printer's frame.
See image for exact ones to remove.
Use the 4 3D printed thumb screws and secure them in place of the previously removed screws.
You only need to secure these finger tight.
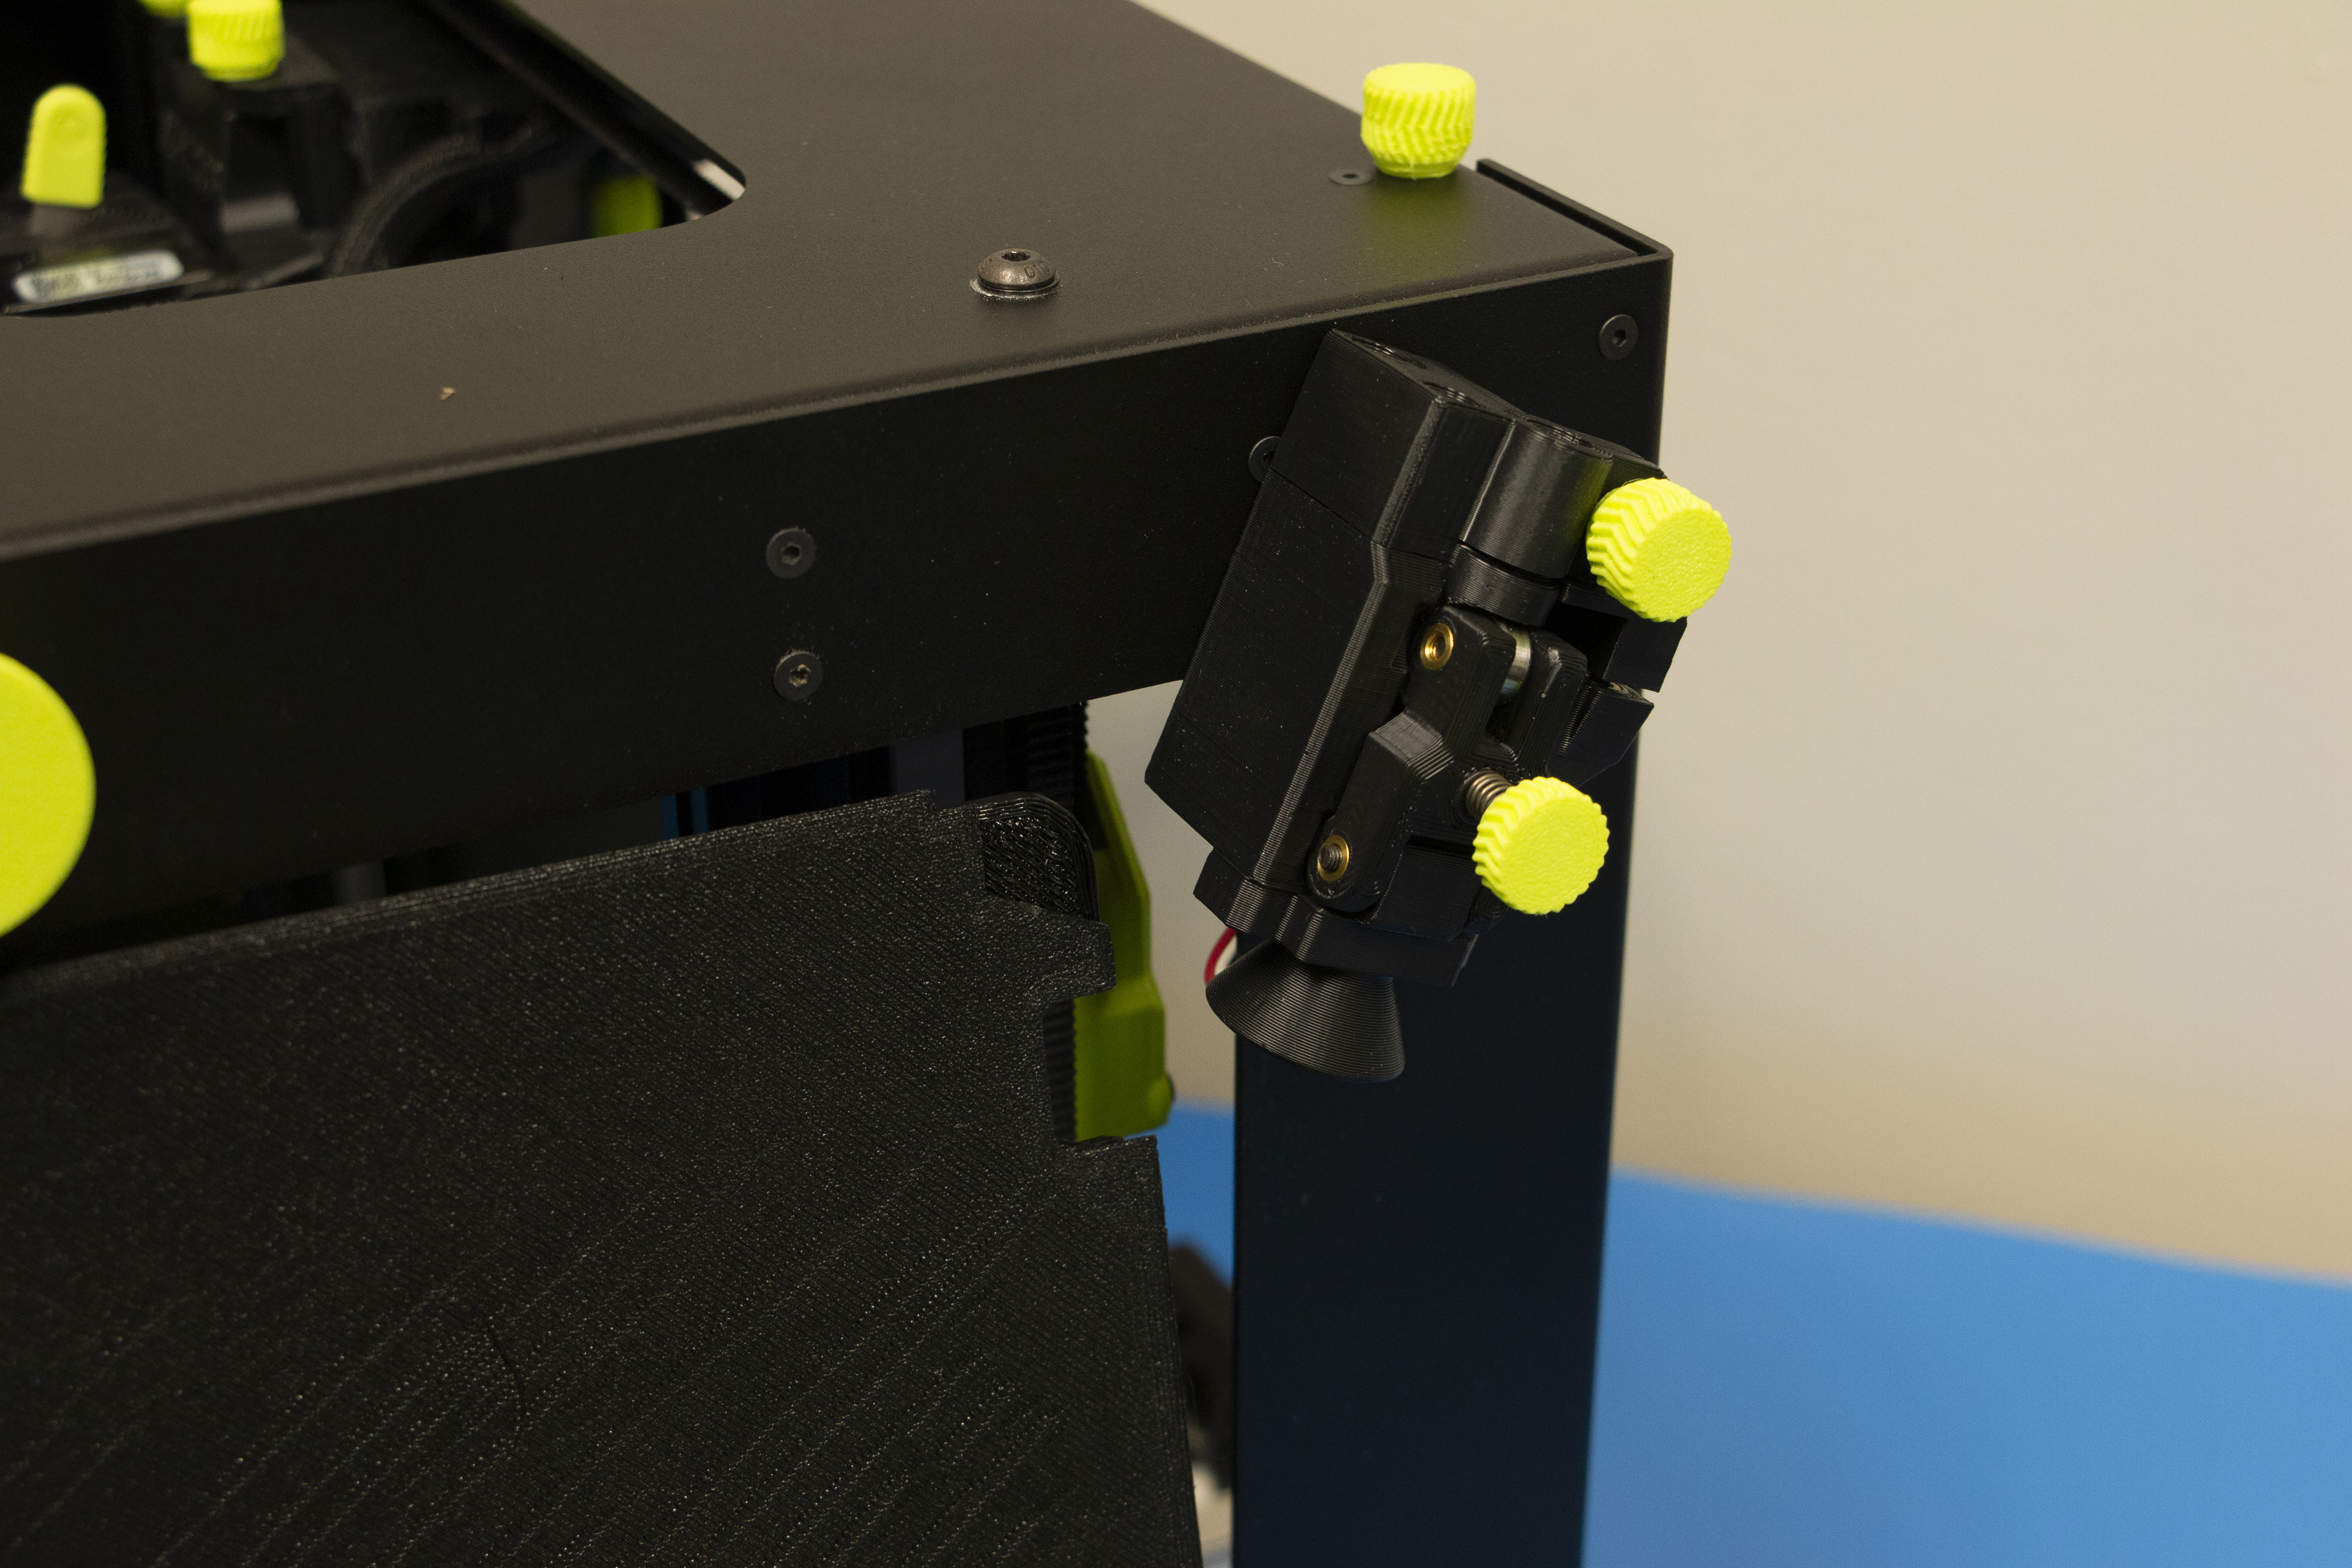
Take the side panel and slide it into position behind the runout sensor on the right side of the printer.
Secure the top side of the side panel and press around the edges of the panel to secure it to the printer's frame.
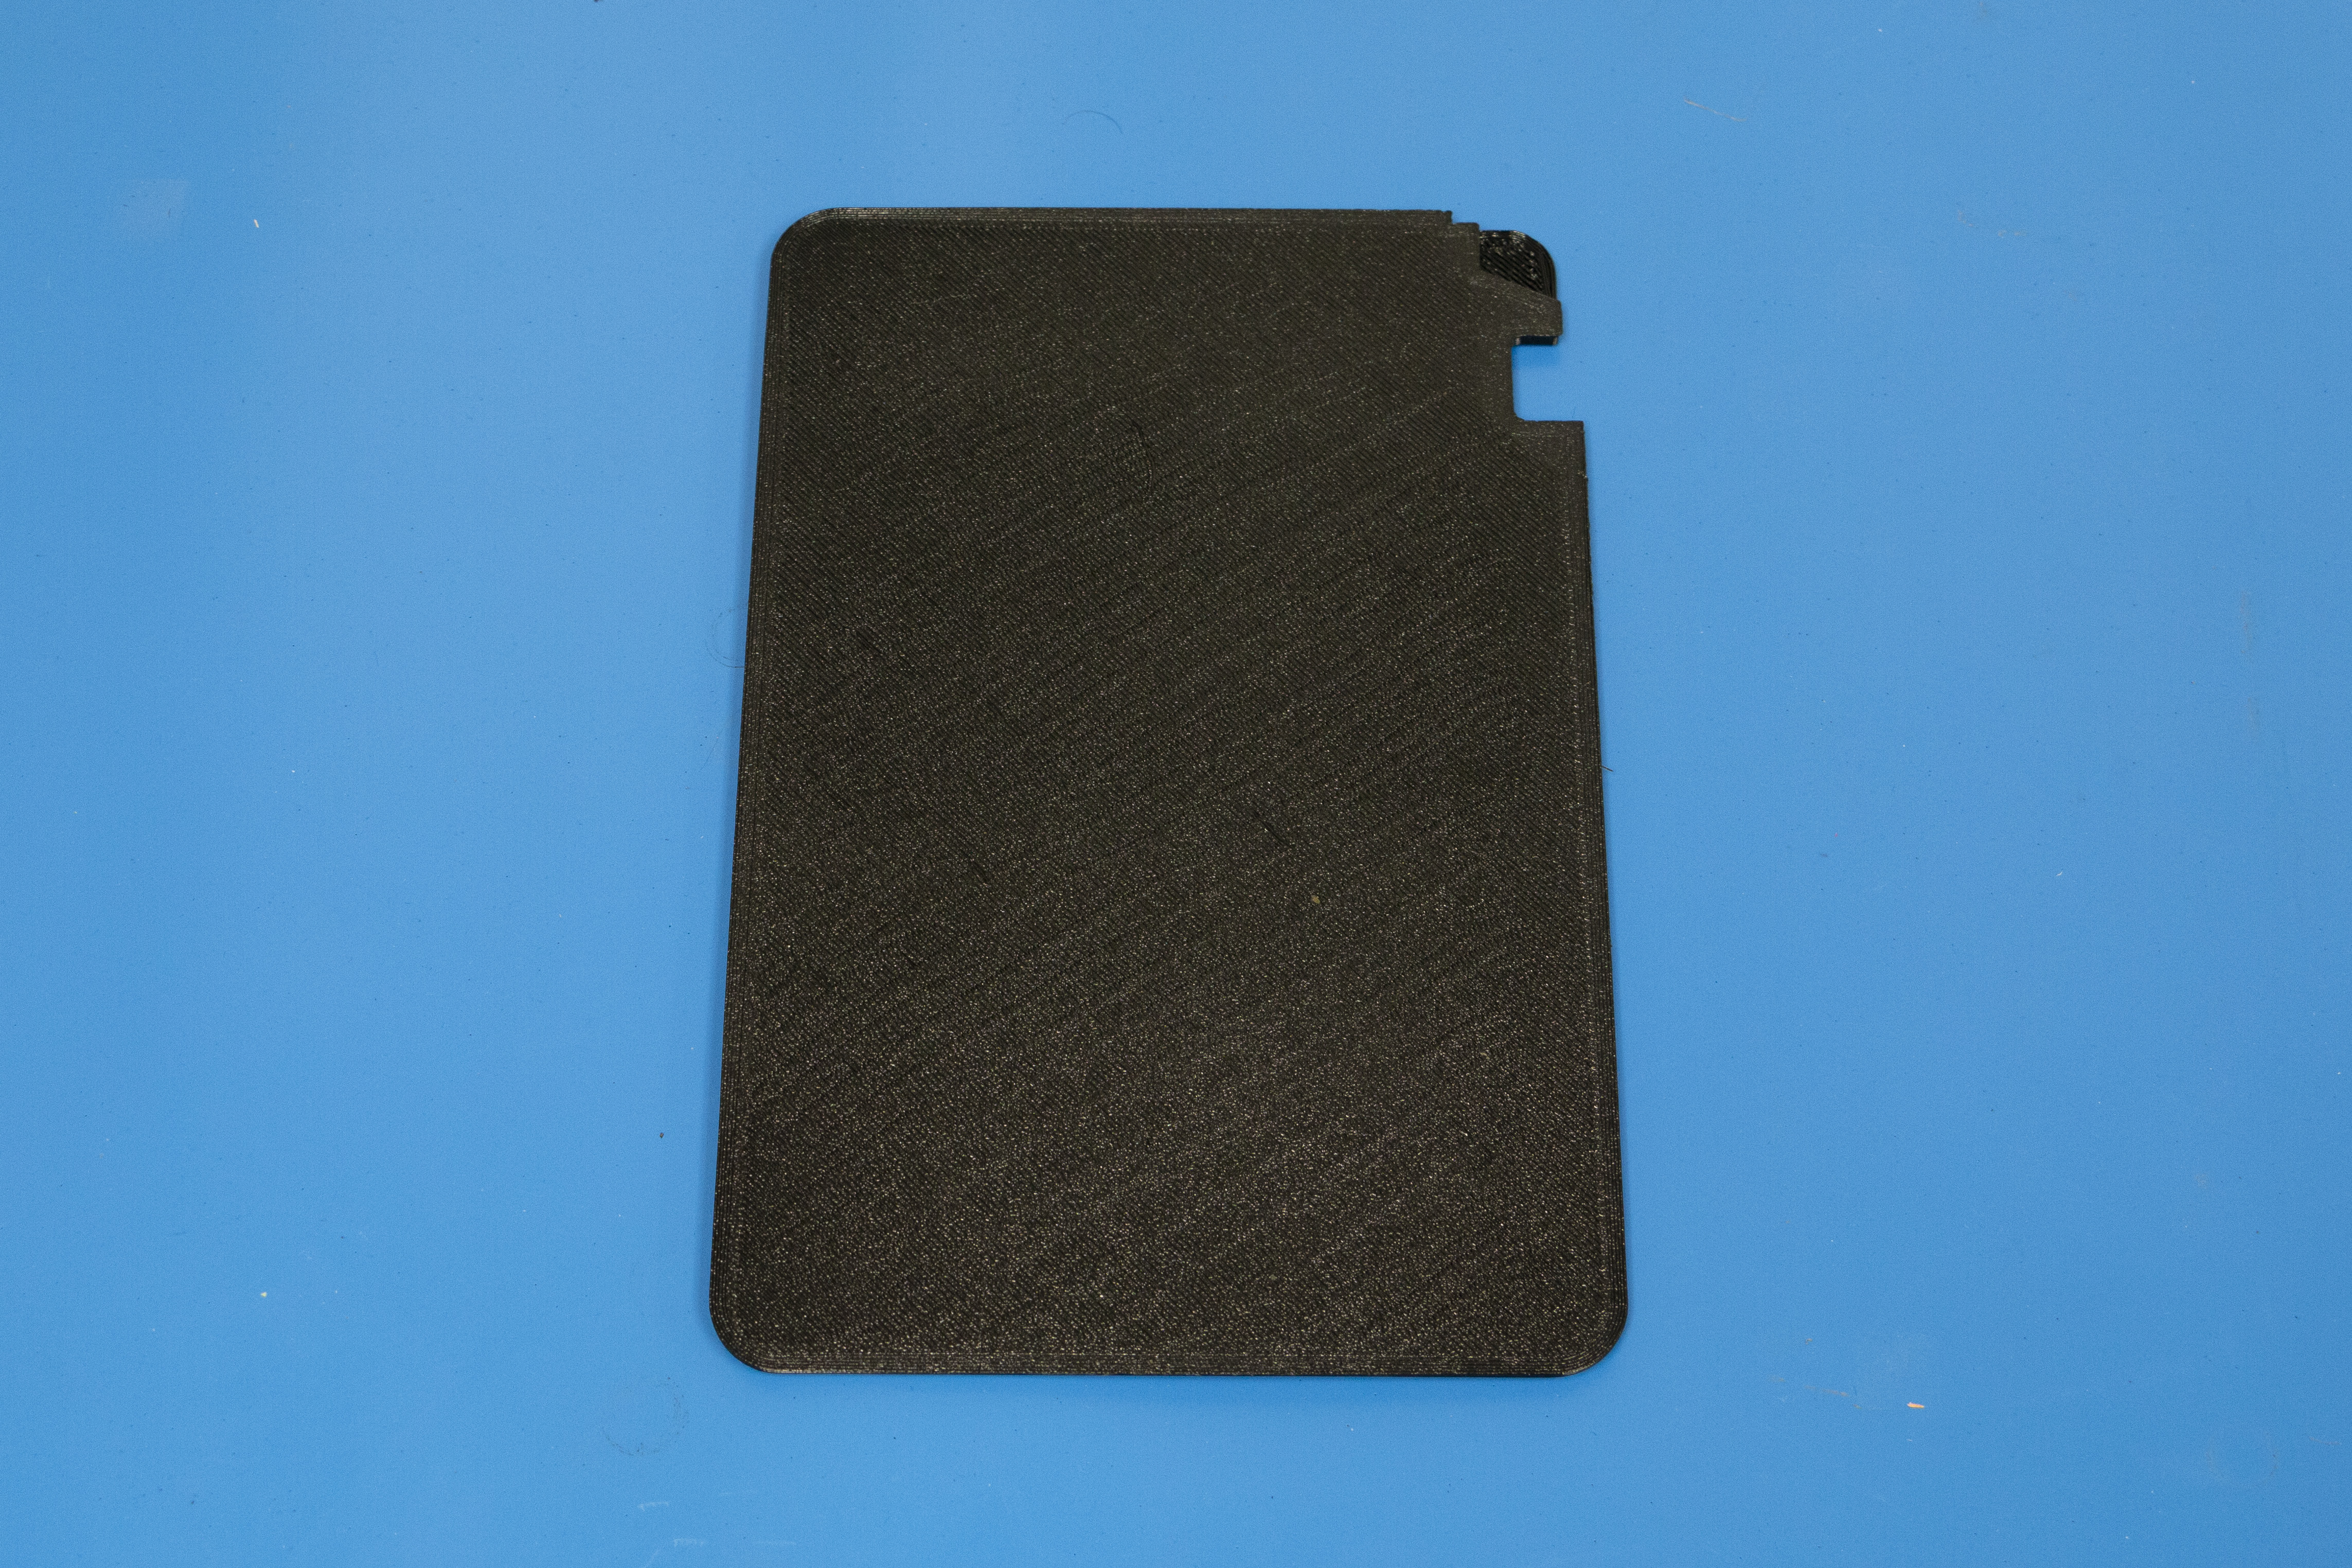
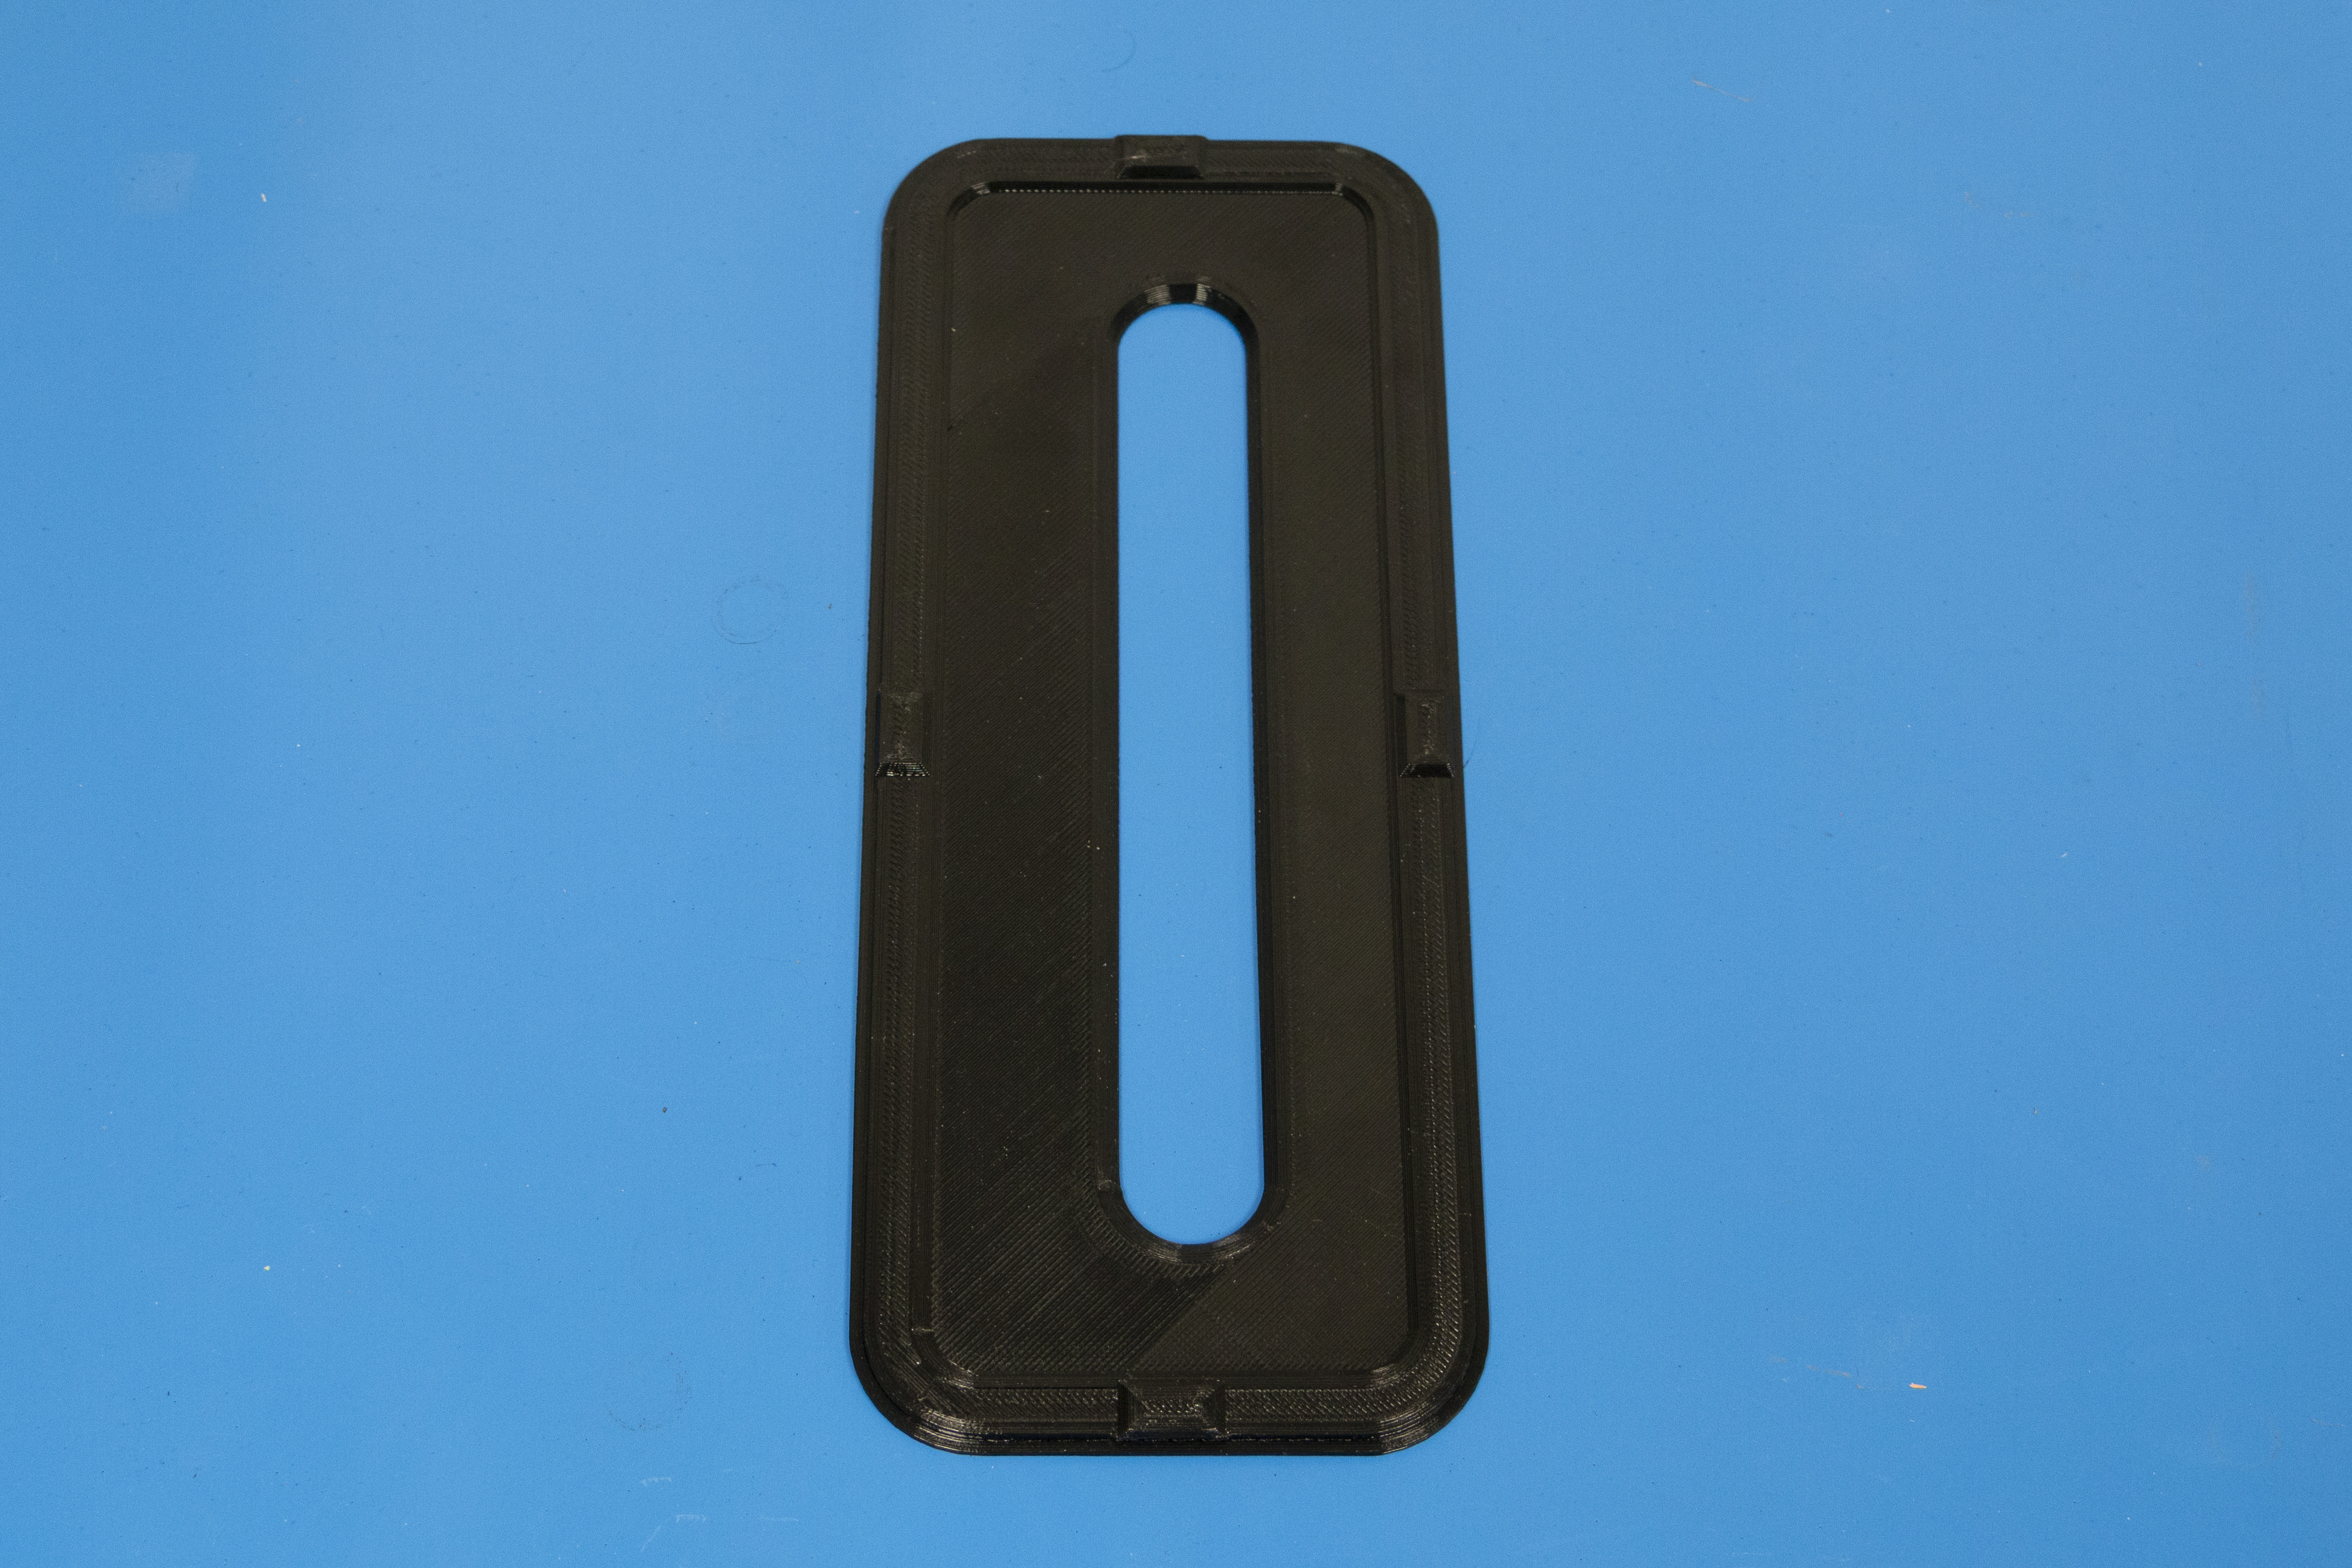
Locate the top panel.
Note that the opening of the top panel is slightly offset and closer to one side than the other.
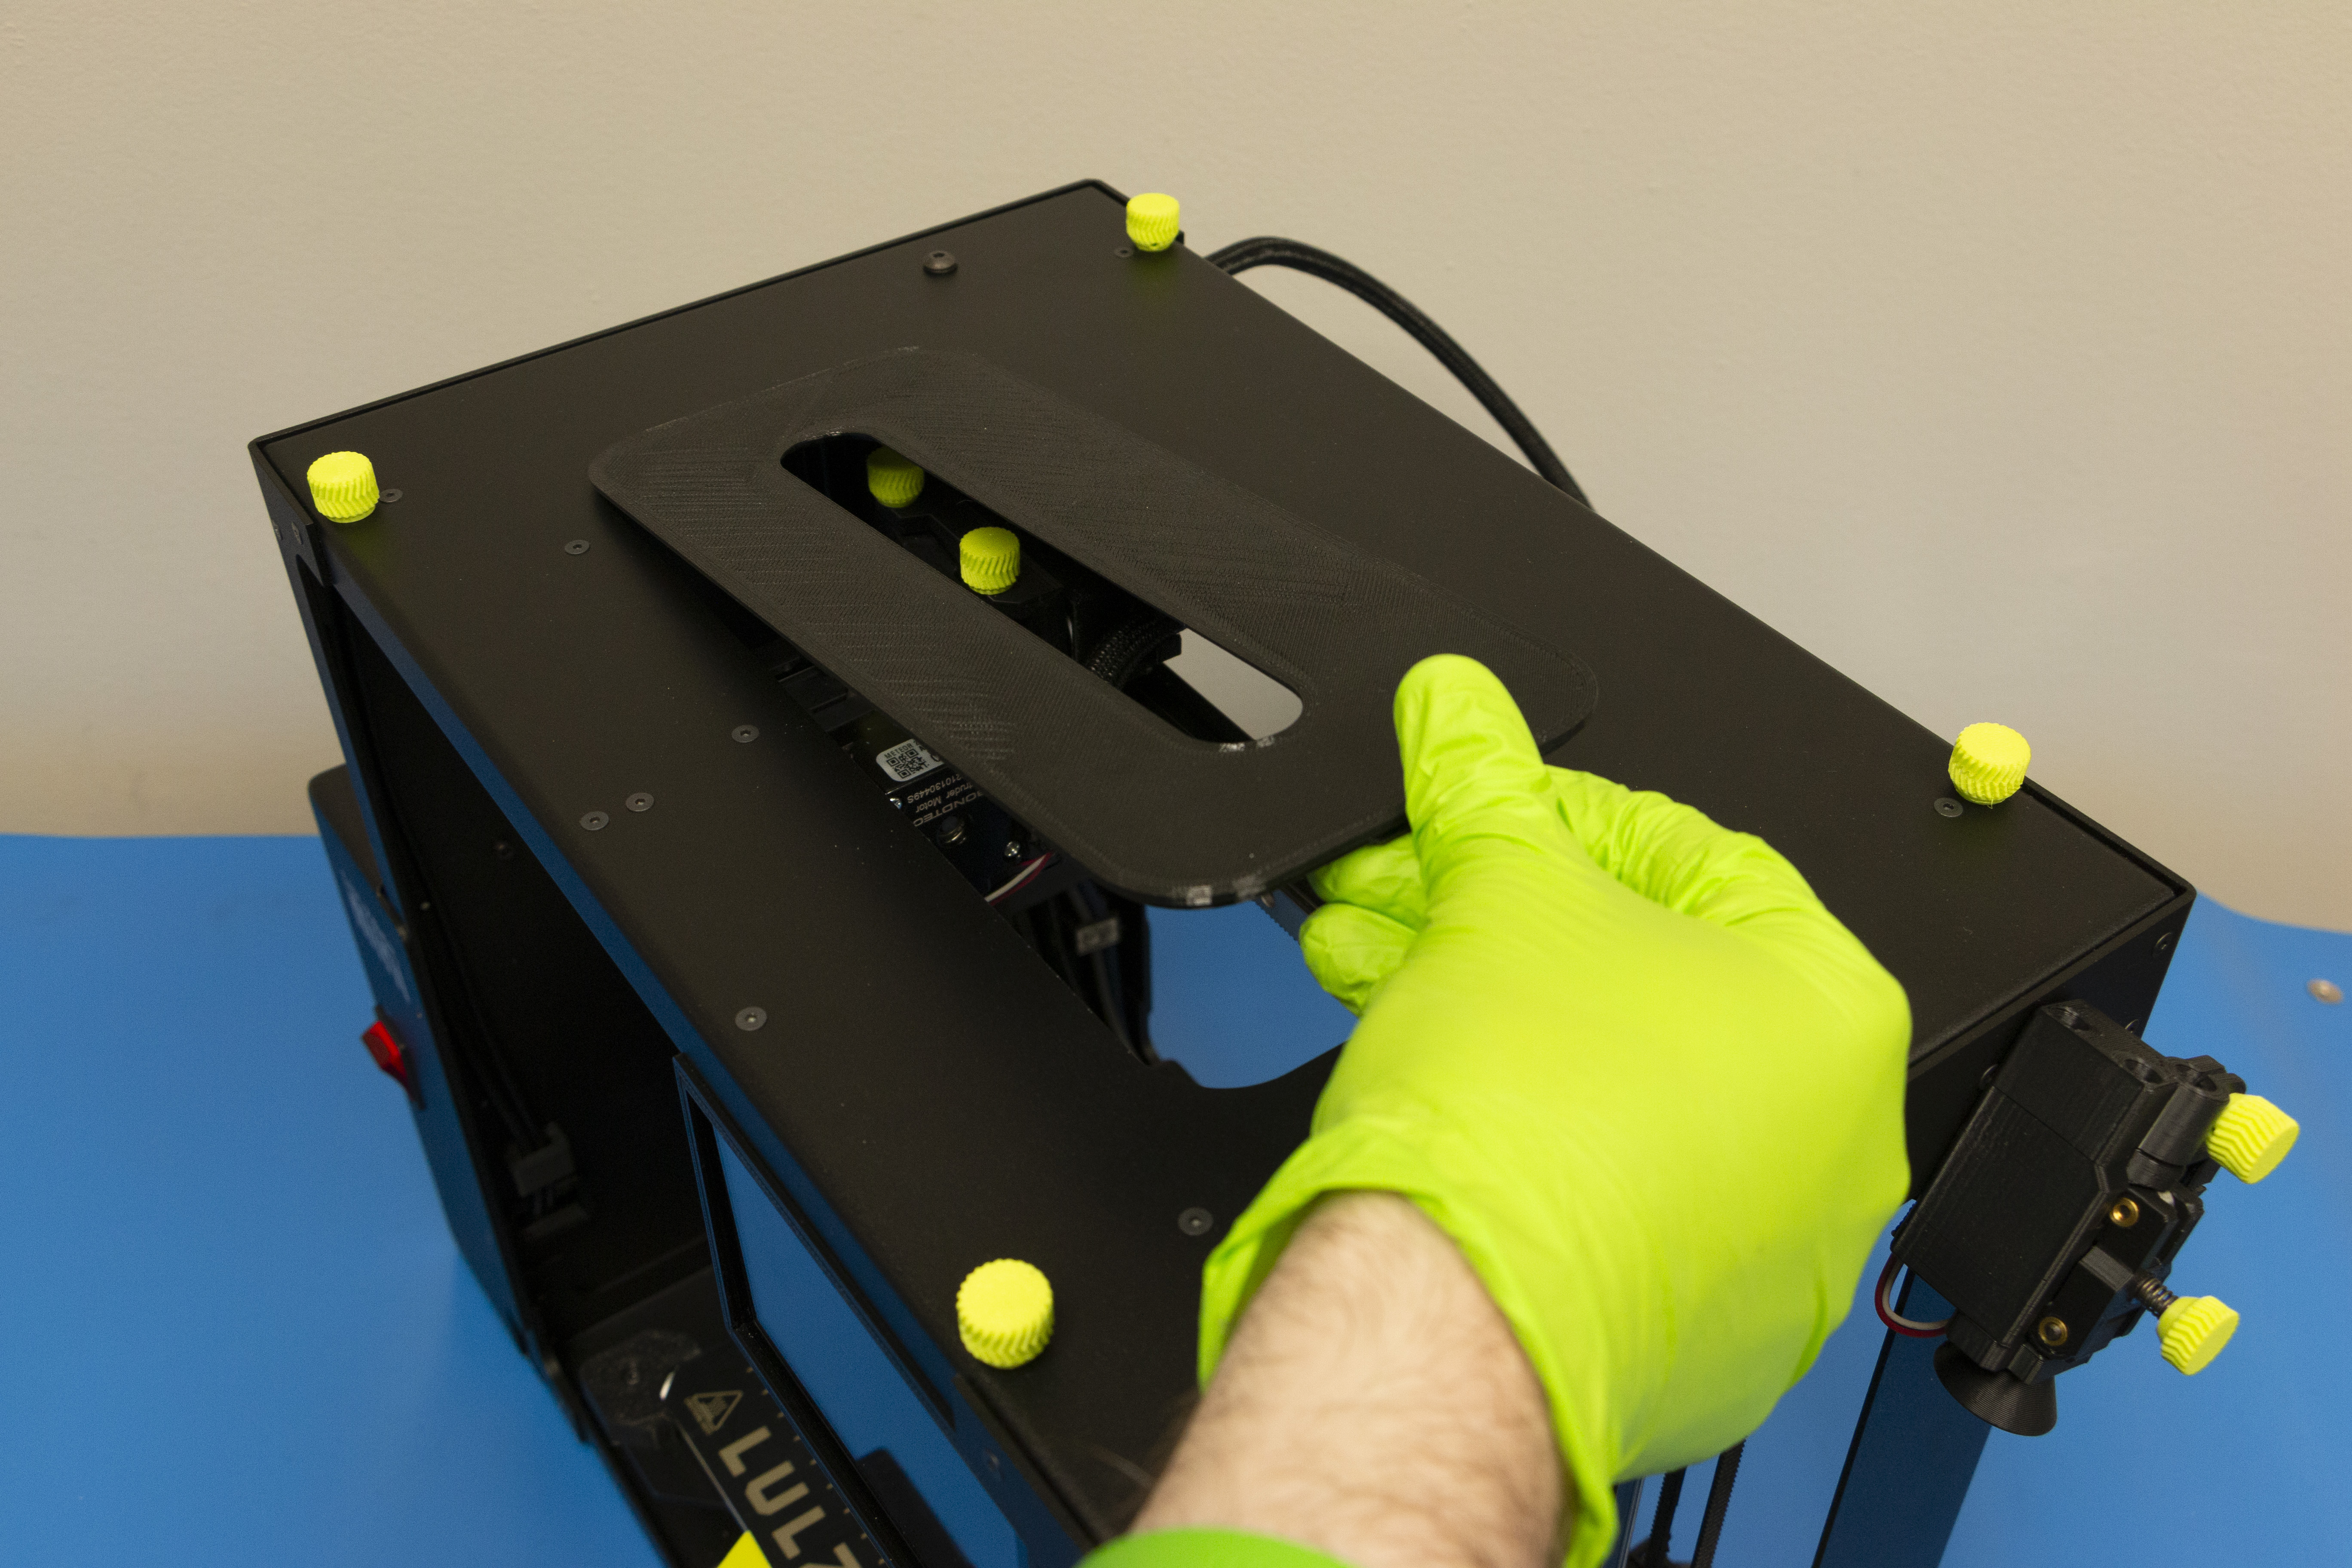
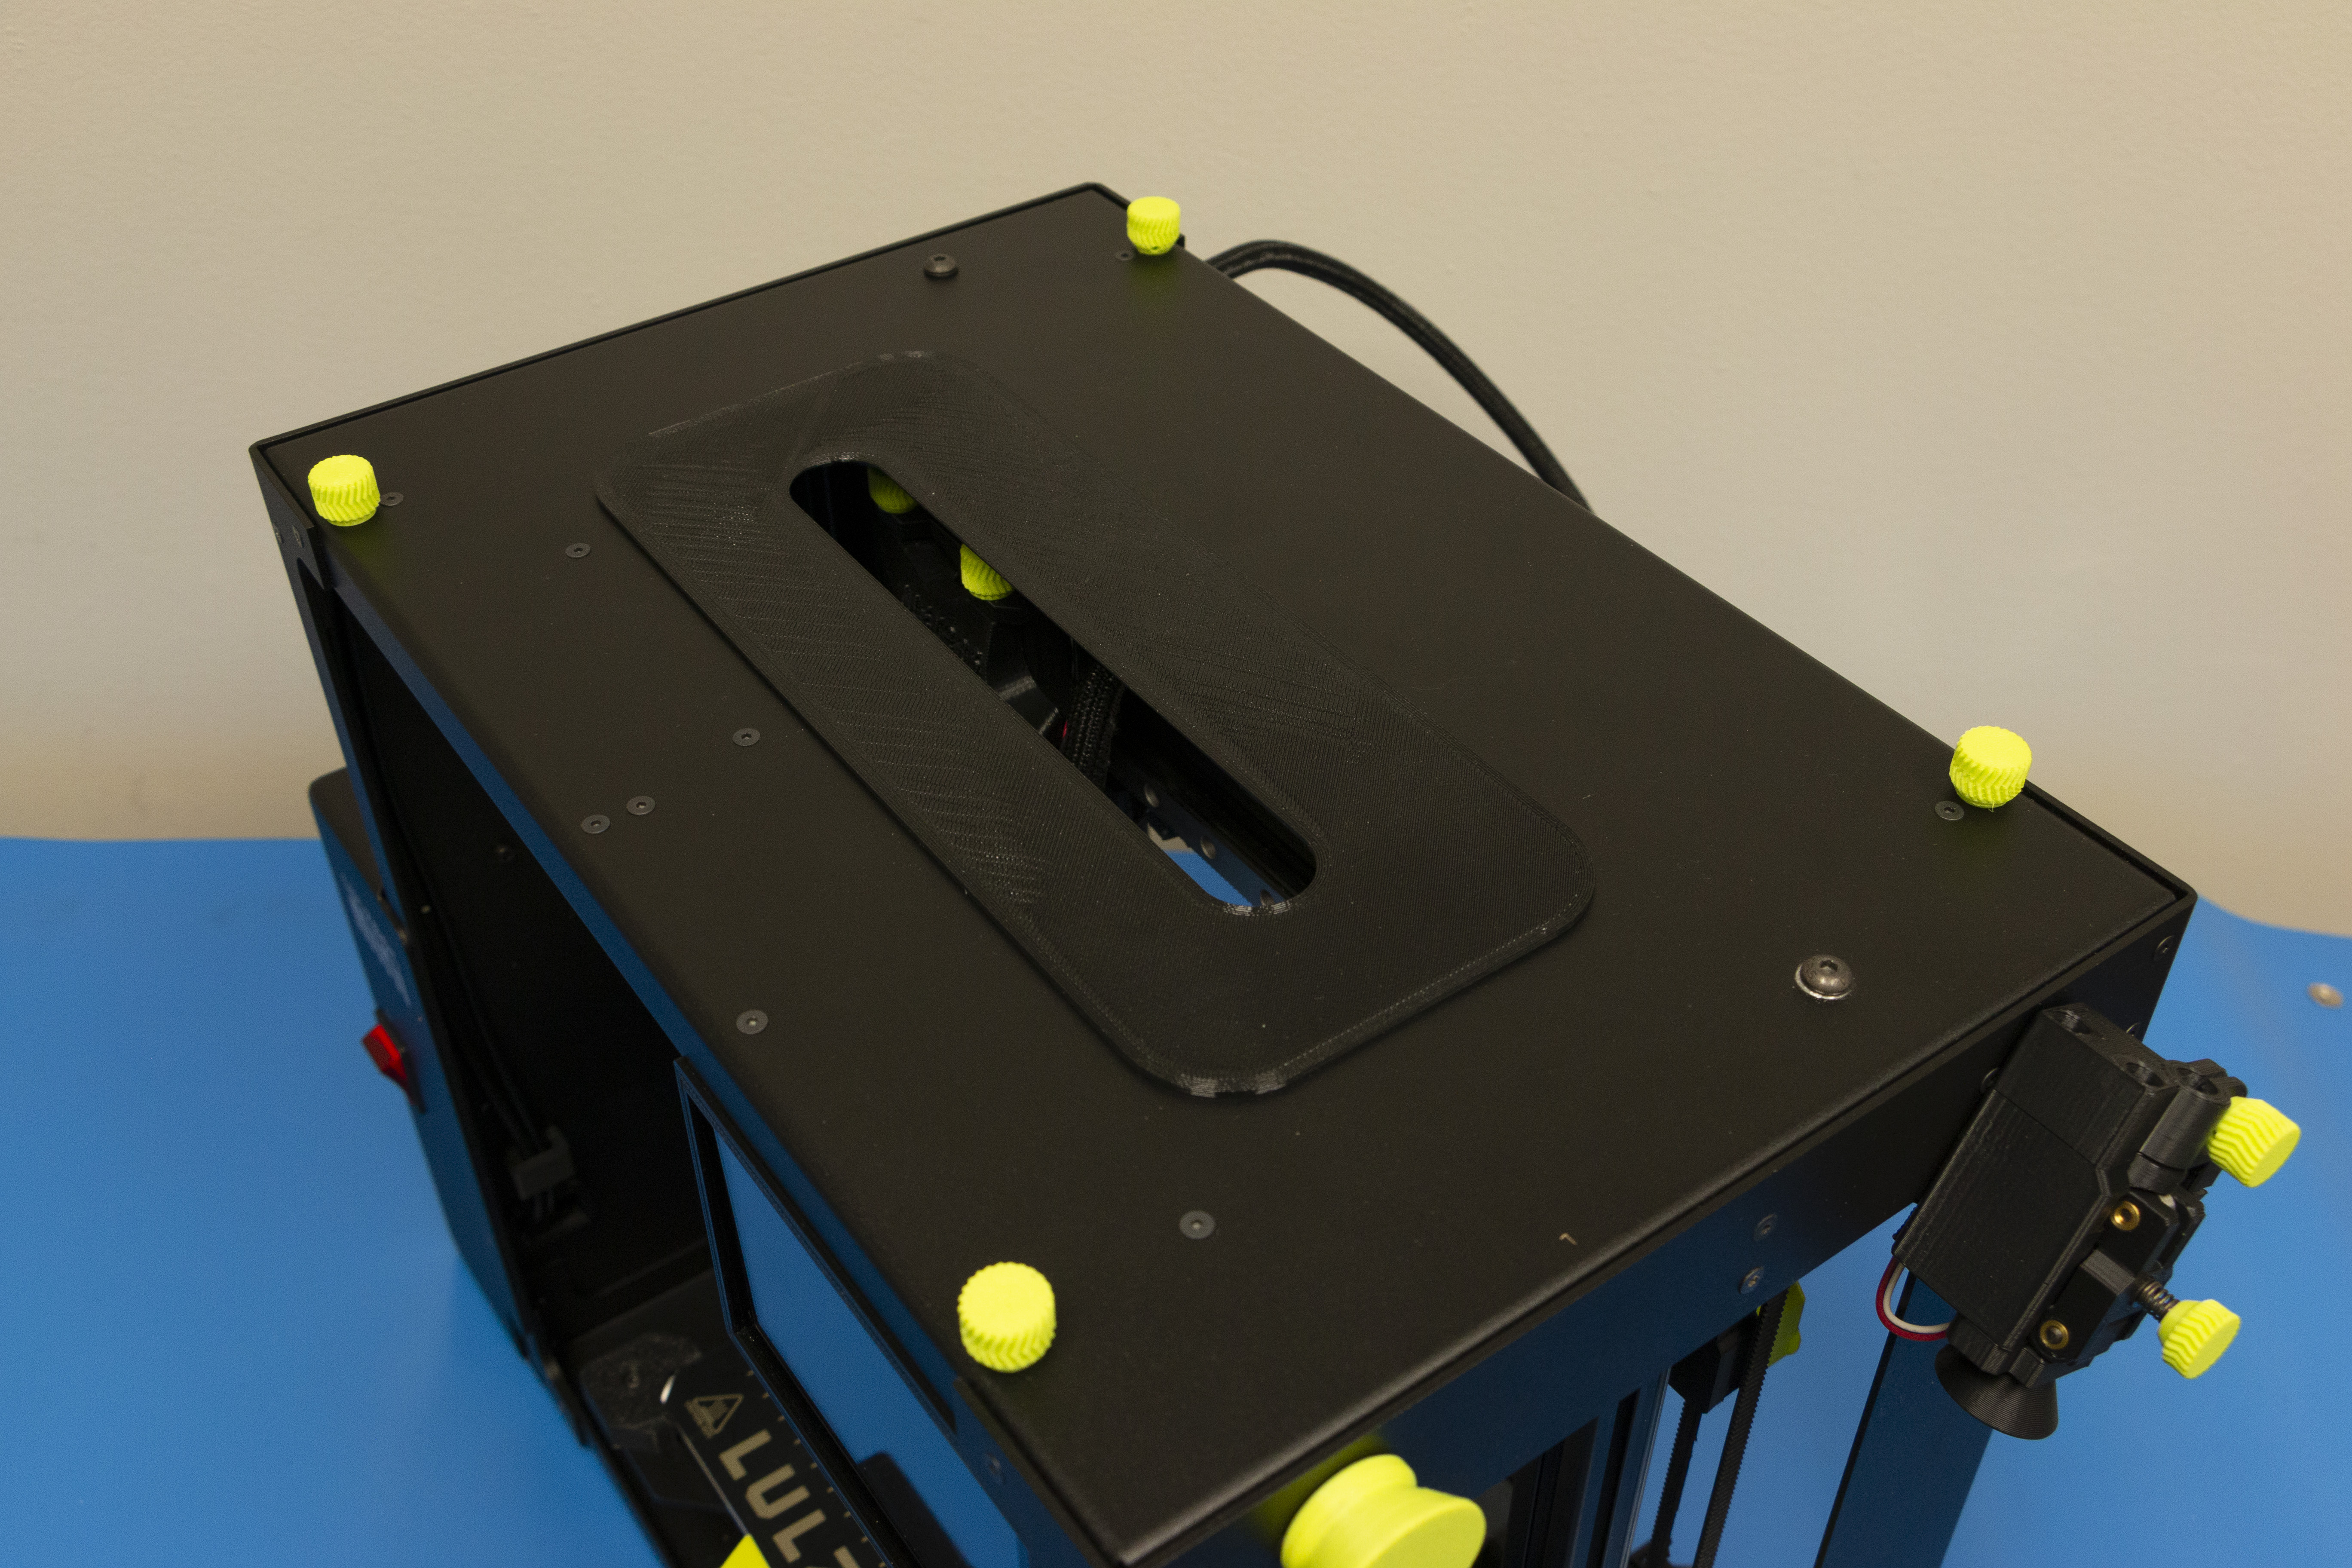
Place the top panel on the top of the printer with the opening offset closer to the front of the printer.
Push in the edges to secure to the printers frame.
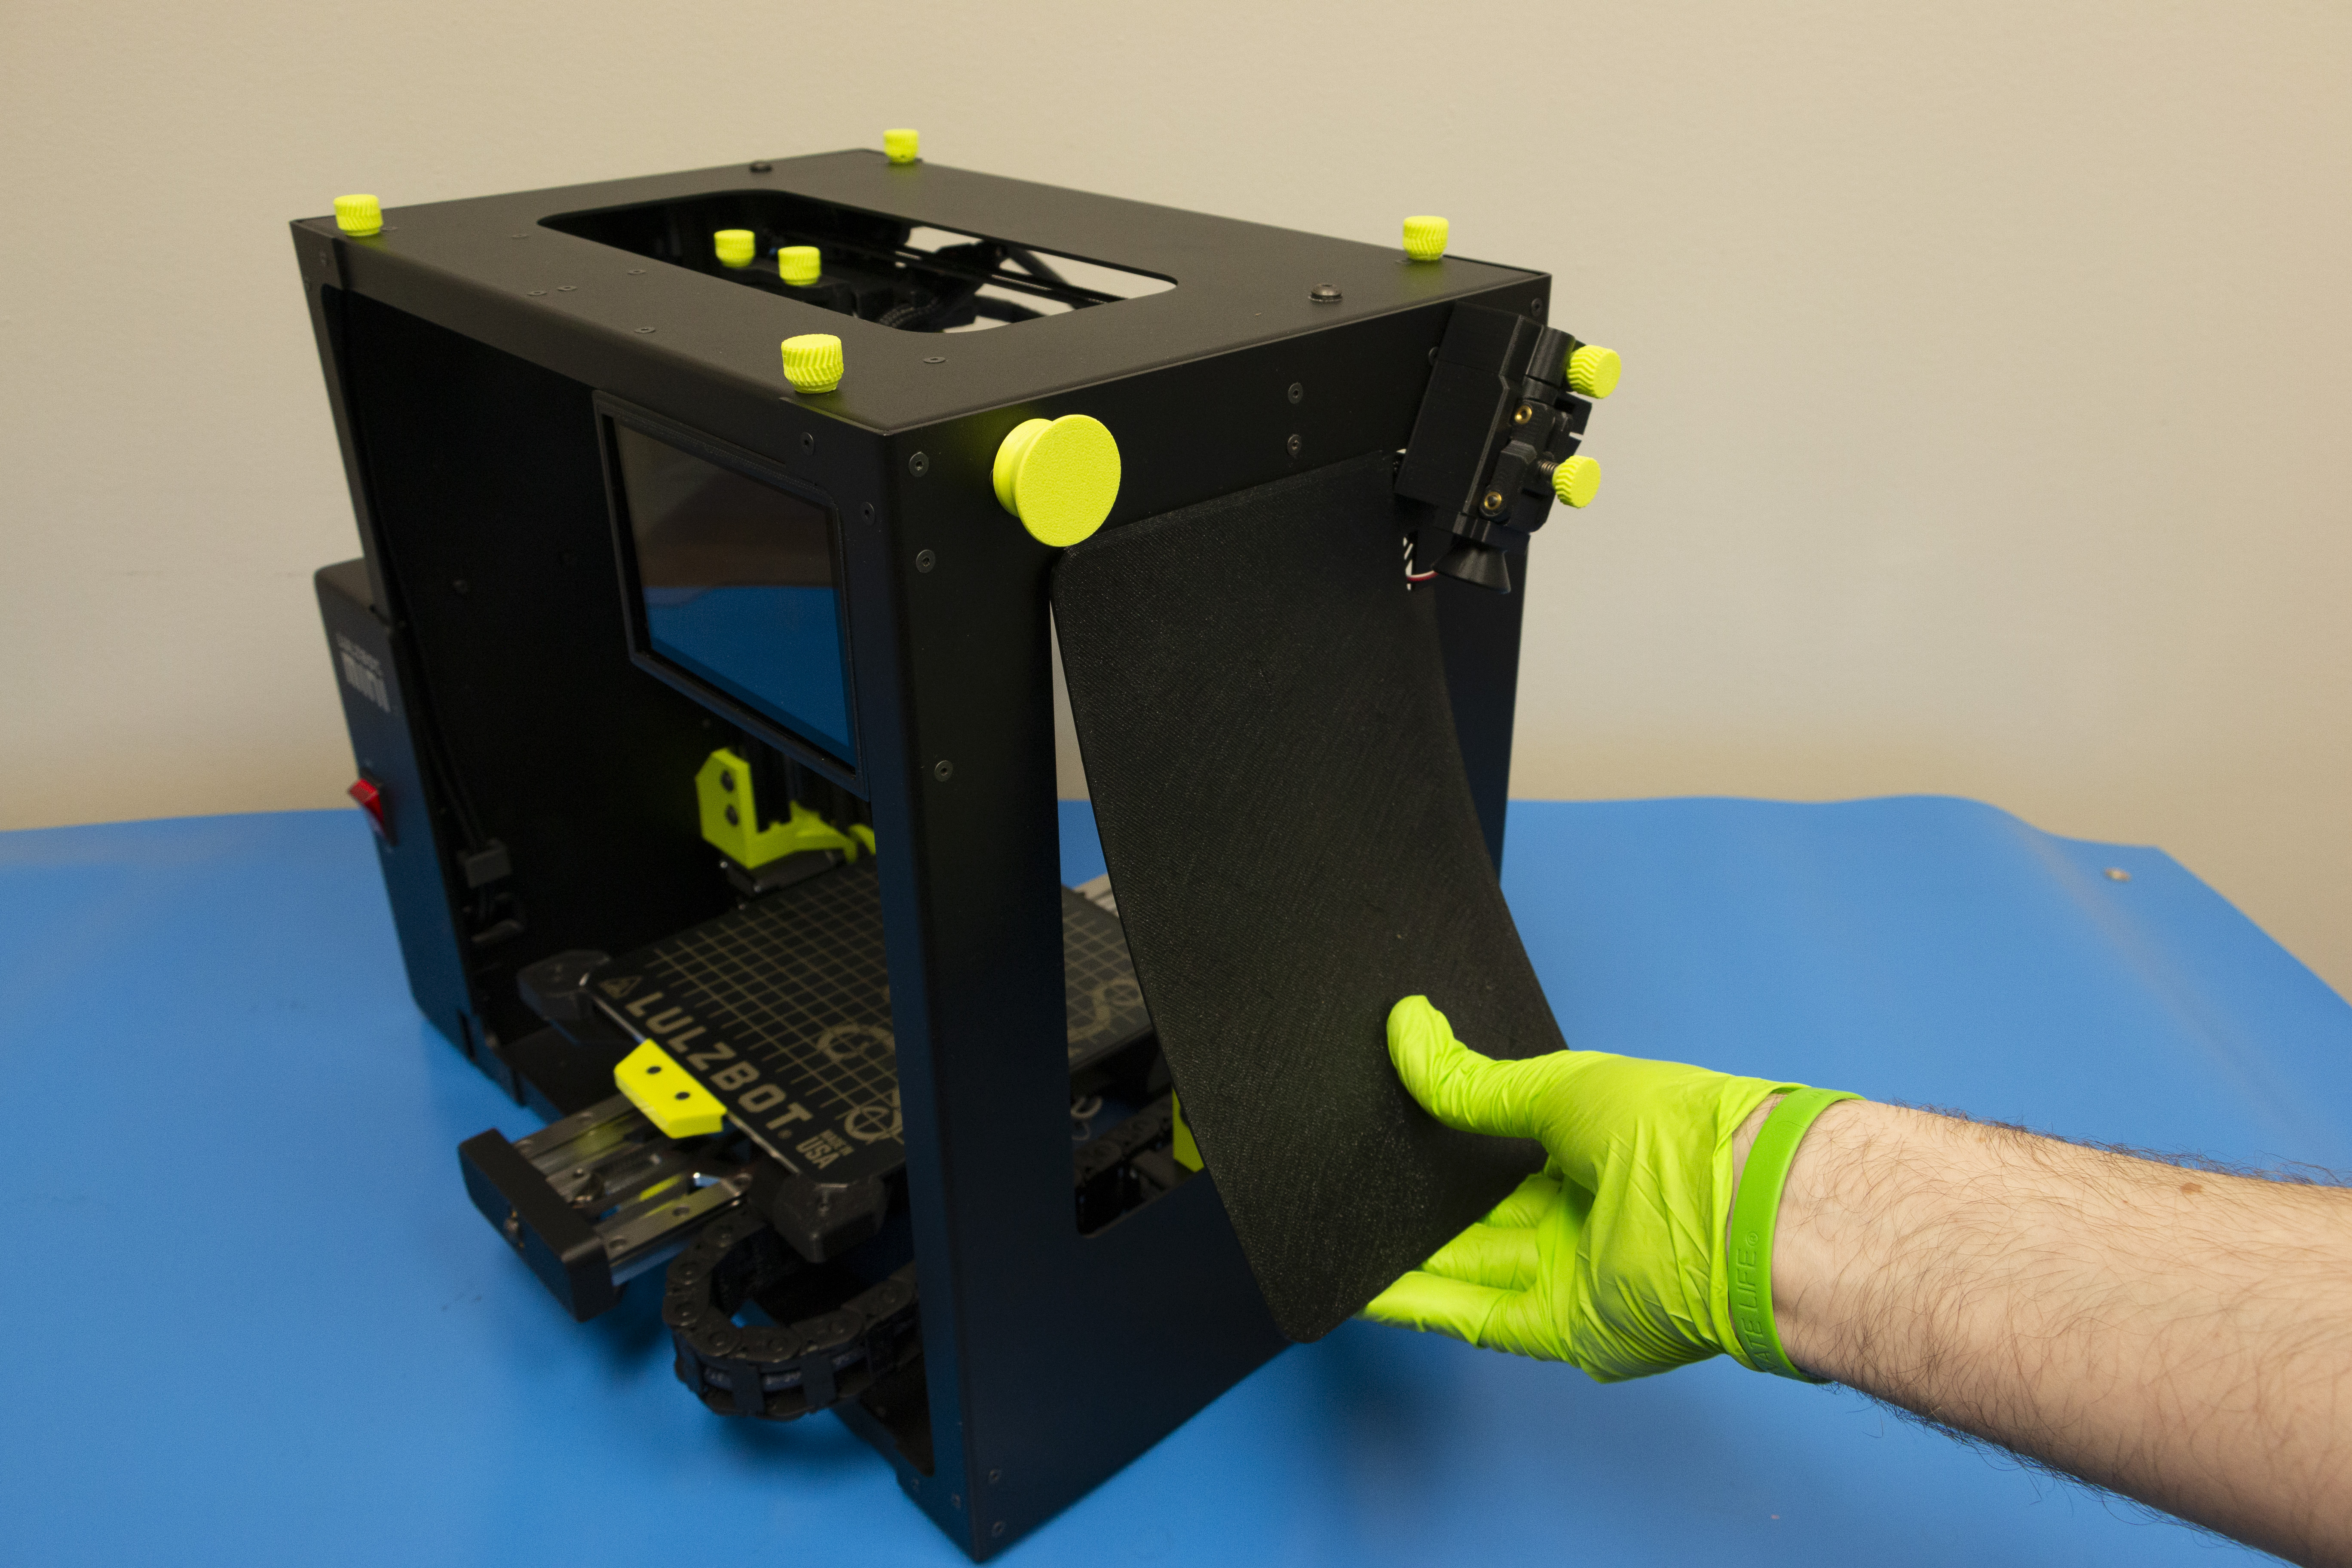
Place the rear and front clear panels on the printer.
You may need to angle the panels a little bit to fit them on the thumb screws you previously installed, then set the panel down to secure it to the printer's frame.
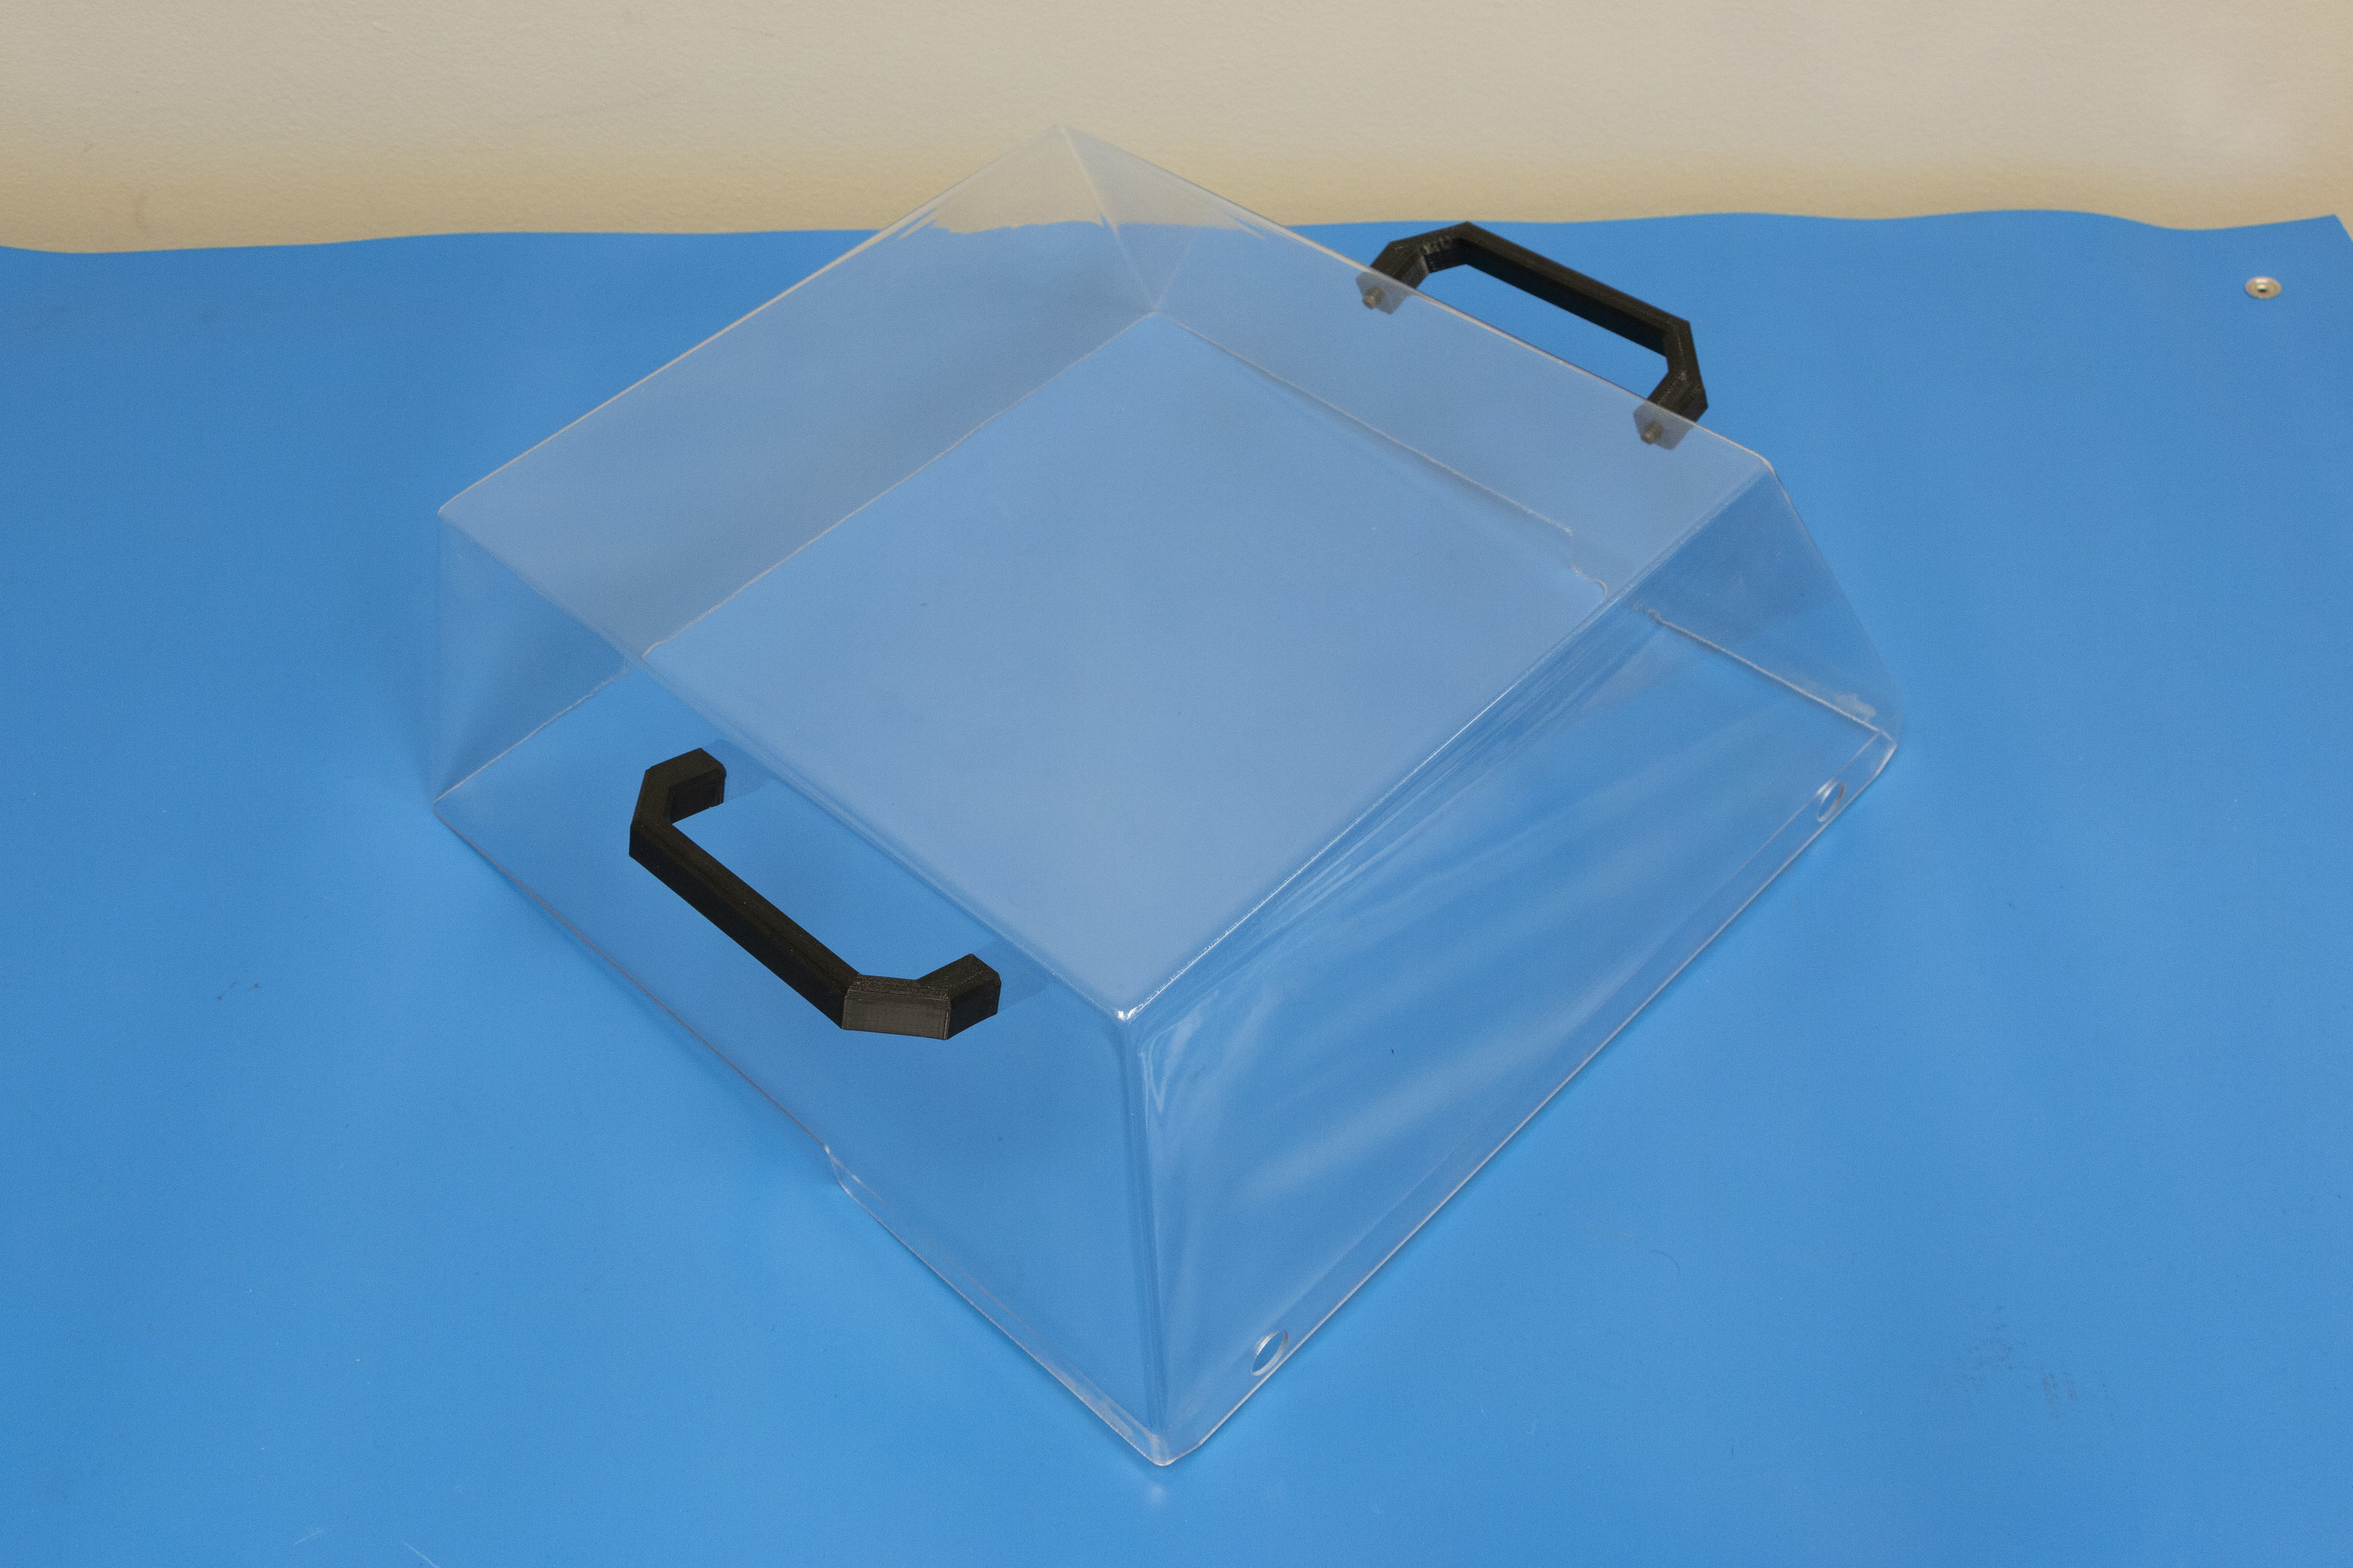
Congratulations! Your enclosure is assembled and ready to use!
If you encounter issues please contact Technical Support by emailing support@LulzBot.com, or by calling +1-701-809-0800.