Open HardwareAssembly Instructions
Guides for installation and assembly of the LulzBot line of products made by FAME 3D LLC.
Guides for installation and assembly of the LulzBot line of products made by FAME 3D LLC.
Parts needed:
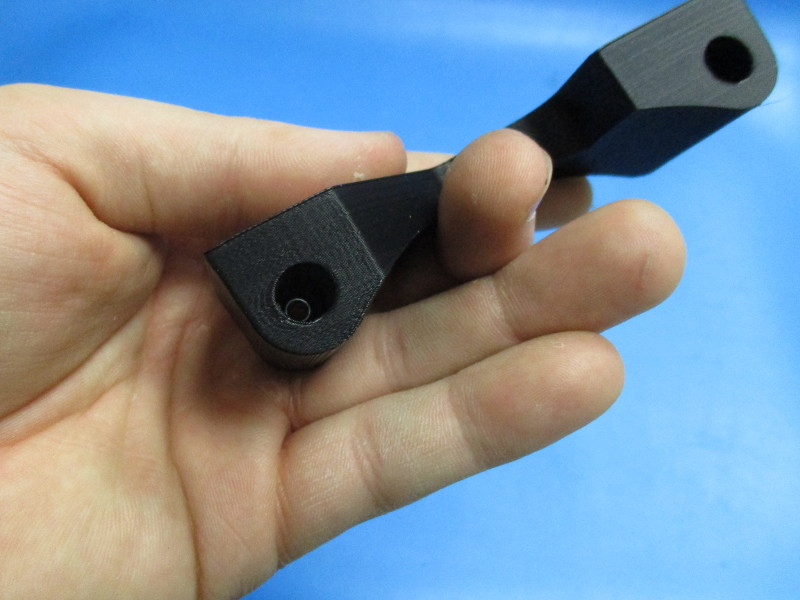
1x- Bed Mount Plate (PP-FP0081)
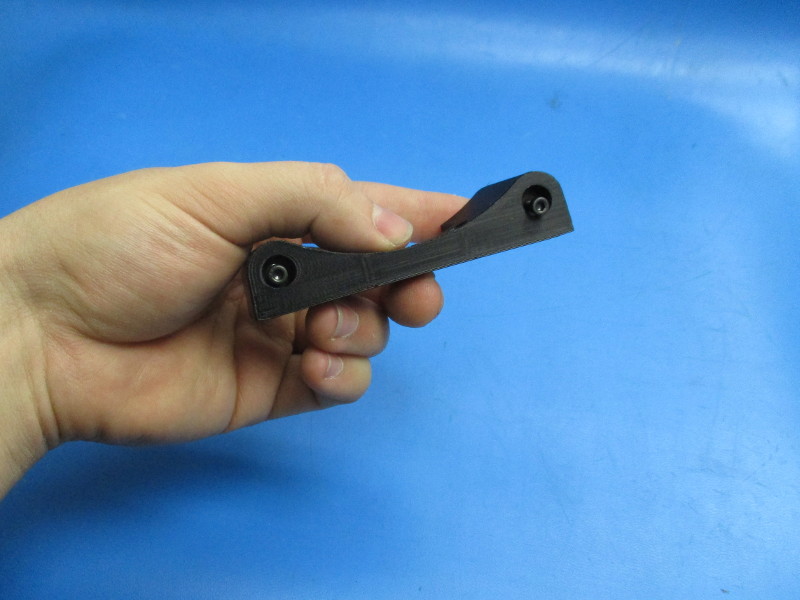
1x- Belt Mount (PP-GP0261_v1.1)
1x- Belt Clamp (PP-GP0260_v1.1)
4x- Bed Corners, Mini v2.5 (PP-GP0248)
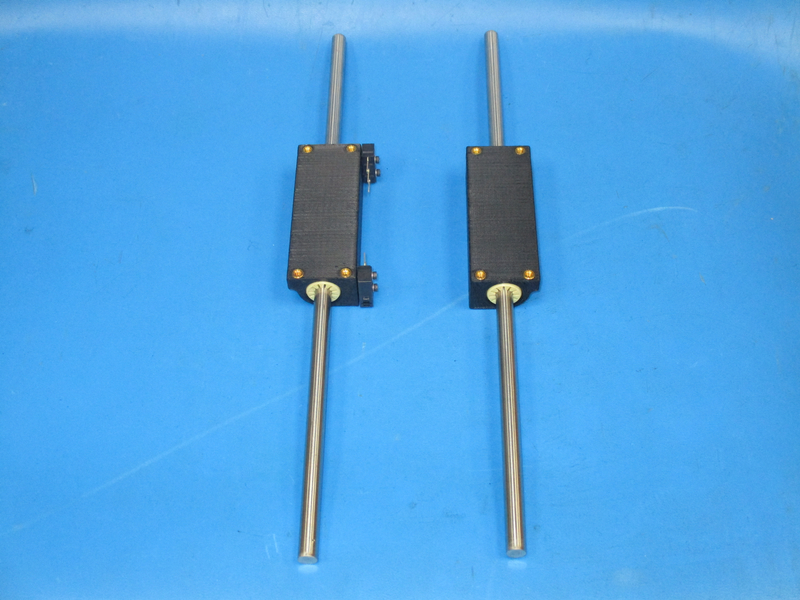
1x- Double Bearing Holder Switch Side (PP-GP0262_v1.4)
1x- Double Bearing Holder Non-Switch Side (PP-GP0262_v1.4)
2x- SWITCH BASIC SPDT (EL-SW0022)
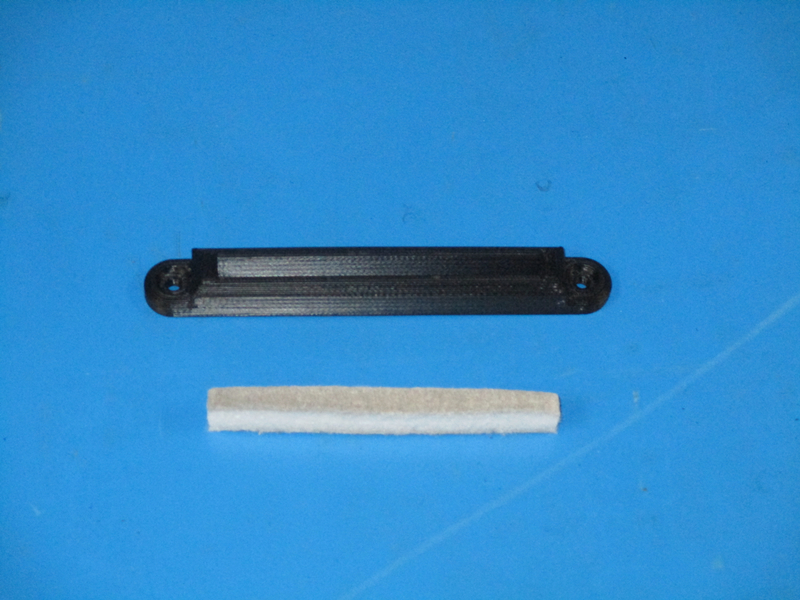
1x- Wiper Mount v1.1 (PP-GP0231)
1x- Lulzbot Wiper Pad (AS-PR0023)
2x- 8mm Smooth Rod 315mm (HD-RD0035)
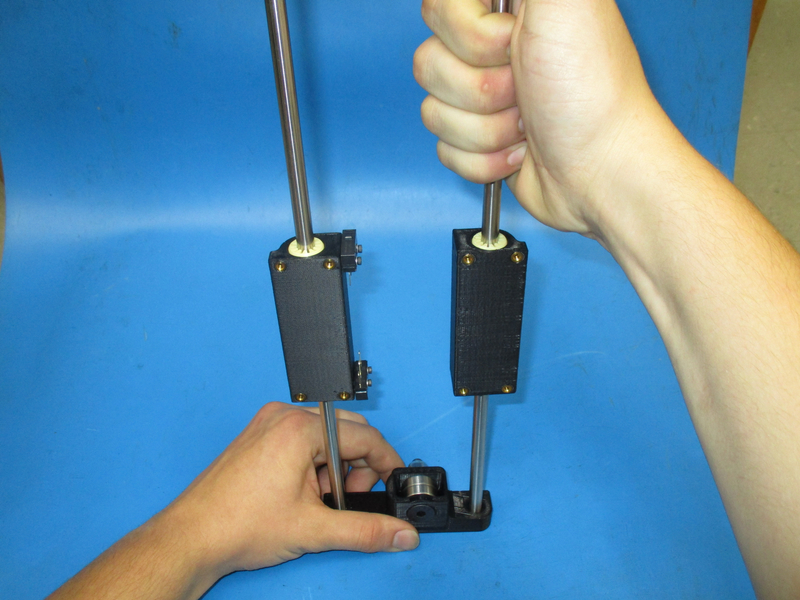
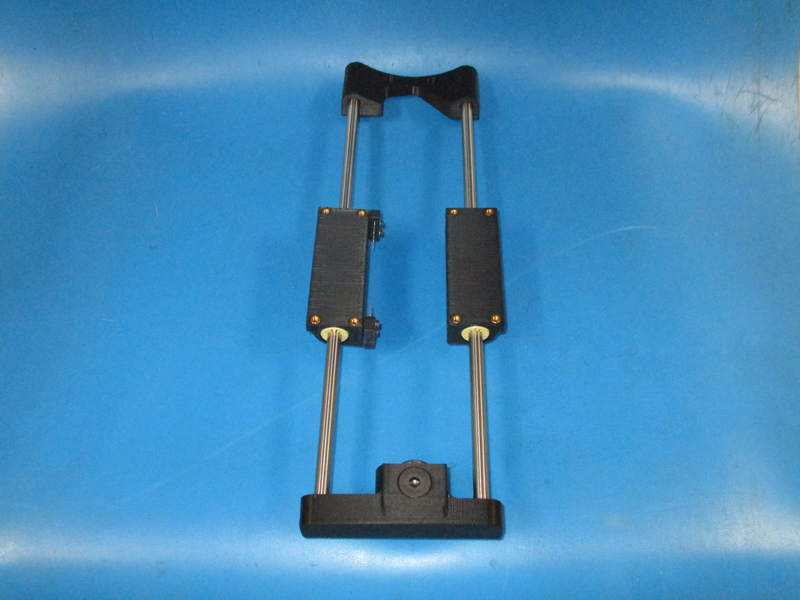
1x- Y Rod Mount w/ Nuts Installed (PP-GP0263_v1.4)
1x- Y Idler End w/ Bearings Installed (PP-GP0264_v1.4)
Hardware Needed:
19x- M3x 8 BHCS Black Oxide (HD-BT0137)
23x- M3 Washer Black Oxide (HD-WA0038)
1x- M3x 8 Stainless Steel BHCS (HD-BT0104)
2x- M3x 6 FHCS (HD-BT0128)
4x- M3 x 12 SHCS (HD-BT0039)
2x- M3 Nyloc Nut (HD-NT0001)
Hardware for switches:
2x- M2x 10 SHCS (HD-BT0107)
2x- M2 Washer (HD-WA0012)
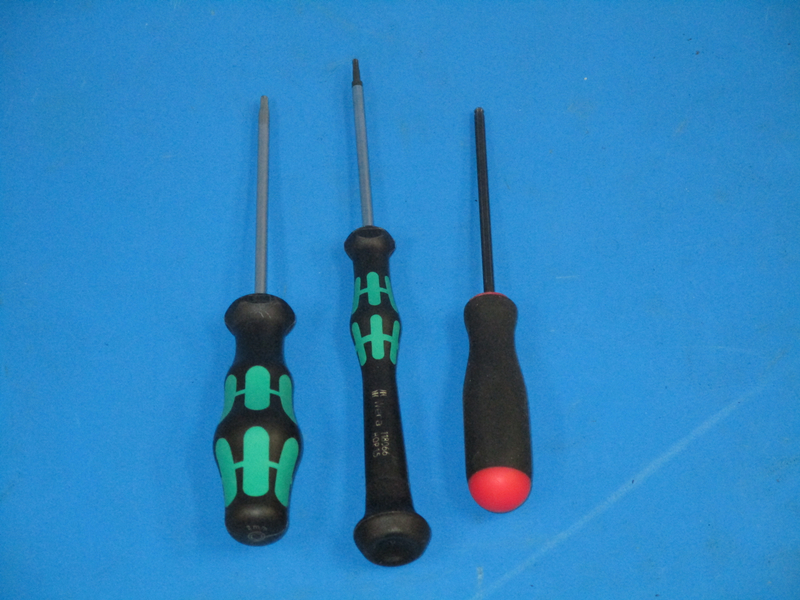
Tools Needed:
2mm Hex Driver
2.5mm Hex Driver
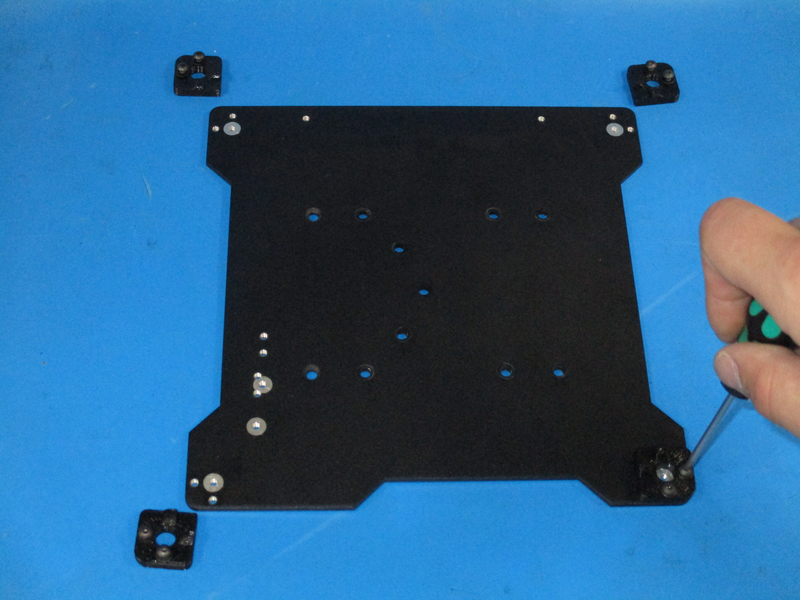
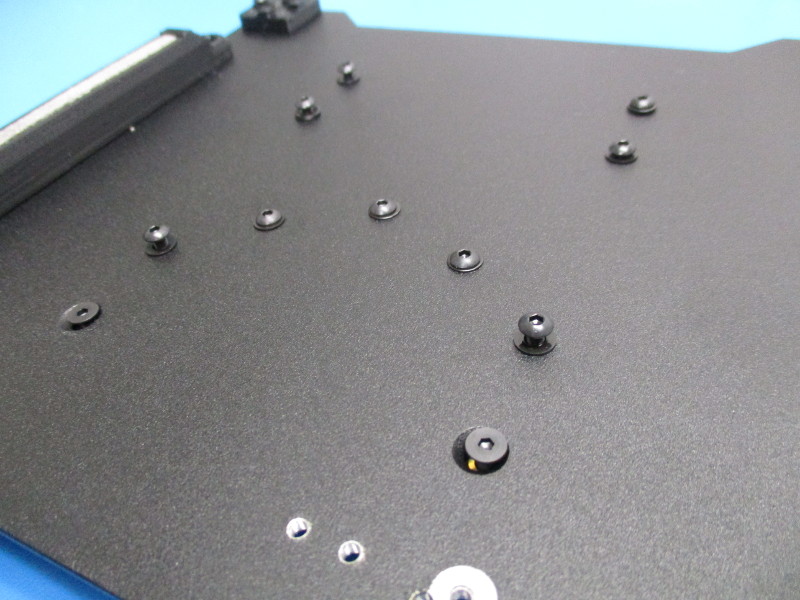
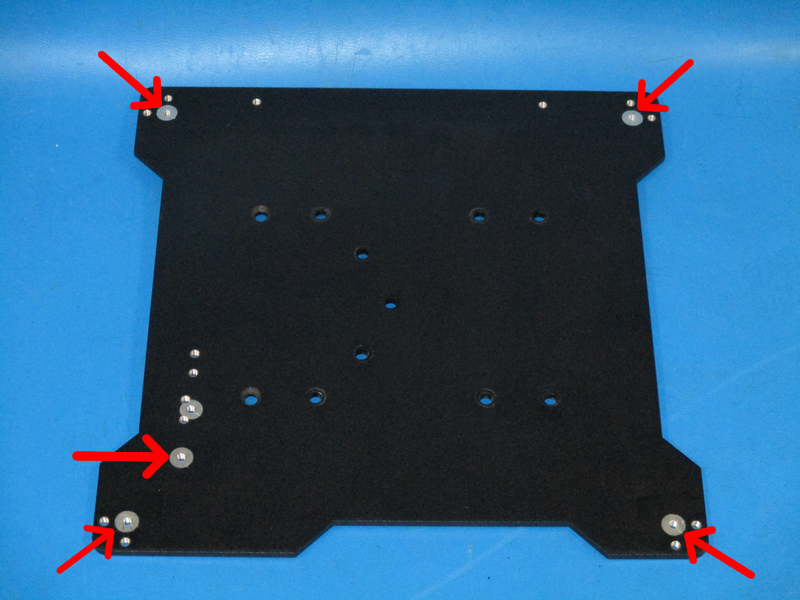
The top of the Bed Mount Plate (PP-MP0146) is easily identified by the masked (bare metal) circles at all four corners. Refer to picture for identification.

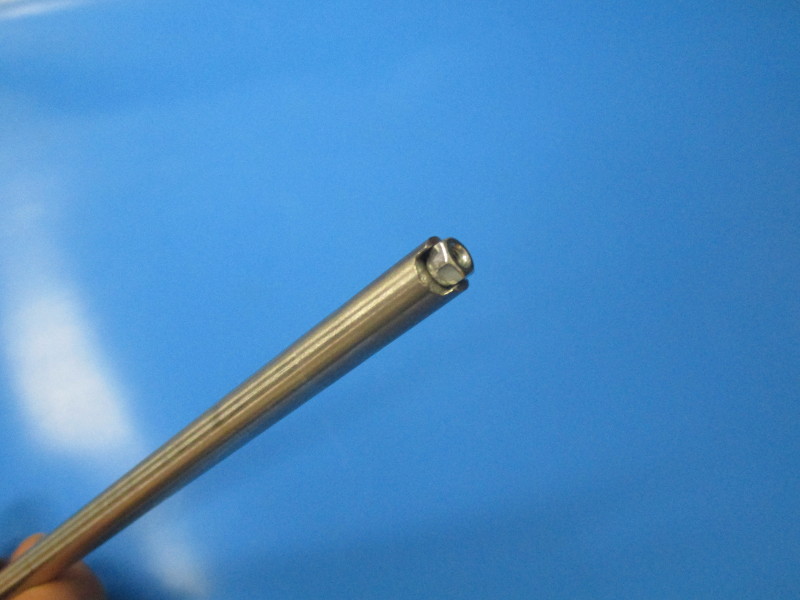
Run an M3 nut onto the Nut press jig. (see image “nut orientation” for orientation on driver)
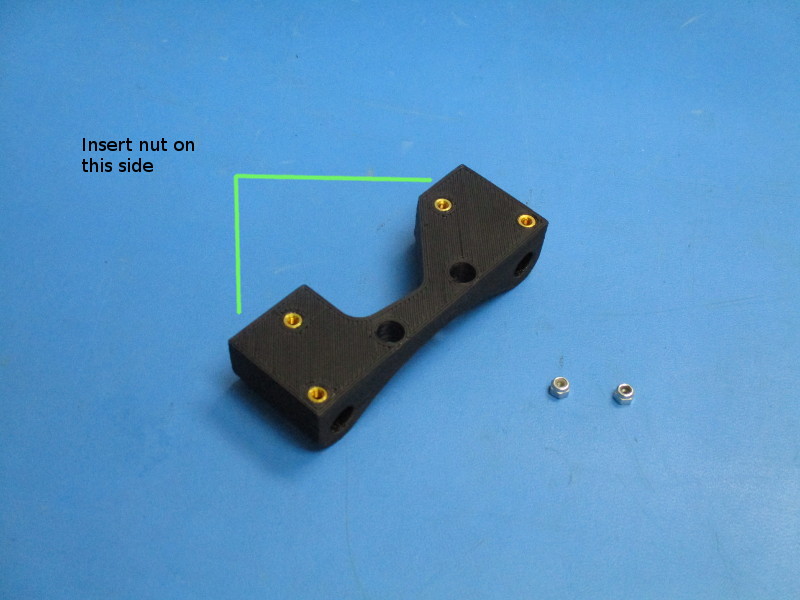
Press the M3 nyloc nut into the Y motor mount sockets until the nut is seated in the socket. (see image “insertion side” and “Sockets”)
Repeat on other side.
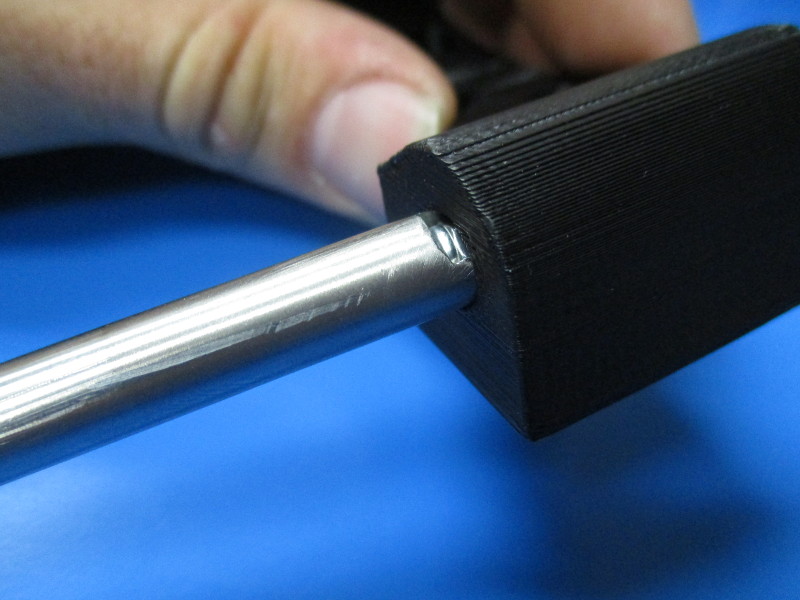
Thread two M3 x12 bolts with washers into the end of the y rod mount . Make sure the heads of the screws are flush with the end of the y rod mount. See Picture.

Attach Bed Corners (PP-GP0248) to Bed Plate (PP-MP0146) using two M3x8 Button head screws (HD-BT0137) w/ Black M3 Washers (HD-WA0038) for each bed corner.
Insert the Lulzbot Wiper Pad into the Wiper Mount (PP-GP0231) as pictured. Attach the Wiper Mount (PP-GP0231) to the Bed Plate using two M3x8 BHCS w/ Black Washers.
The Bed Corners and Wiper Mount should remain loose throughout the assembly process so that they can be properly aligned with the heat bed when it is installed at calibration.
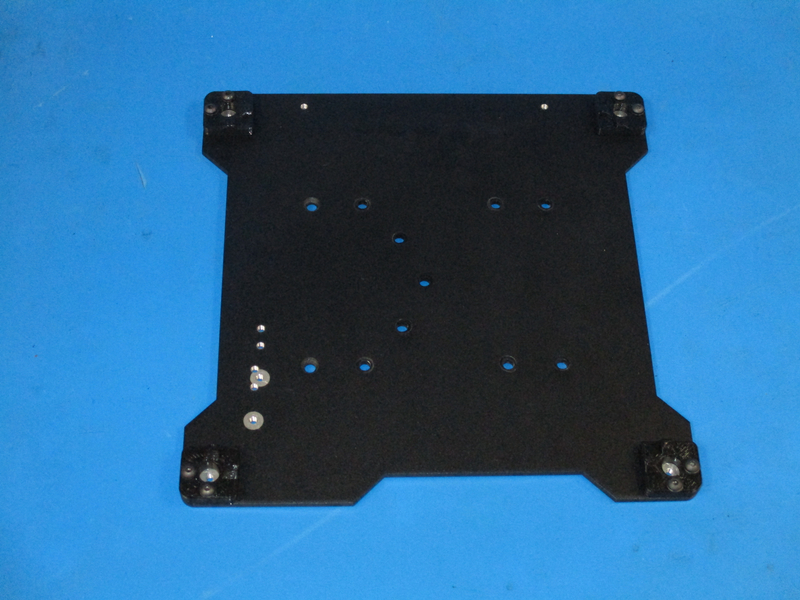
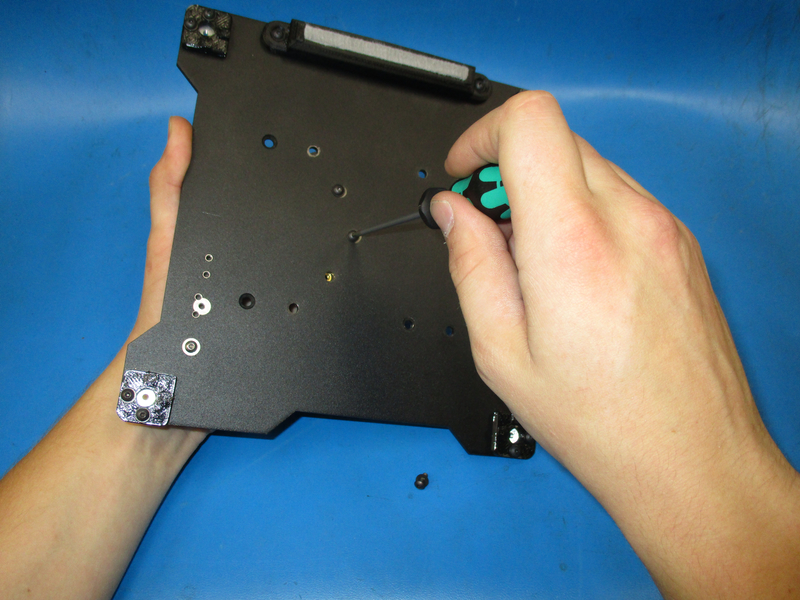
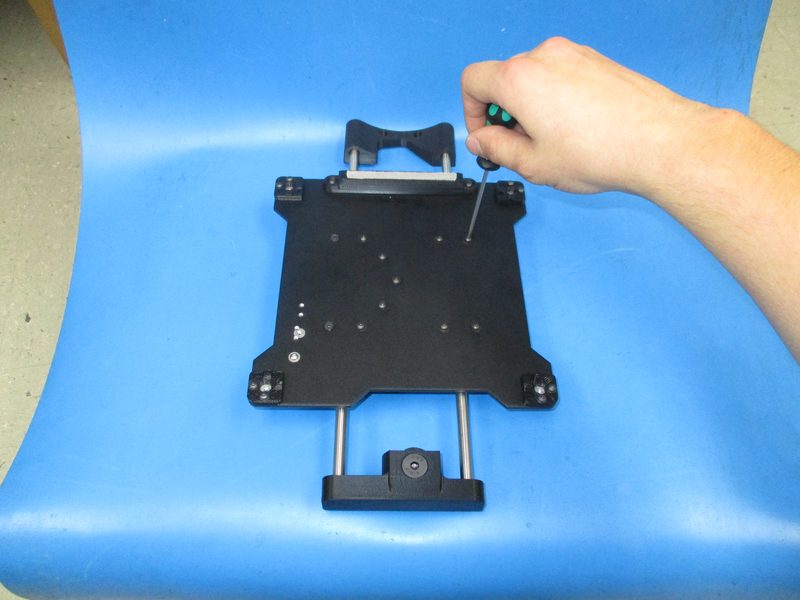
Insert the M3x8 Stainless Steel Button Head (HD-BT0104) into the tapped hole pictured.
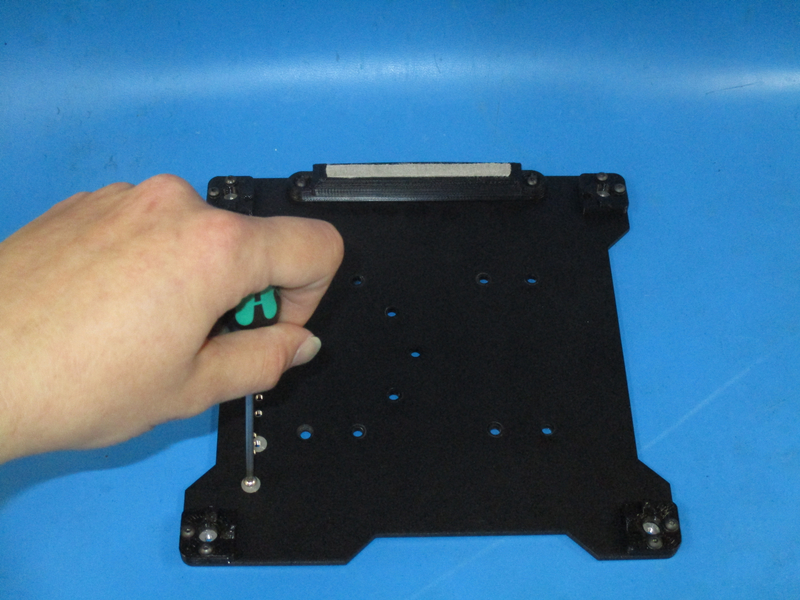
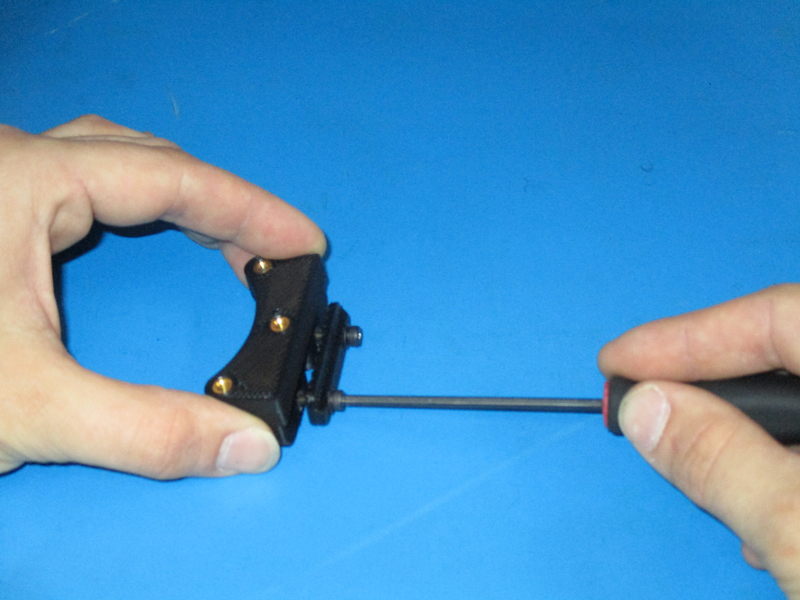
Attach the Belt Clamp (PP-GP0260_v1.1) to the Belt Mount (PP-GP0261_v1.1) using two M3x12 SHCS (HD-BT0039) w/ Black Washers (HD-WA0038). Leave the Belt Clamp loose for belt installation at Frame Assembly.
Attach the Belt Mount (PP-GP0261_v1.1) to the Bed Plate on the bottom using three M3x8 BHCS (HD-BT0137) w/ Black M3 Washers (HD-WA0038).
Pull the Belt Mount towards the left side of the plate when tightening these screws.
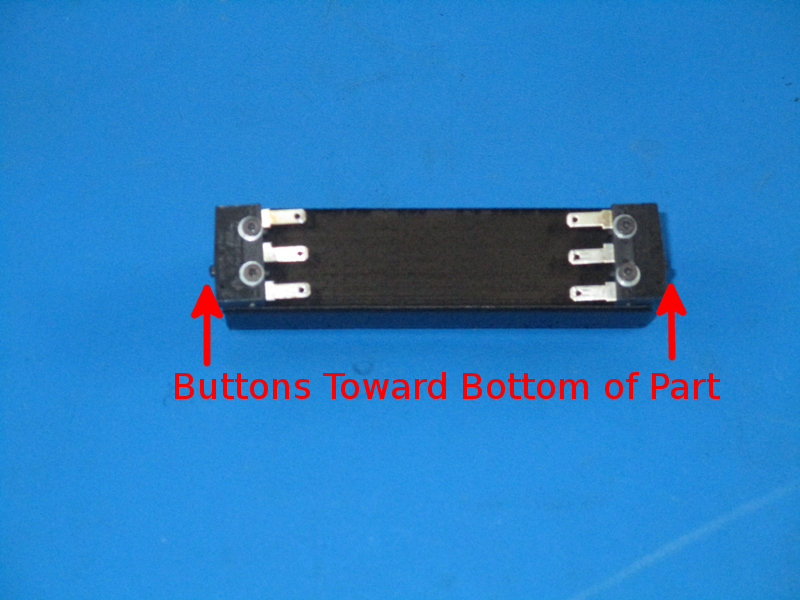
Attach the 2 Switches to the Switch Side Double Bearing Holder (PP-GP0262_v1.4) which has the M2 inserts installed. Refer to pictures for identification and switch orientation. Use two M2x10 SHCS (HD-BT0107) with M2 Washers (HD-WA0012) per switch to attach as pictured.
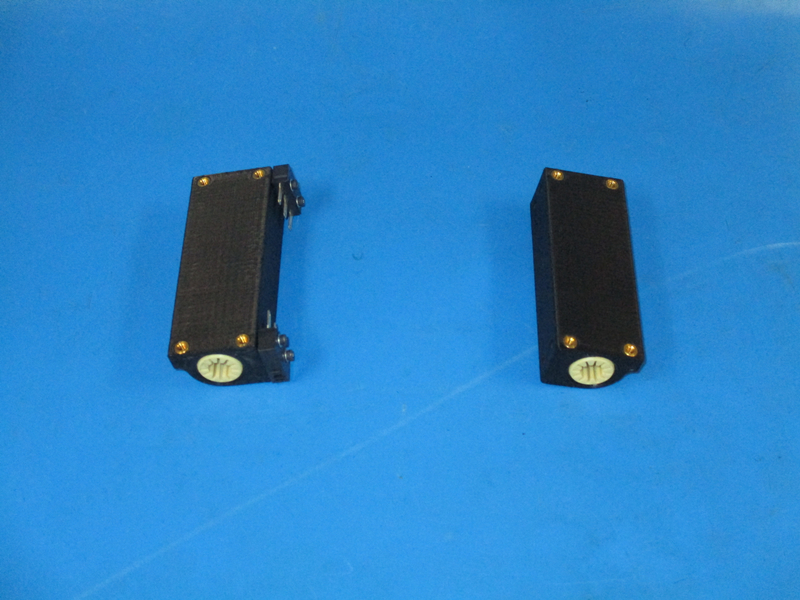
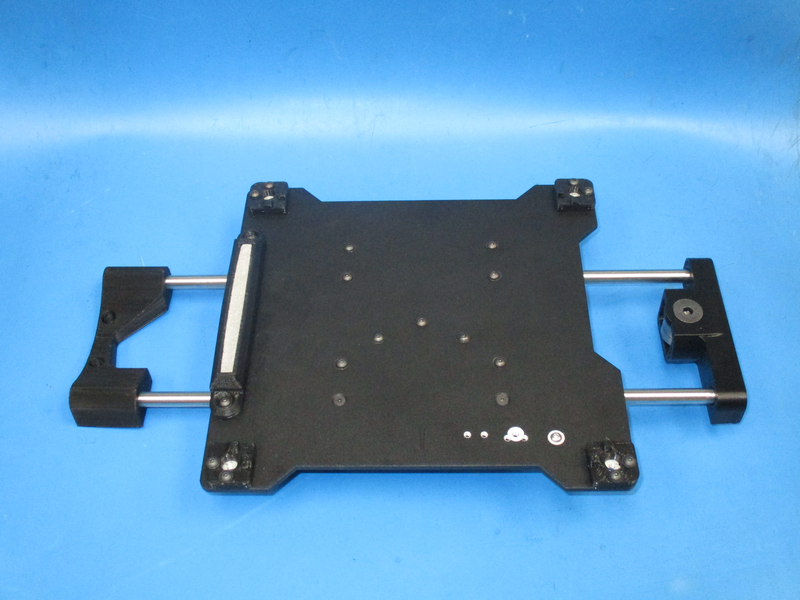
Orient both Double Bearing Holders (PP-GP0262_v1.4) as shown and slide the 8mm Smooth Rods into them. Maintain this orientation until both Y Ends are attached. Install the Y Idler End onto the Smooth Rod ends closest to you, with the inserts facing down. Install the Y Rod Mount in a similar fashion to the opposite end.
Note: Keep the following screws visibly loose. (These screws will be tightened after the Y axis is attached to the bottom plate to 5in*lbs and re-checked in calibration.)
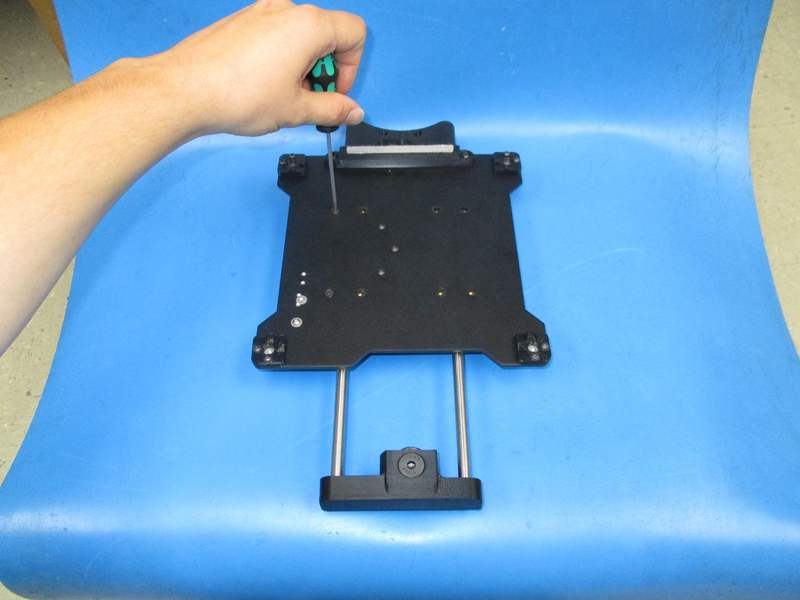
Lay the previously assembled Bed Plate on top of the Bearing Holders as shown and attach using 6x M3x8 BHCS (HD-BT0137) with Black M3 Washers (HD-BT0038), and 2 M3x6 FHCS (HD-BT0128) in the two counter-sunk holes.