Open HardwareAssembly Instructions
Guides for installation and assembly of the LulzBot line of products made by FAME 3D LLC.
Guides for installation and assembly of the LulzBot line of products made by FAME 3D LLC.
Materials required for M175 V2 update kit.
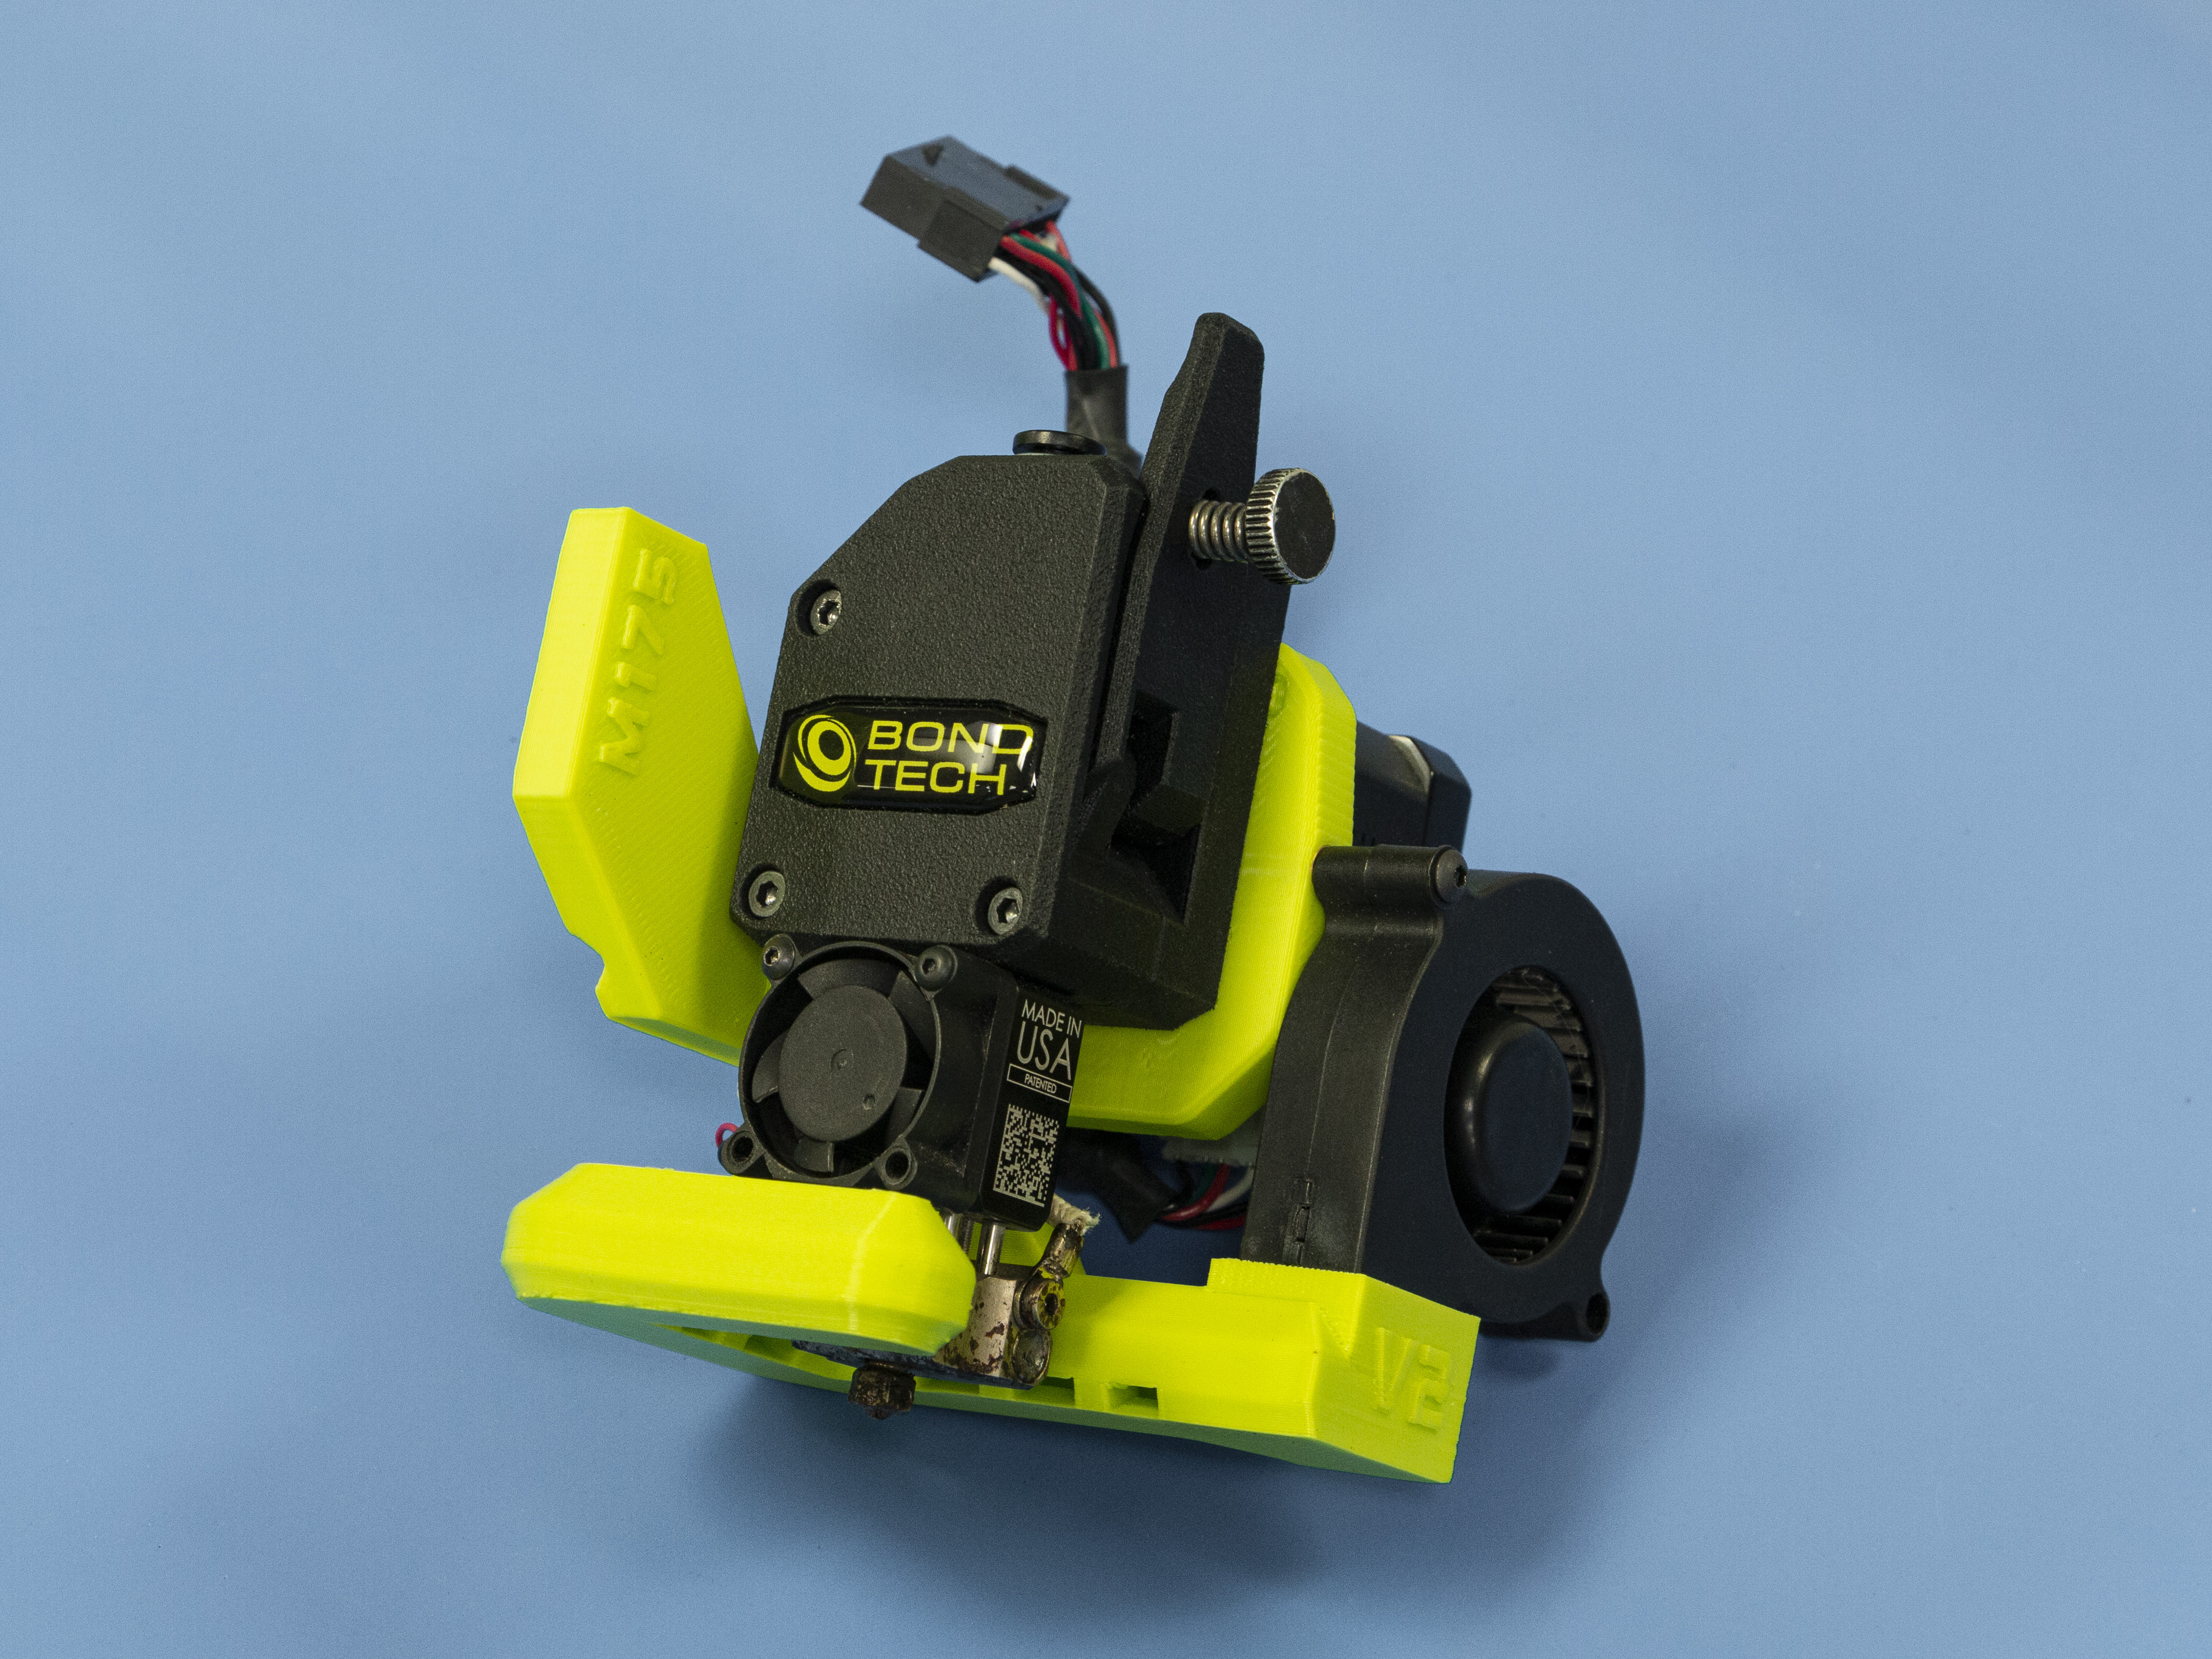
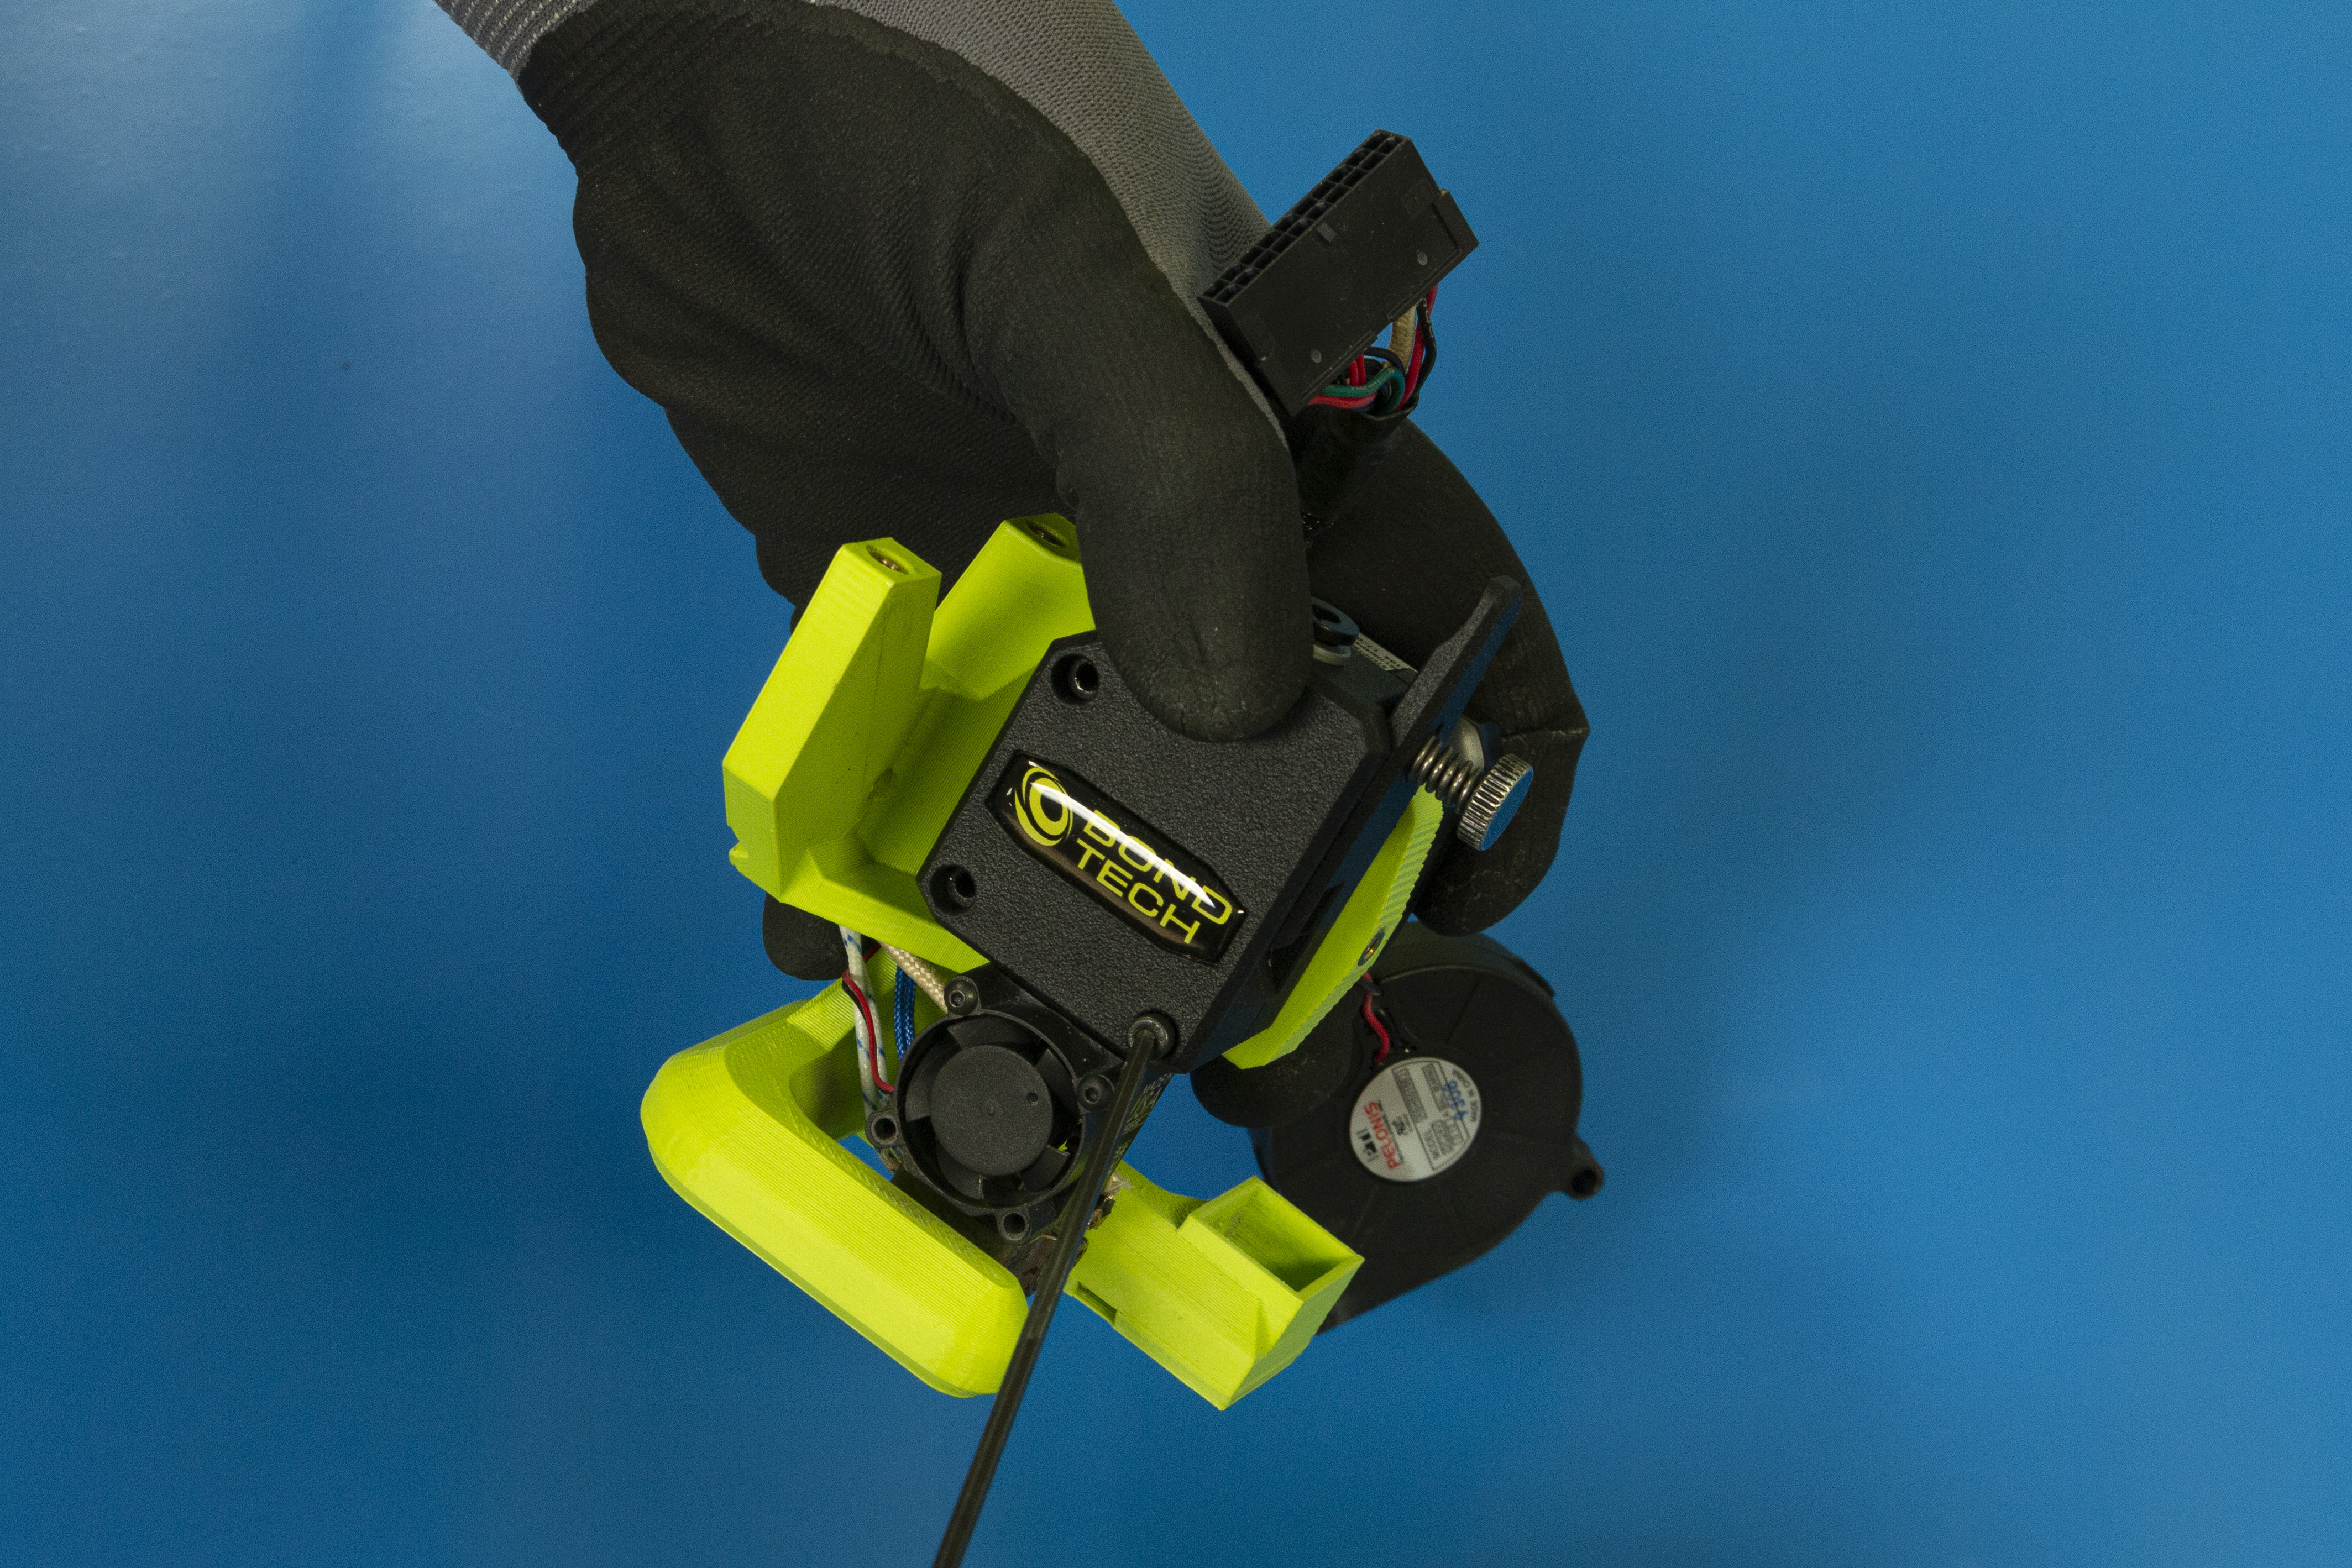
1x- [KT-CP0175] M175 Tool Head
1x- [KT-PP0055] M175 V2 update kit
3x- [HD-BT0186] M3x40 SHCS, Black-Oxide
1x- 2.5mm hex wrench
1x- 2.0mm hex wrench
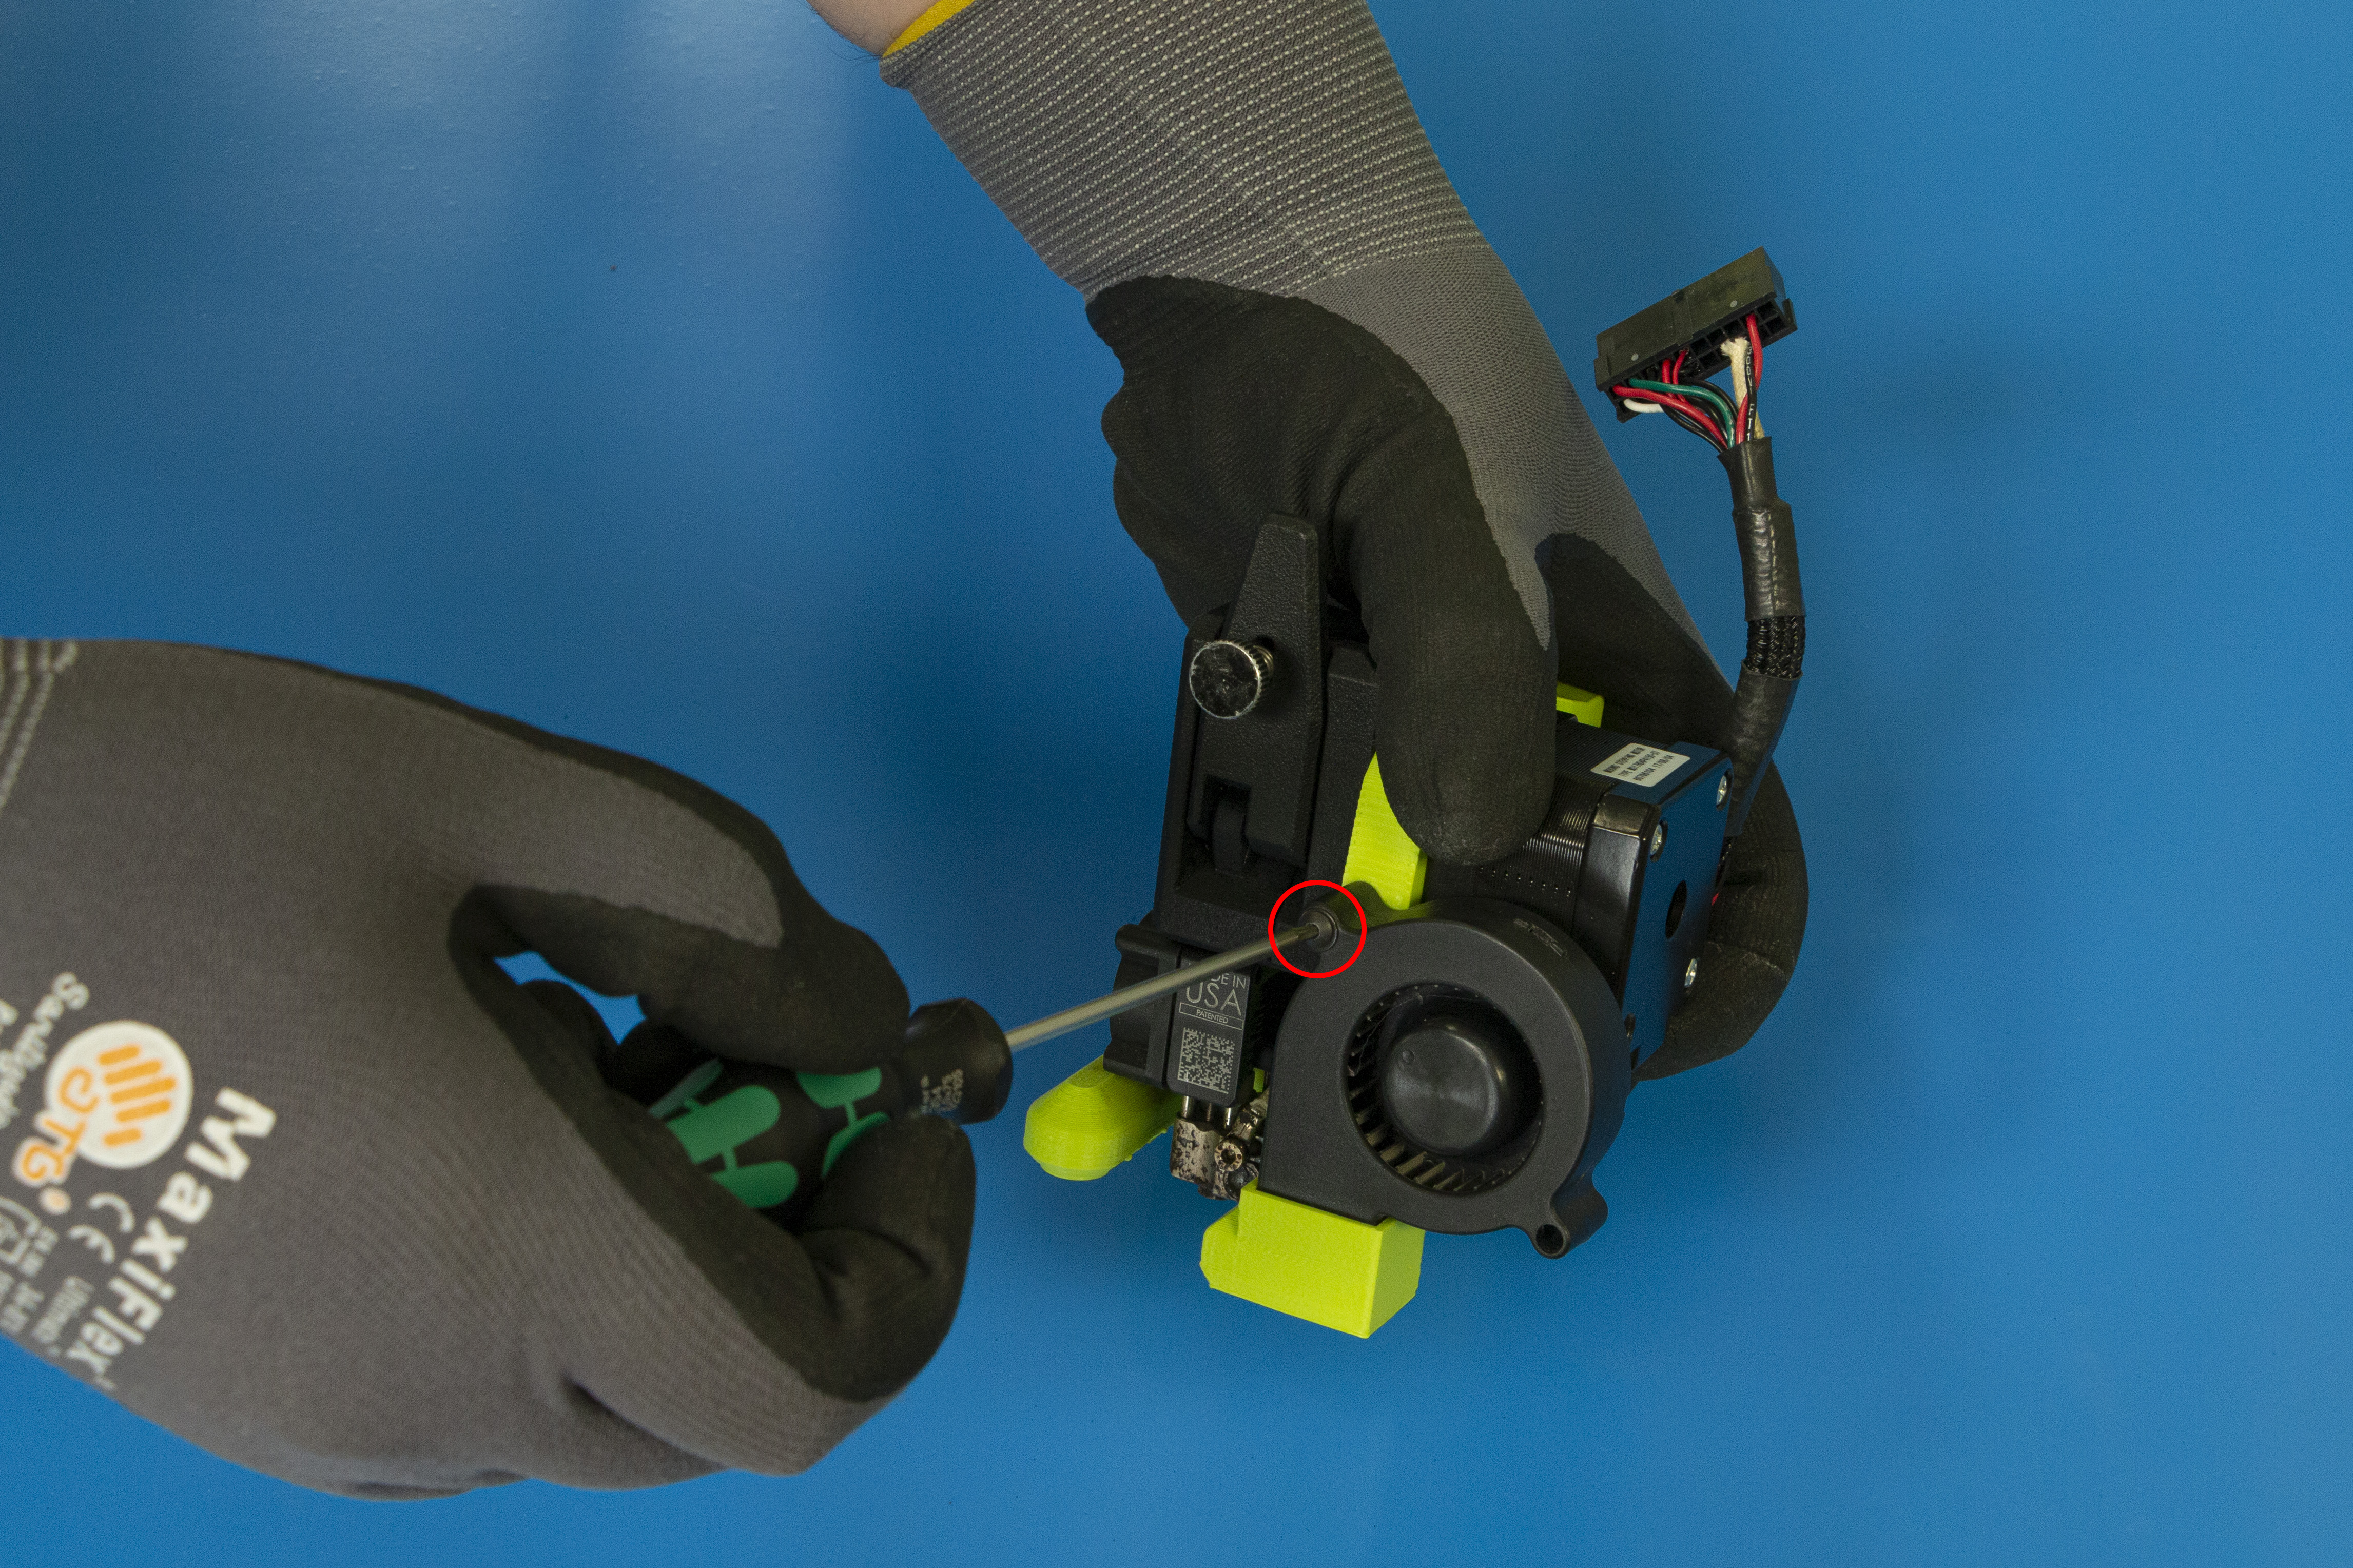
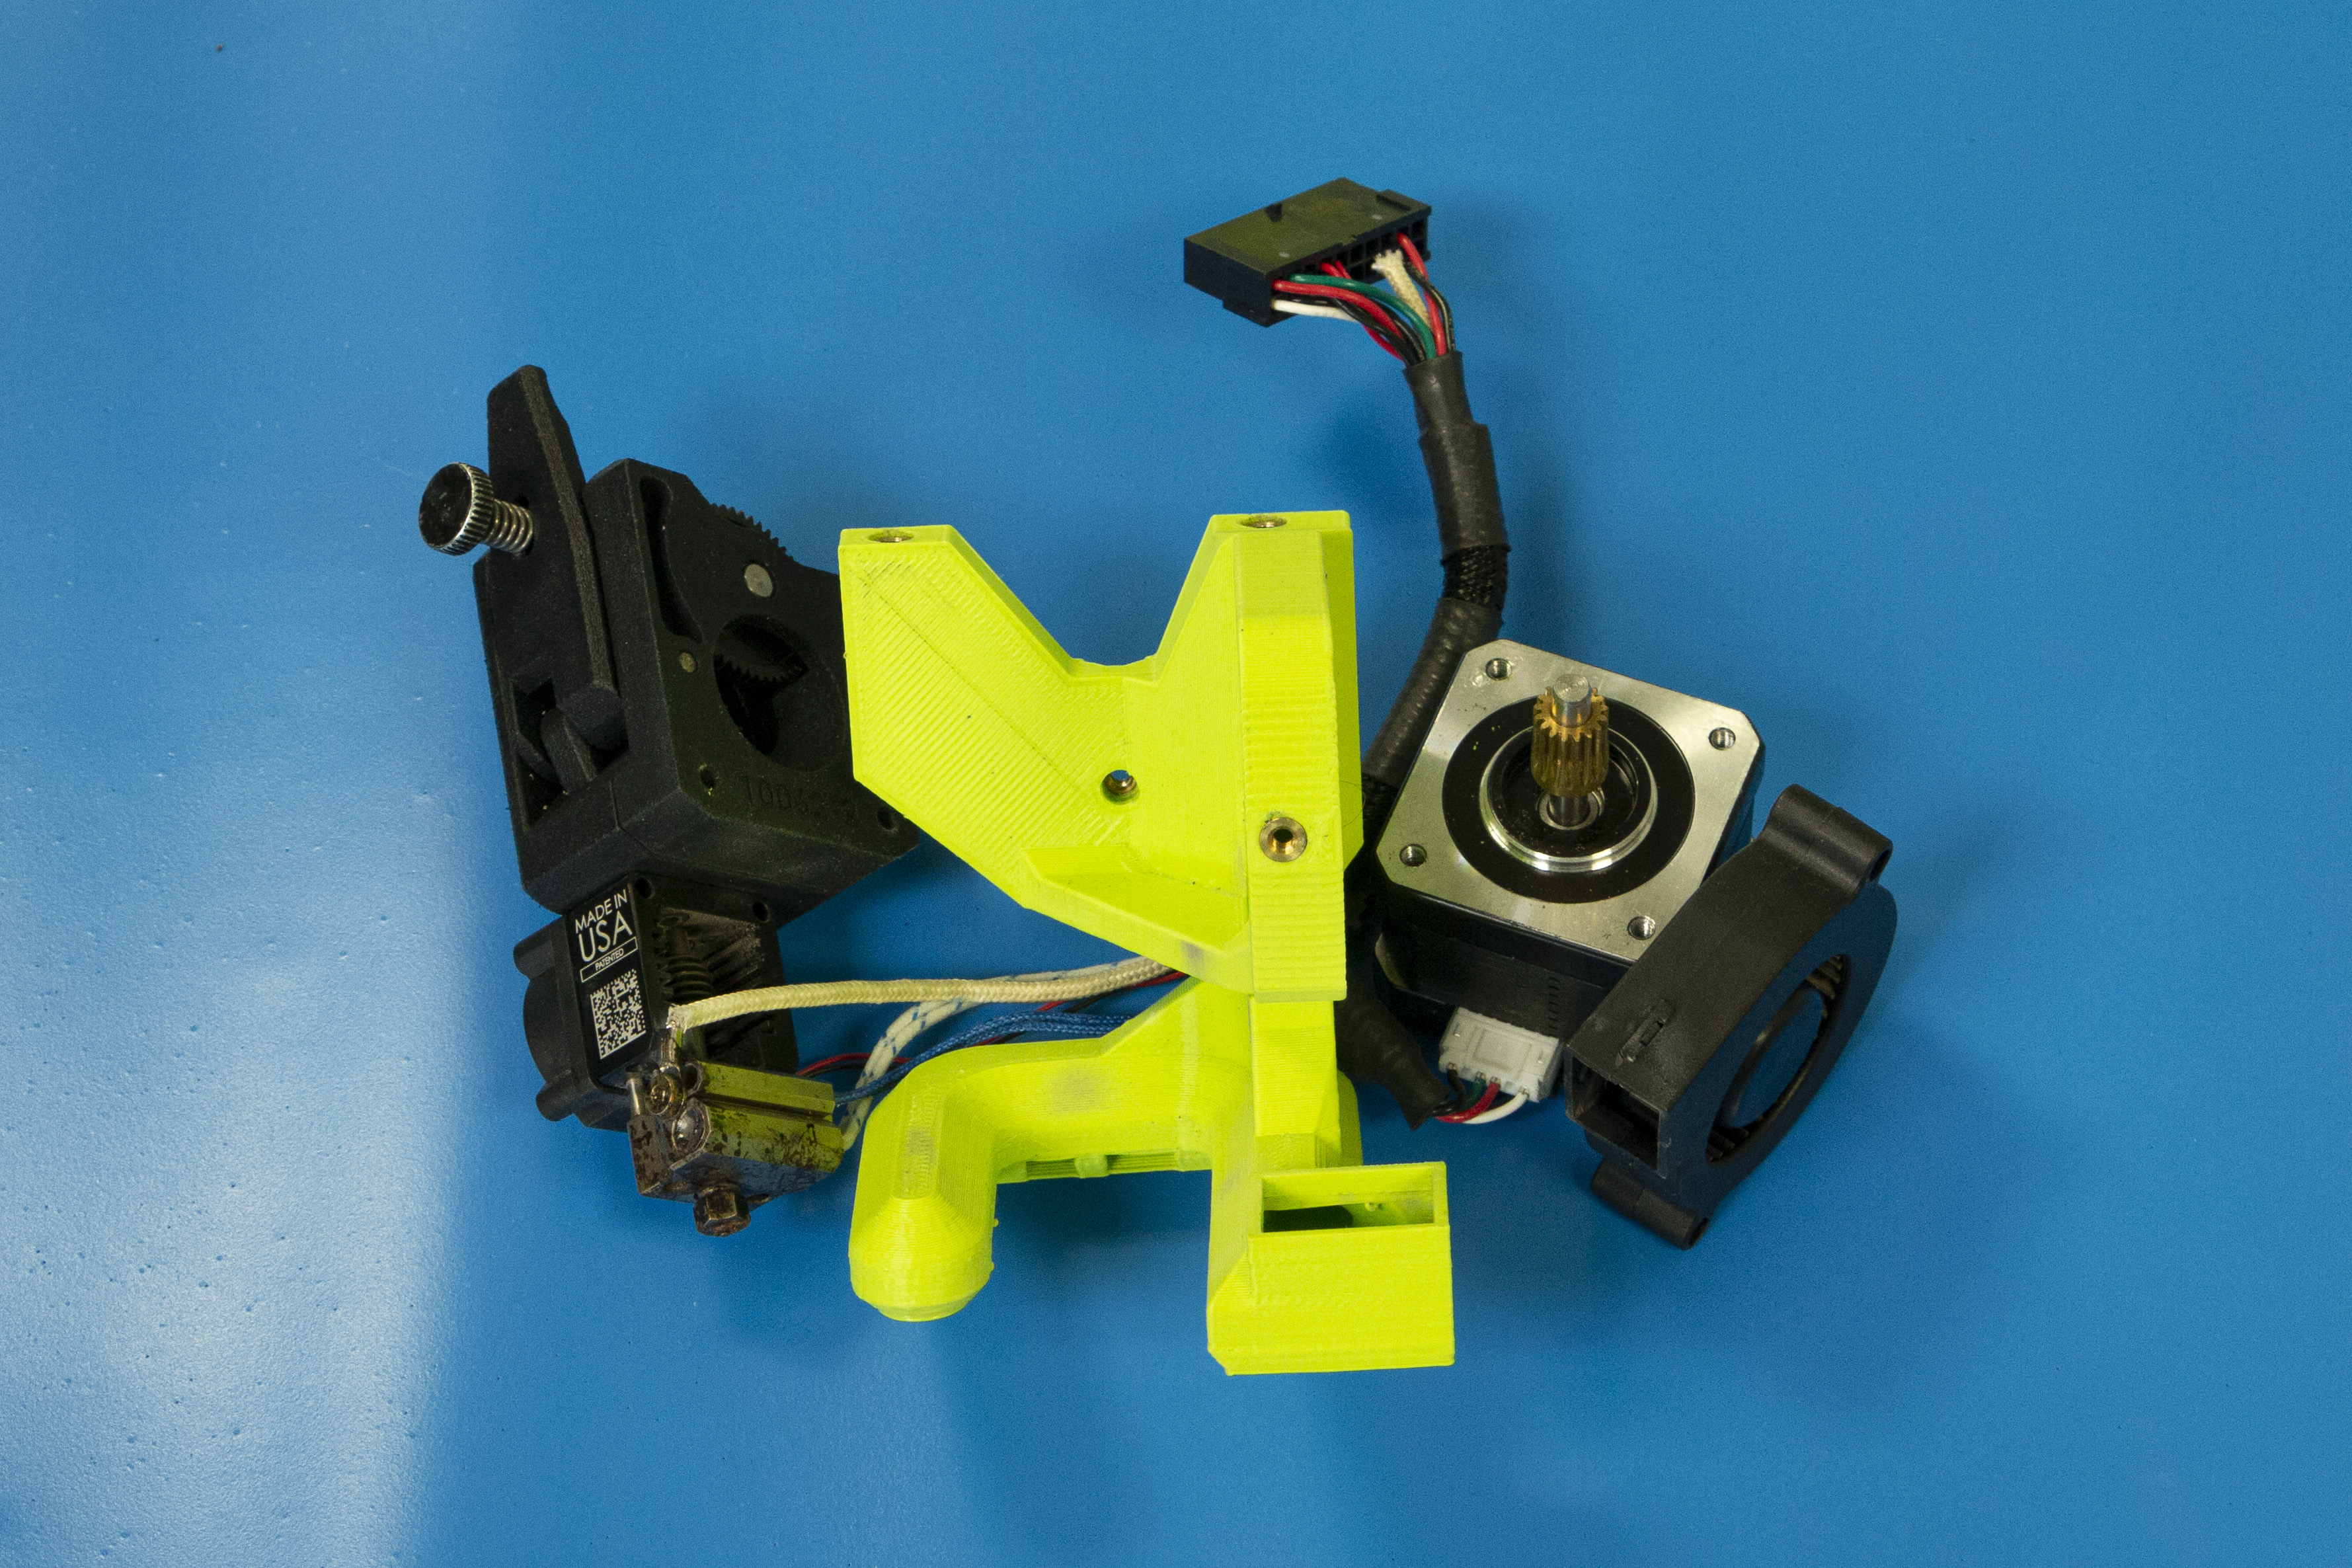
Use a 2.0mm hex wrench to remove the screw holding the blower fan to the extruder mount of the tool head.
Set screw and washer aside.
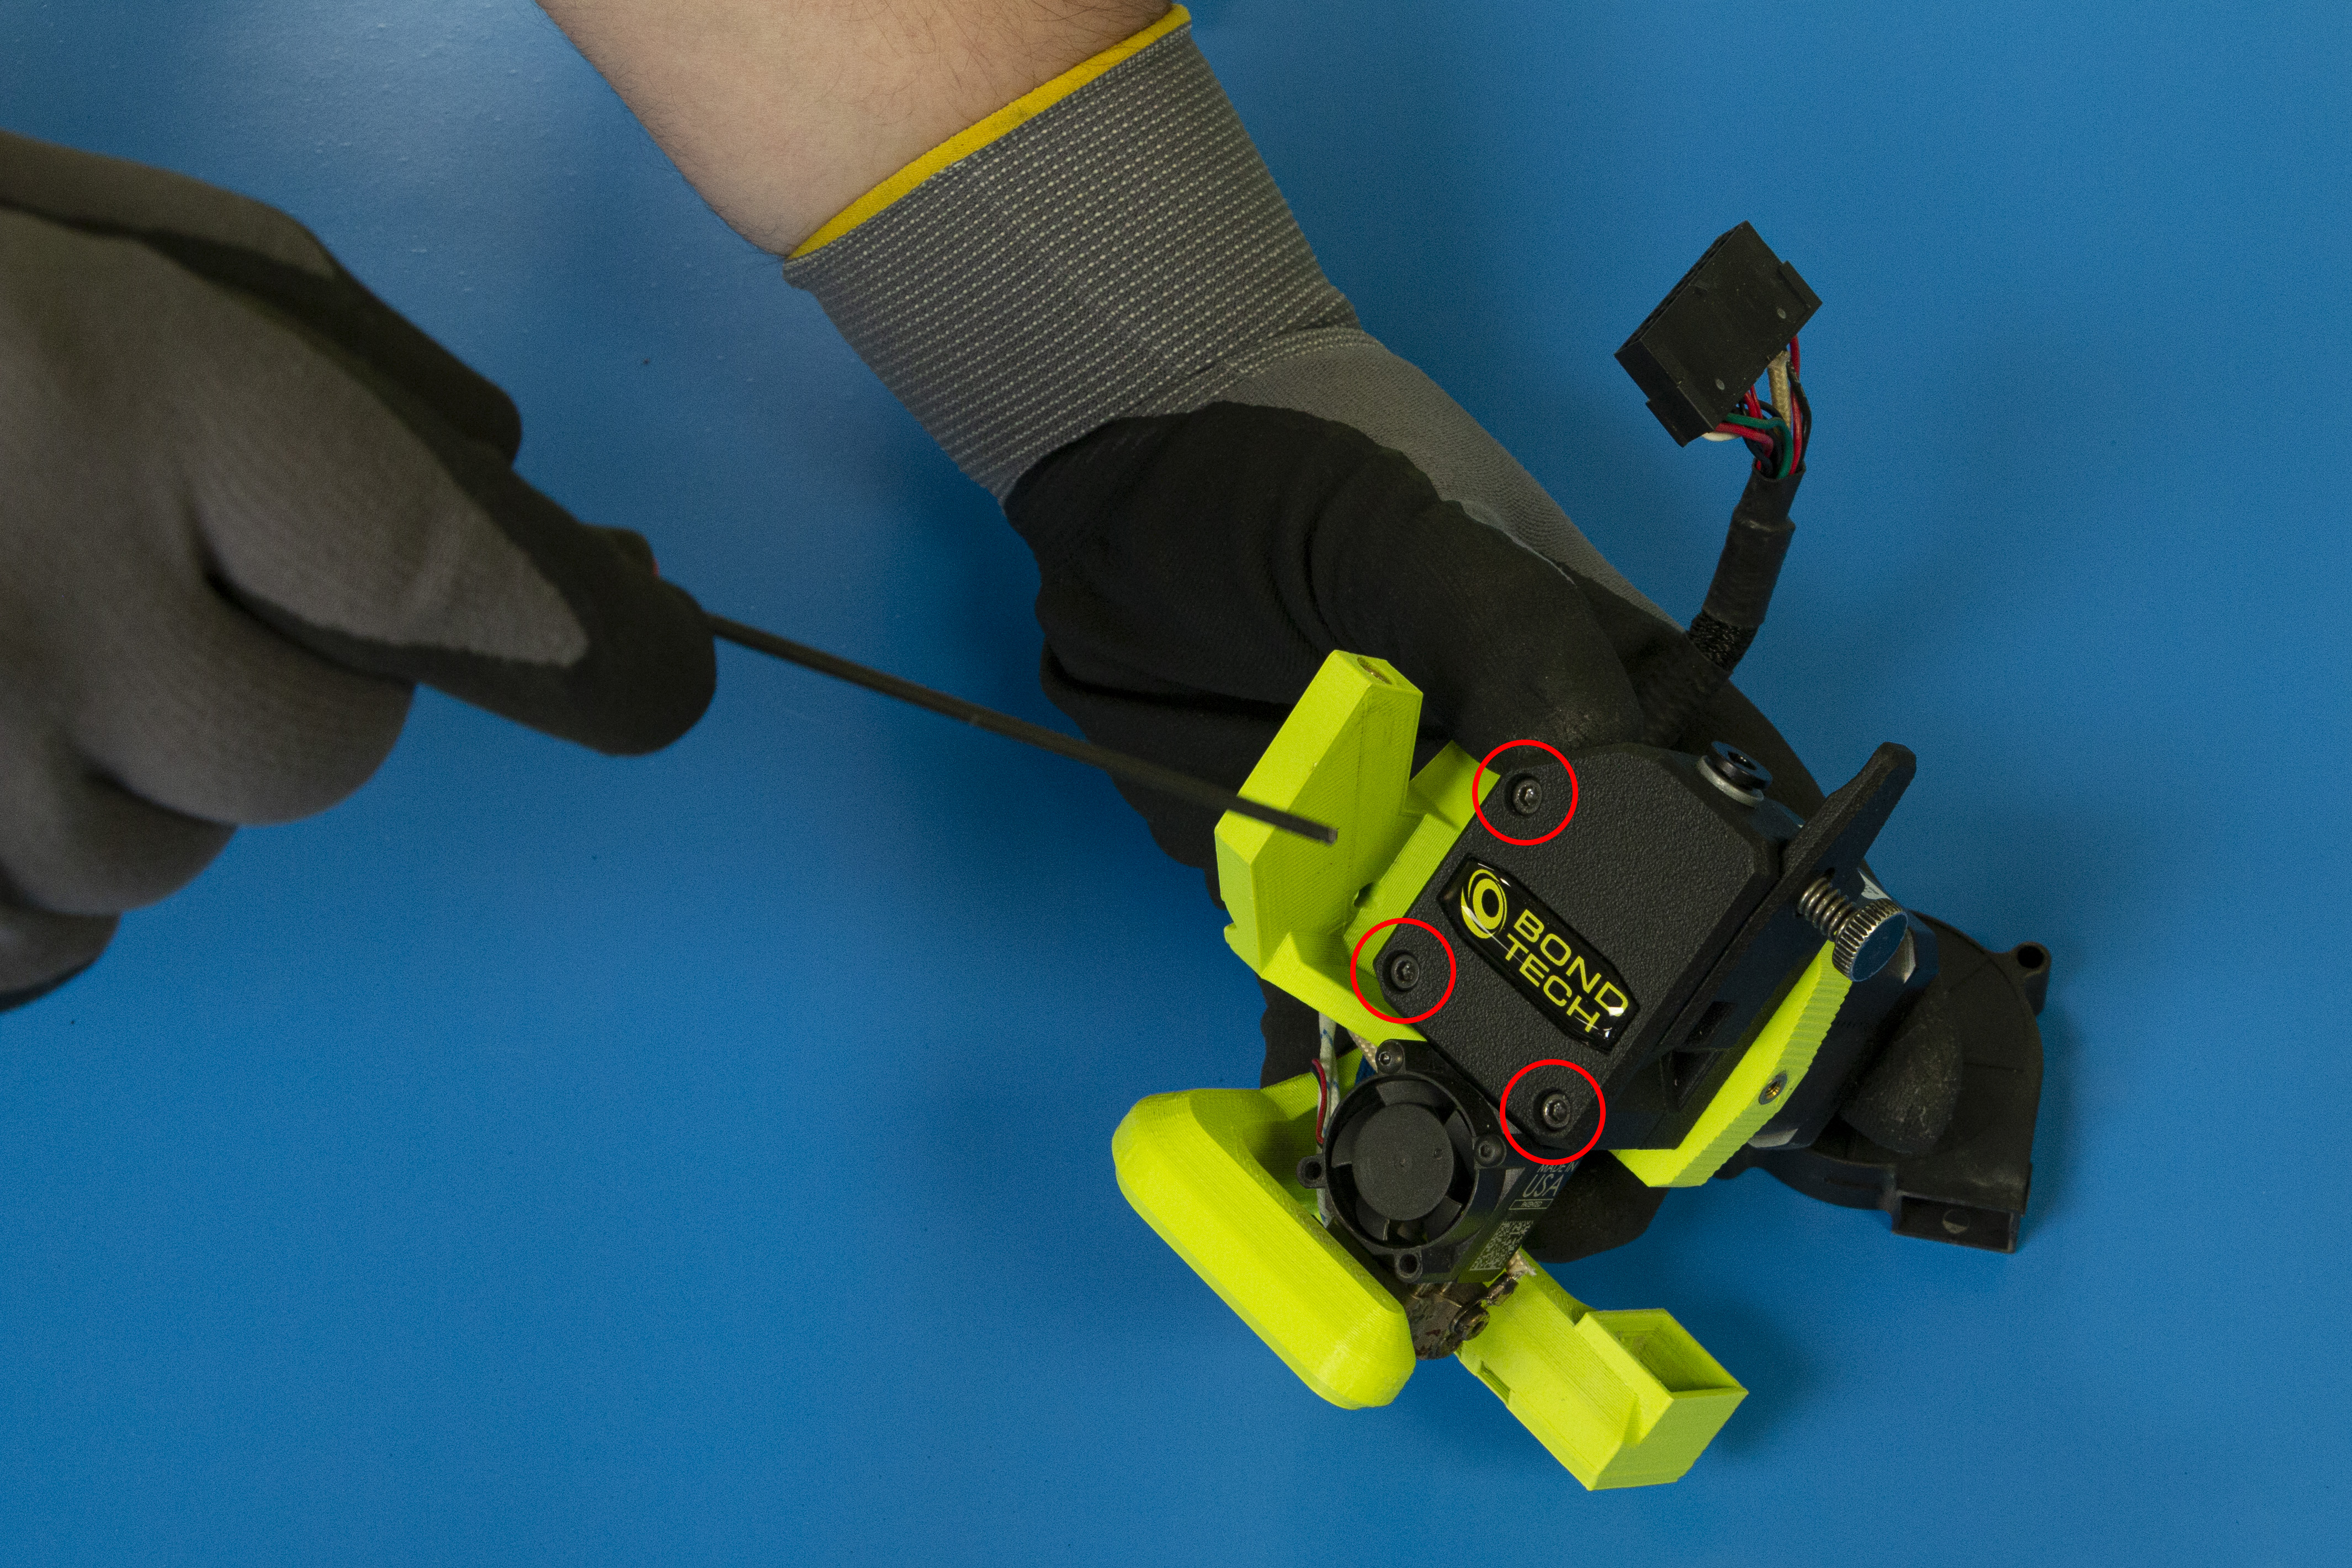
Use a 2.5mm hex wrench to remove the three m3 screws holding the extruder to the motor.
Be sure to support the motor, blower fan, and the extruder when removing the last screw as everything will now be loose.
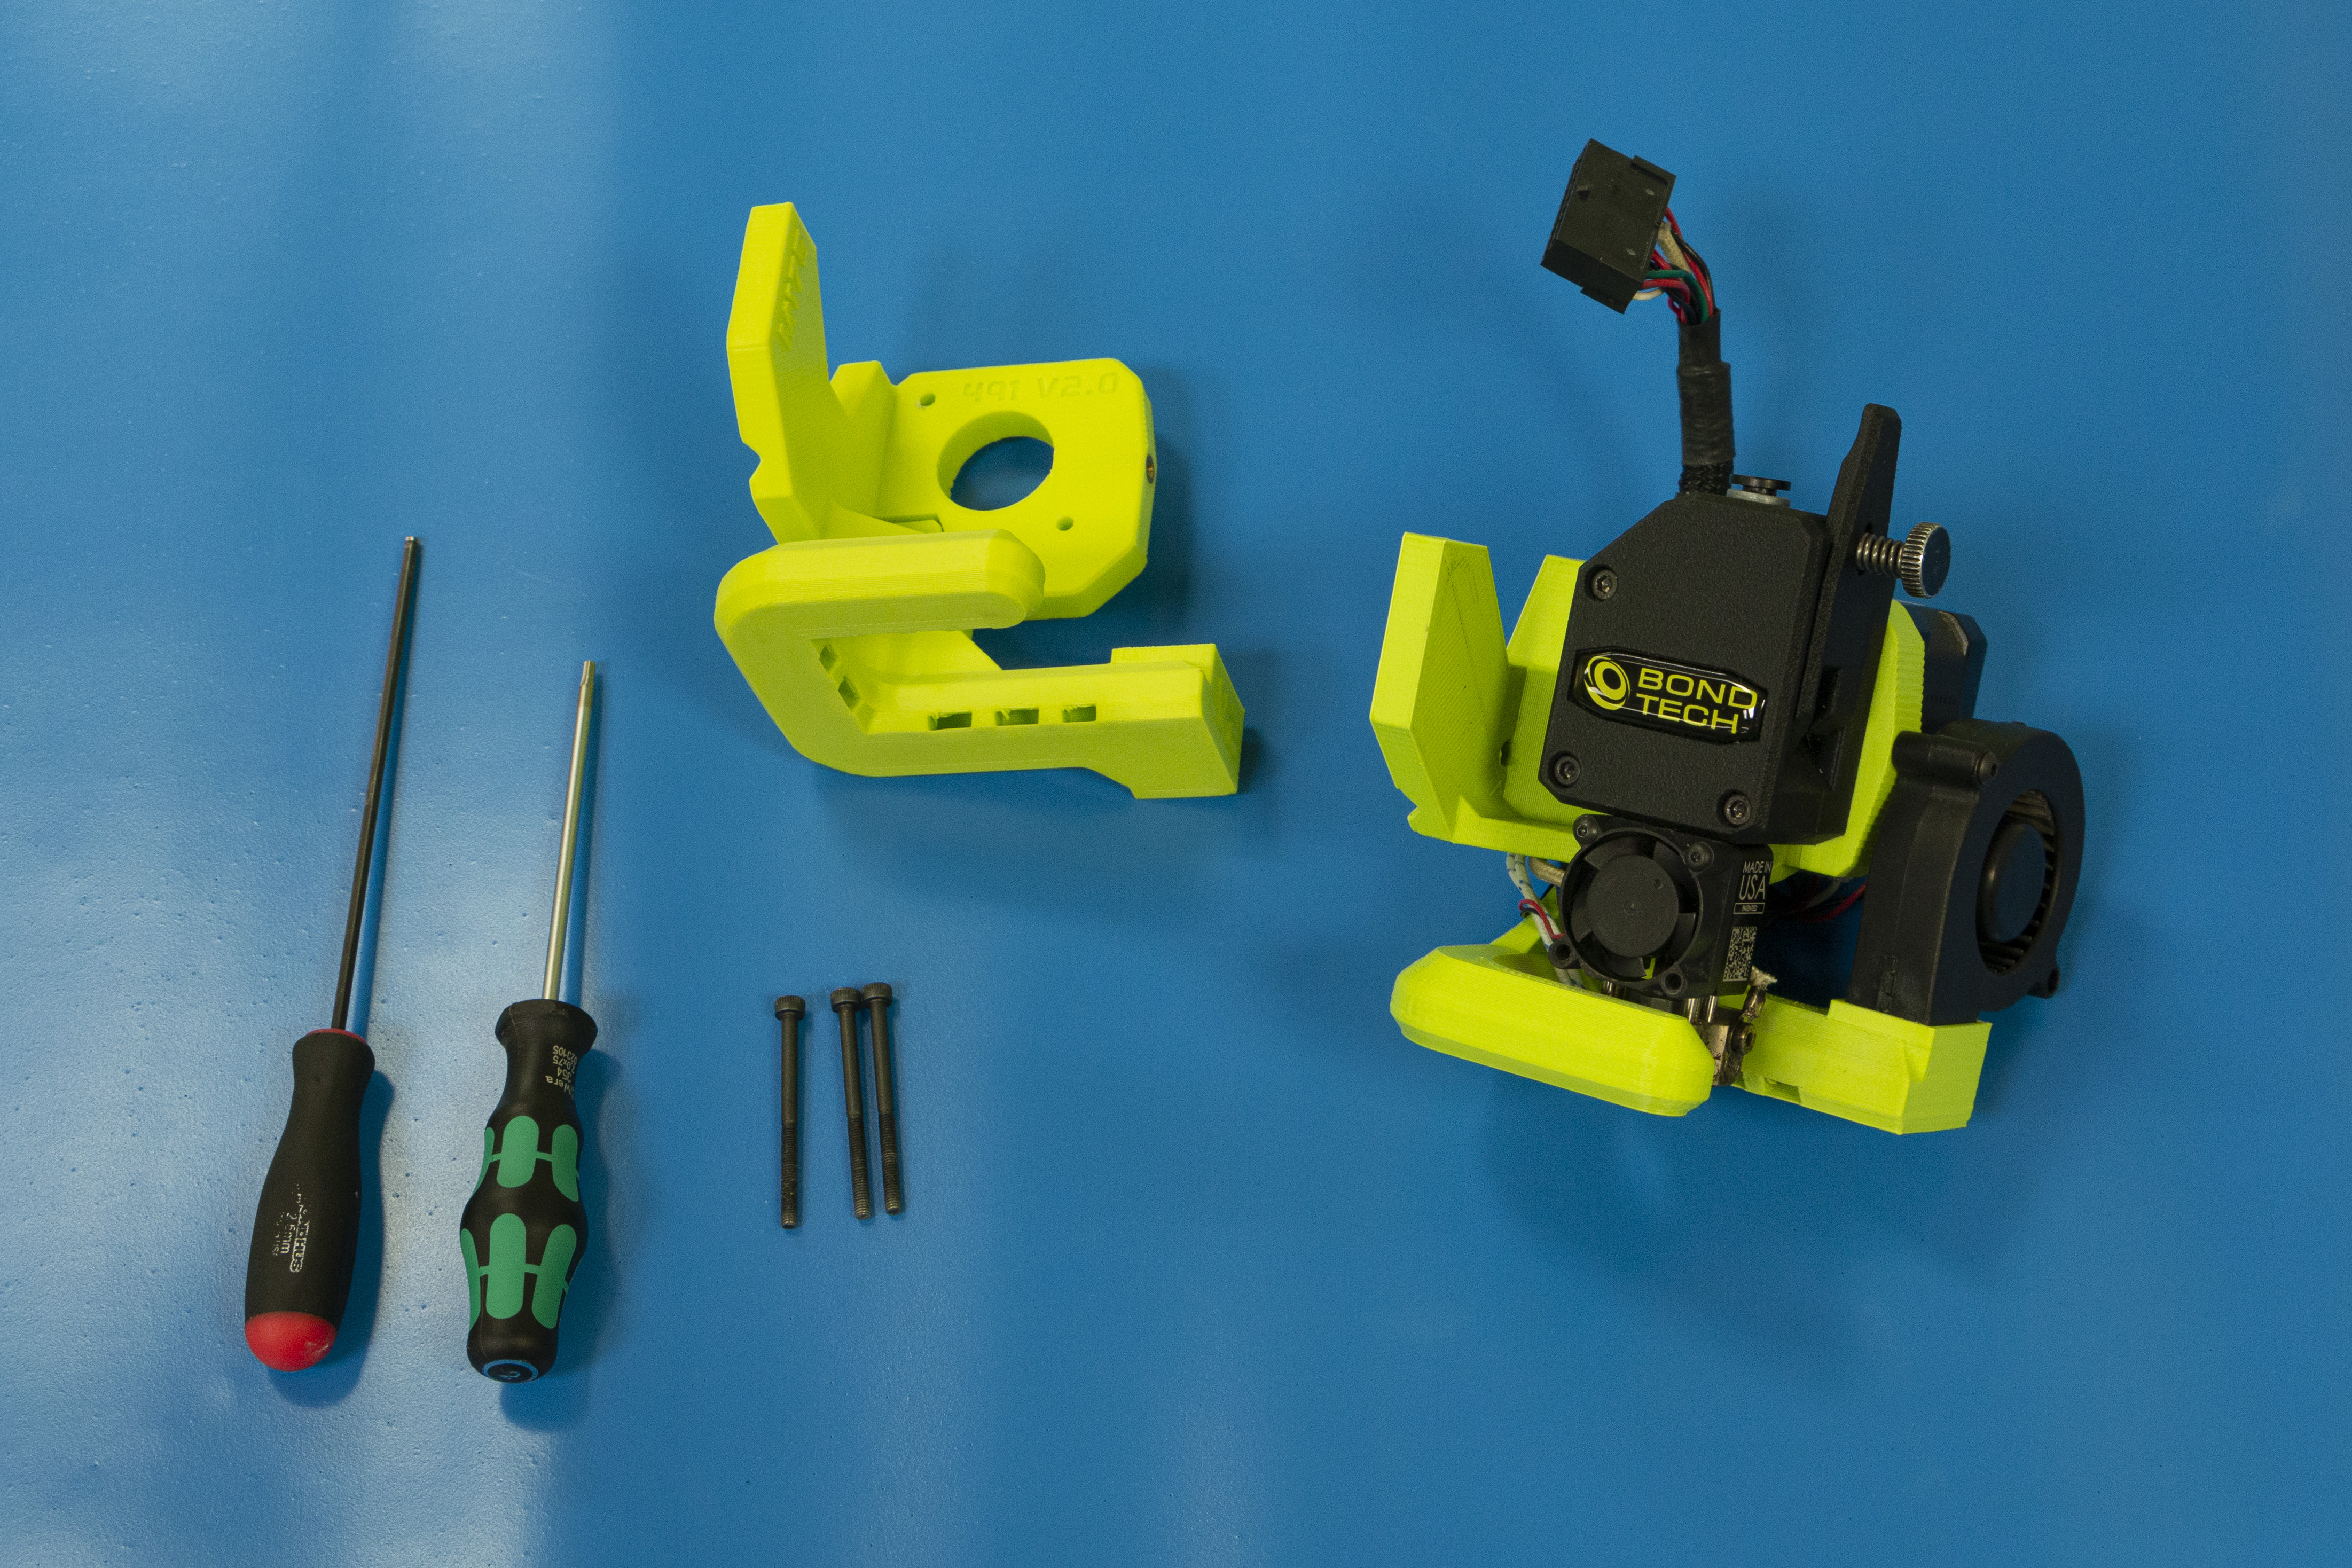
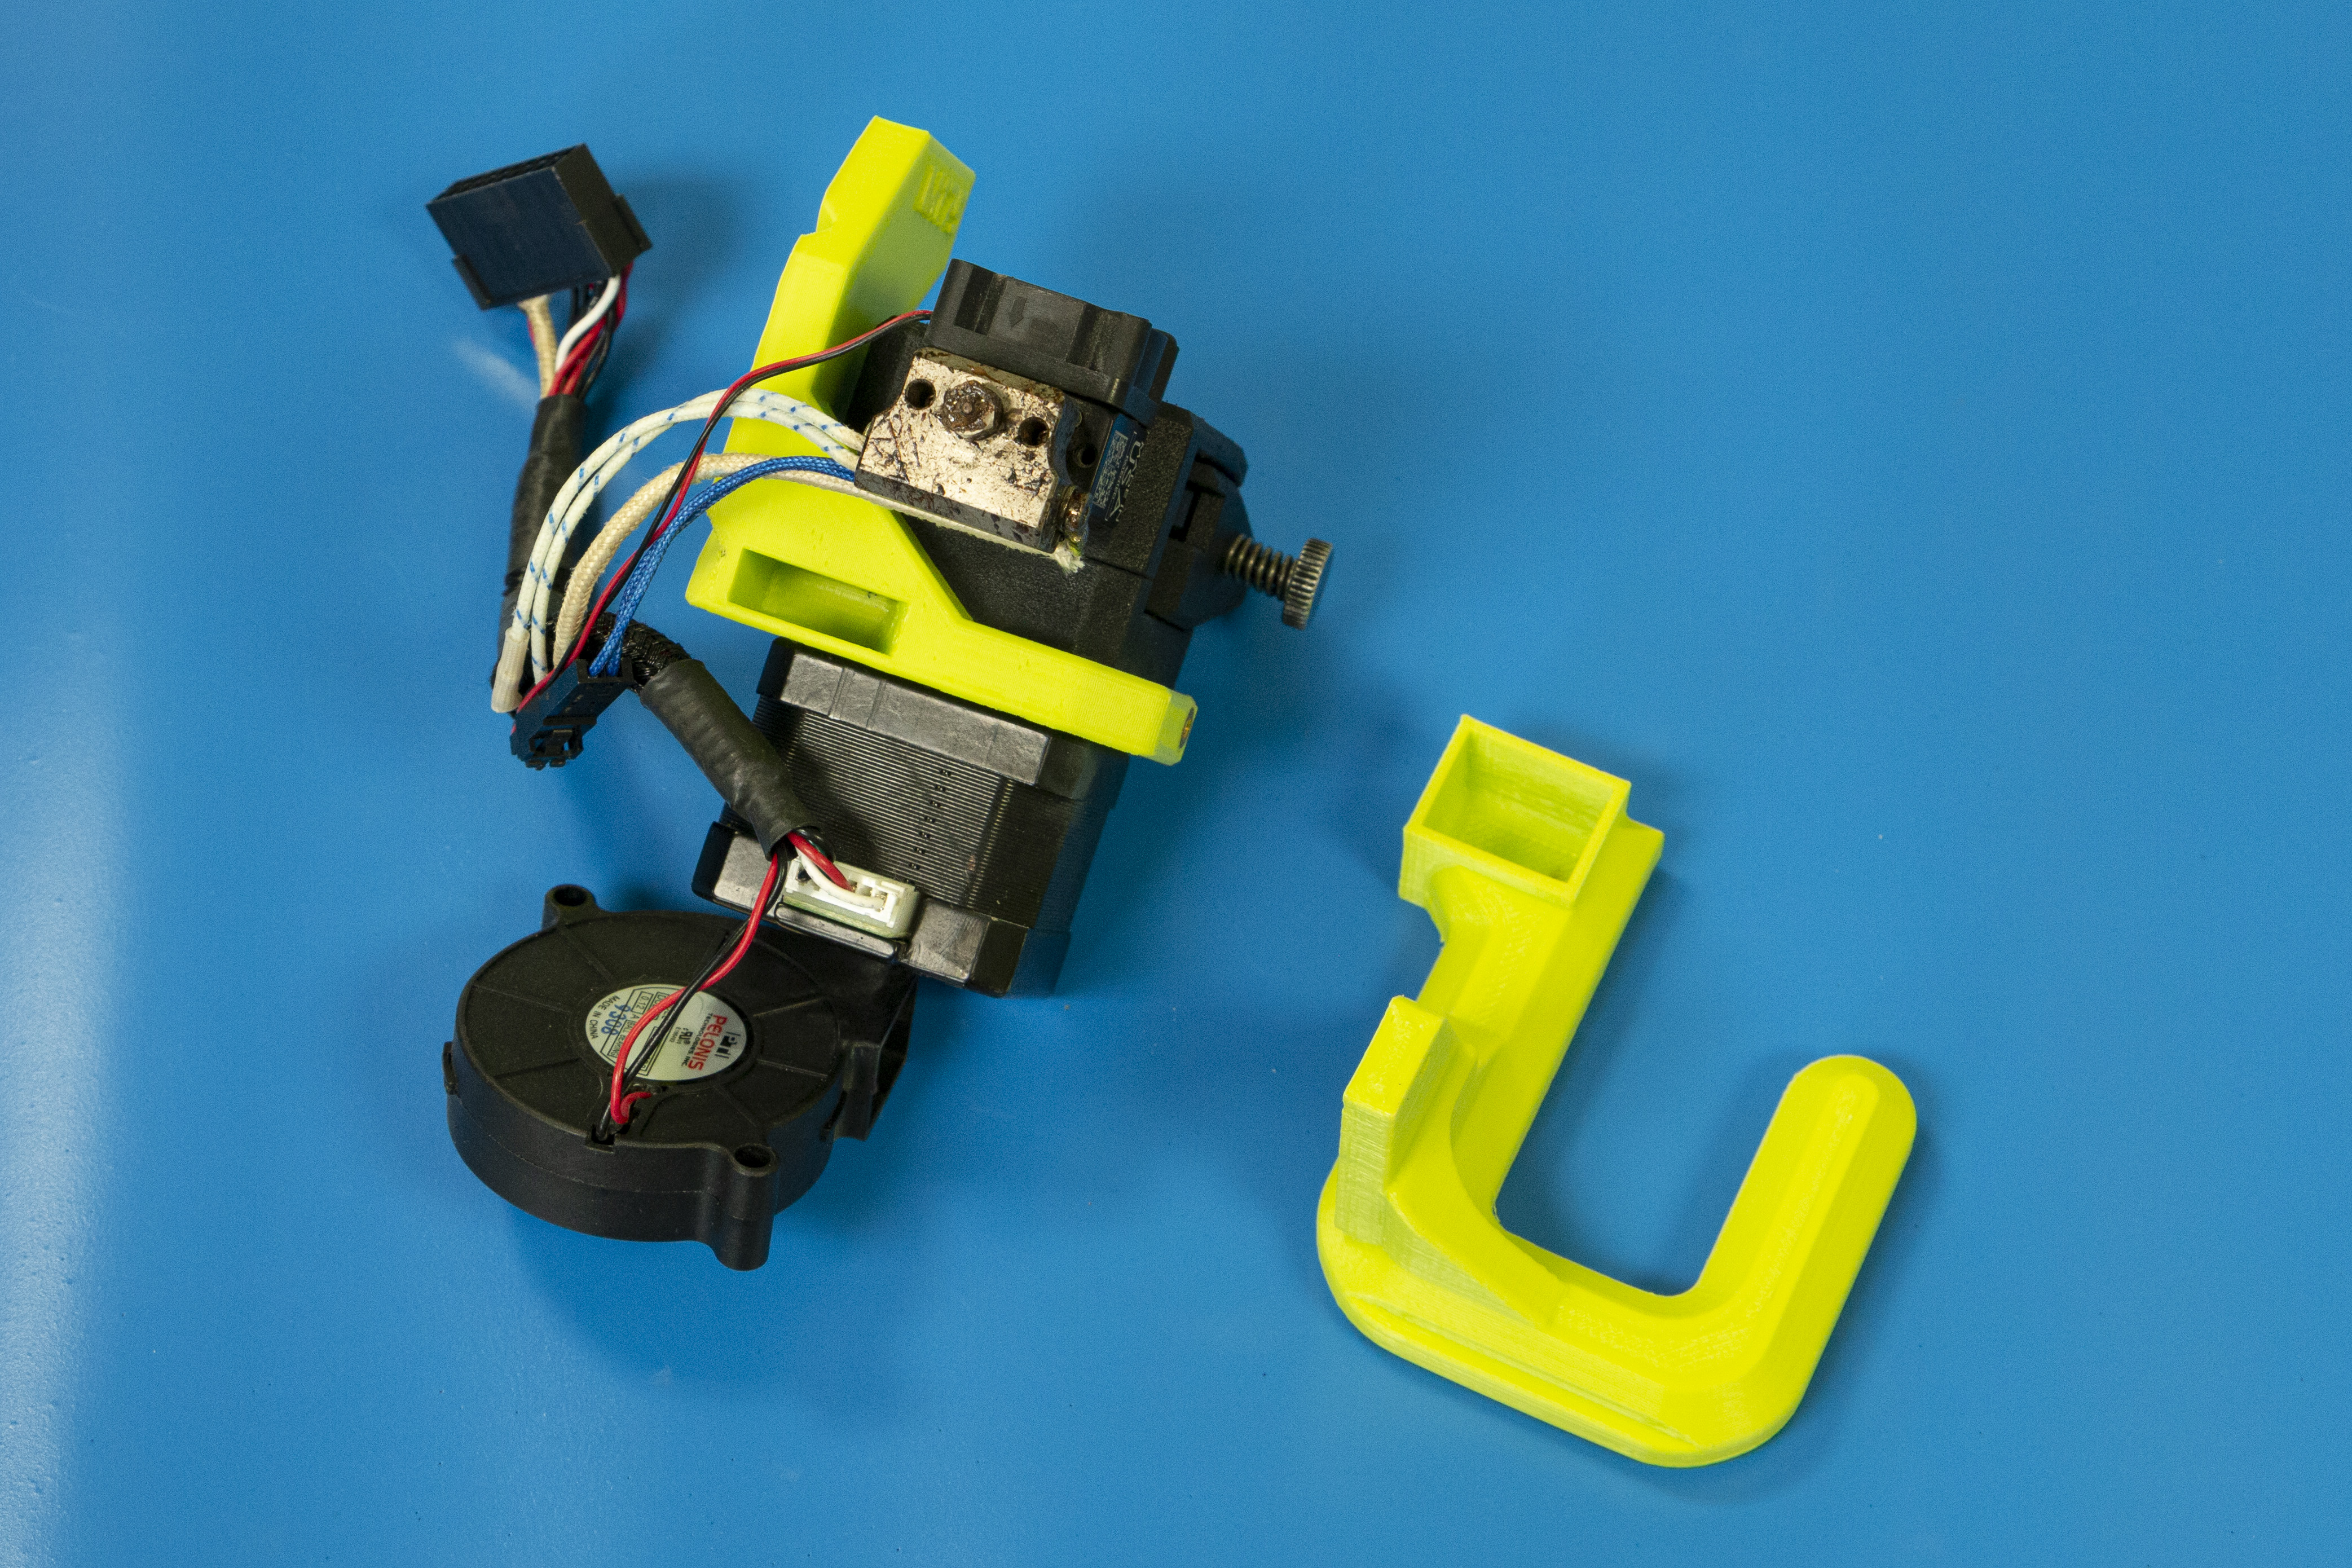
With the tool head sitting on a flat surface, move the extruder body and the motor out of the way of the extruder mount and blower shroud.
Remove the extruder mount and blower shroud and set aside.
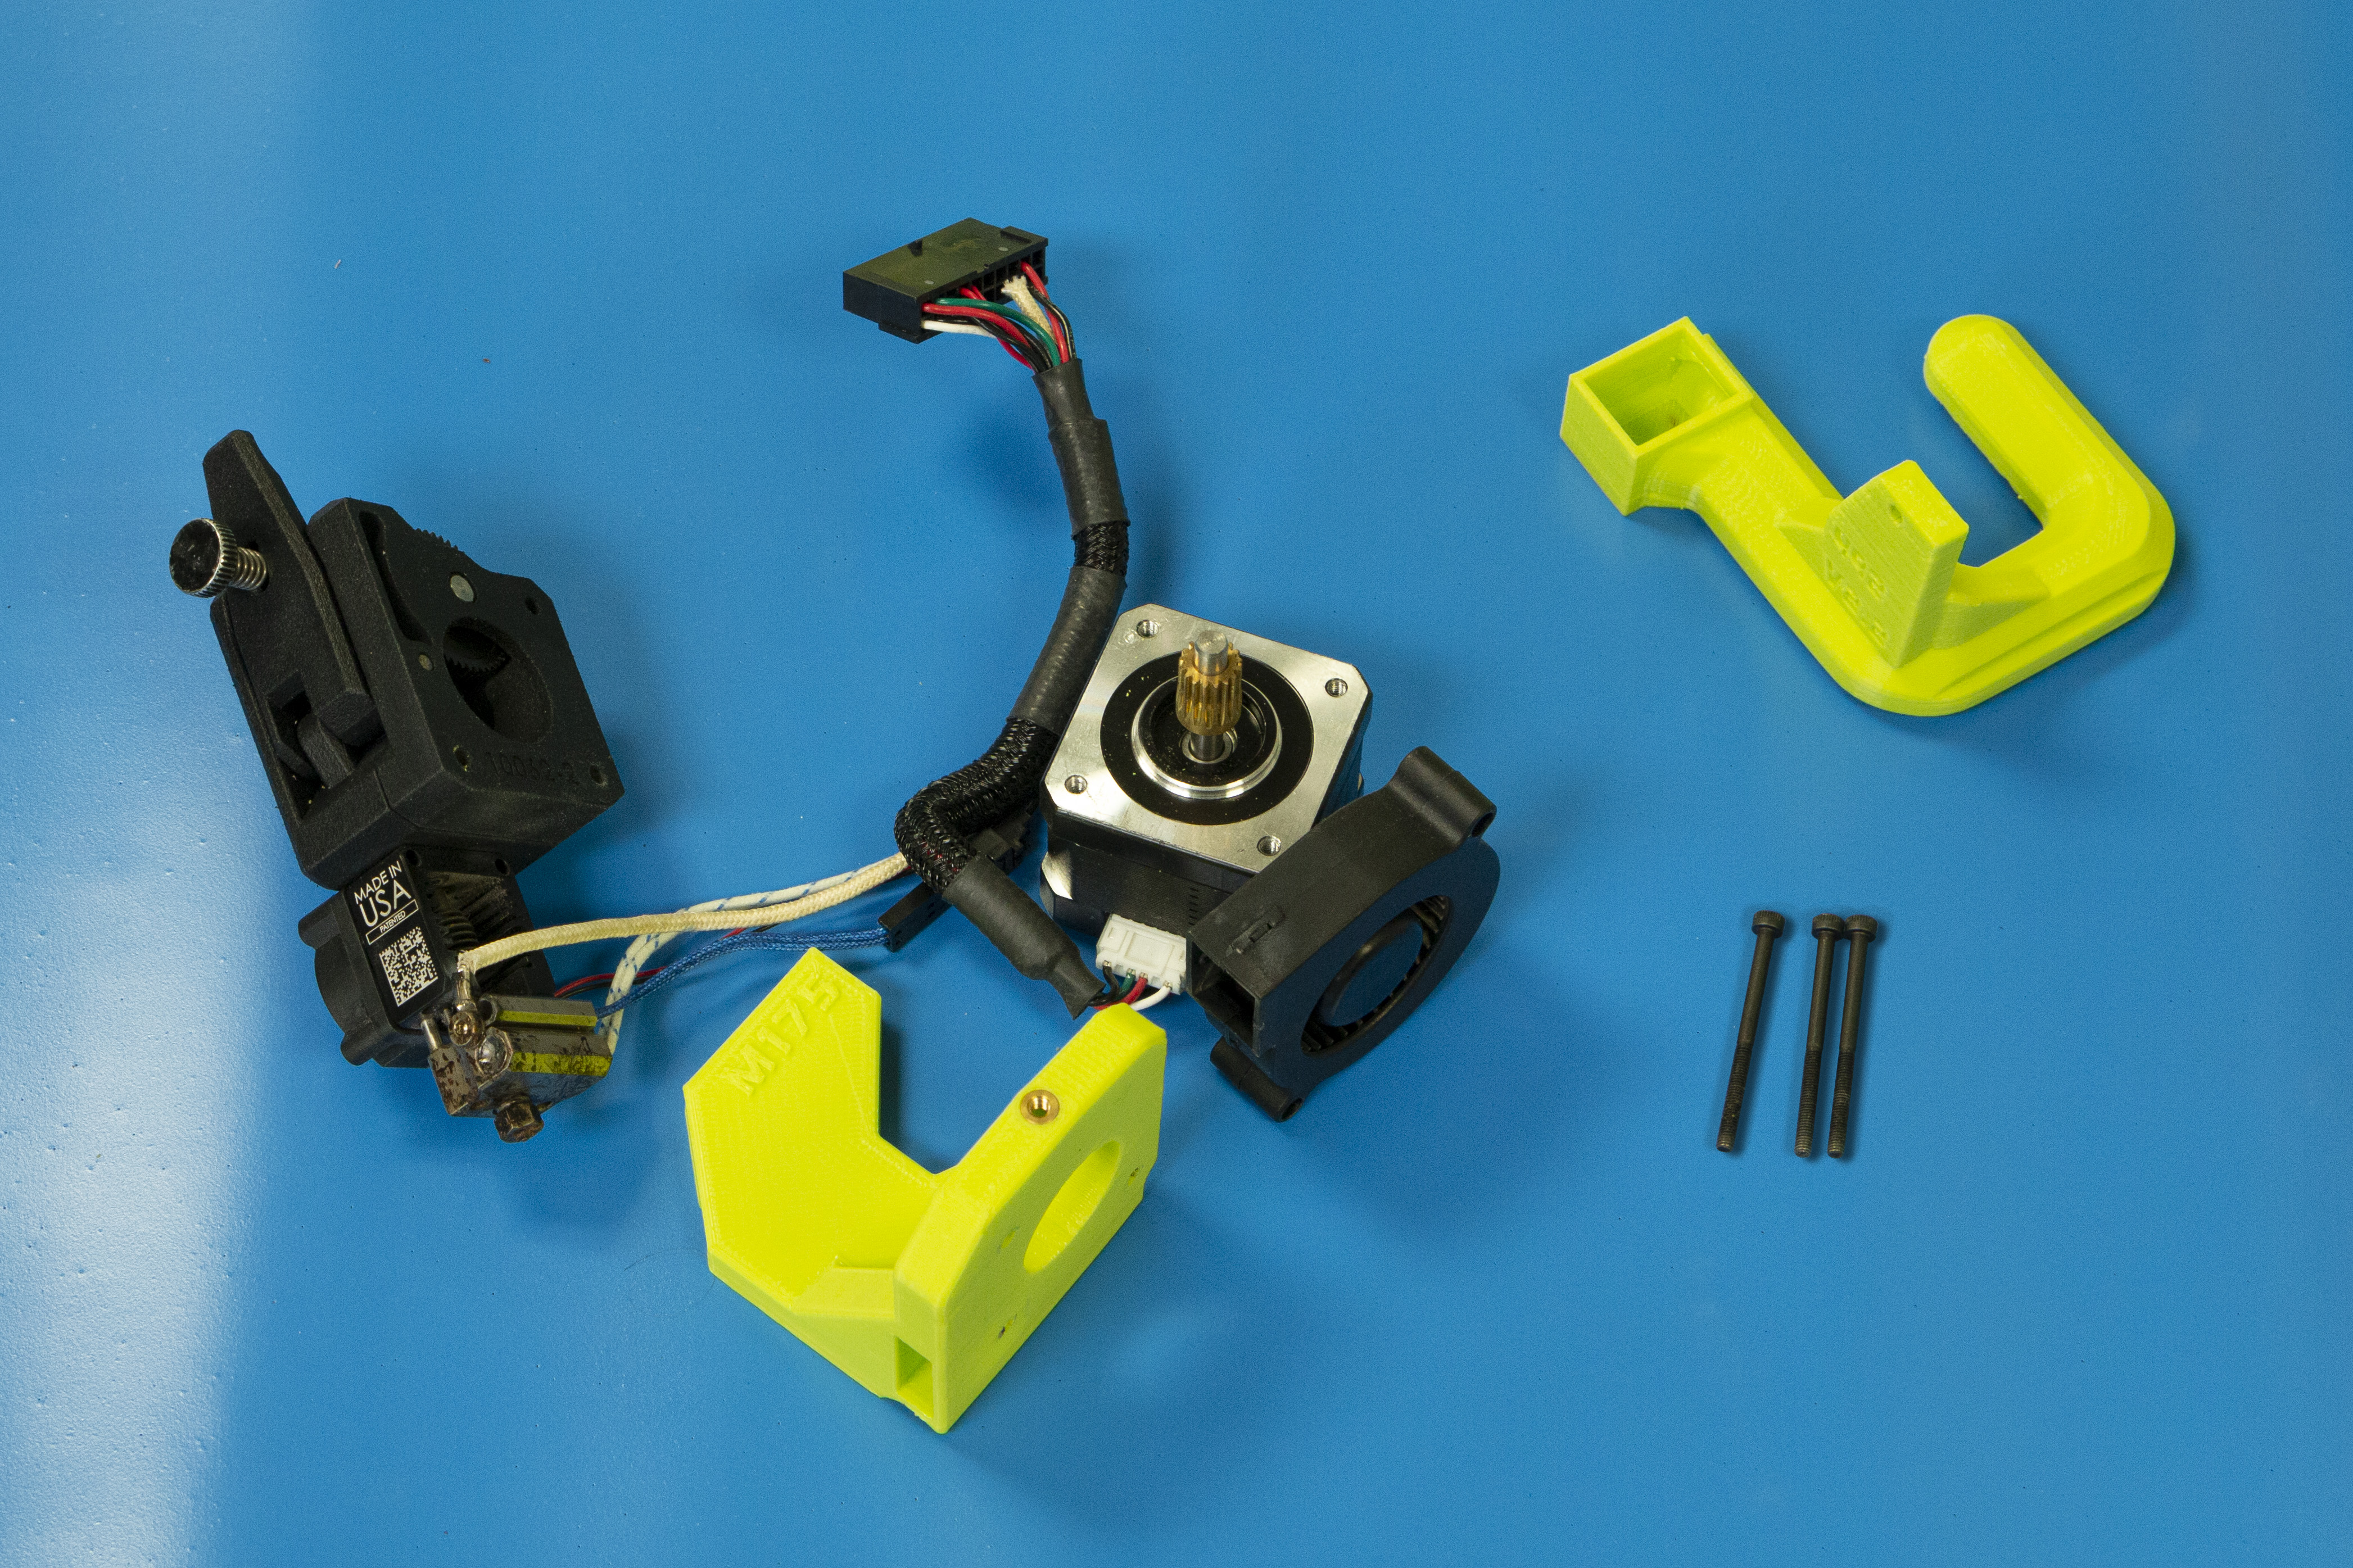
Locate the M175 v2 extruder mount, blower shroud, and 3x- m3x40mm screws.
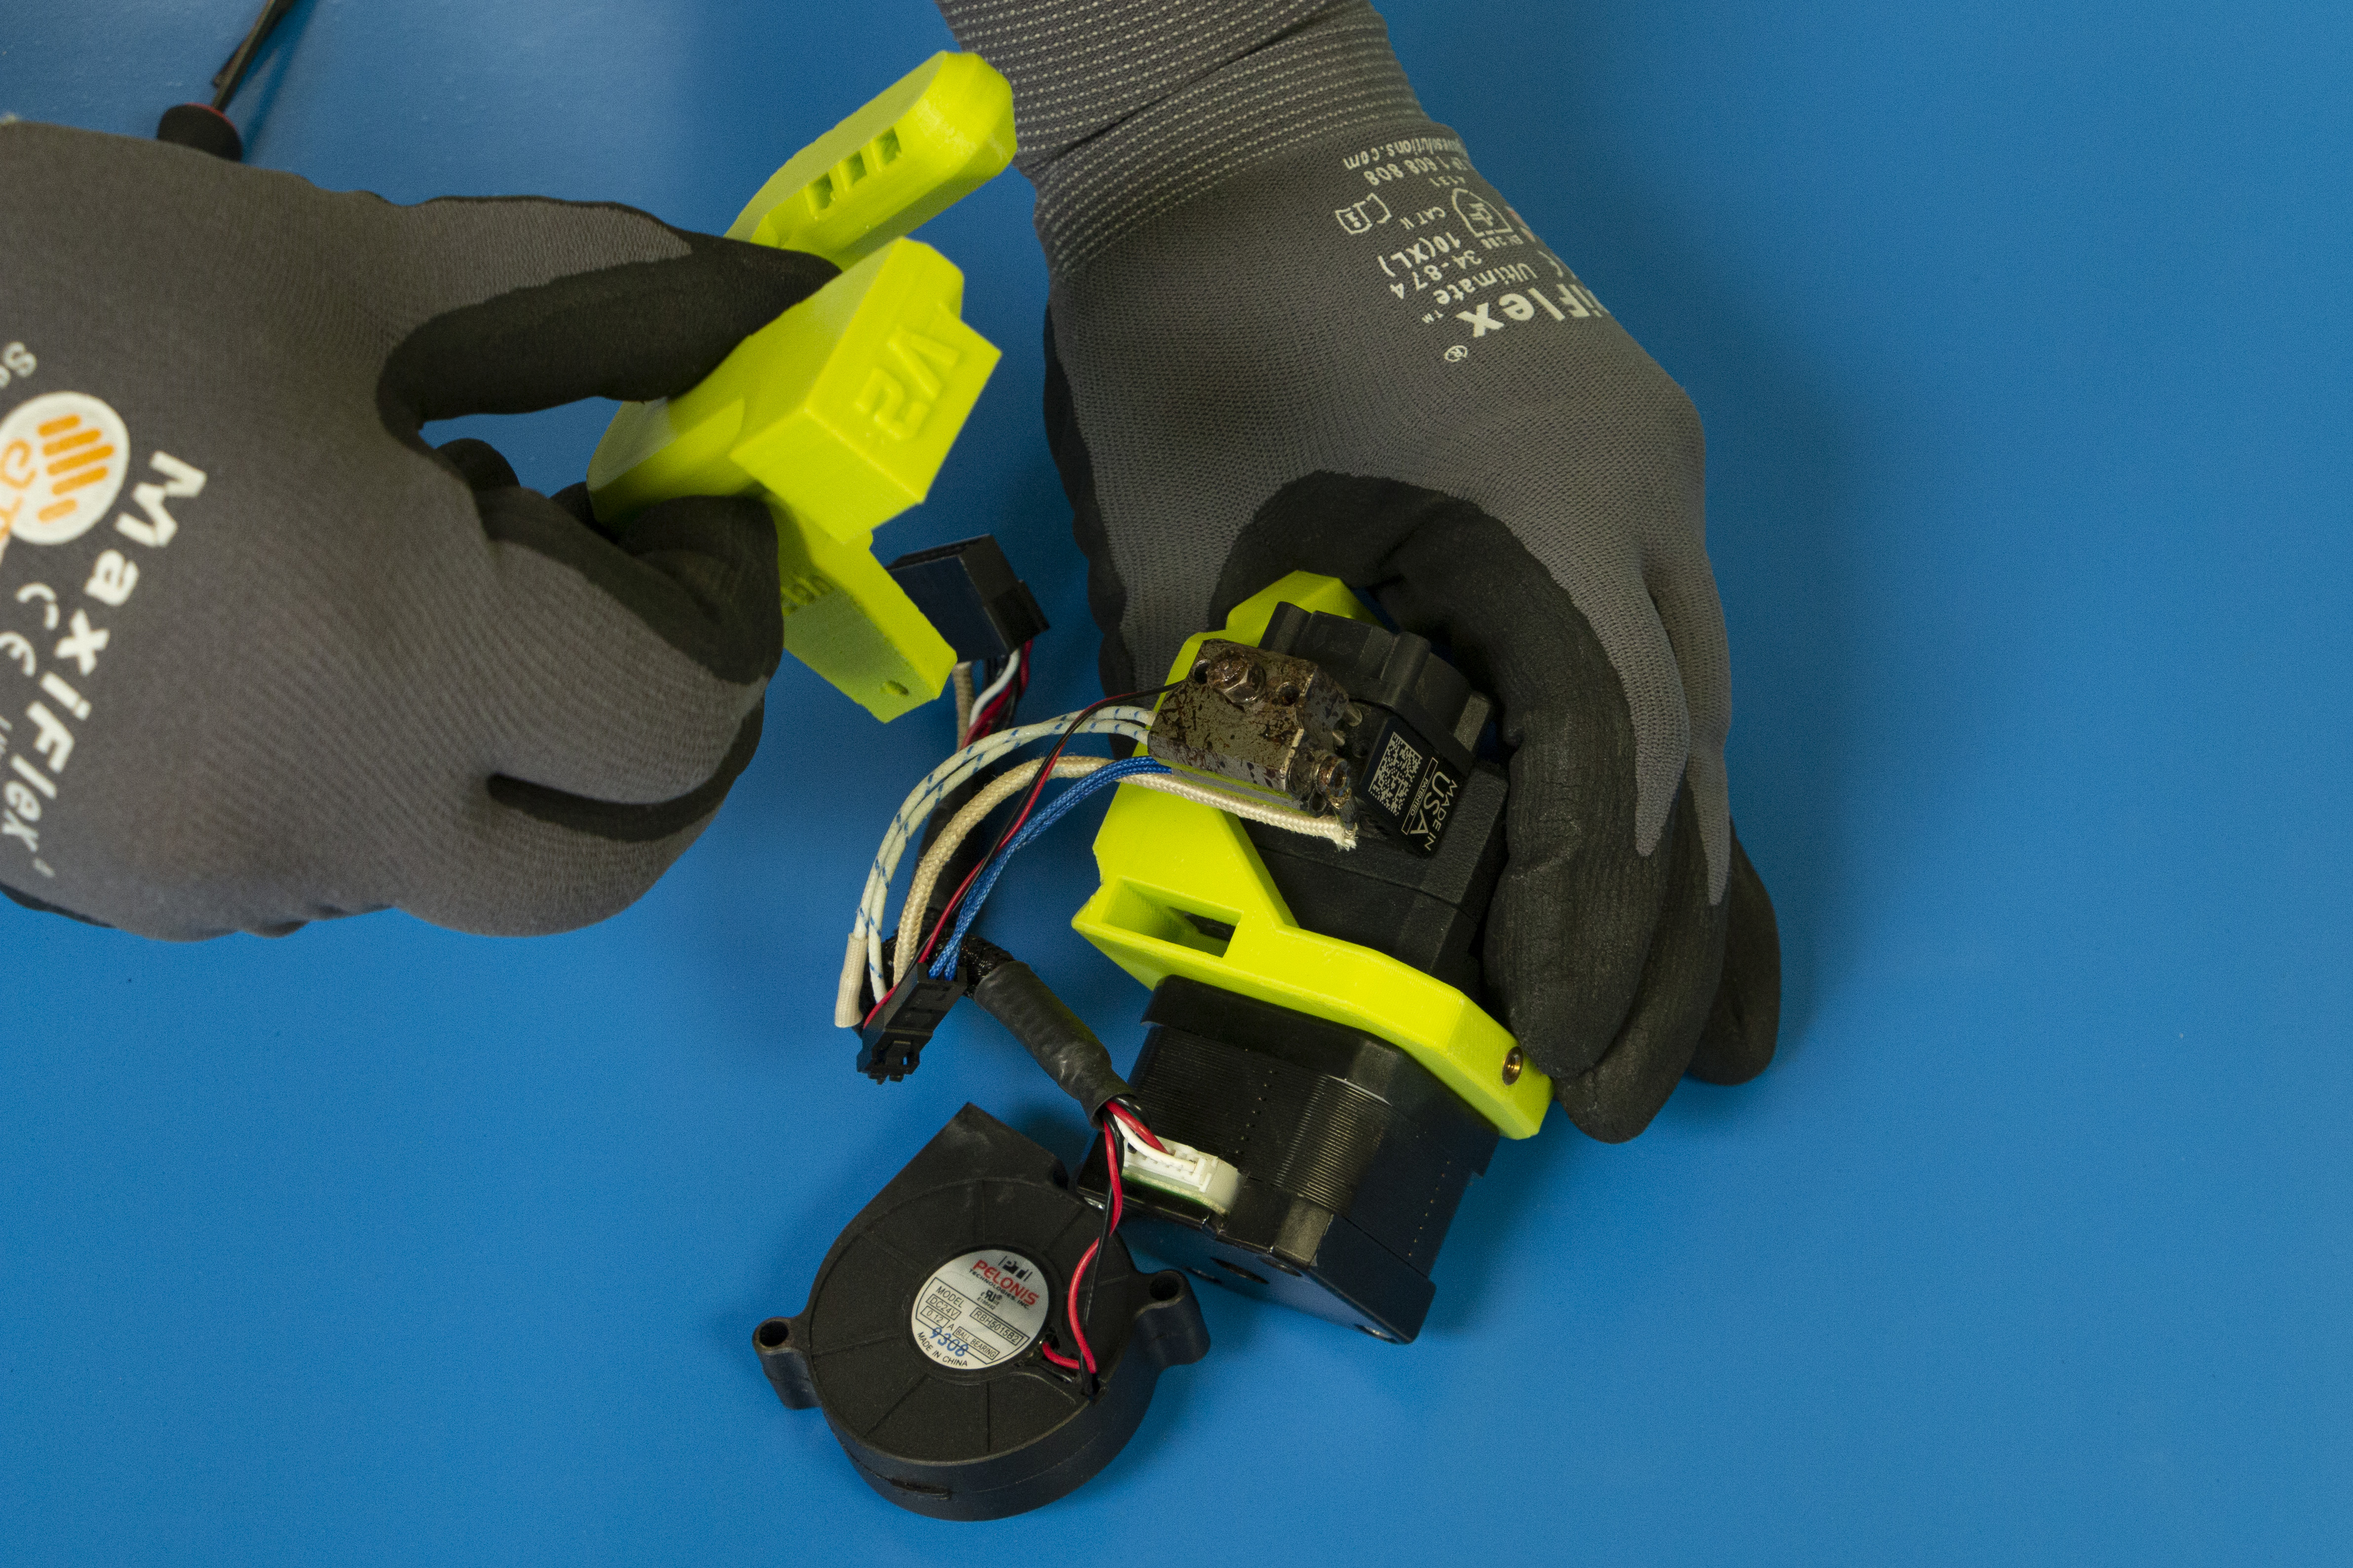
Place the M175 extruder mount v2 on the motor noting the orientation of the motor wire connection.
This should face down.
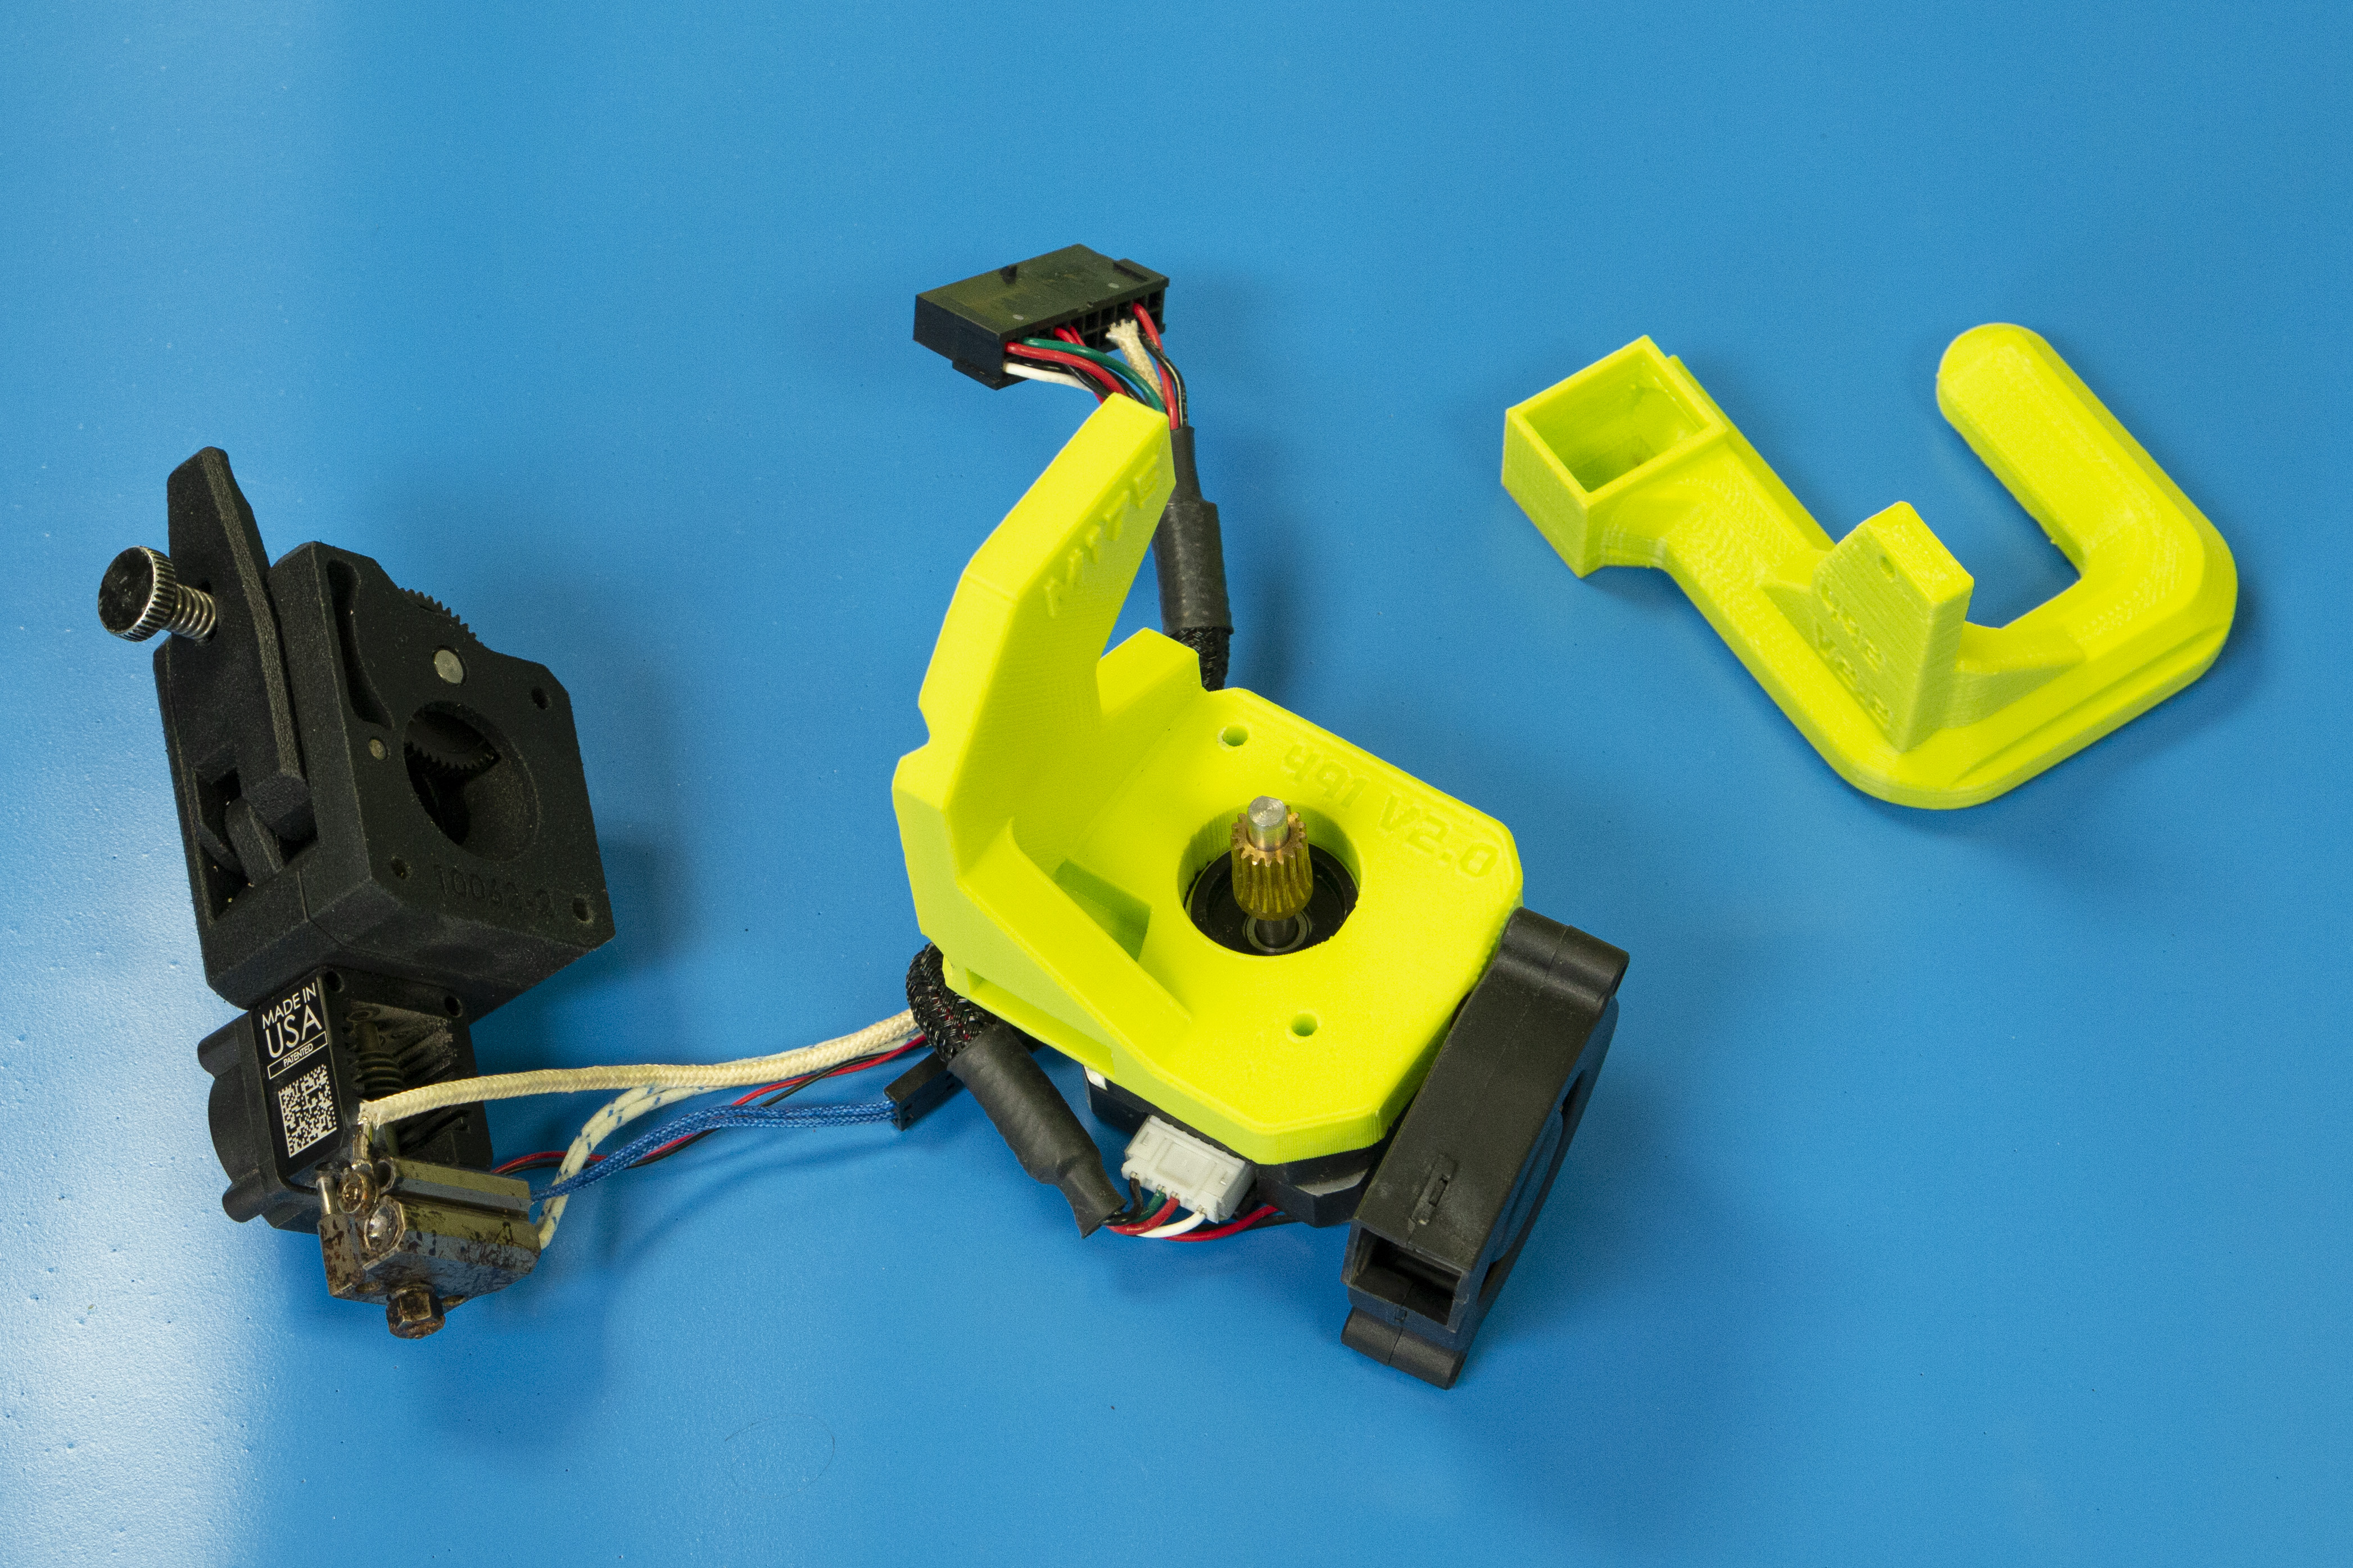
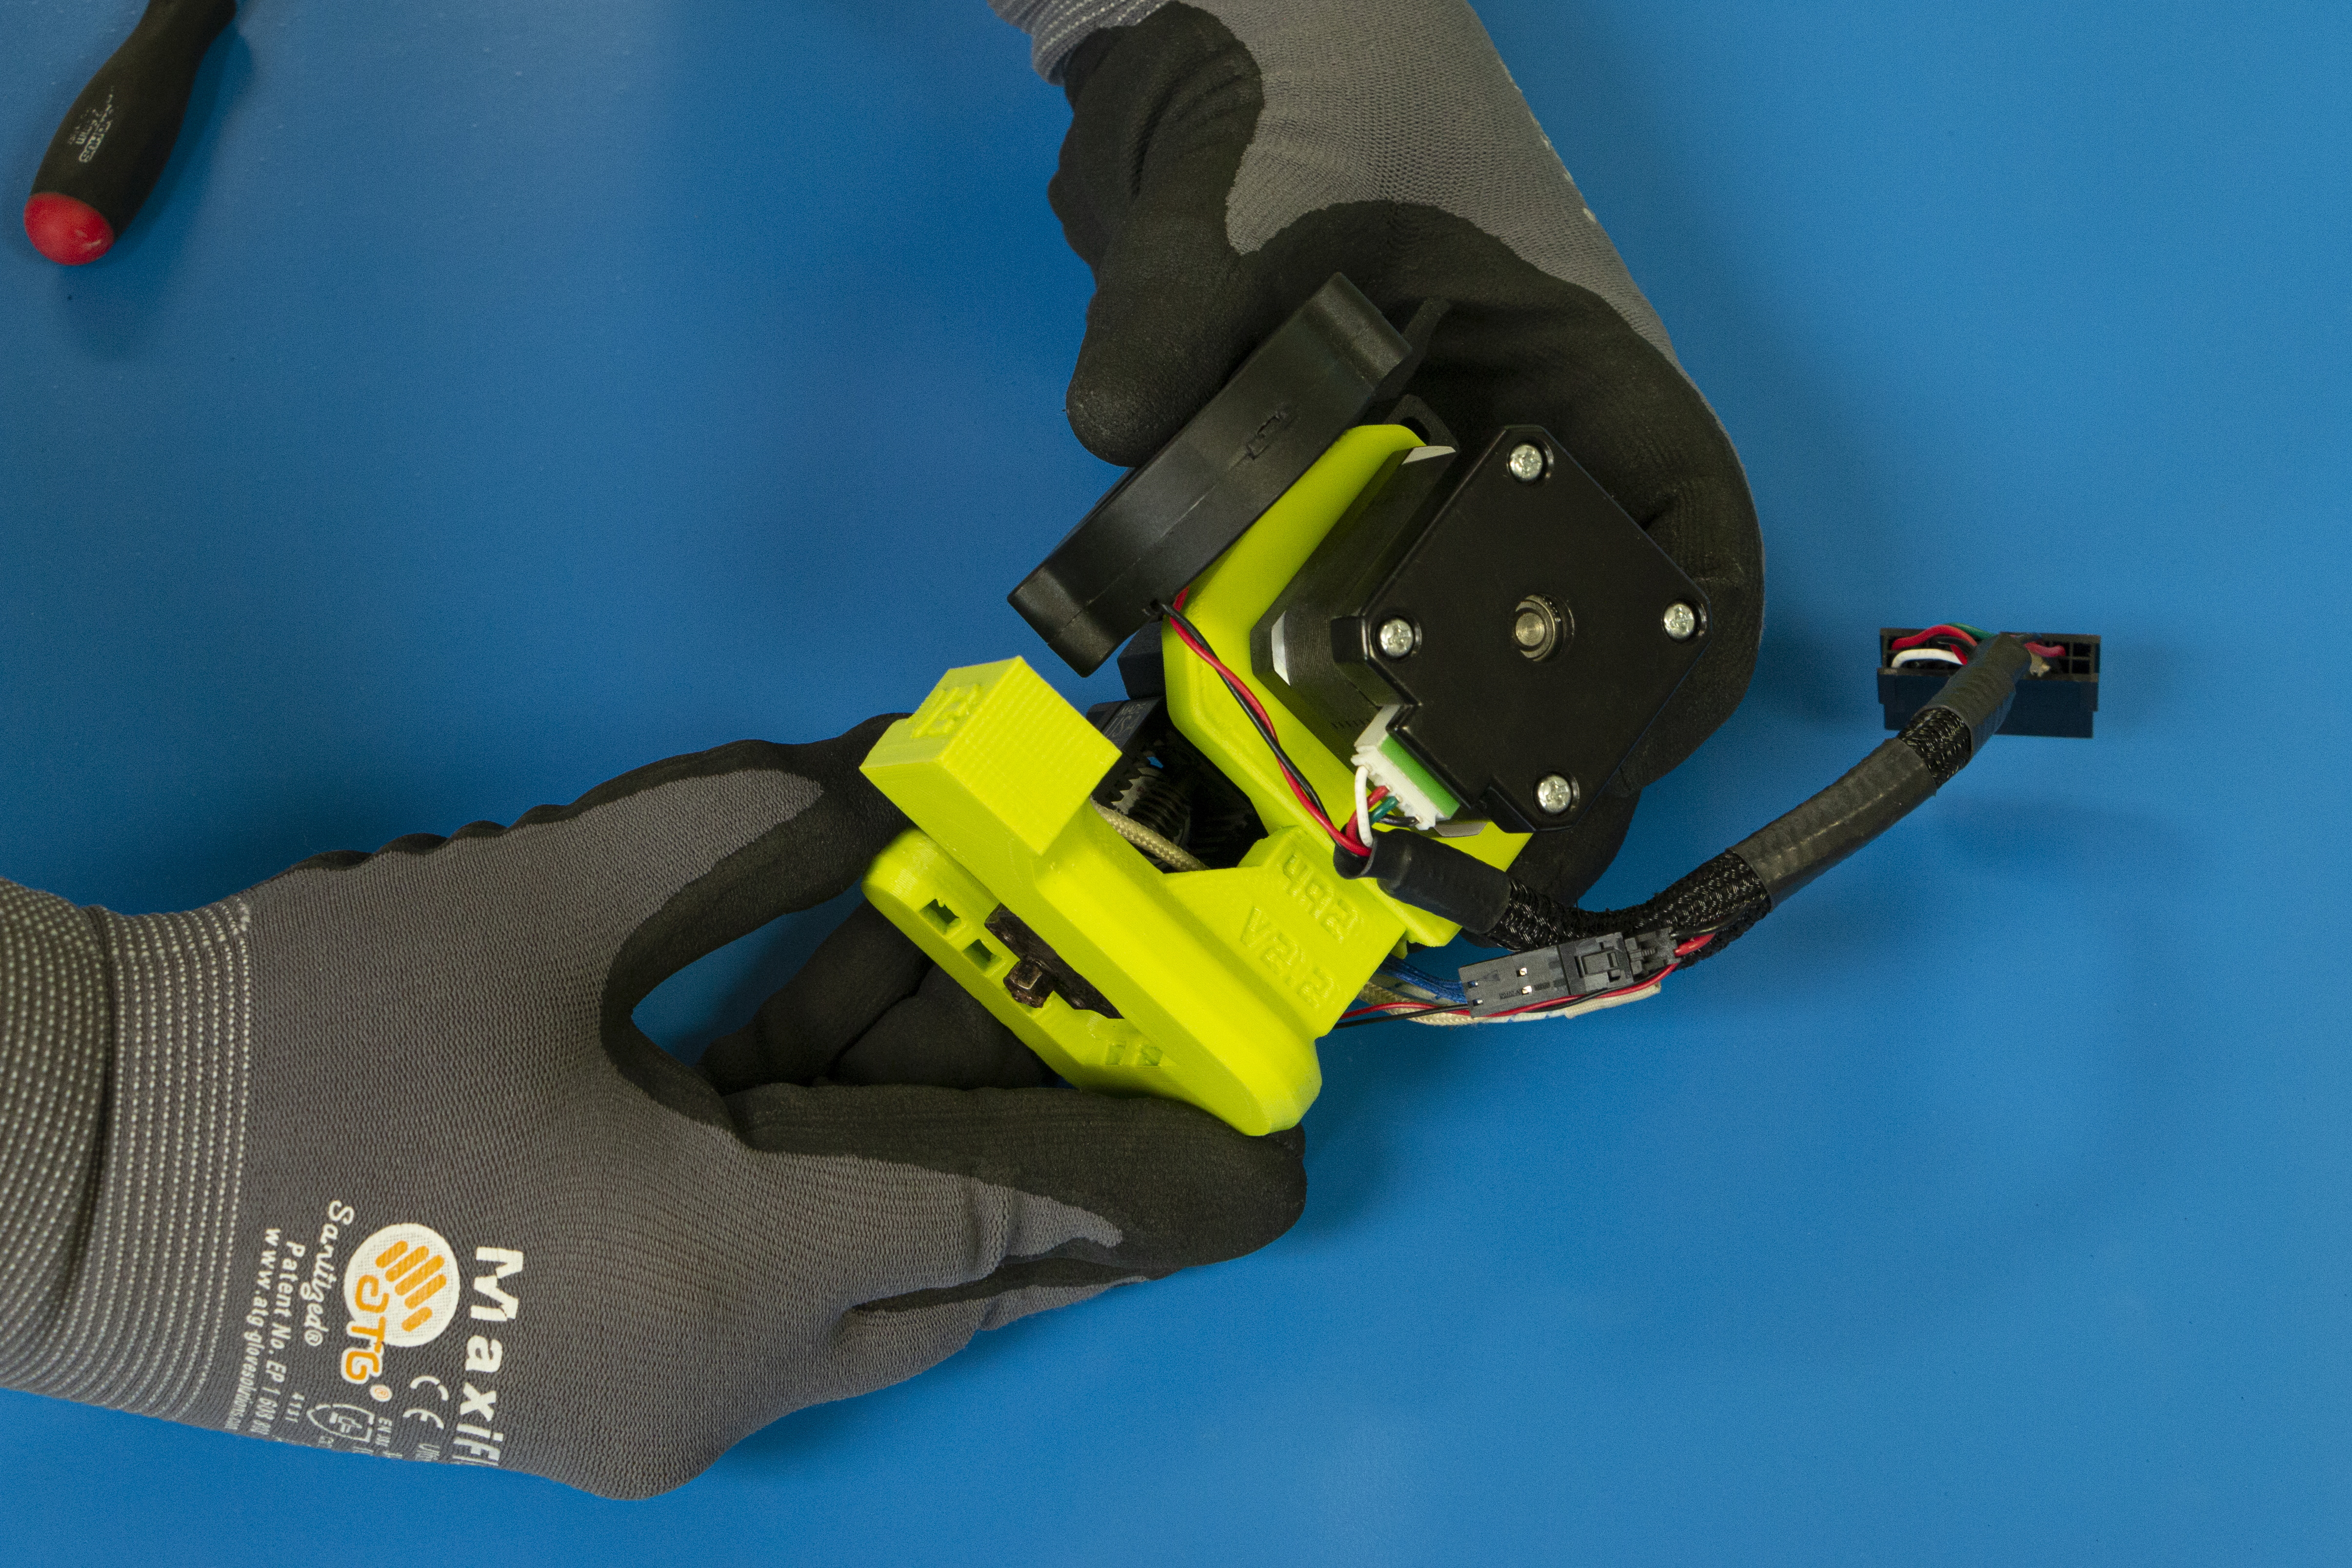
Place extruder body on the extruder mount and match up the gearing to the motor.
You can manually test by turning the gear at the top of the bond tech extruder while holding the 3 pieces together.
Install the top left and bottom right m3x40mm screws, leaving the bottom left screw hole open.
Do not over tighten.

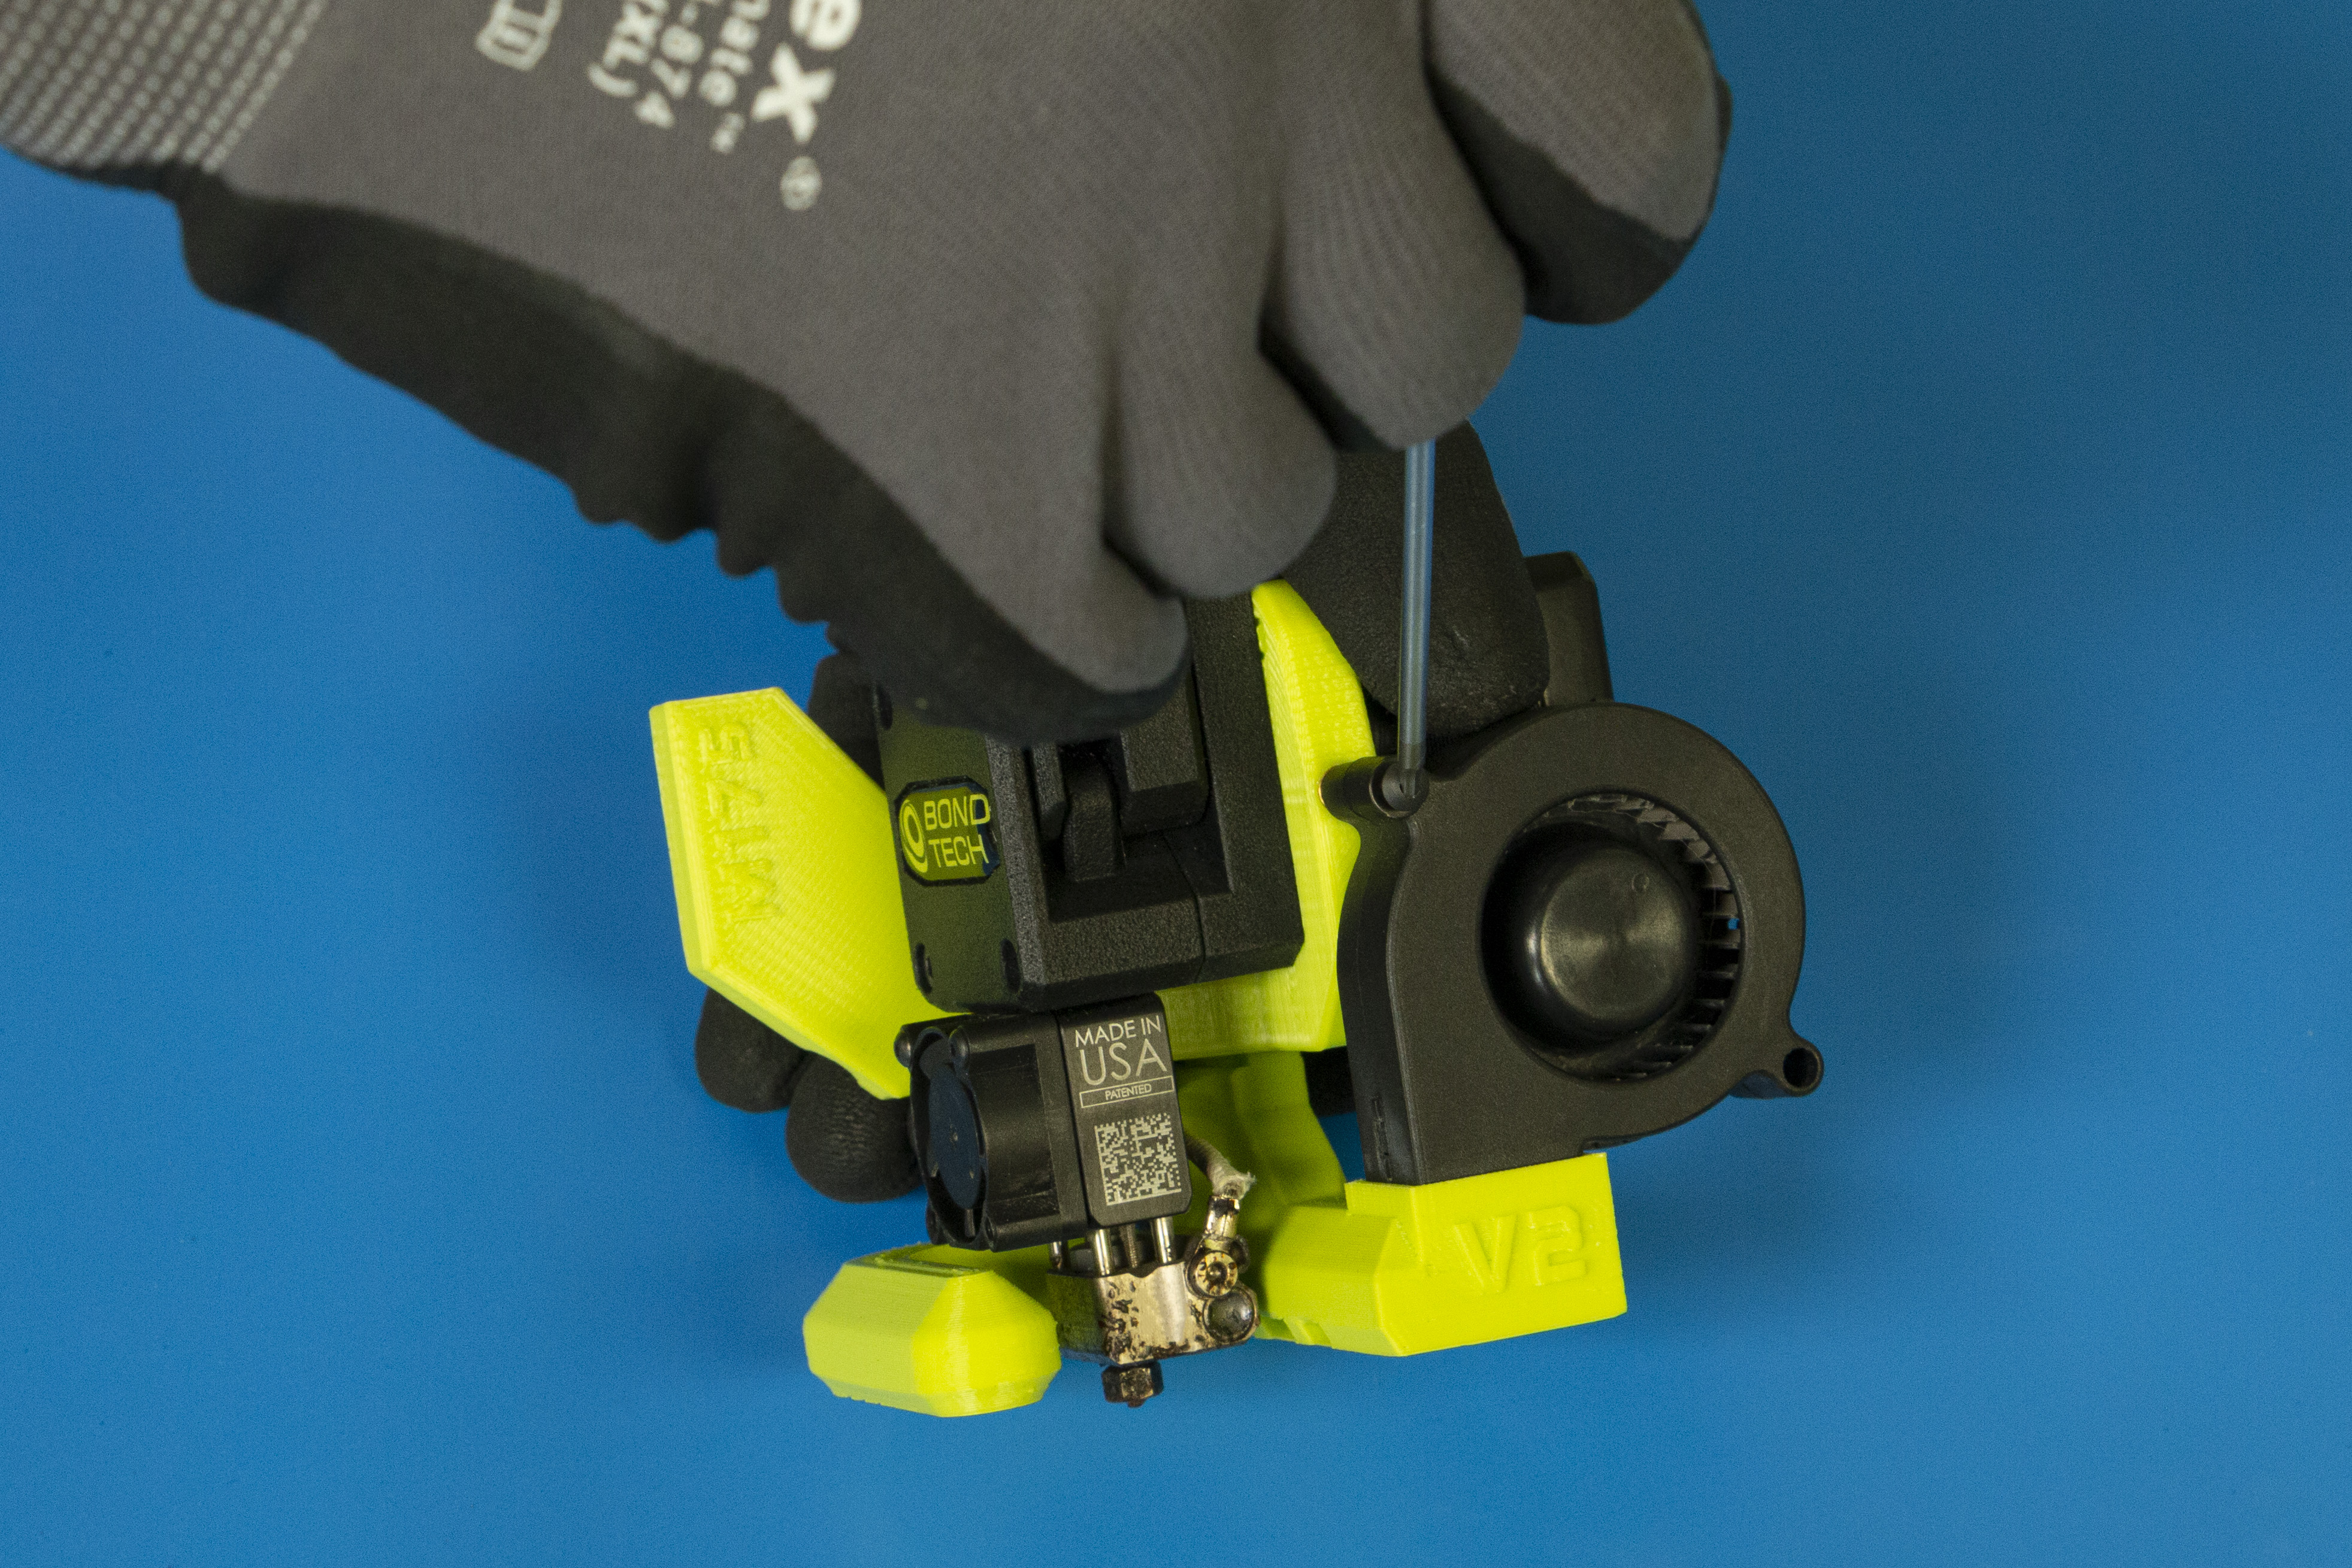
Flip the tool head upside down and location the blower shroud and blower shroud opening on the extruder mount.
Insert the blower shroud into the extruder mount noting the orientation.
Using the last m3x40mm screw, insert it into the bottom left screw hold on the bond tech extruder and tighten down.
Do not over tighten.

Position the blower fan inside the blower shroud.
Using the 2.0mm hex wrench insert the blower fan screw through the fan and into the extruder mount, securing it in place.
Your M175 tool head has been successfully updated to version V2!