Open HardwareAssembly Instructions
Guides for installation and assembly of the LulzBot line of products made by FAME 3D LLC.
Guides for installation and assembly of the LulzBot line of products made by FAME 3D LLC.
Tools
2mm Hex Key
Gloves - recommended
Materials
1x- SideKick 747 or Mini 2/289 Flexible Bed Kit
Warning
Be careful while handling the magnetic plate, the magnets are strong and can pinch your fingers.
It is recommended to wear gloves.
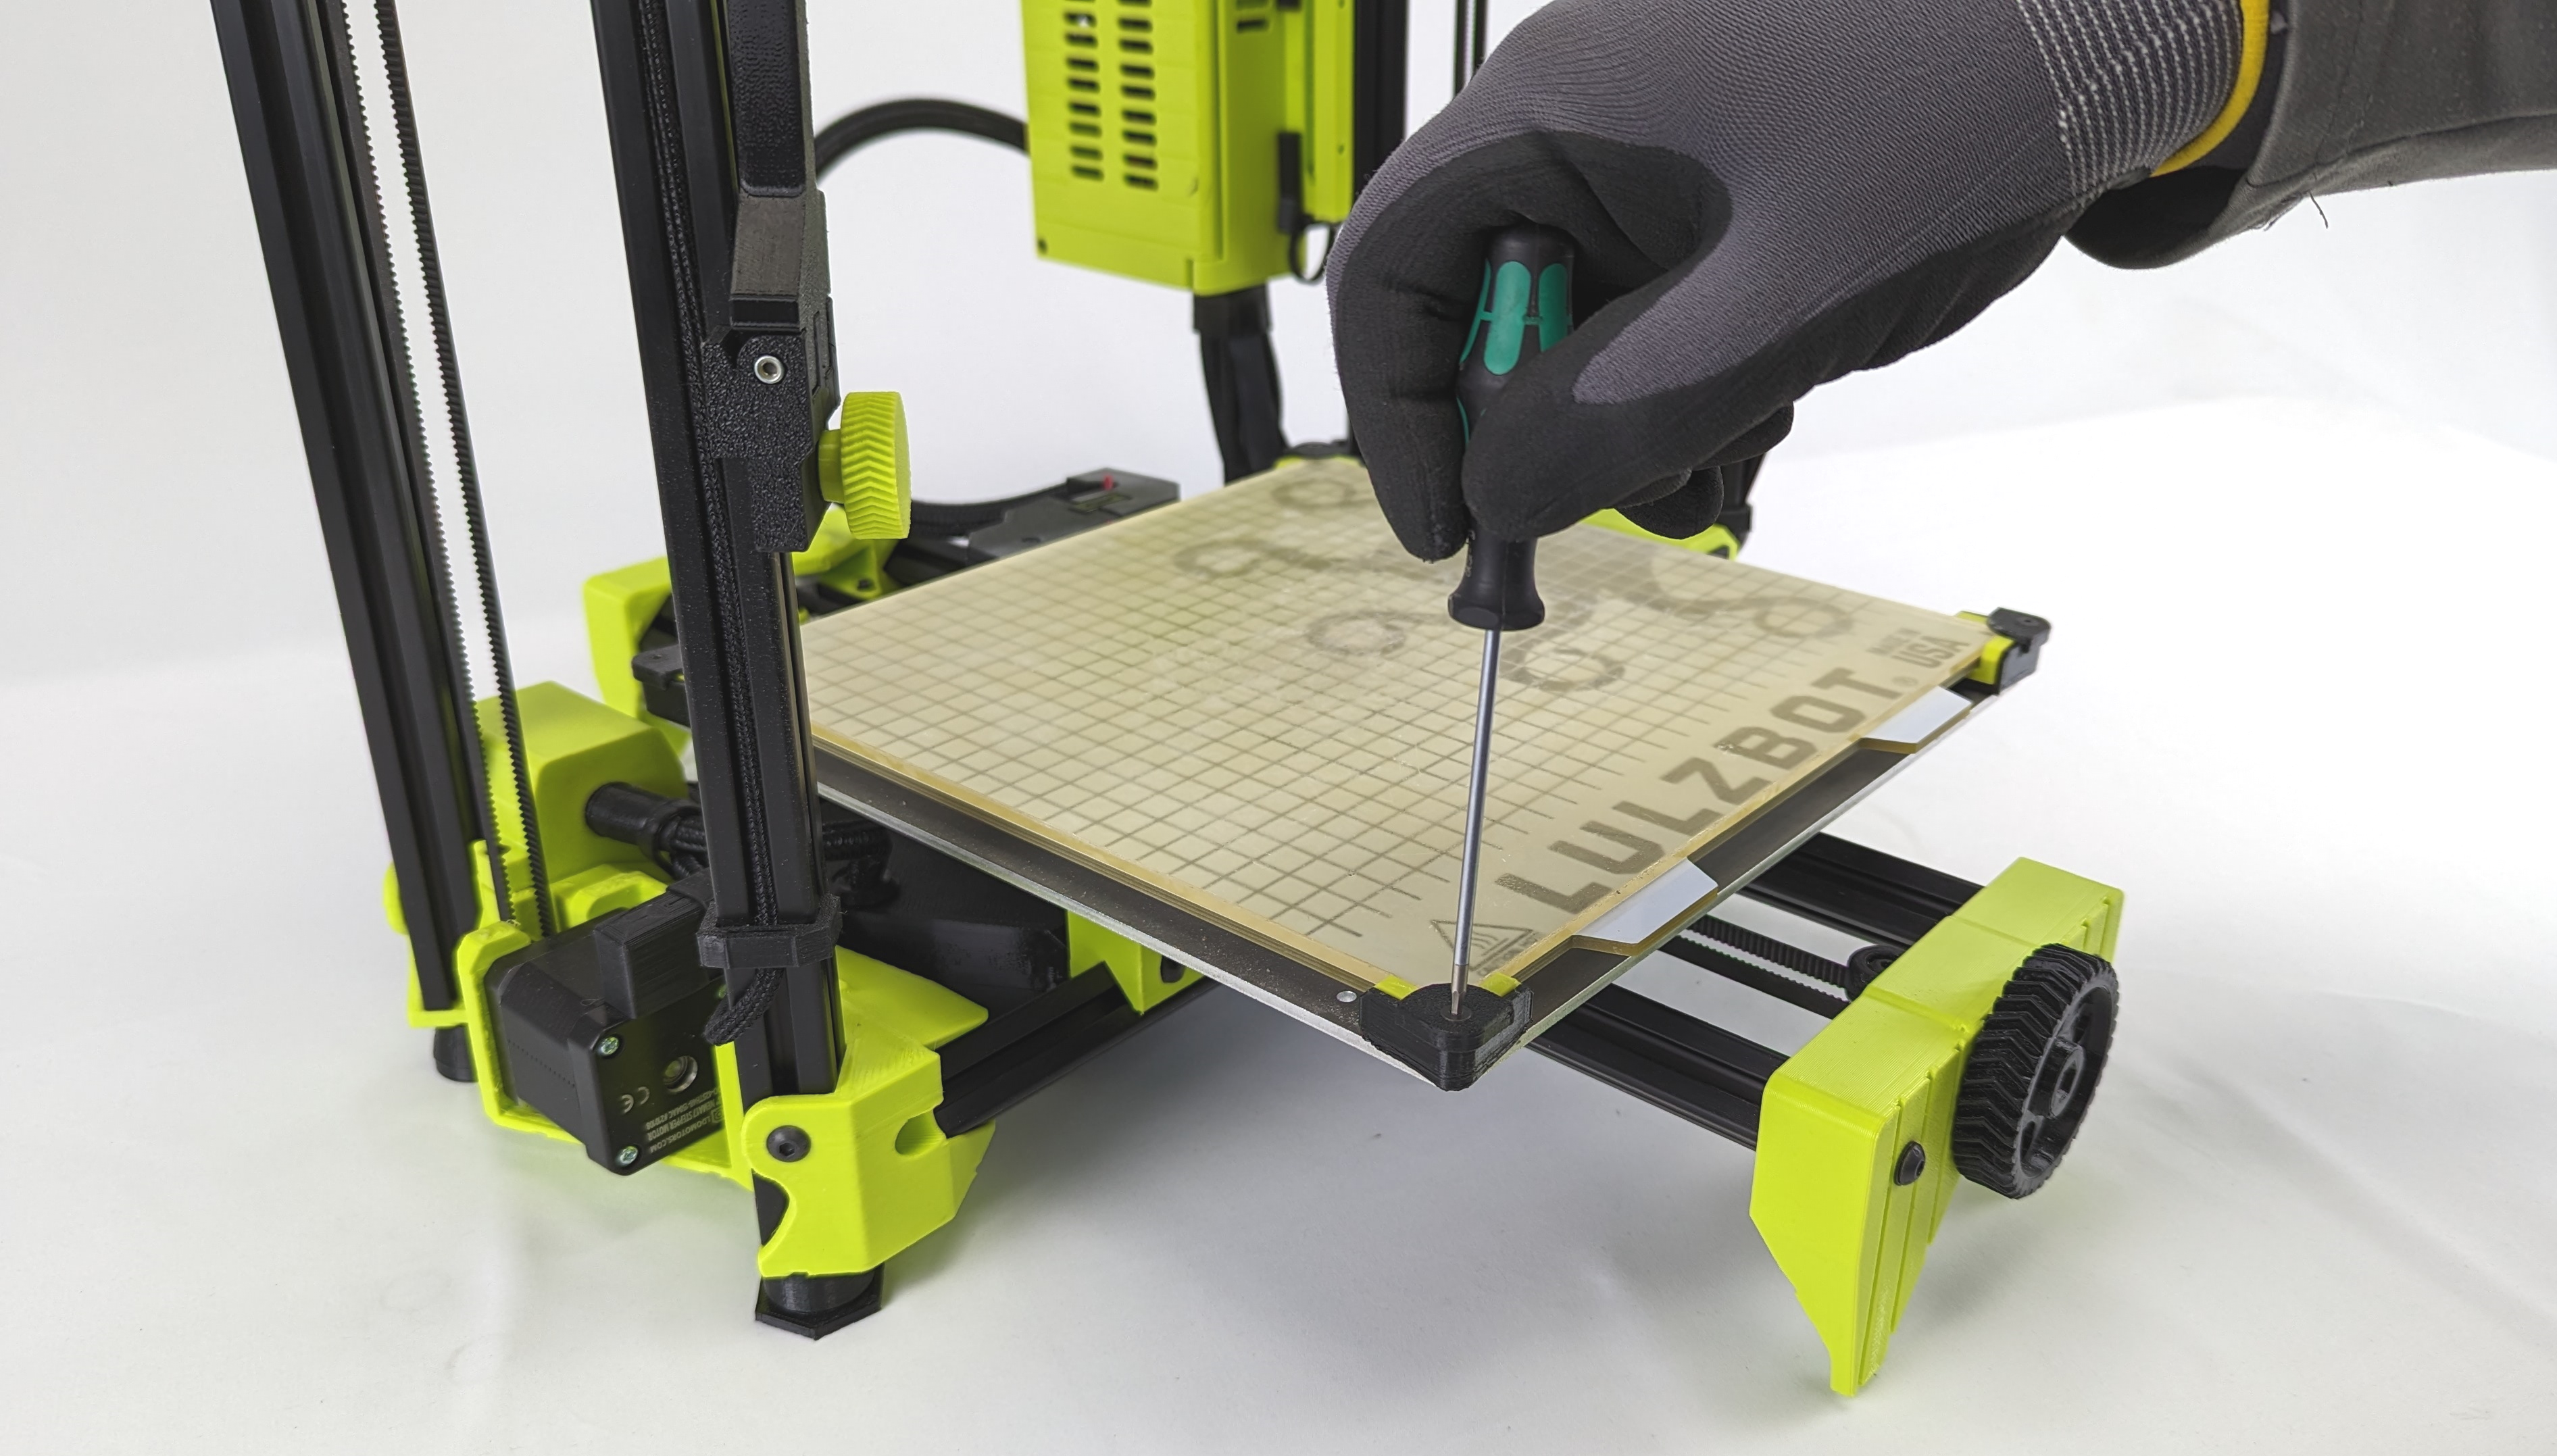
Start by removing the (4x) 3d printed corners holding the glass bed down with the use of a 2mm hex wrench.
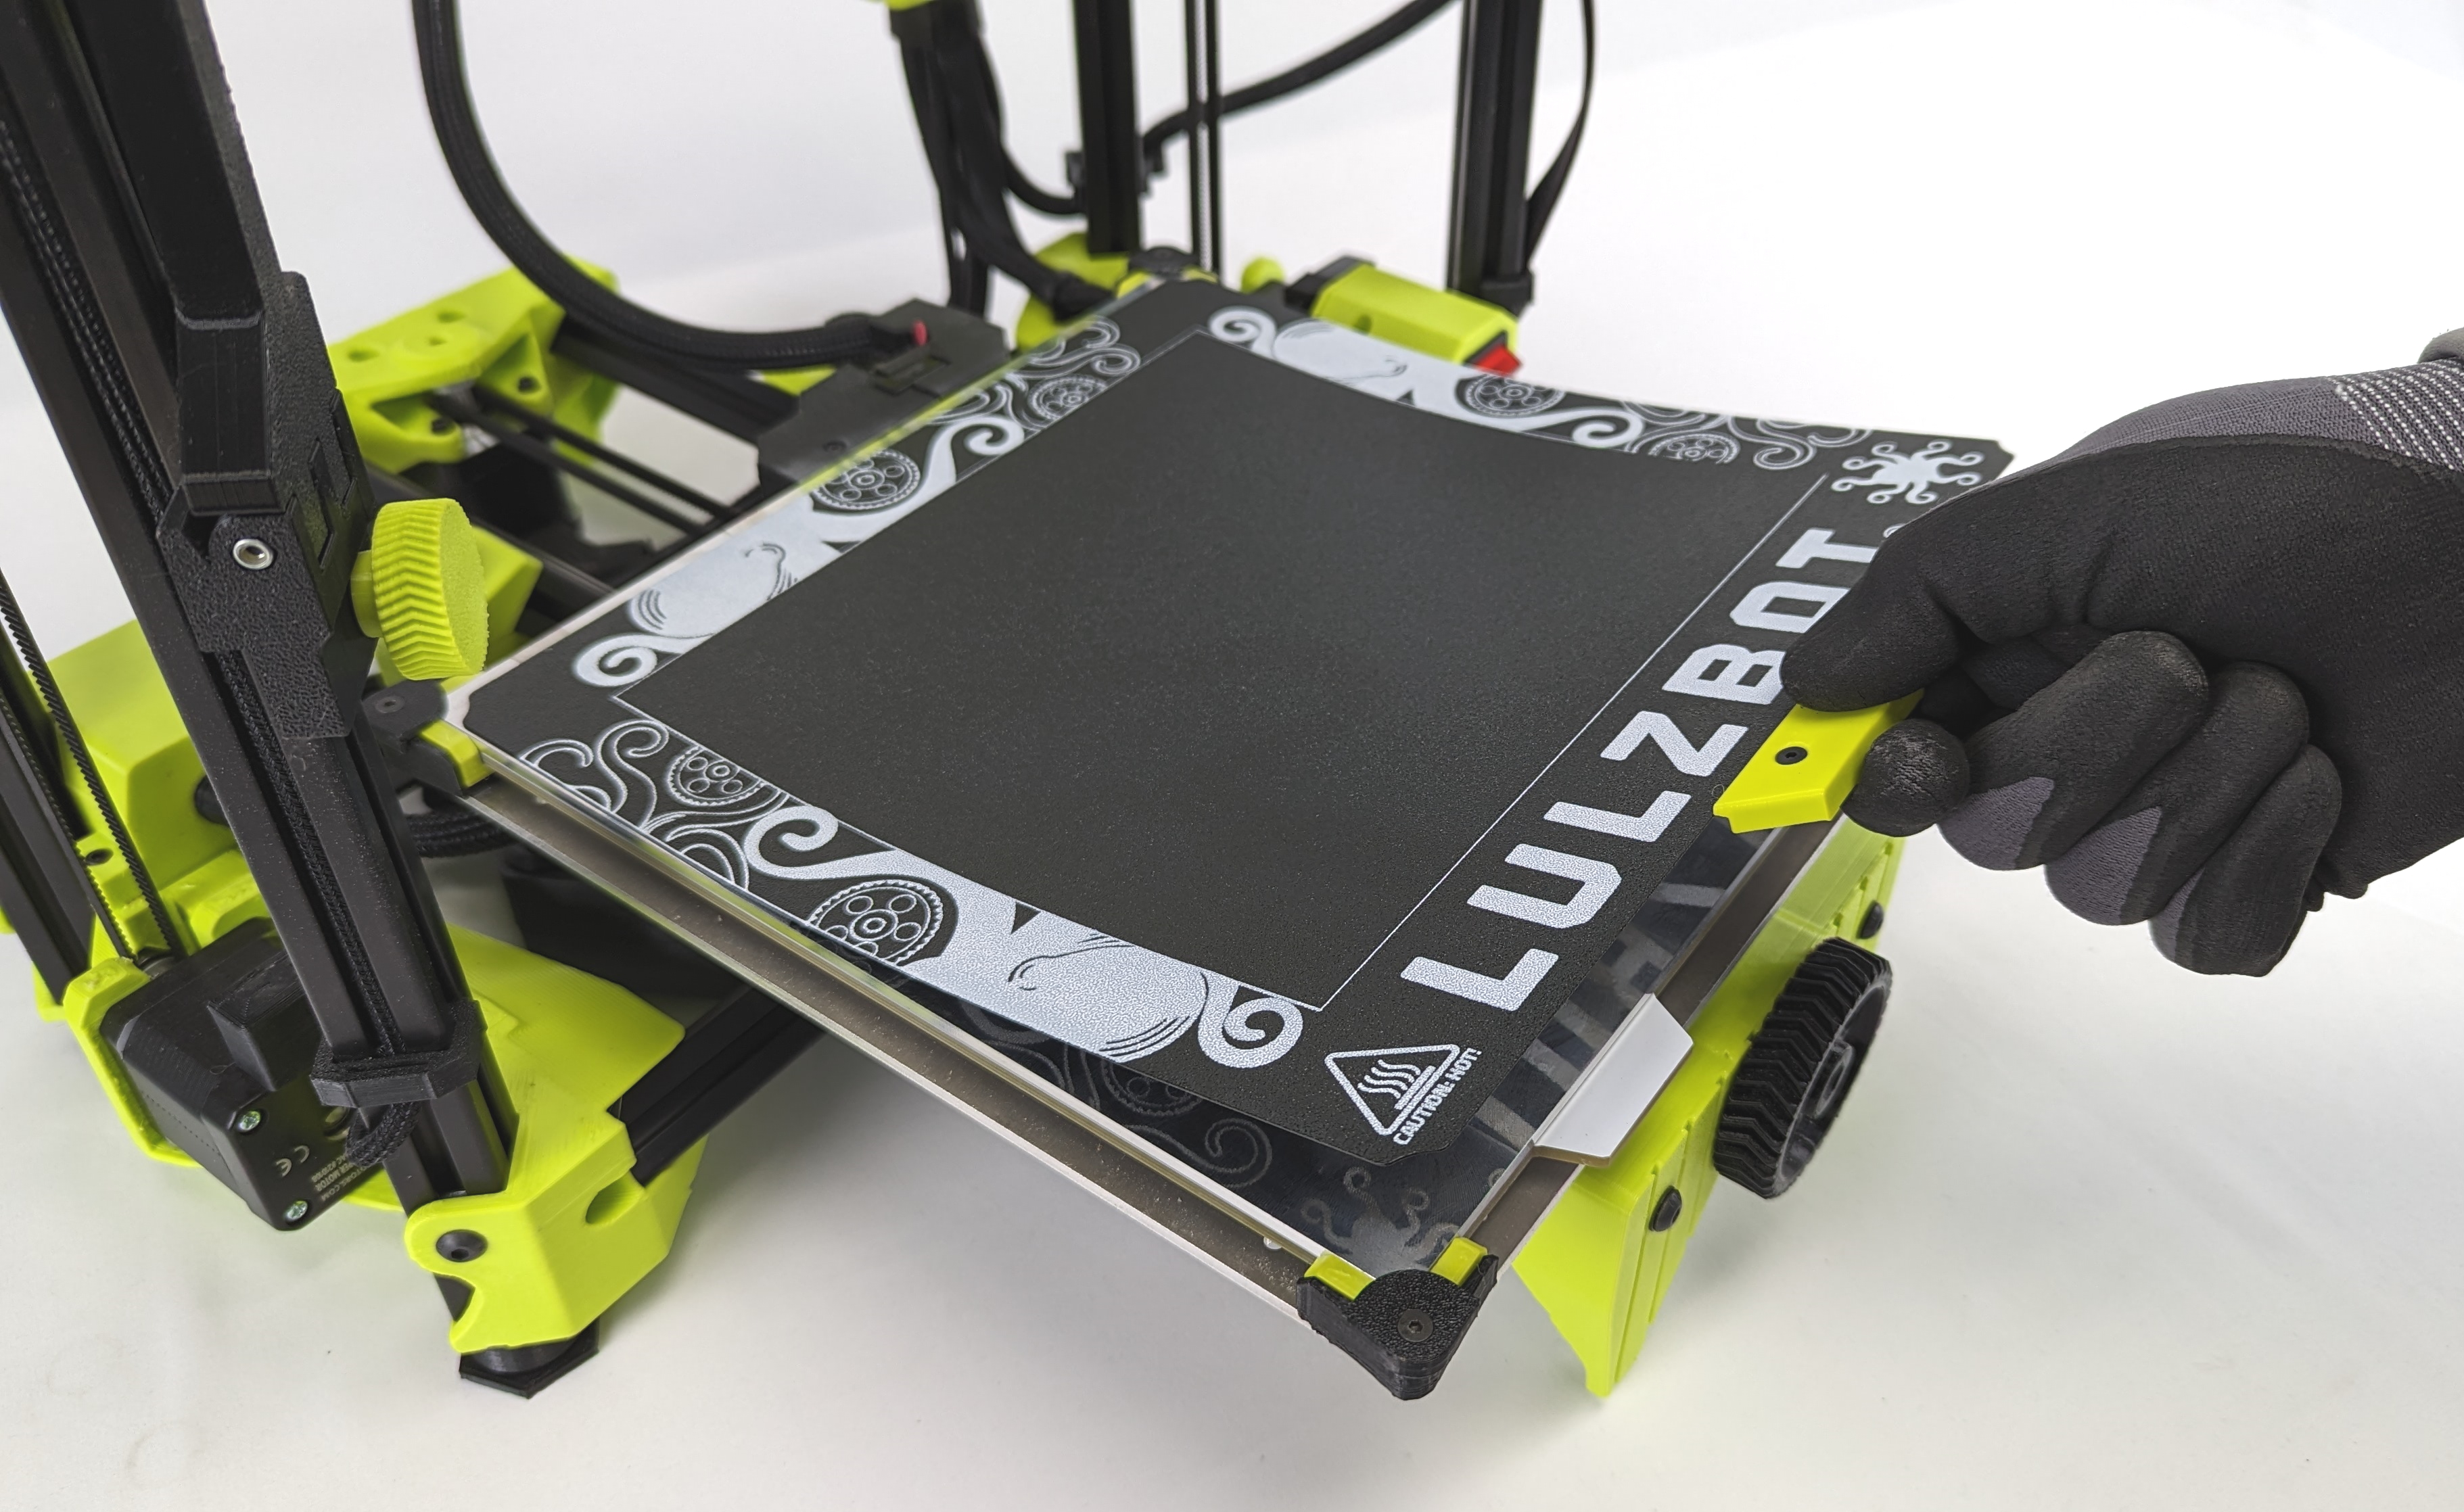
Carefully remove the glass plate.
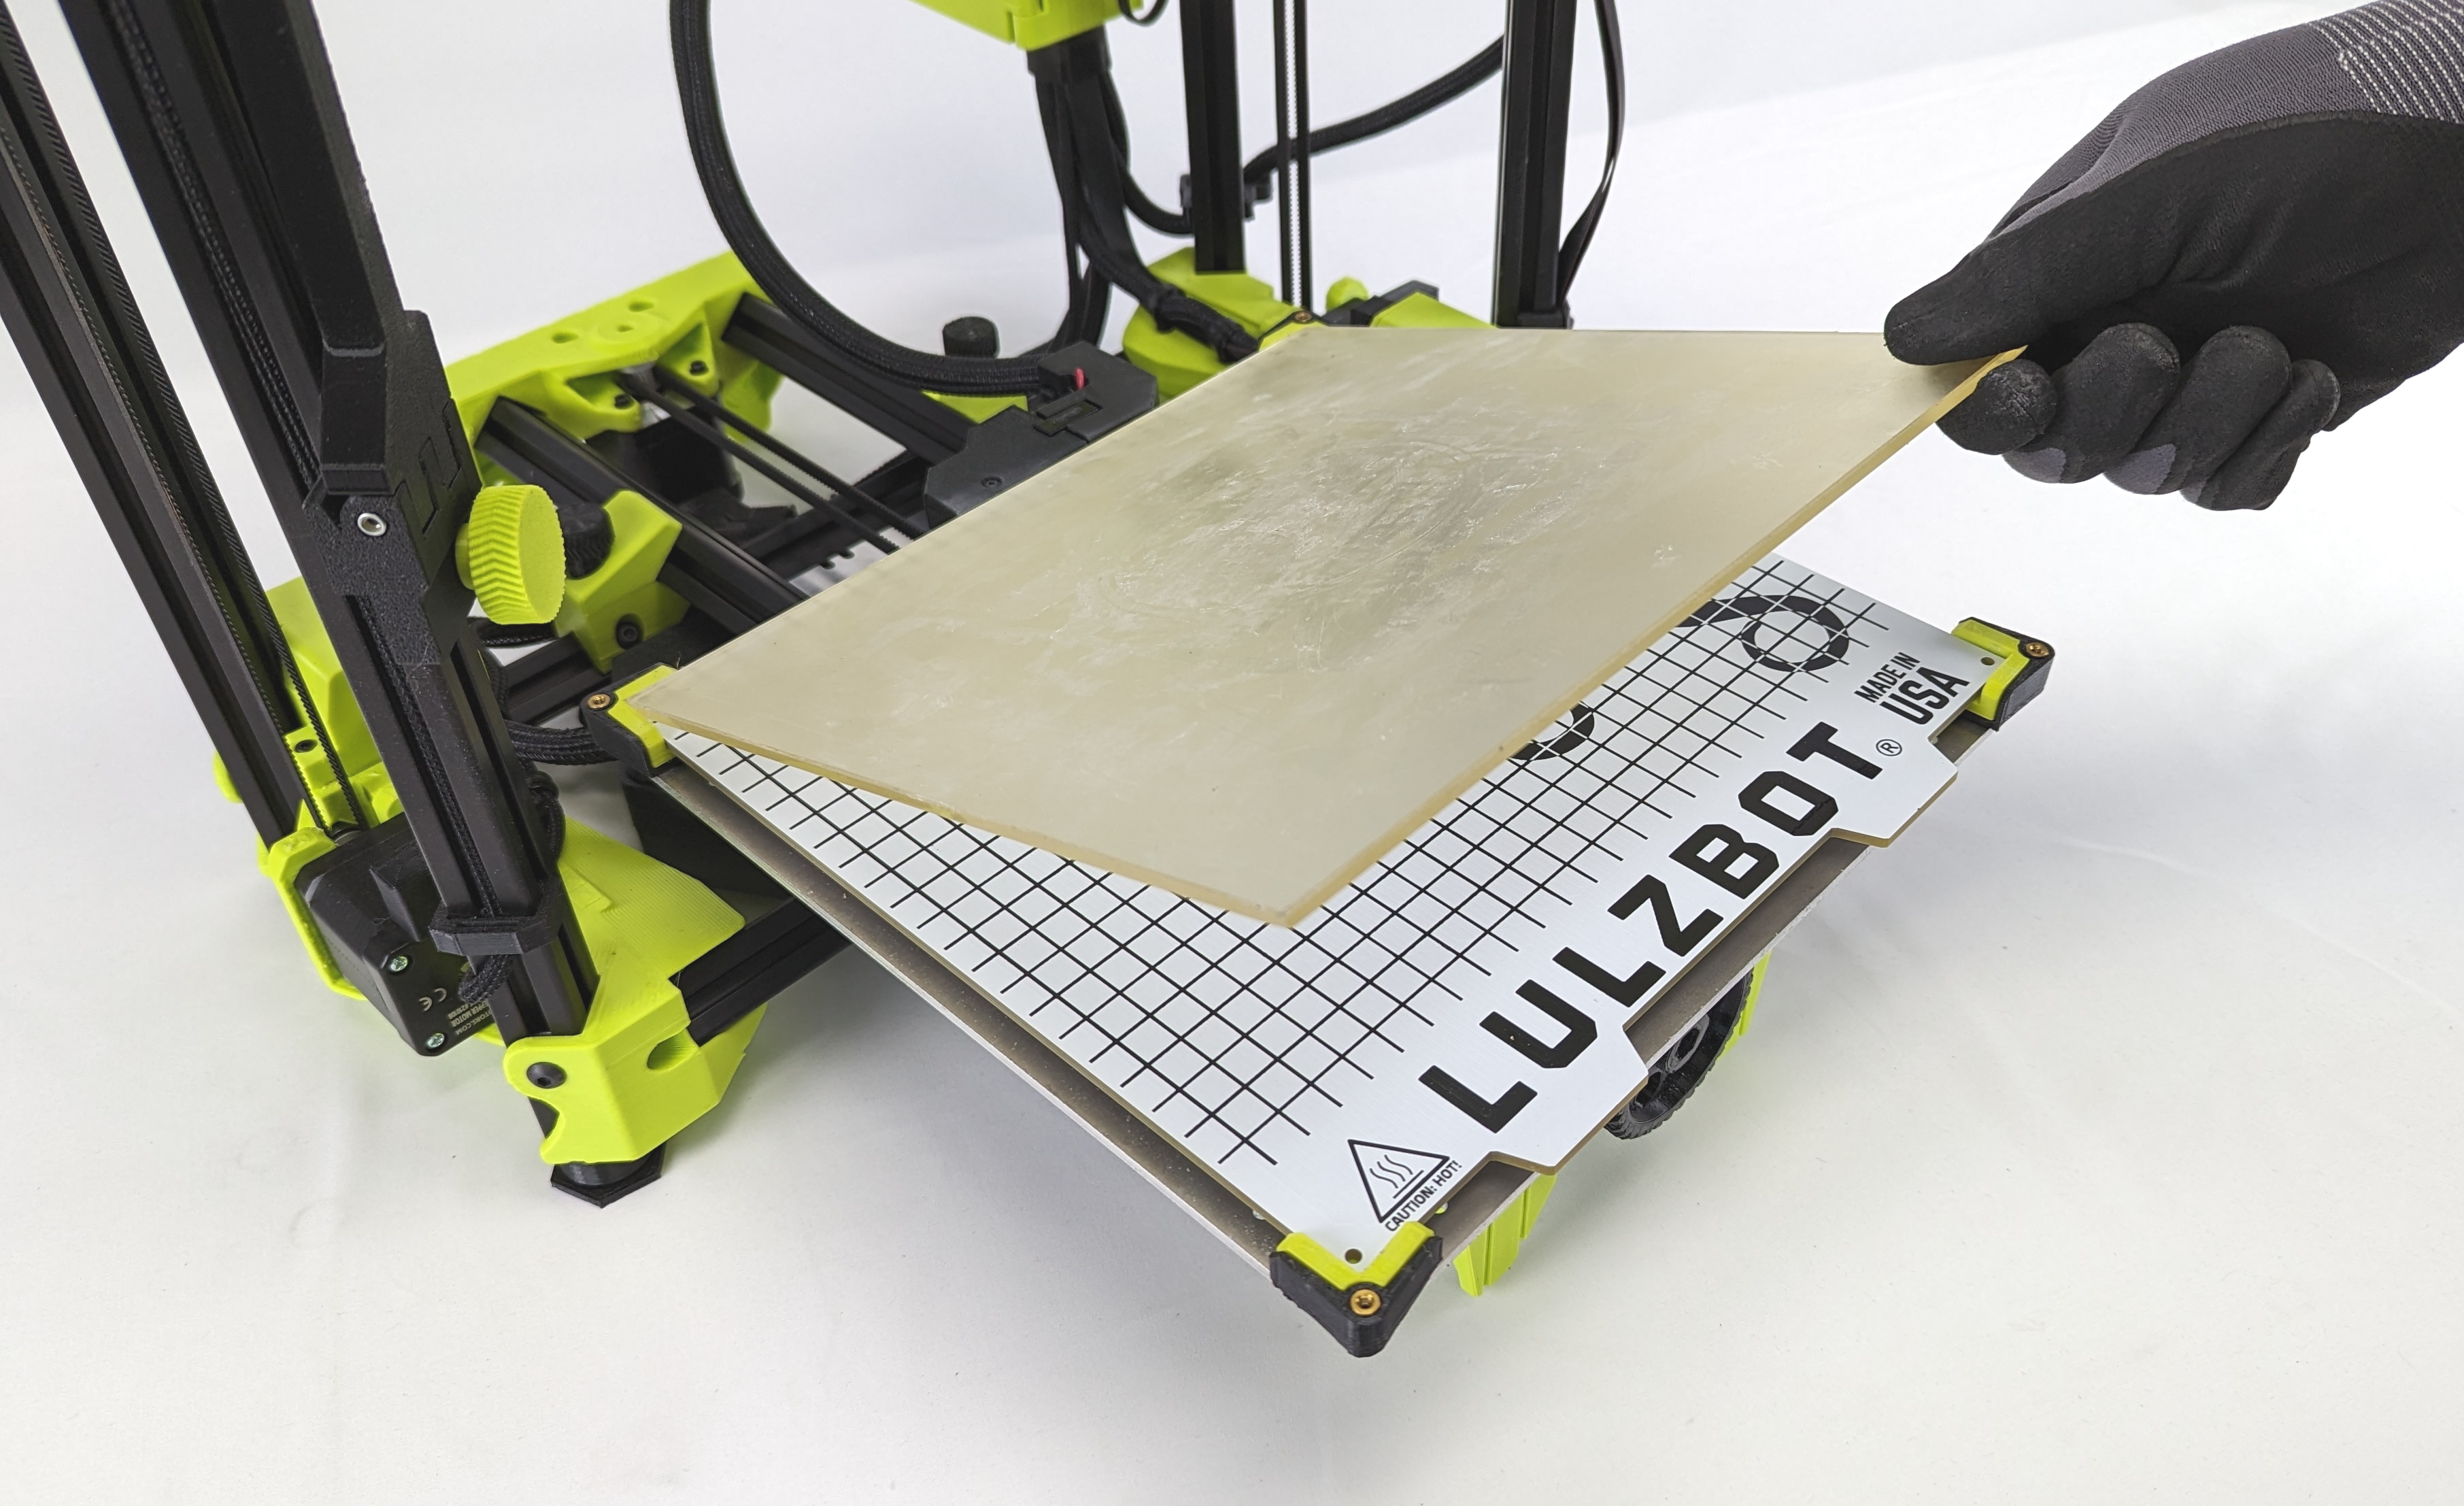
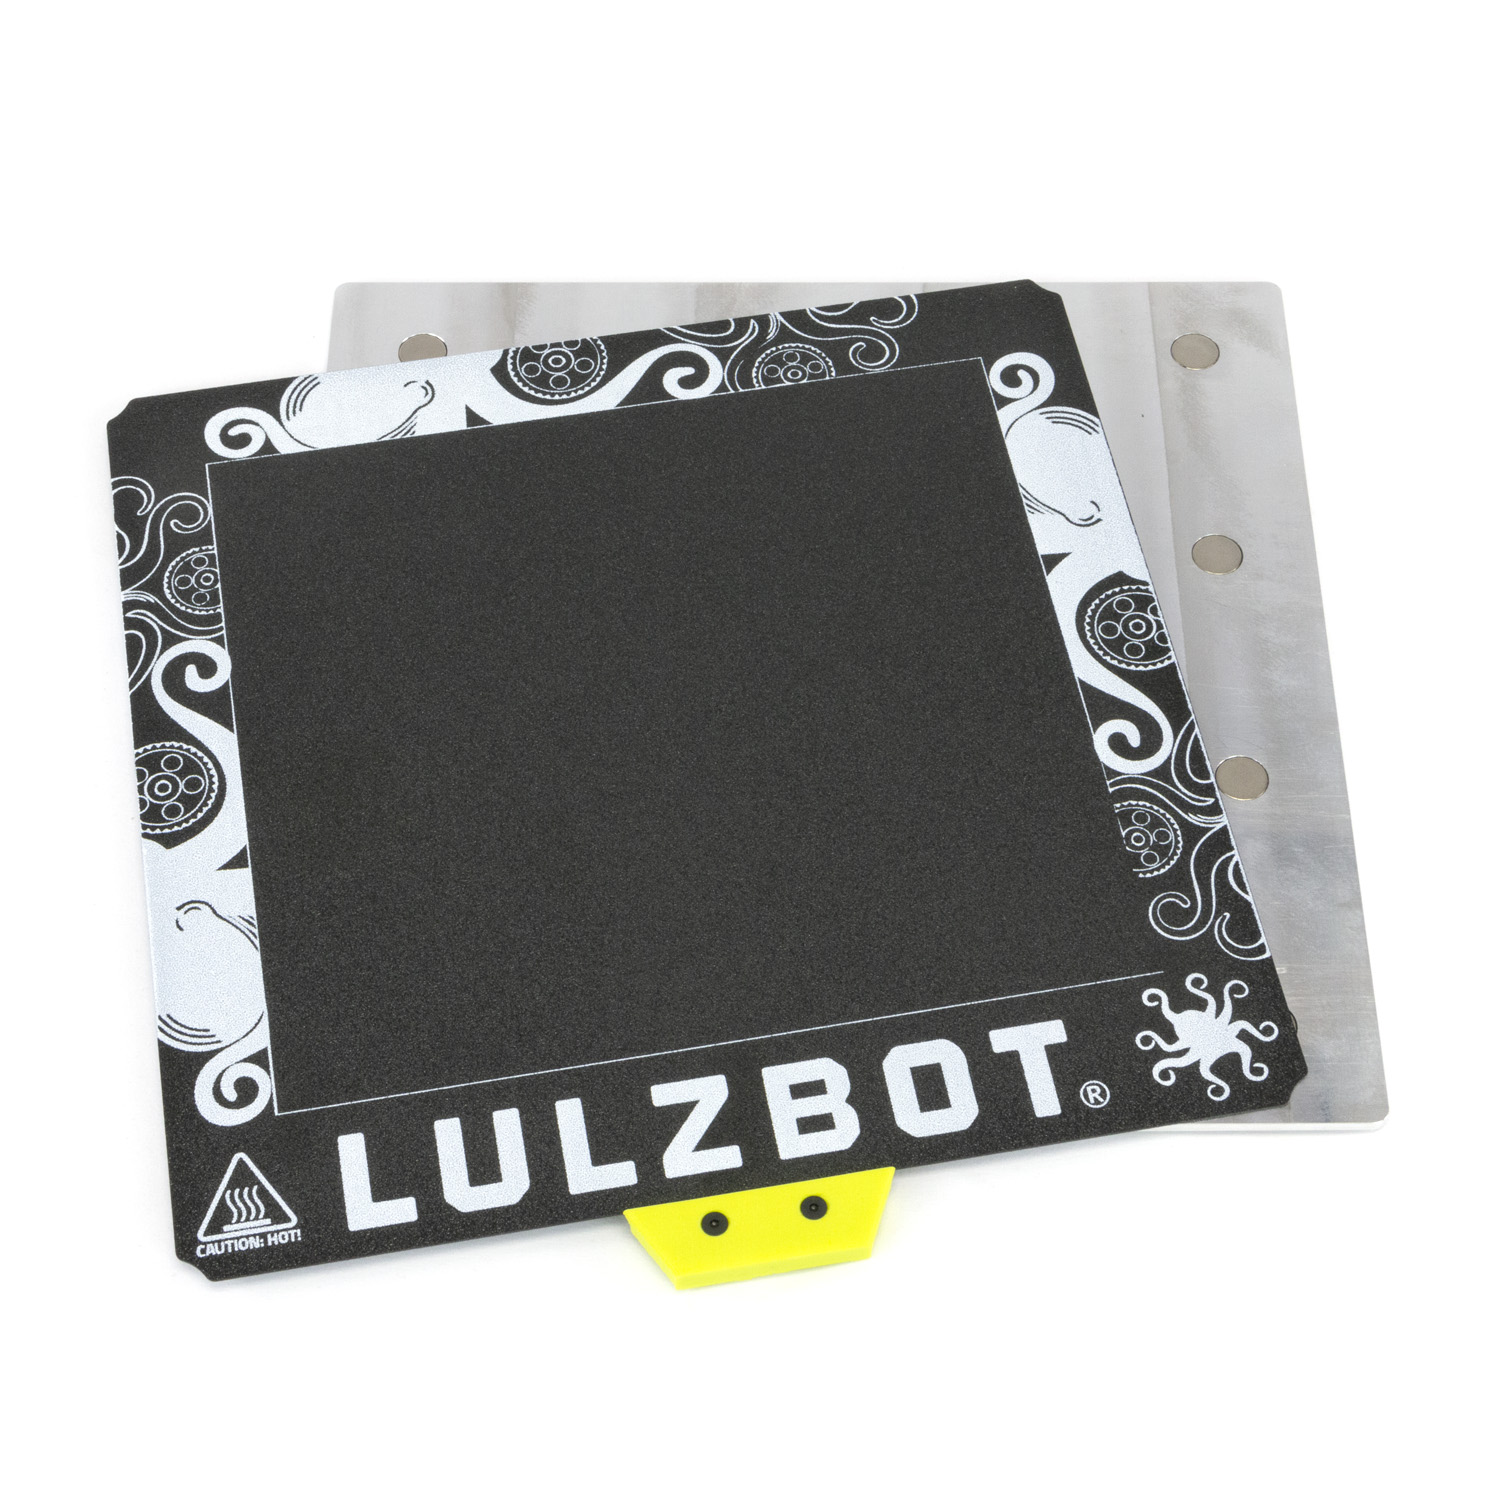
Remove the flex plate from the magnetic plate if it is already attached.
Place the magnetic plate on the bed heater.
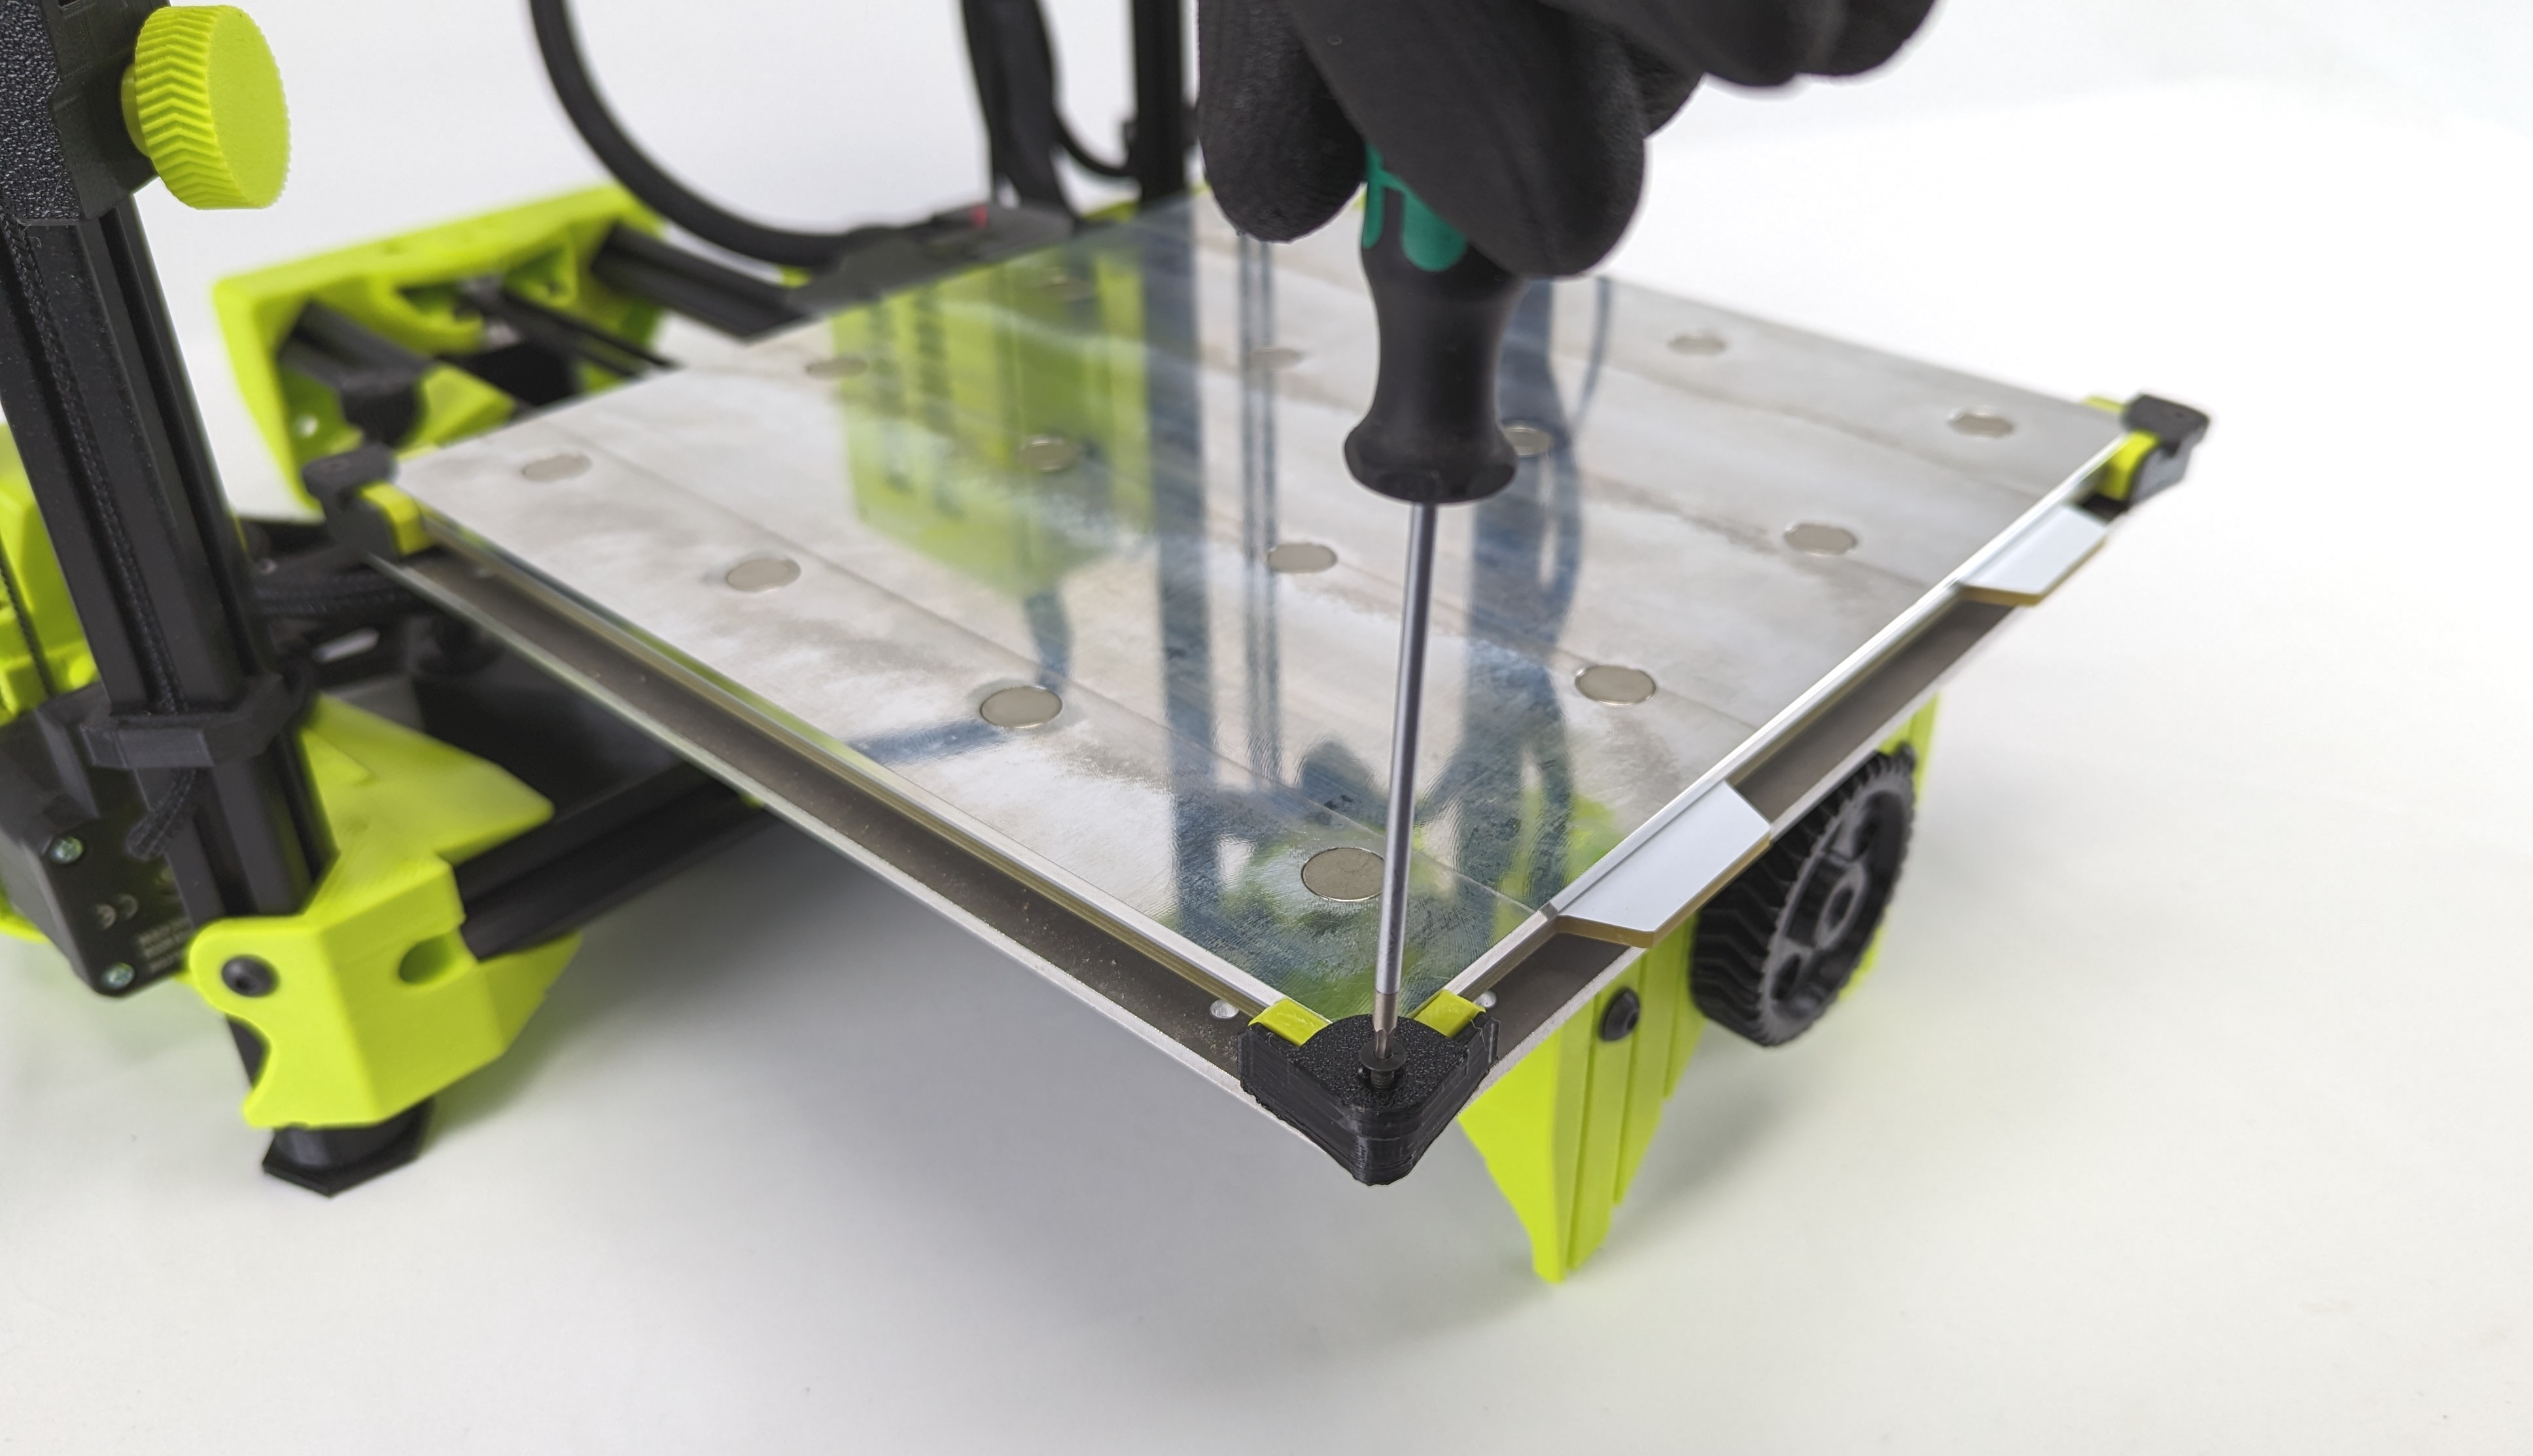
Using the 2mm hex wrench, install the (4x) 3d printed bed corners.
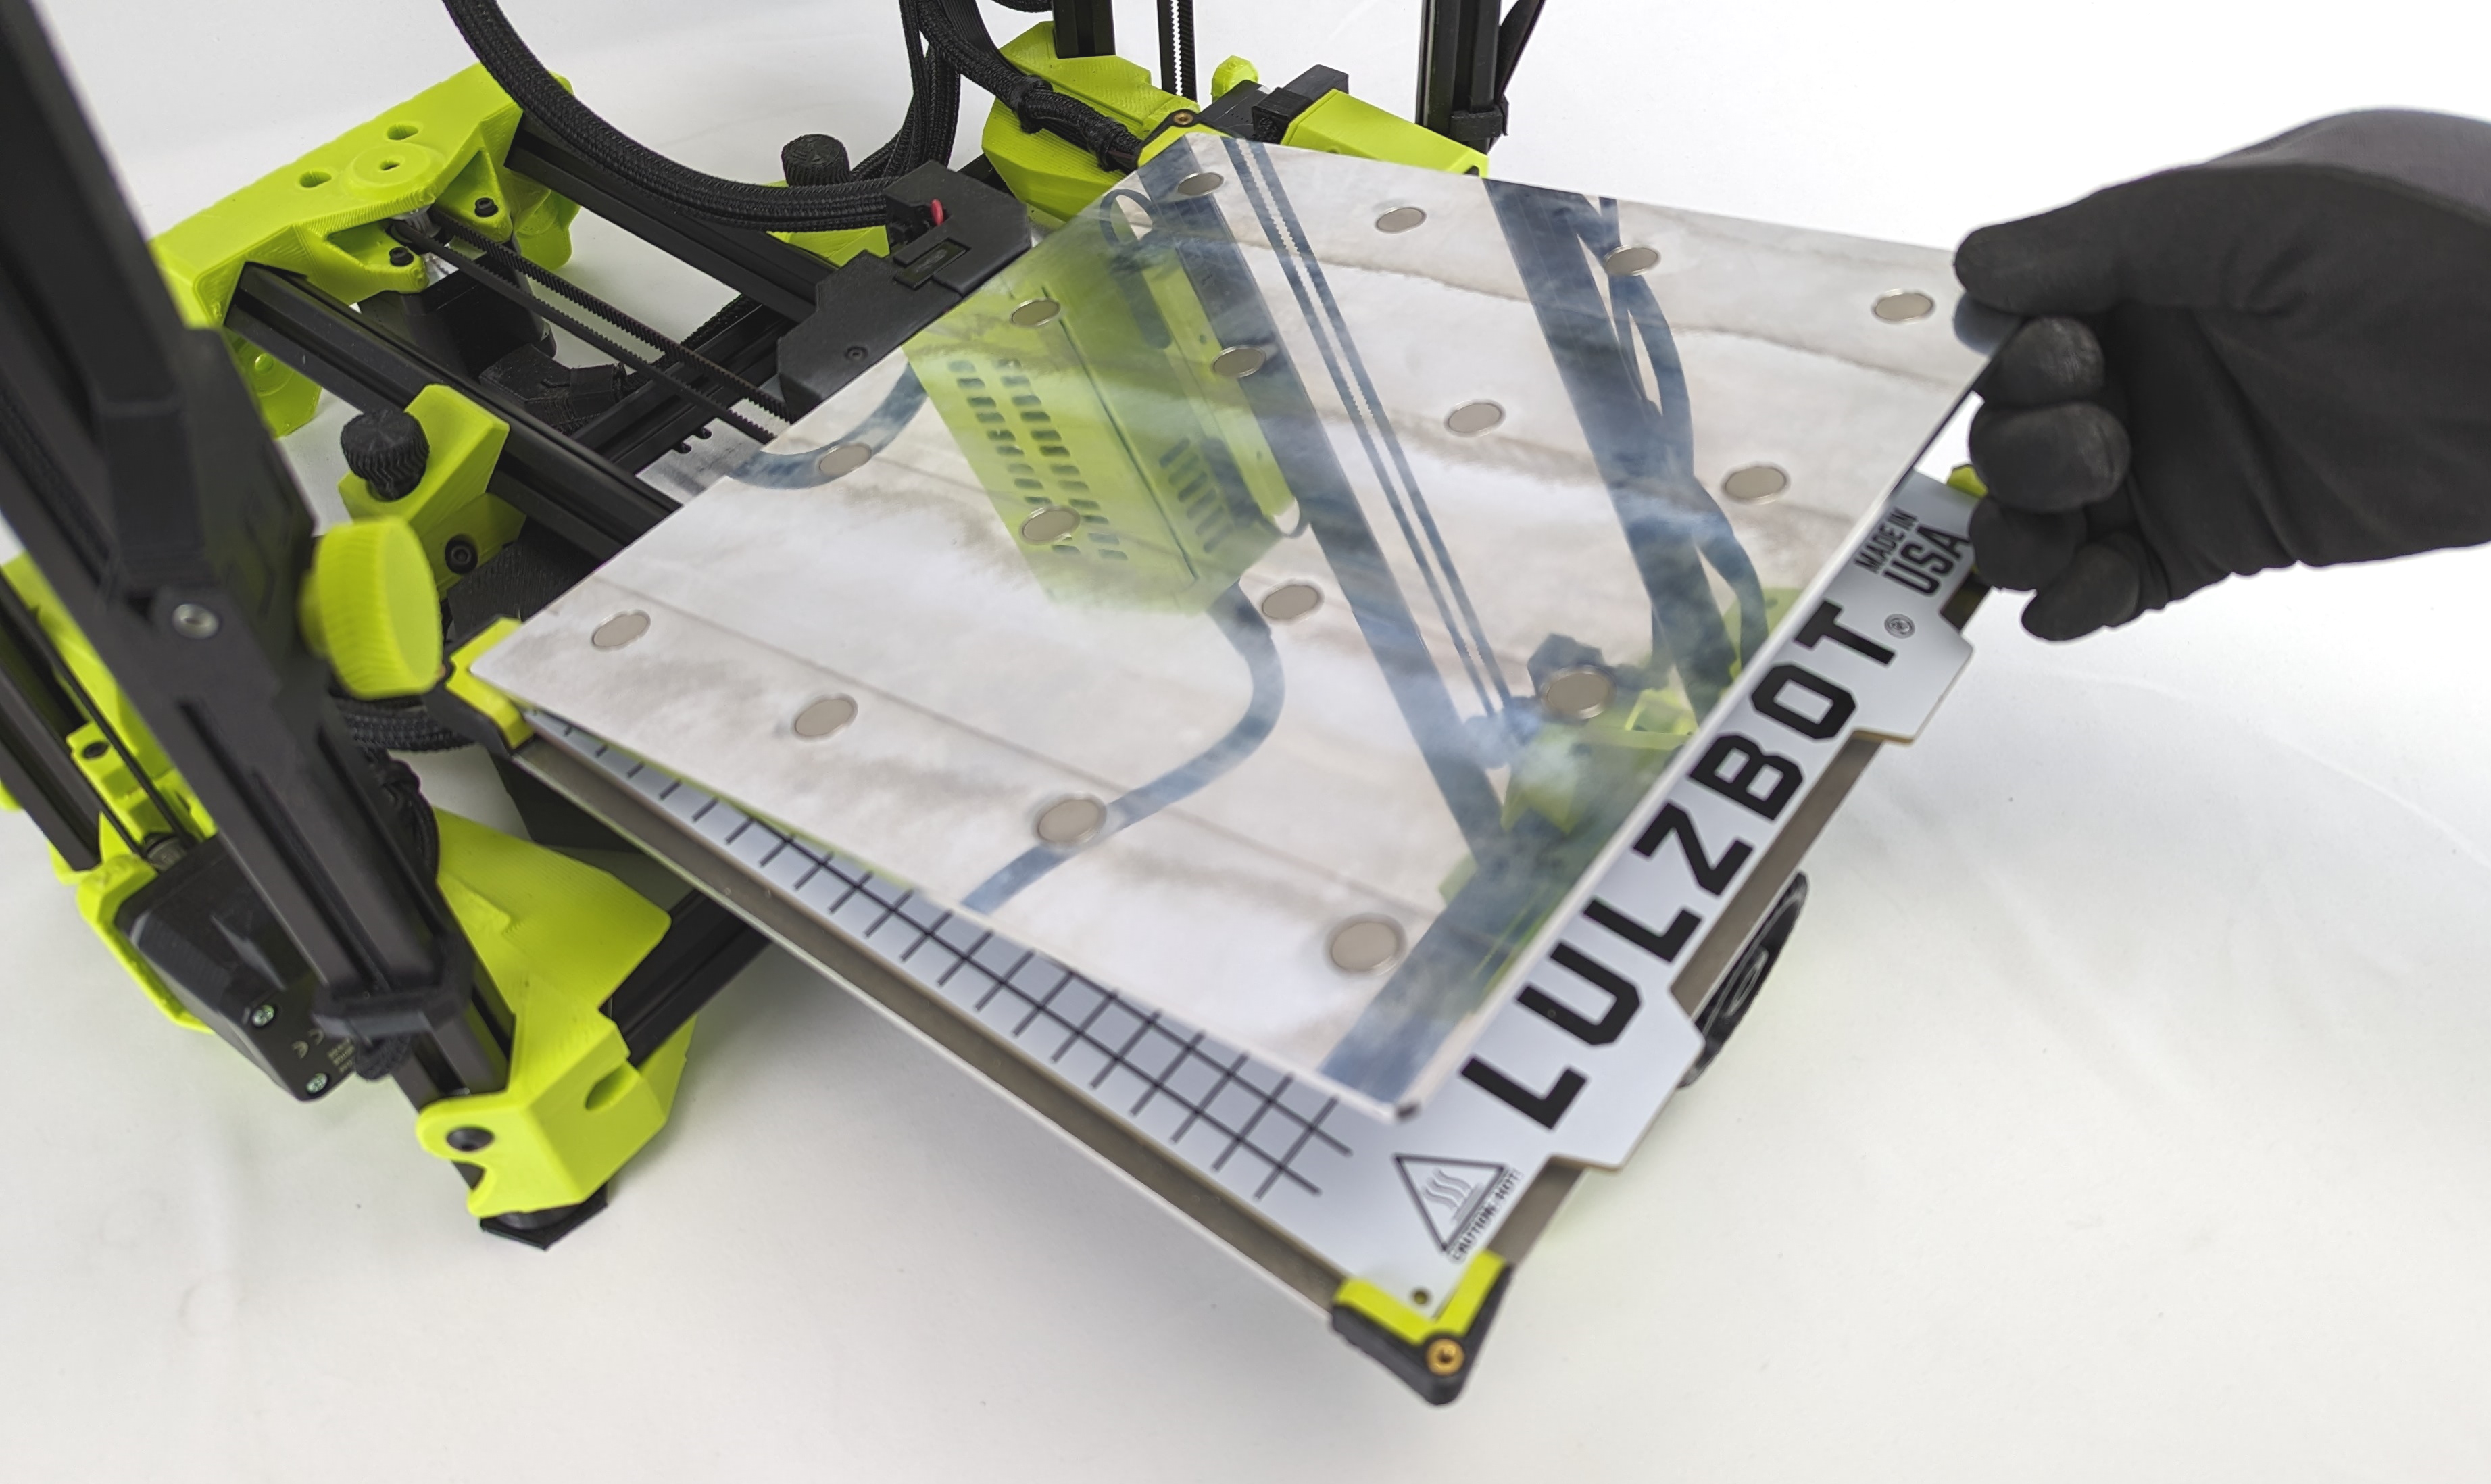
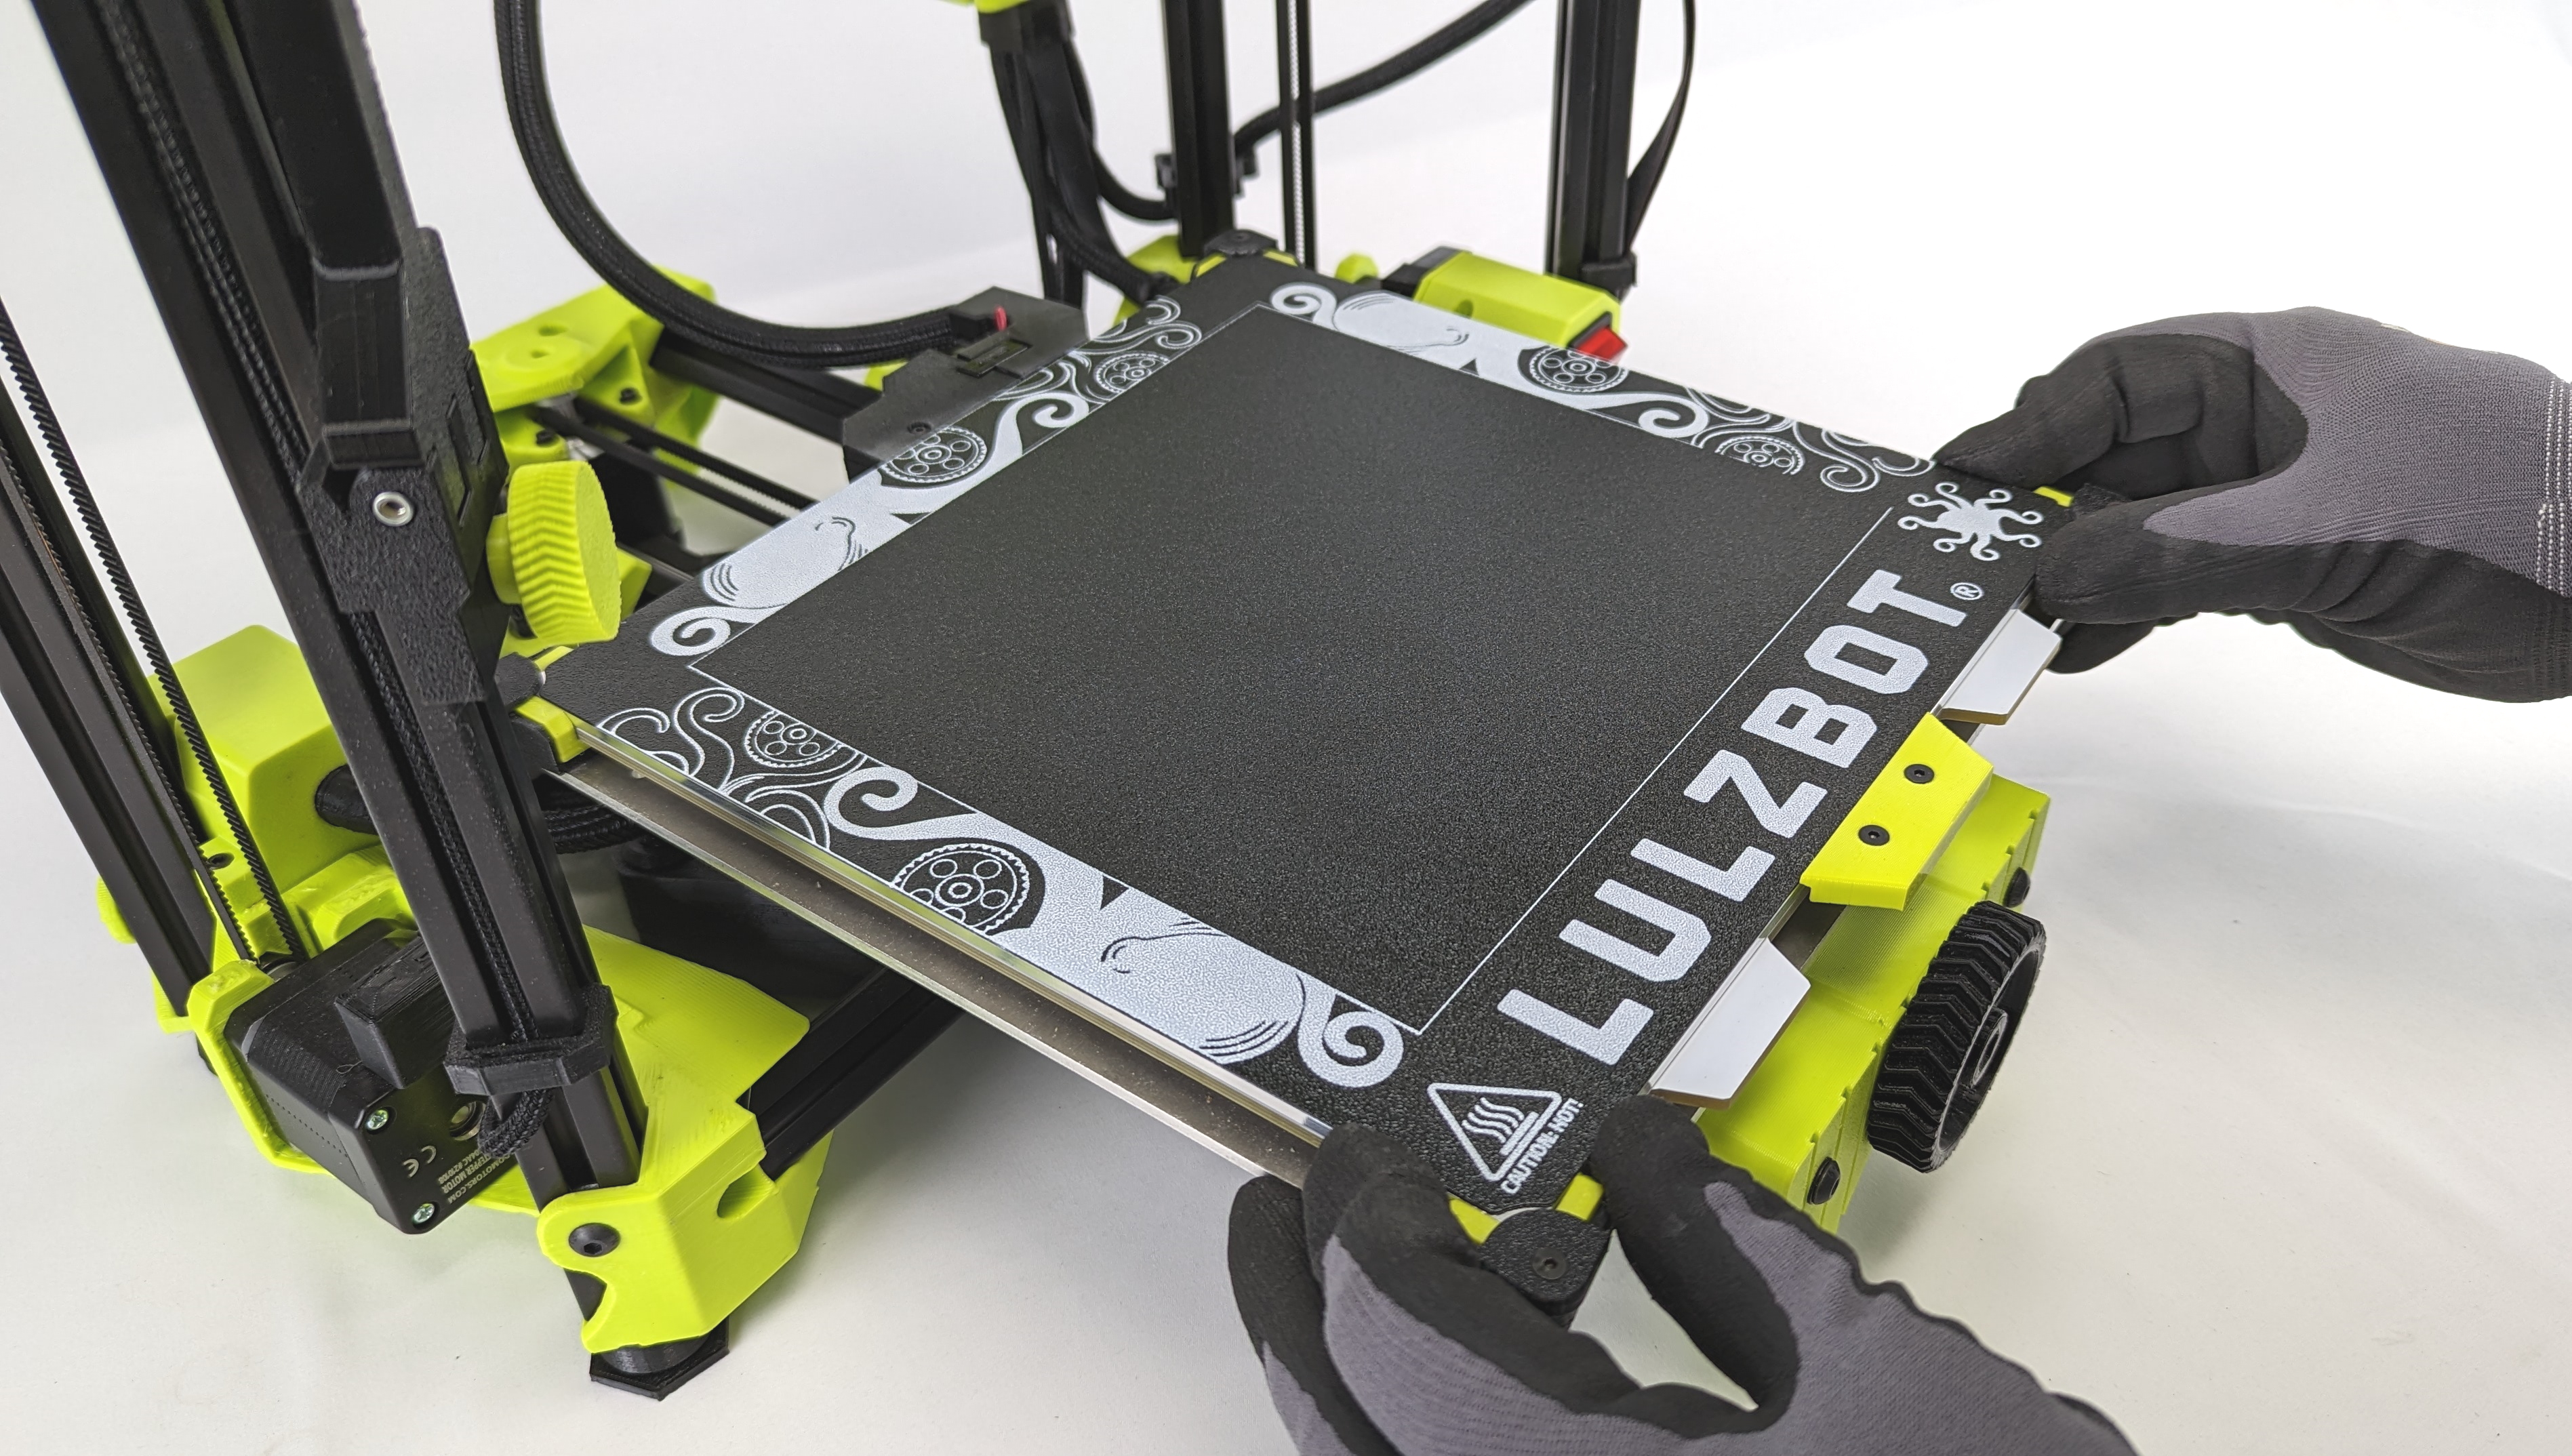
While holding onto the handle of the flexible bed plate set it on top of the magnetic bed plate with the handle facing the front of the printer.
Align the rear corners of the flexible build plate so the plate sits flat.
For smooth flexible bed only
-Make sure the LulzBot logo is facing up.
-Do not print on underside of the flexible plate as any damage to underside surface may prevent the bed from sitting flat.