Open HardwareAssembly Instructions
Guides for installation and assembly of the LulzBot line of products made by FAME 3D LLC.
Guides for installation and assembly of the LulzBot line of products made by FAME 3D LLC.
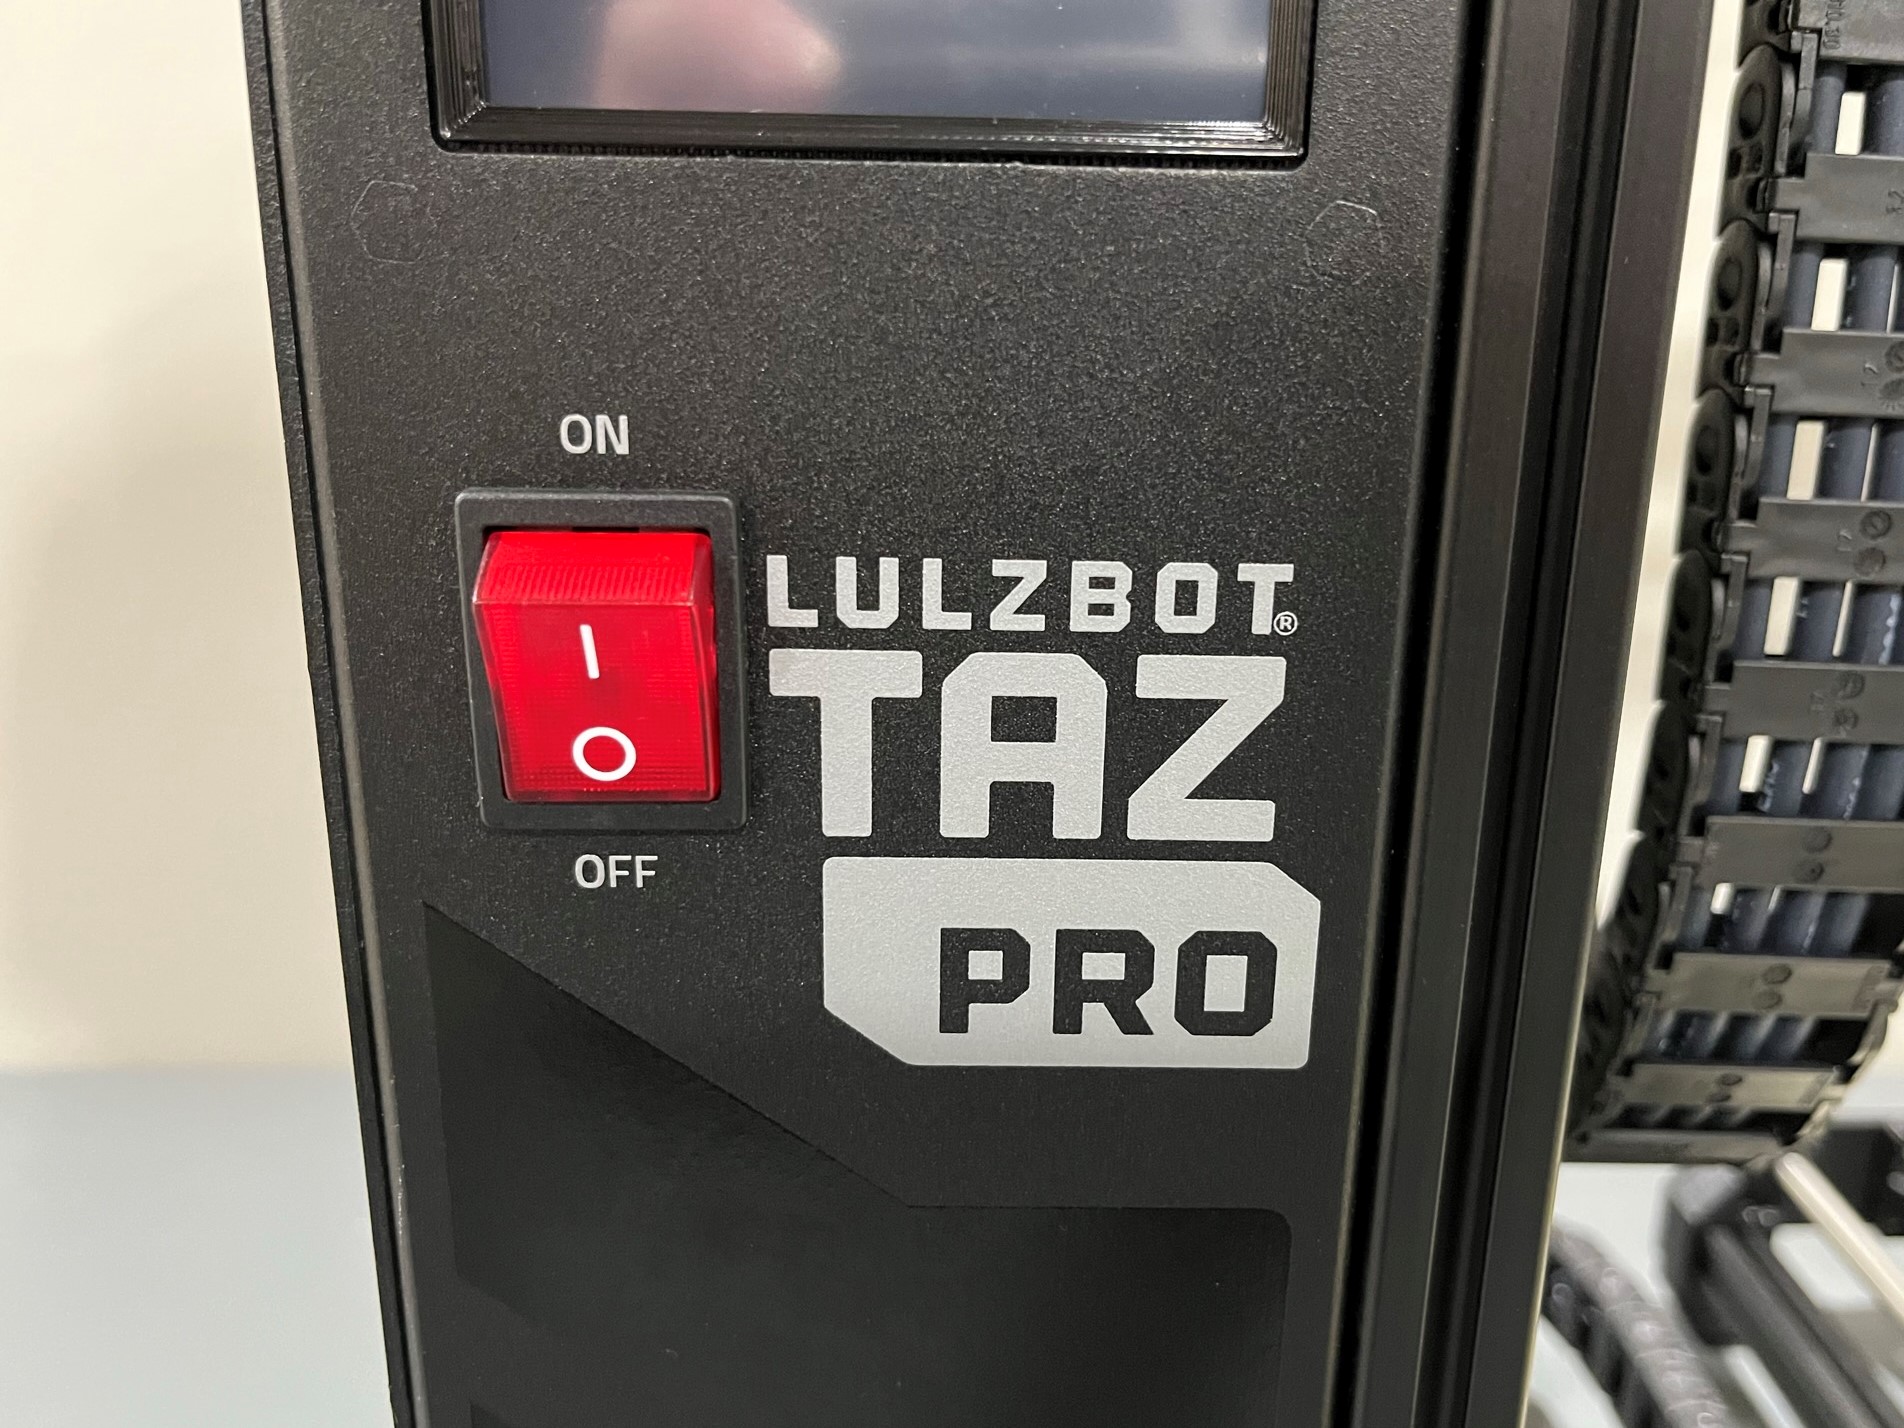
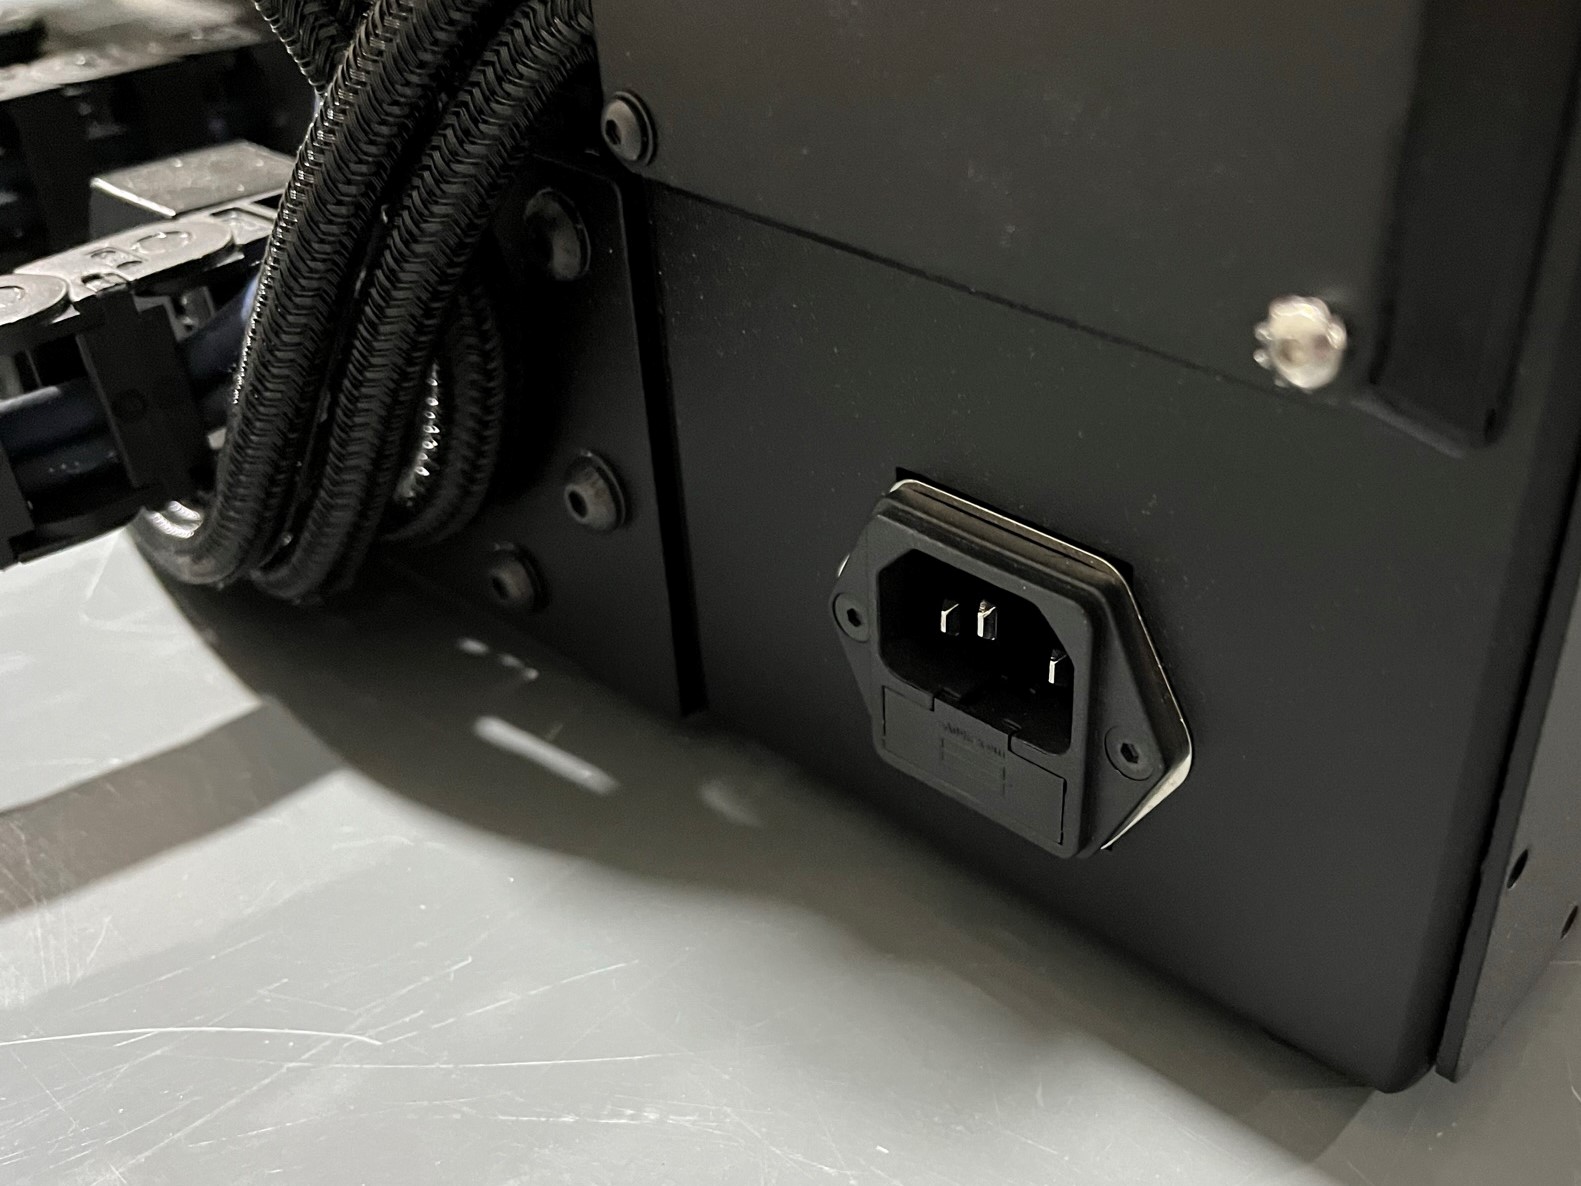
Make sure you LulzBot TAZ Pro S is turned off and unplugged.
Materials Needed

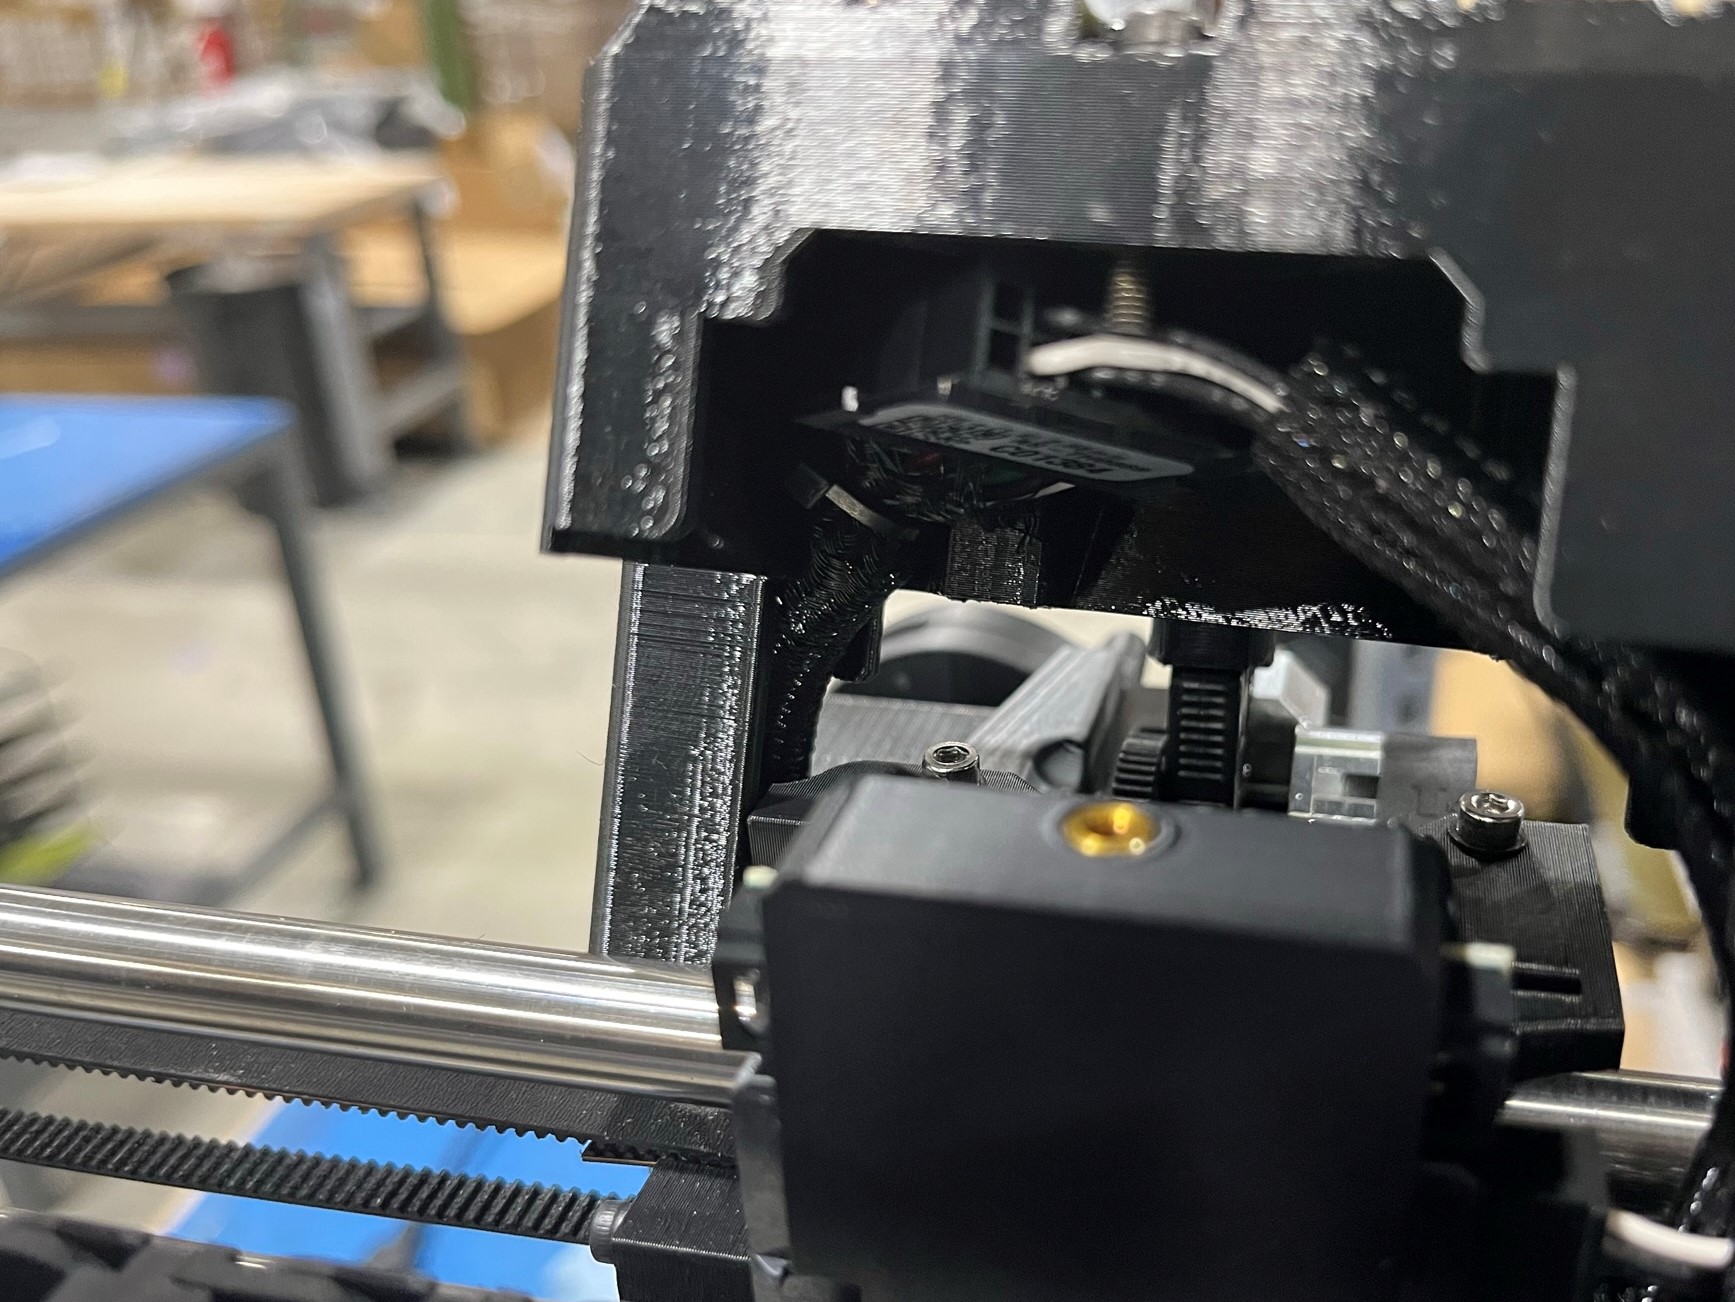
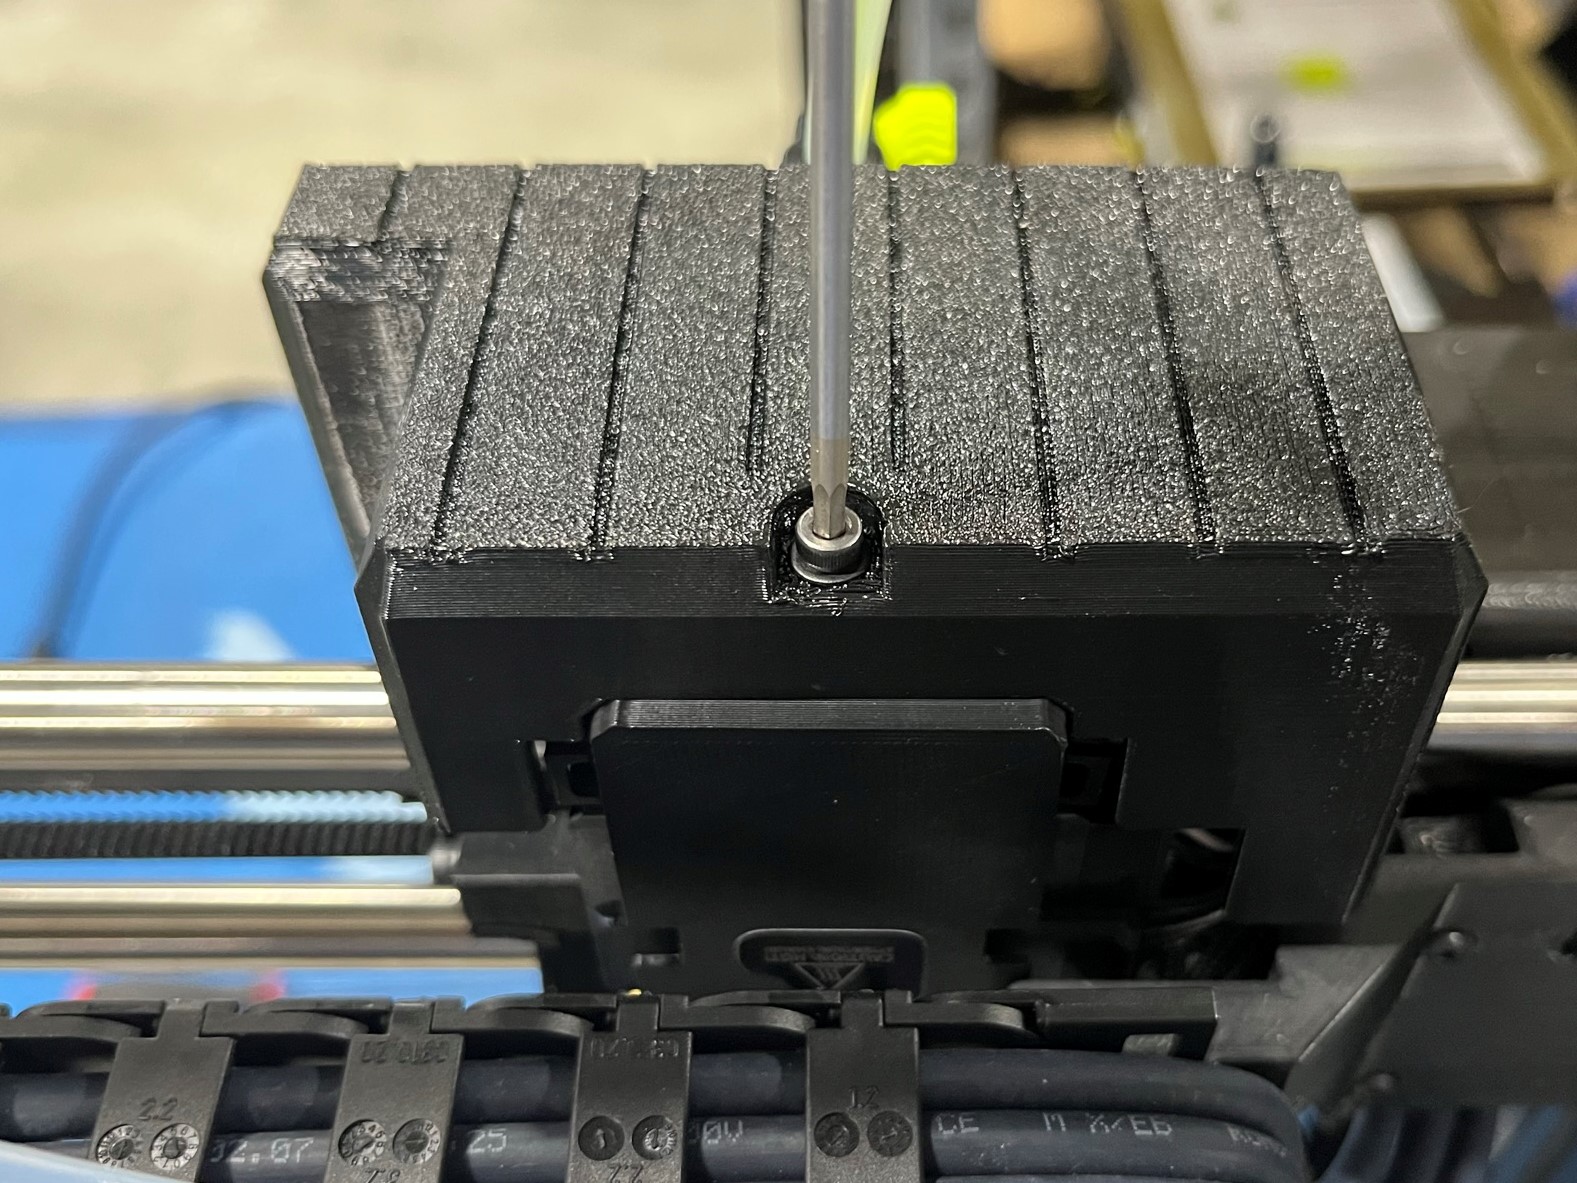
Use the 2.5mm hex key to remove the screw holding the X carriage cover in place.
Then remove the cover and set it a side.

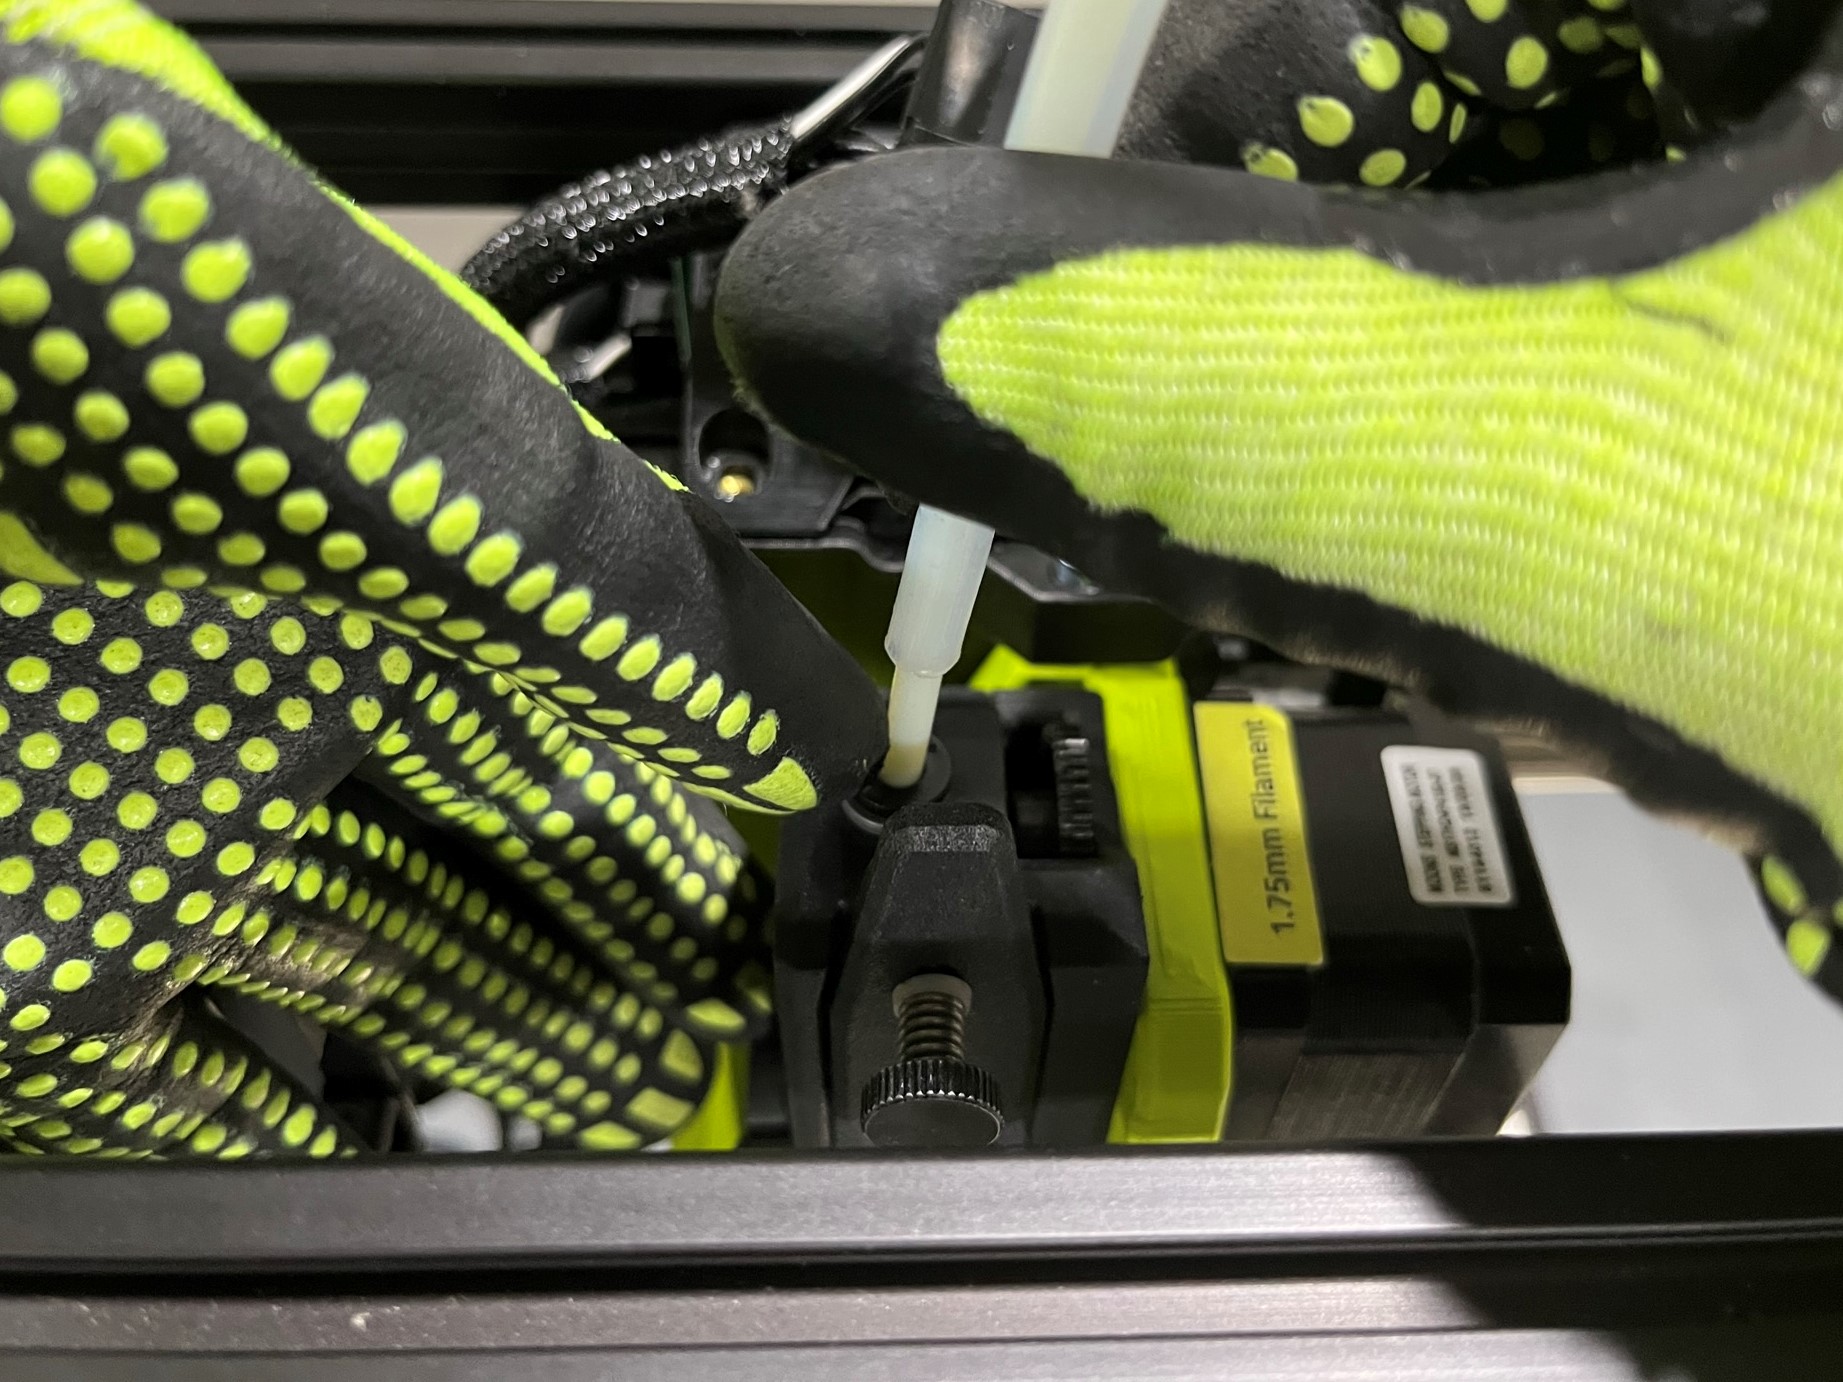
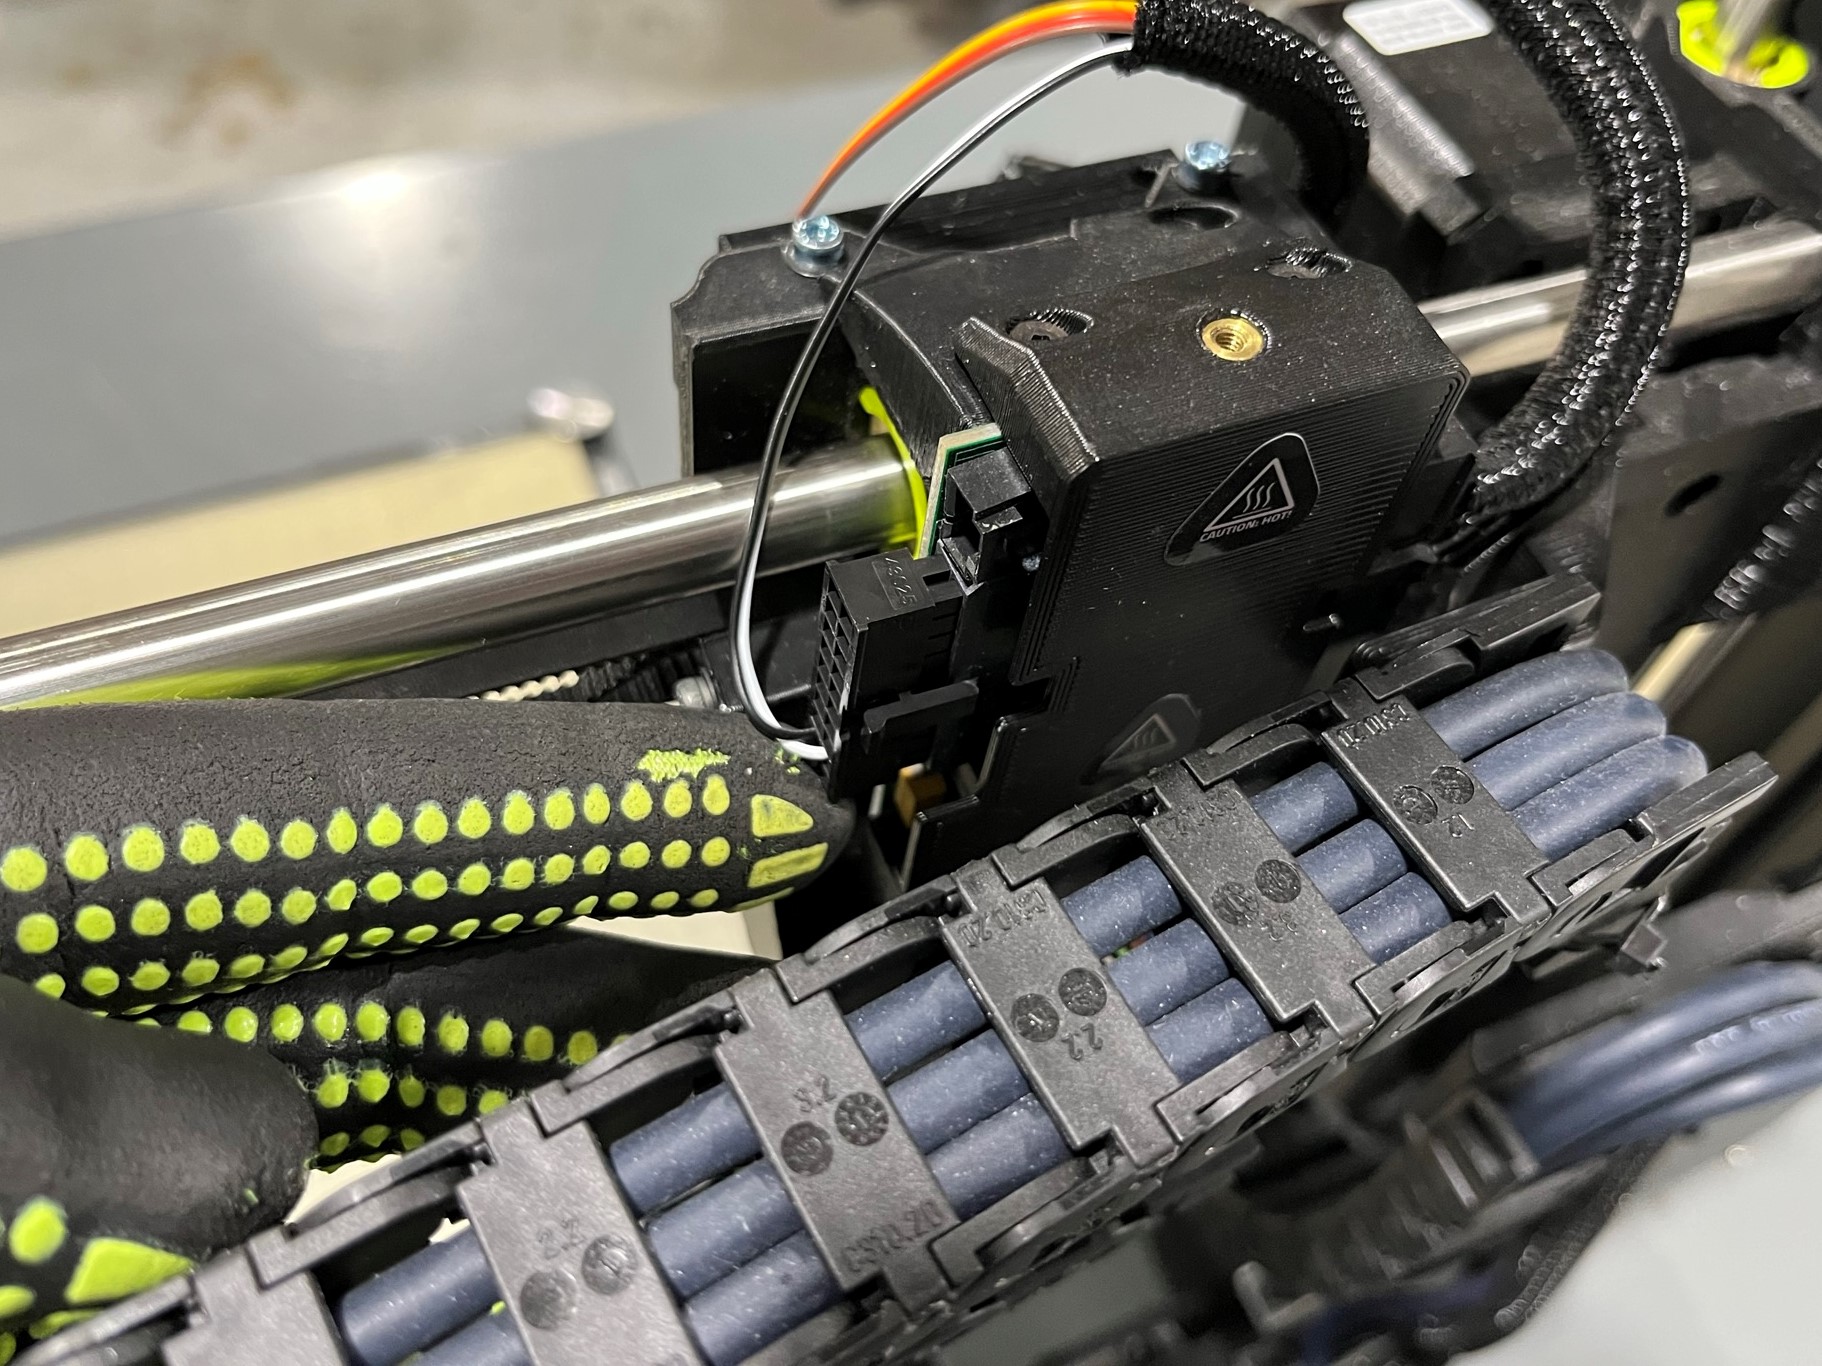
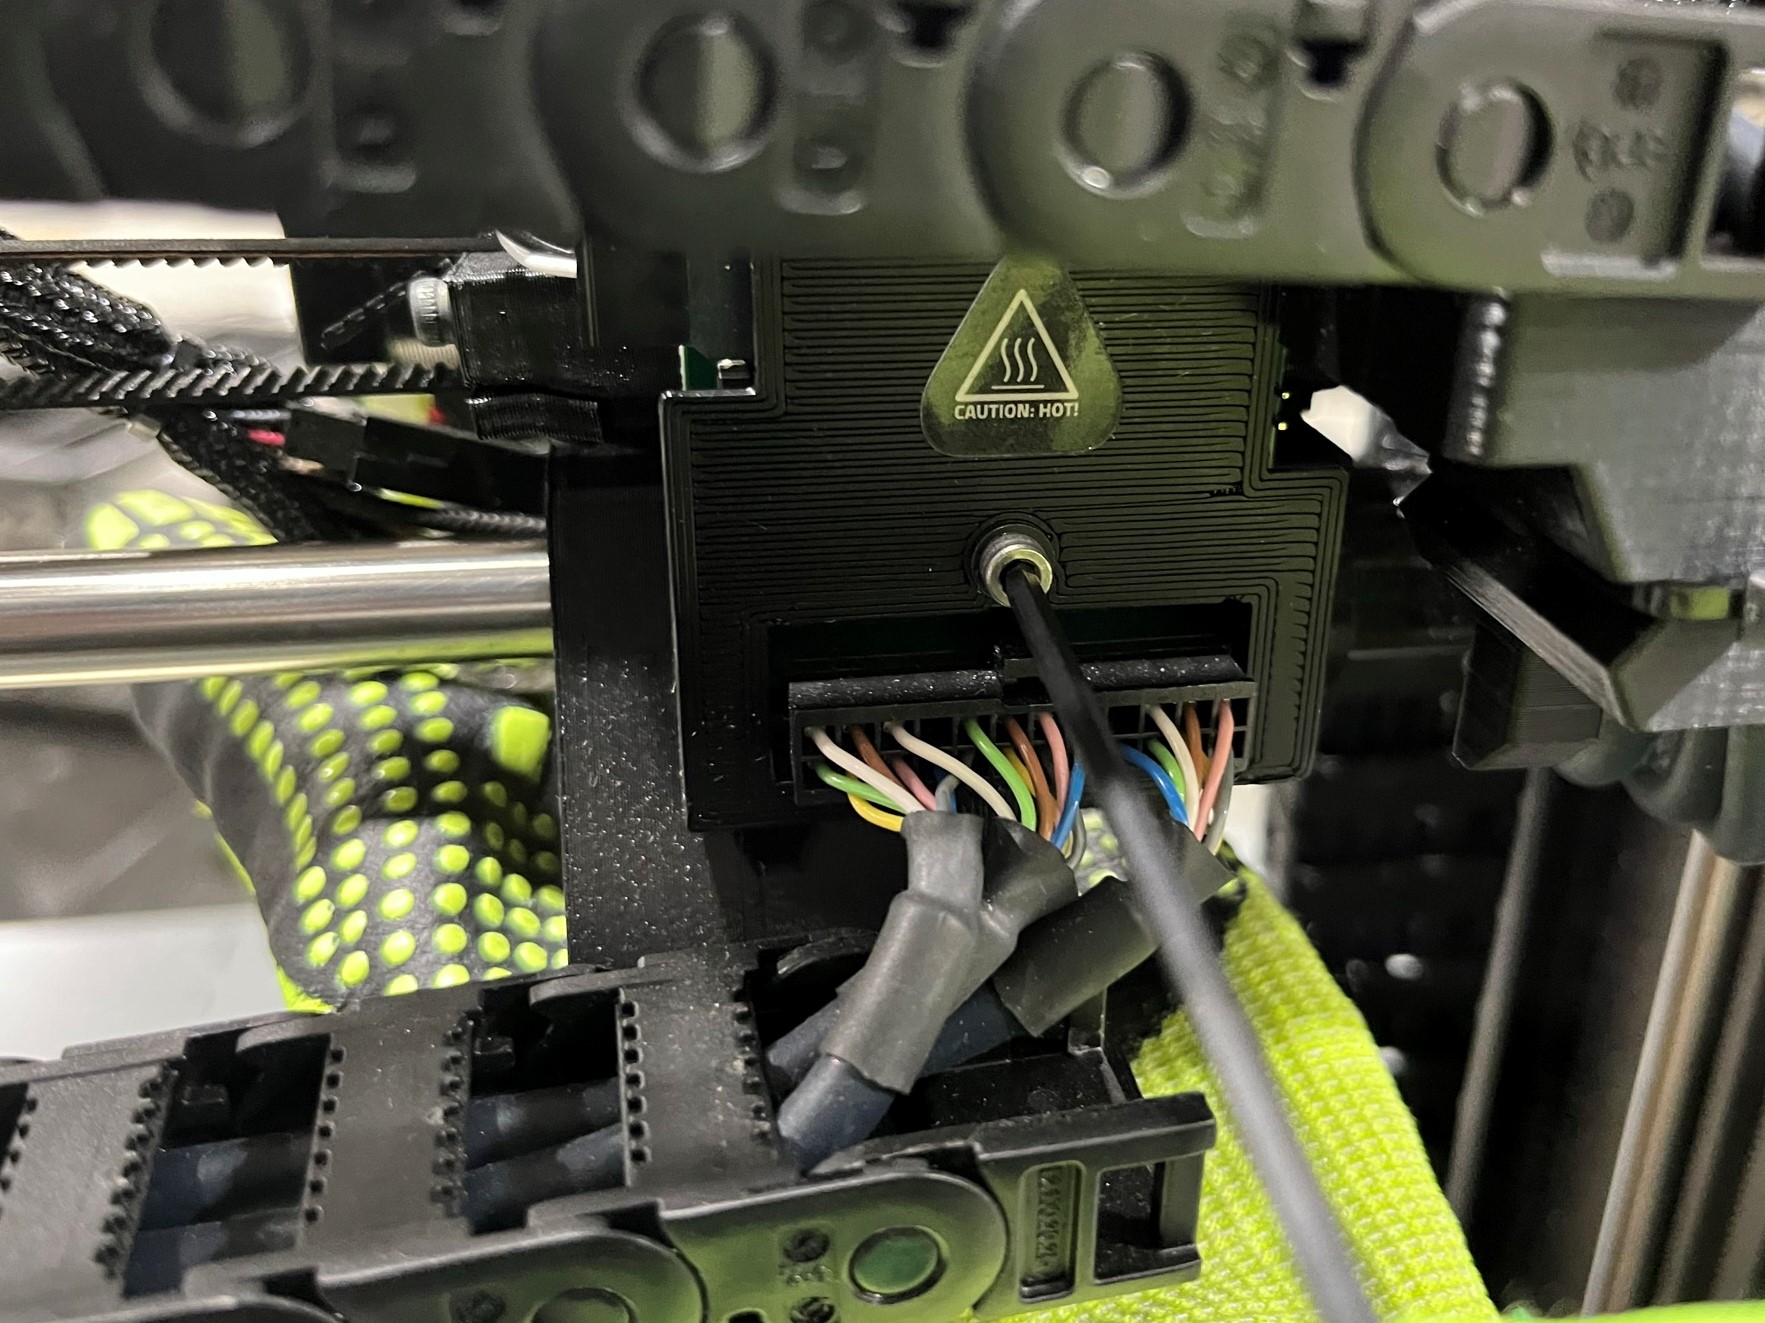
Remove the feed tube from the tool head by pressing down on the black ring and pulling the feed tube up.
Then disconnect the Tool Head Harness from the printer by pressing down on the locking clip and pulling the two ends of the harness apart.

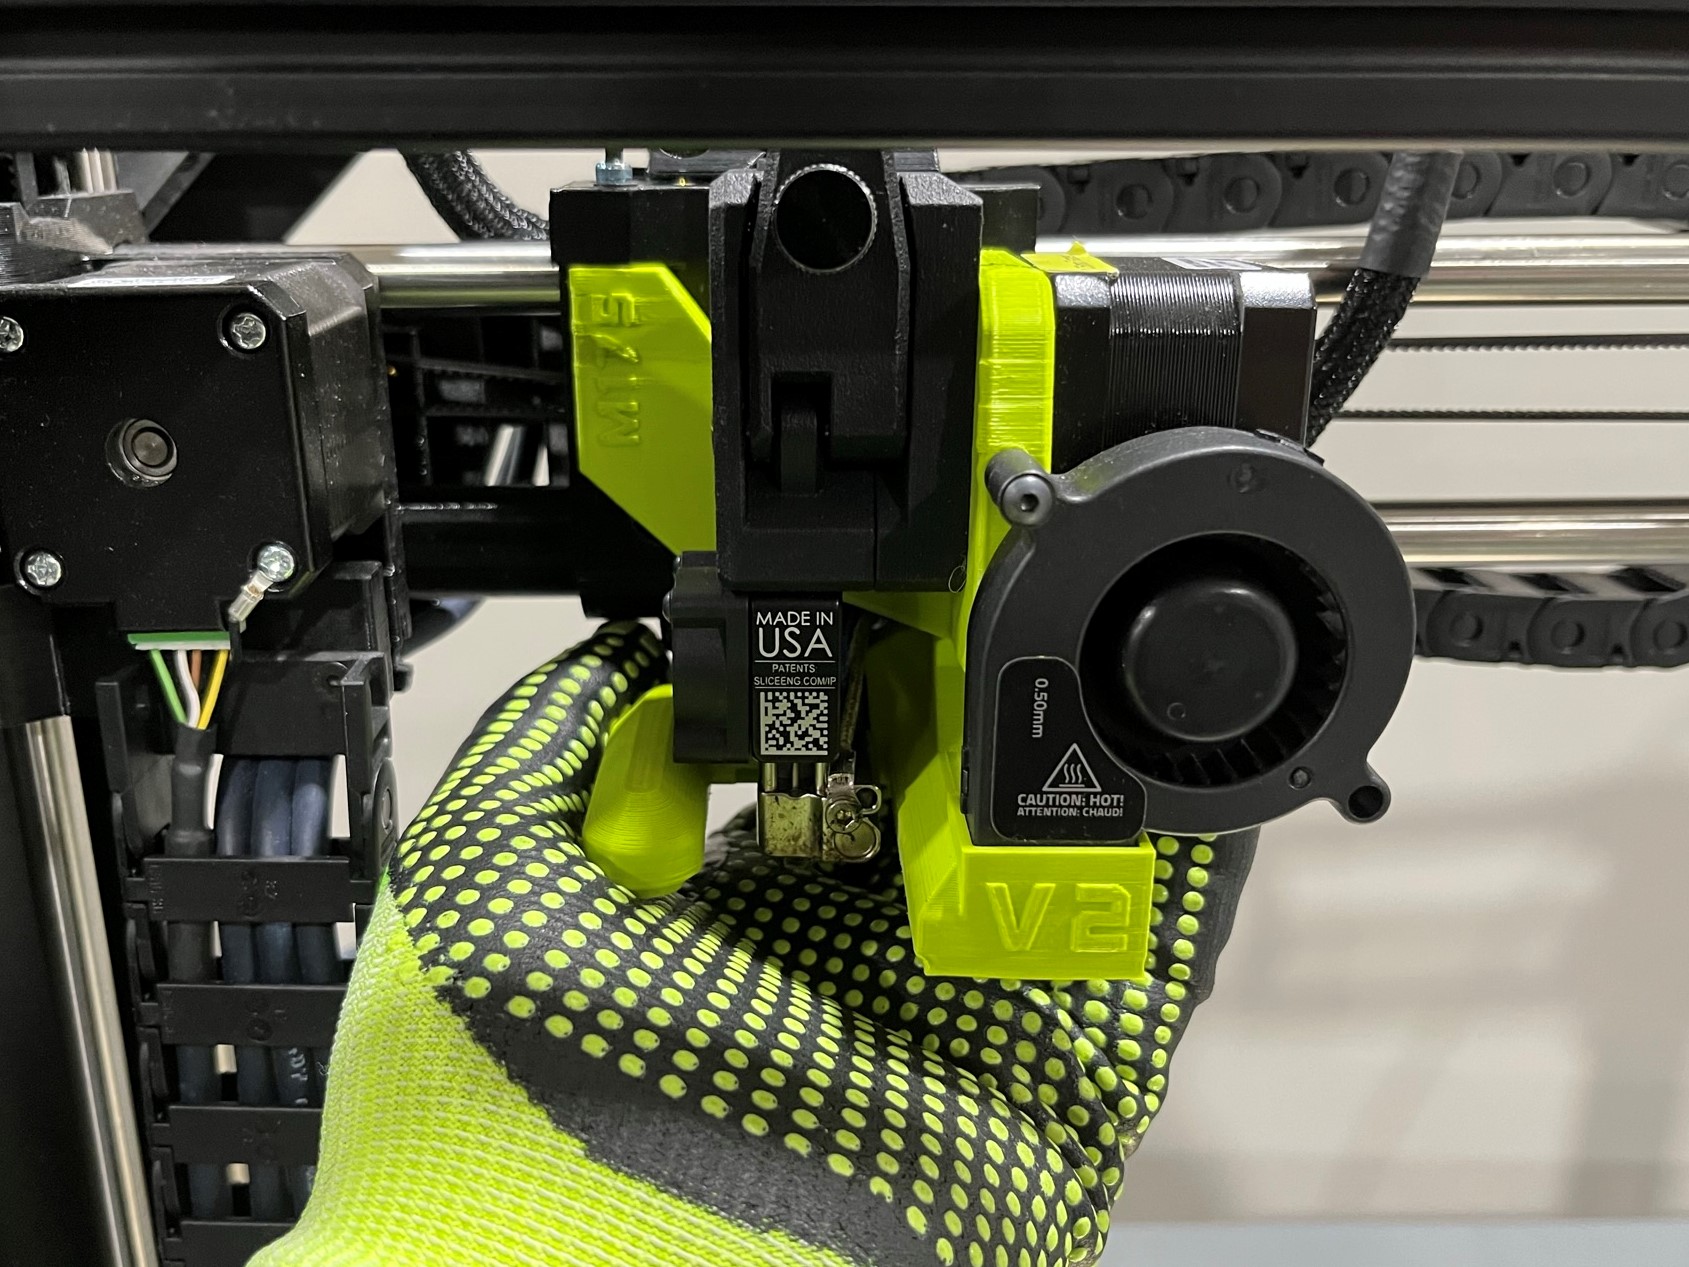
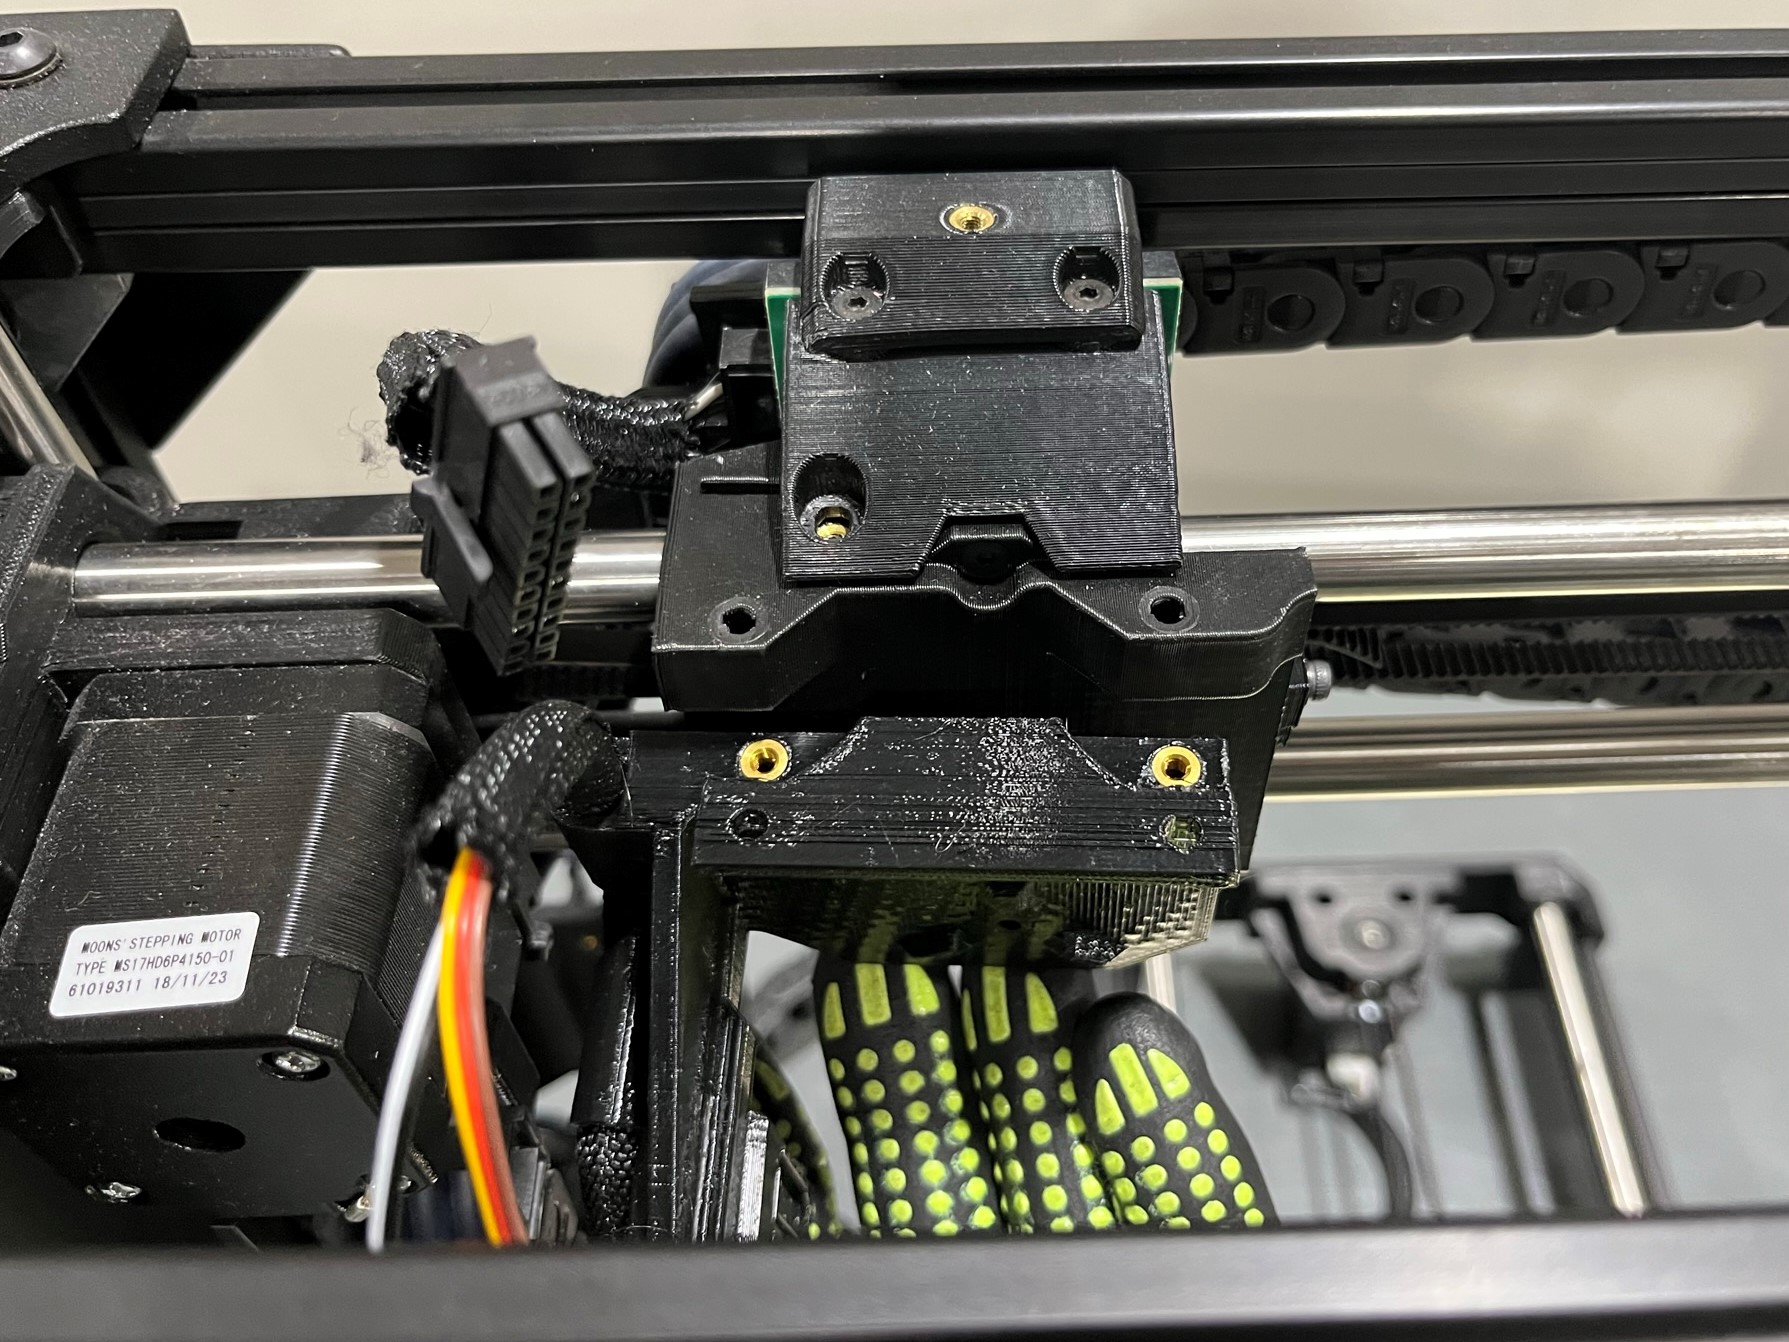
While removing the tool head make sure to support the bottom of the tool head, if it is not support the tool head could fall and cause damage
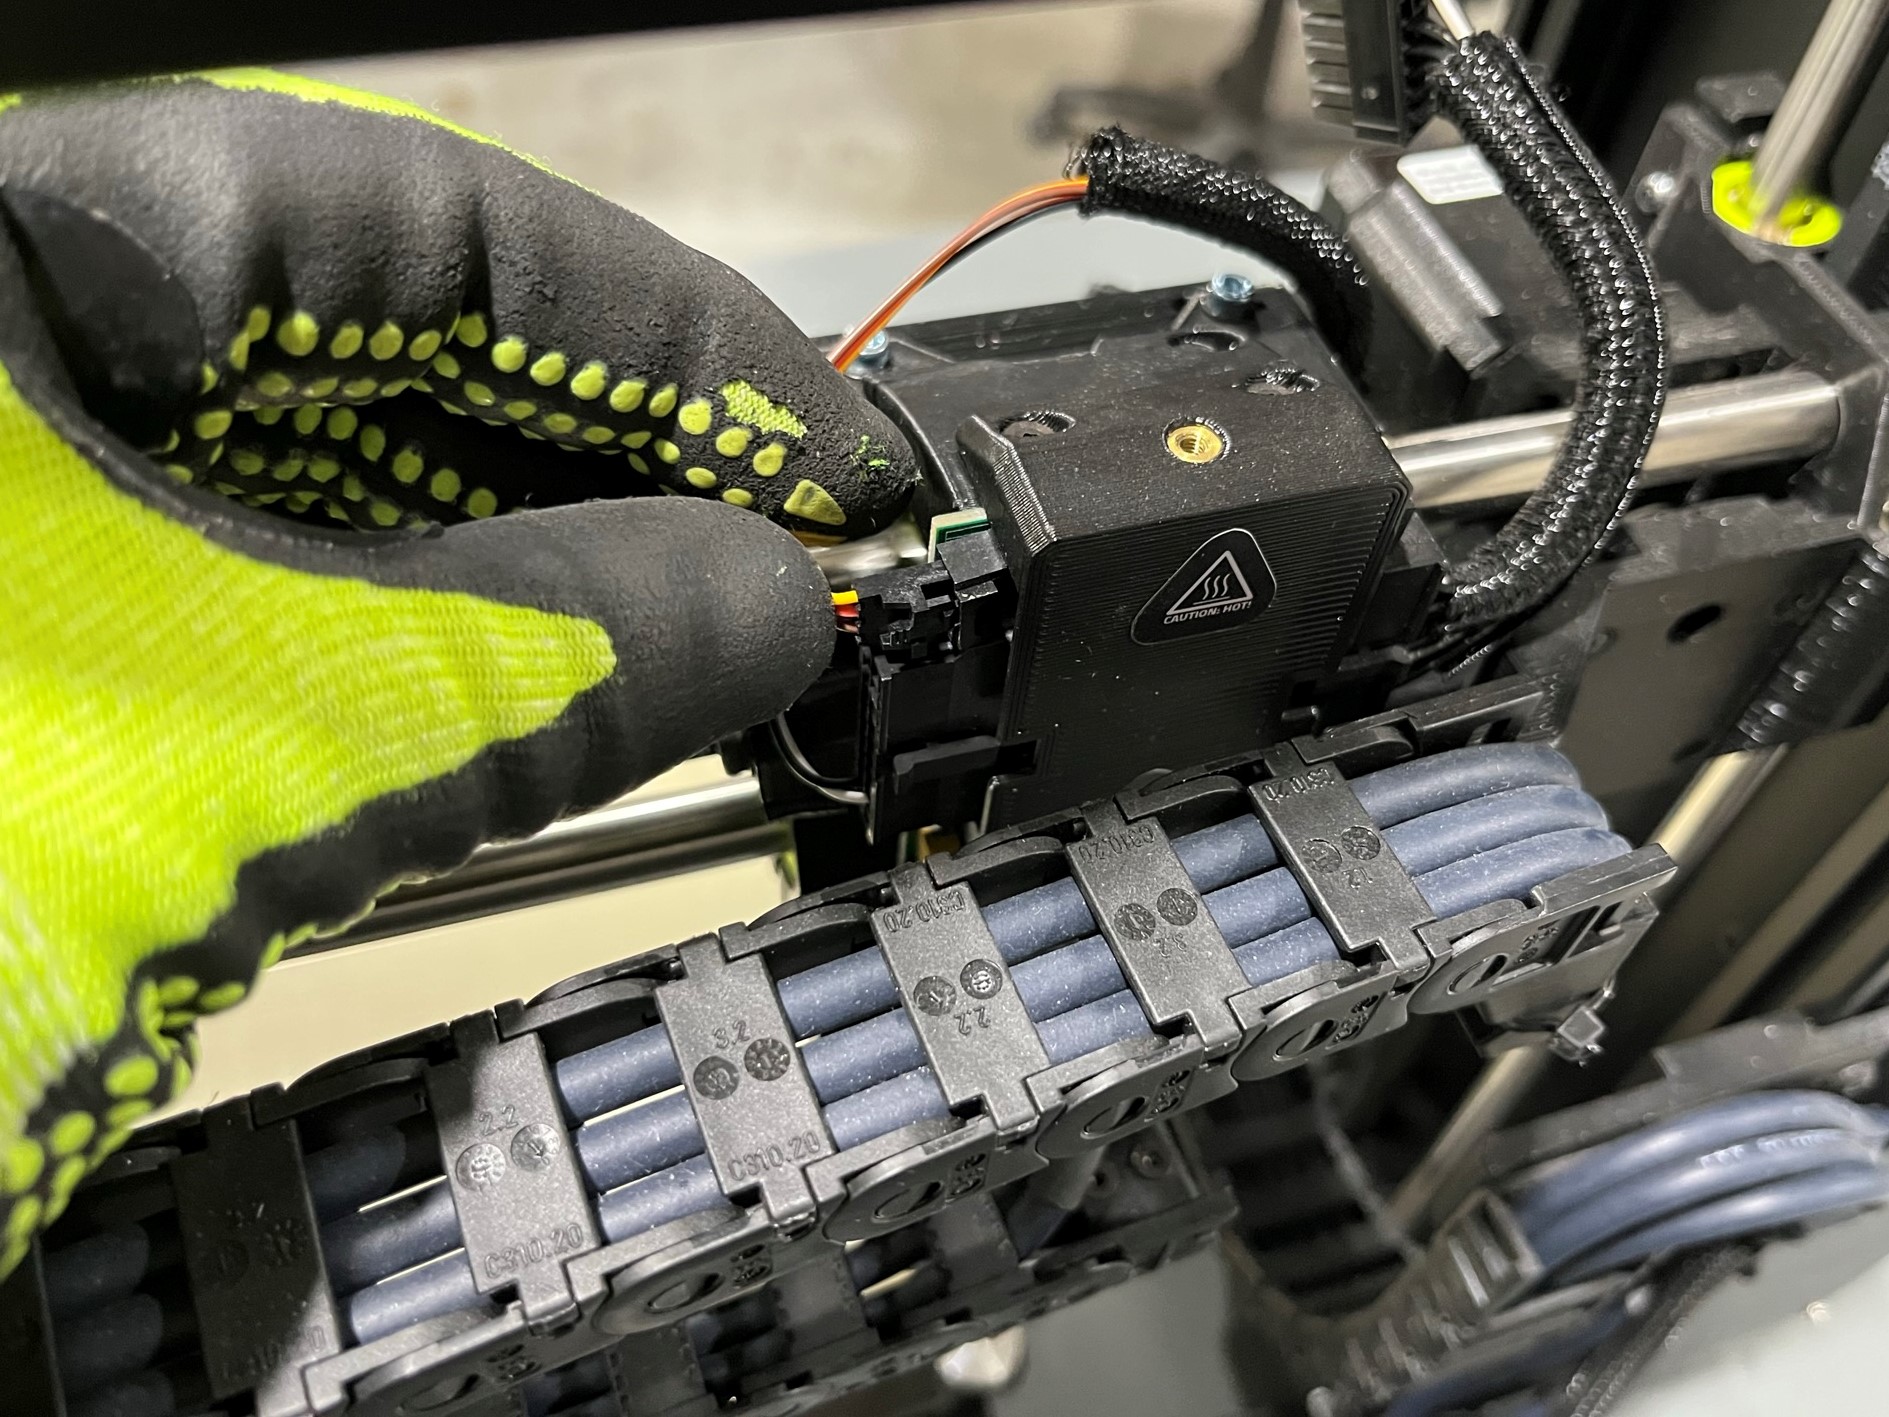
Use the 2.5mm Hex key to remove the rear tool head screw
While holding the bottom of the tool head, remove the two top tool head screws, then set the tool head to the side.


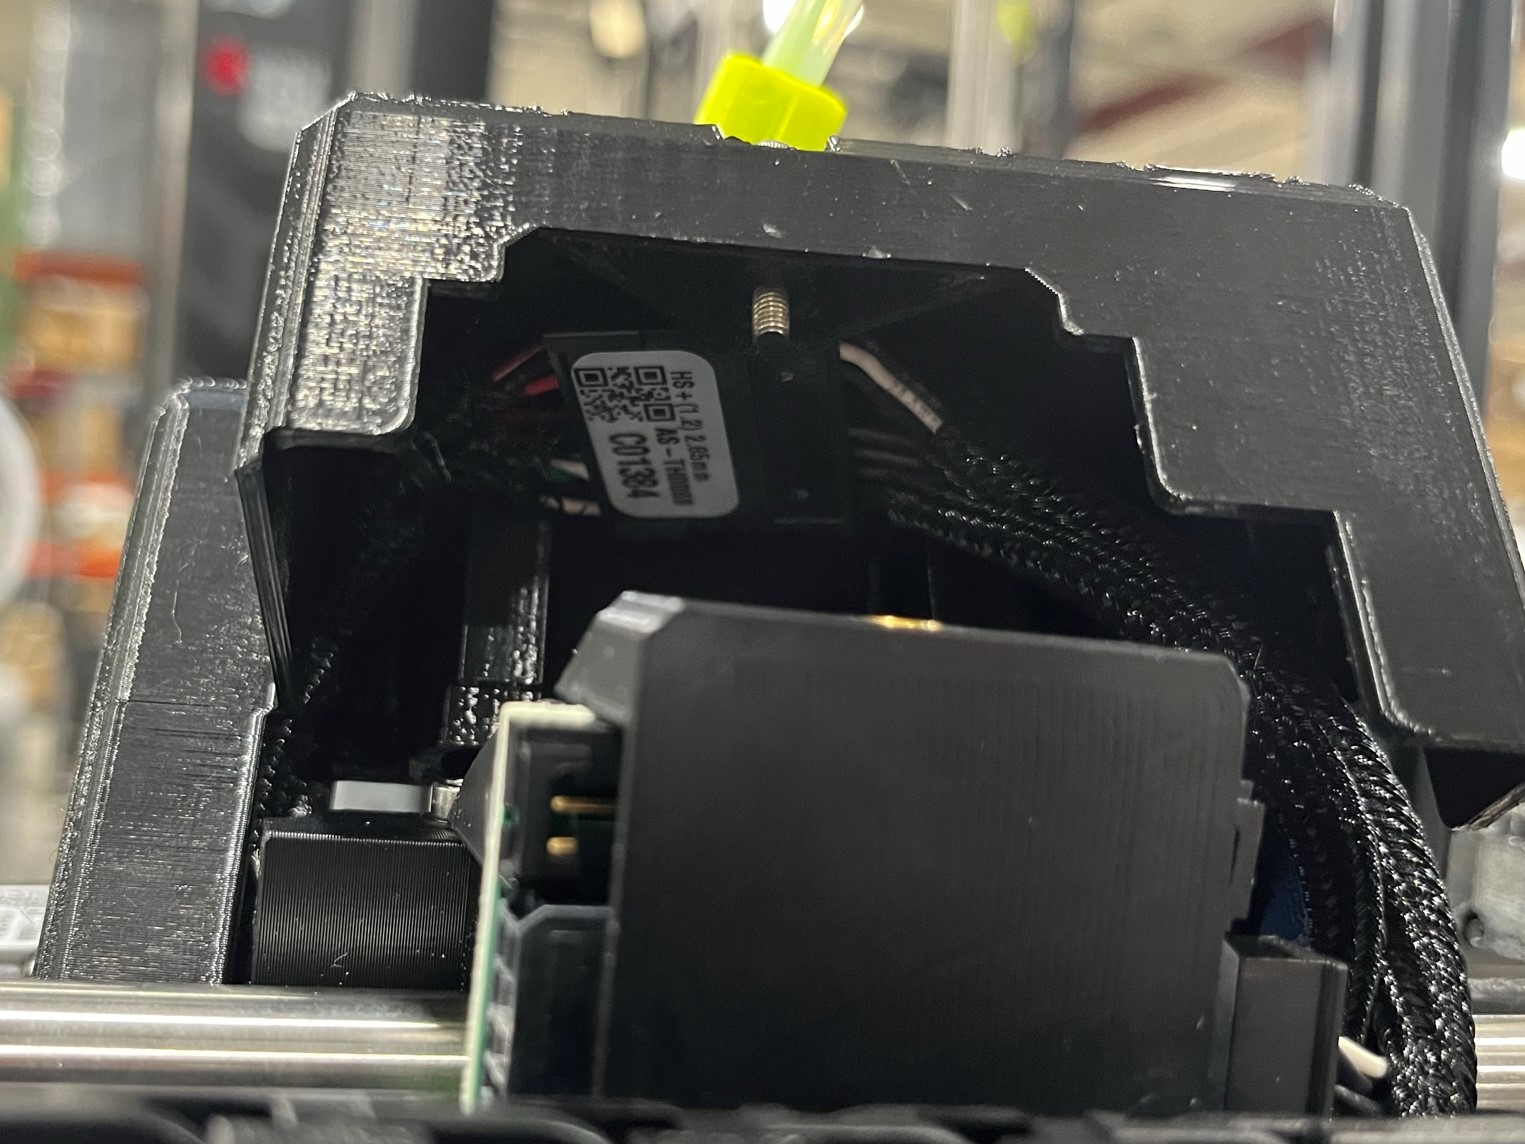
Align the BL Touch adaptor mount with the X carriage making sure the brass inserts align with the holes on the X carriage.
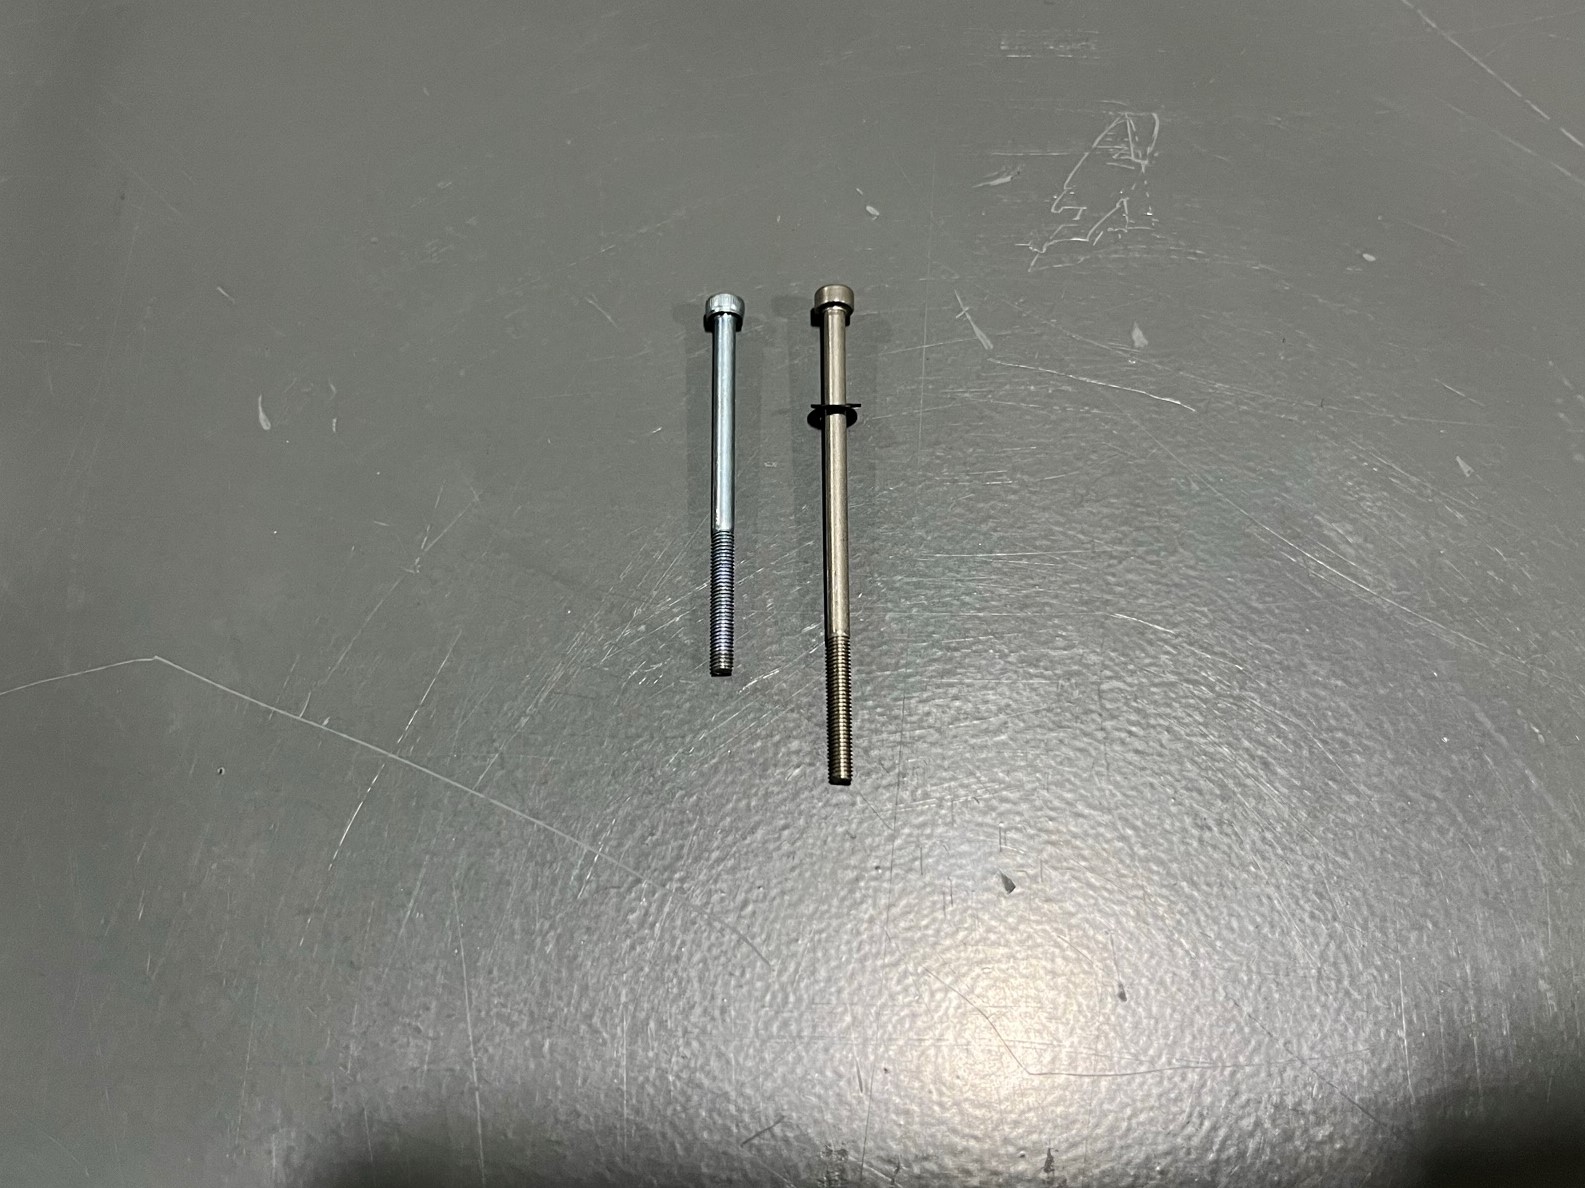
Then find the long screw from the bag of hardware that came with the BL Touch adaptor kit and remove the washer from the previous rear screw.
Push the longer screw and washer through the rear hole to secure the BL Touch adaptor mount to the X carriage. This is done before the two top screws to ensure the holes are aligned and will be used later to secure the tool head
Then reuse the two shorter screws with washers to install the BL Touch adaptor mount.
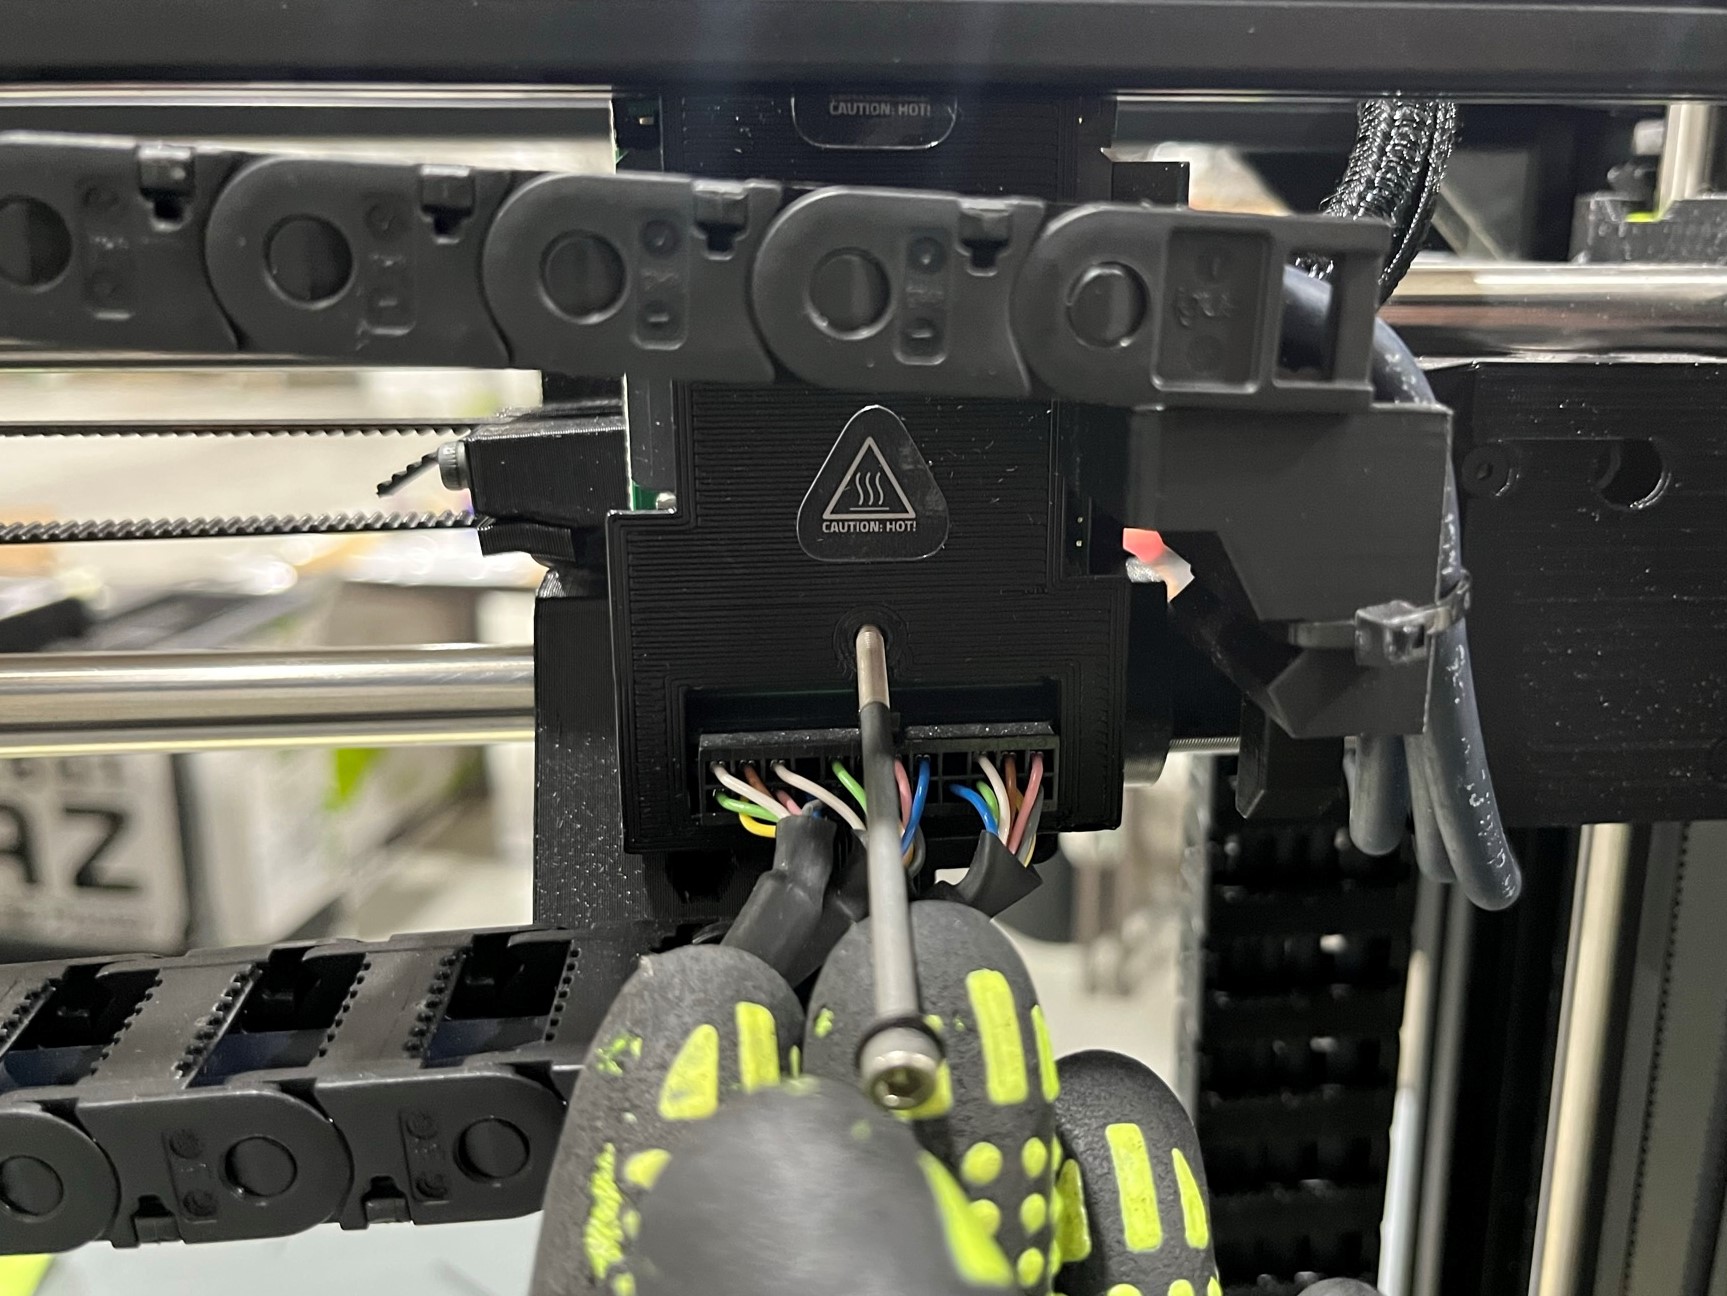

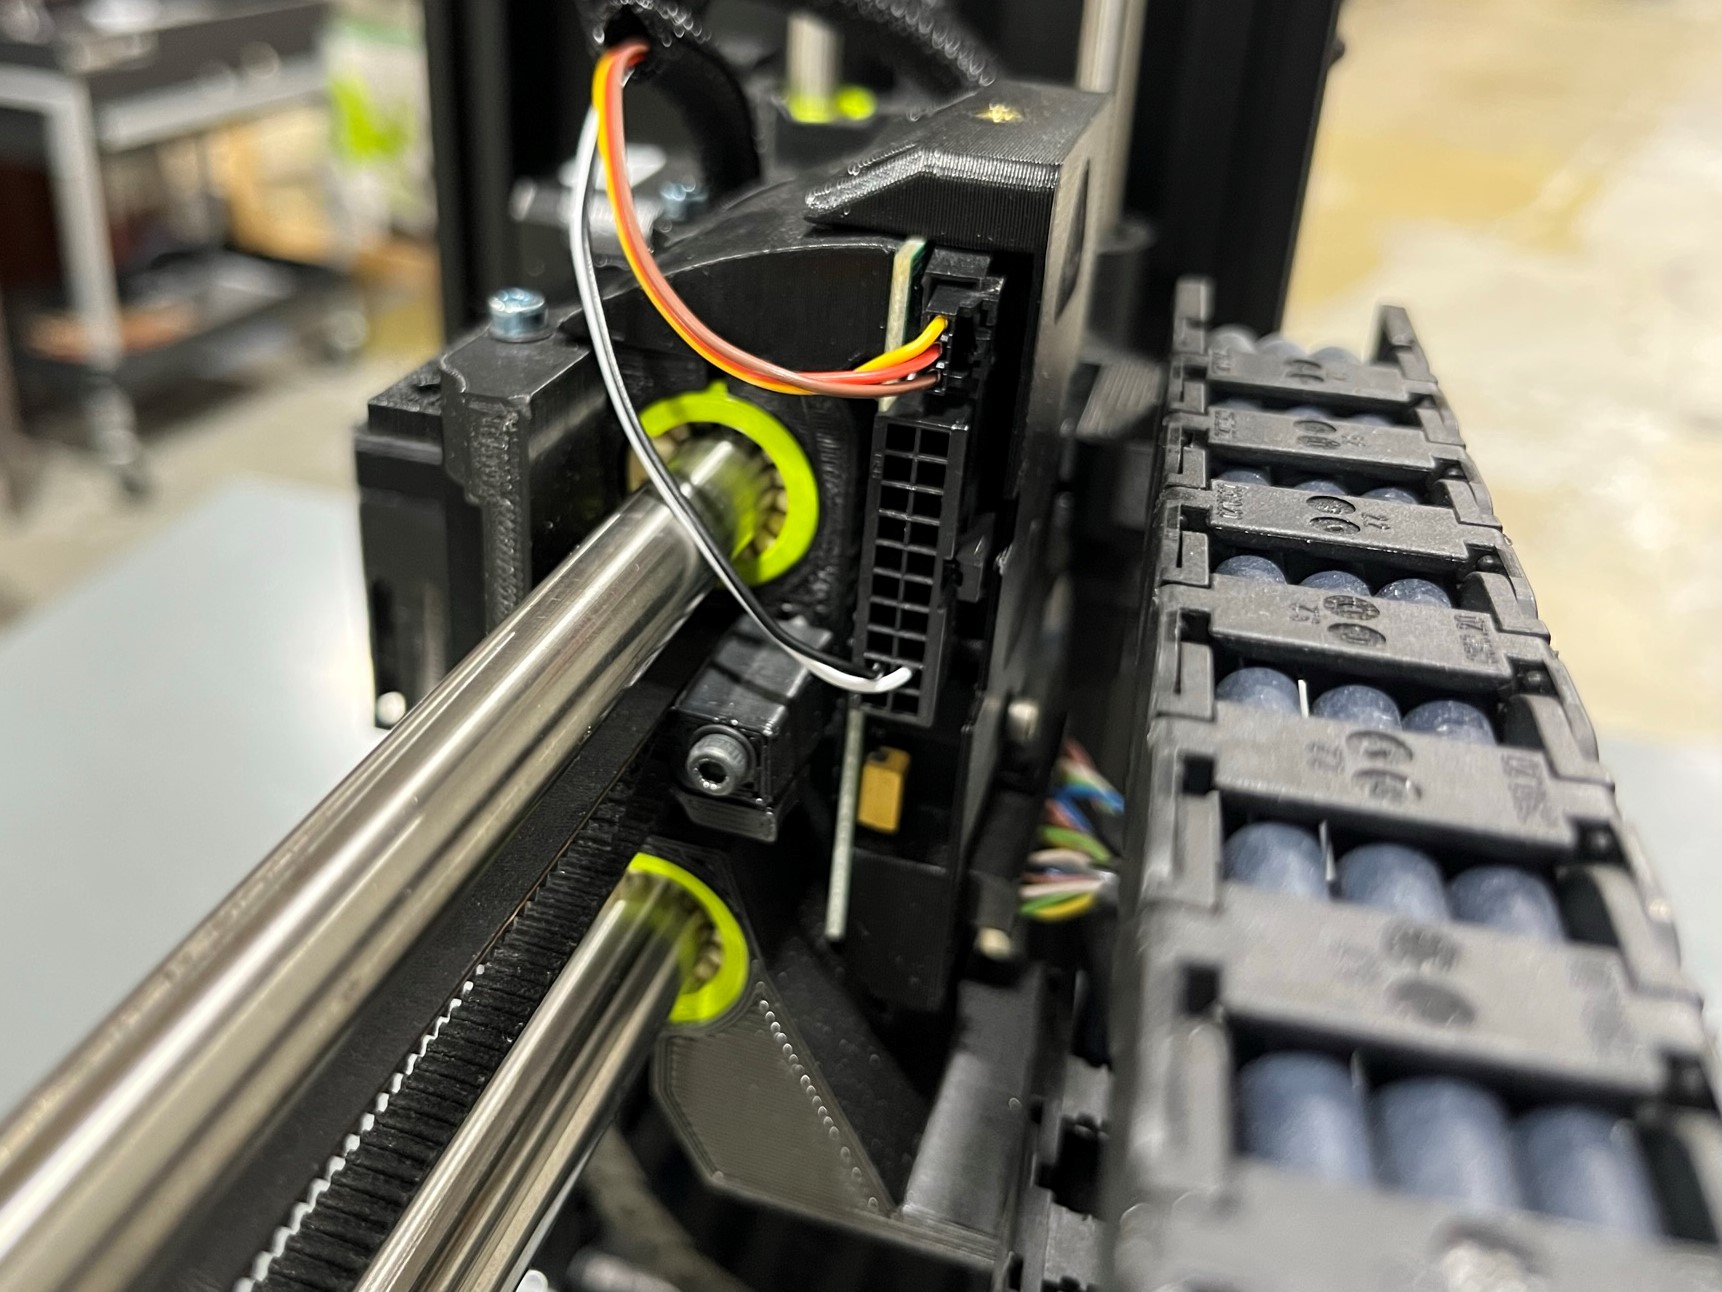
Find the connector that has the black and white wires connected to it.
Then connect this wire to the right side of the X carriage board.
Take the other connector that has three wires and connect it to the top port on the right side of the board.
Make sure both connectors are in the correct ports and are secure.
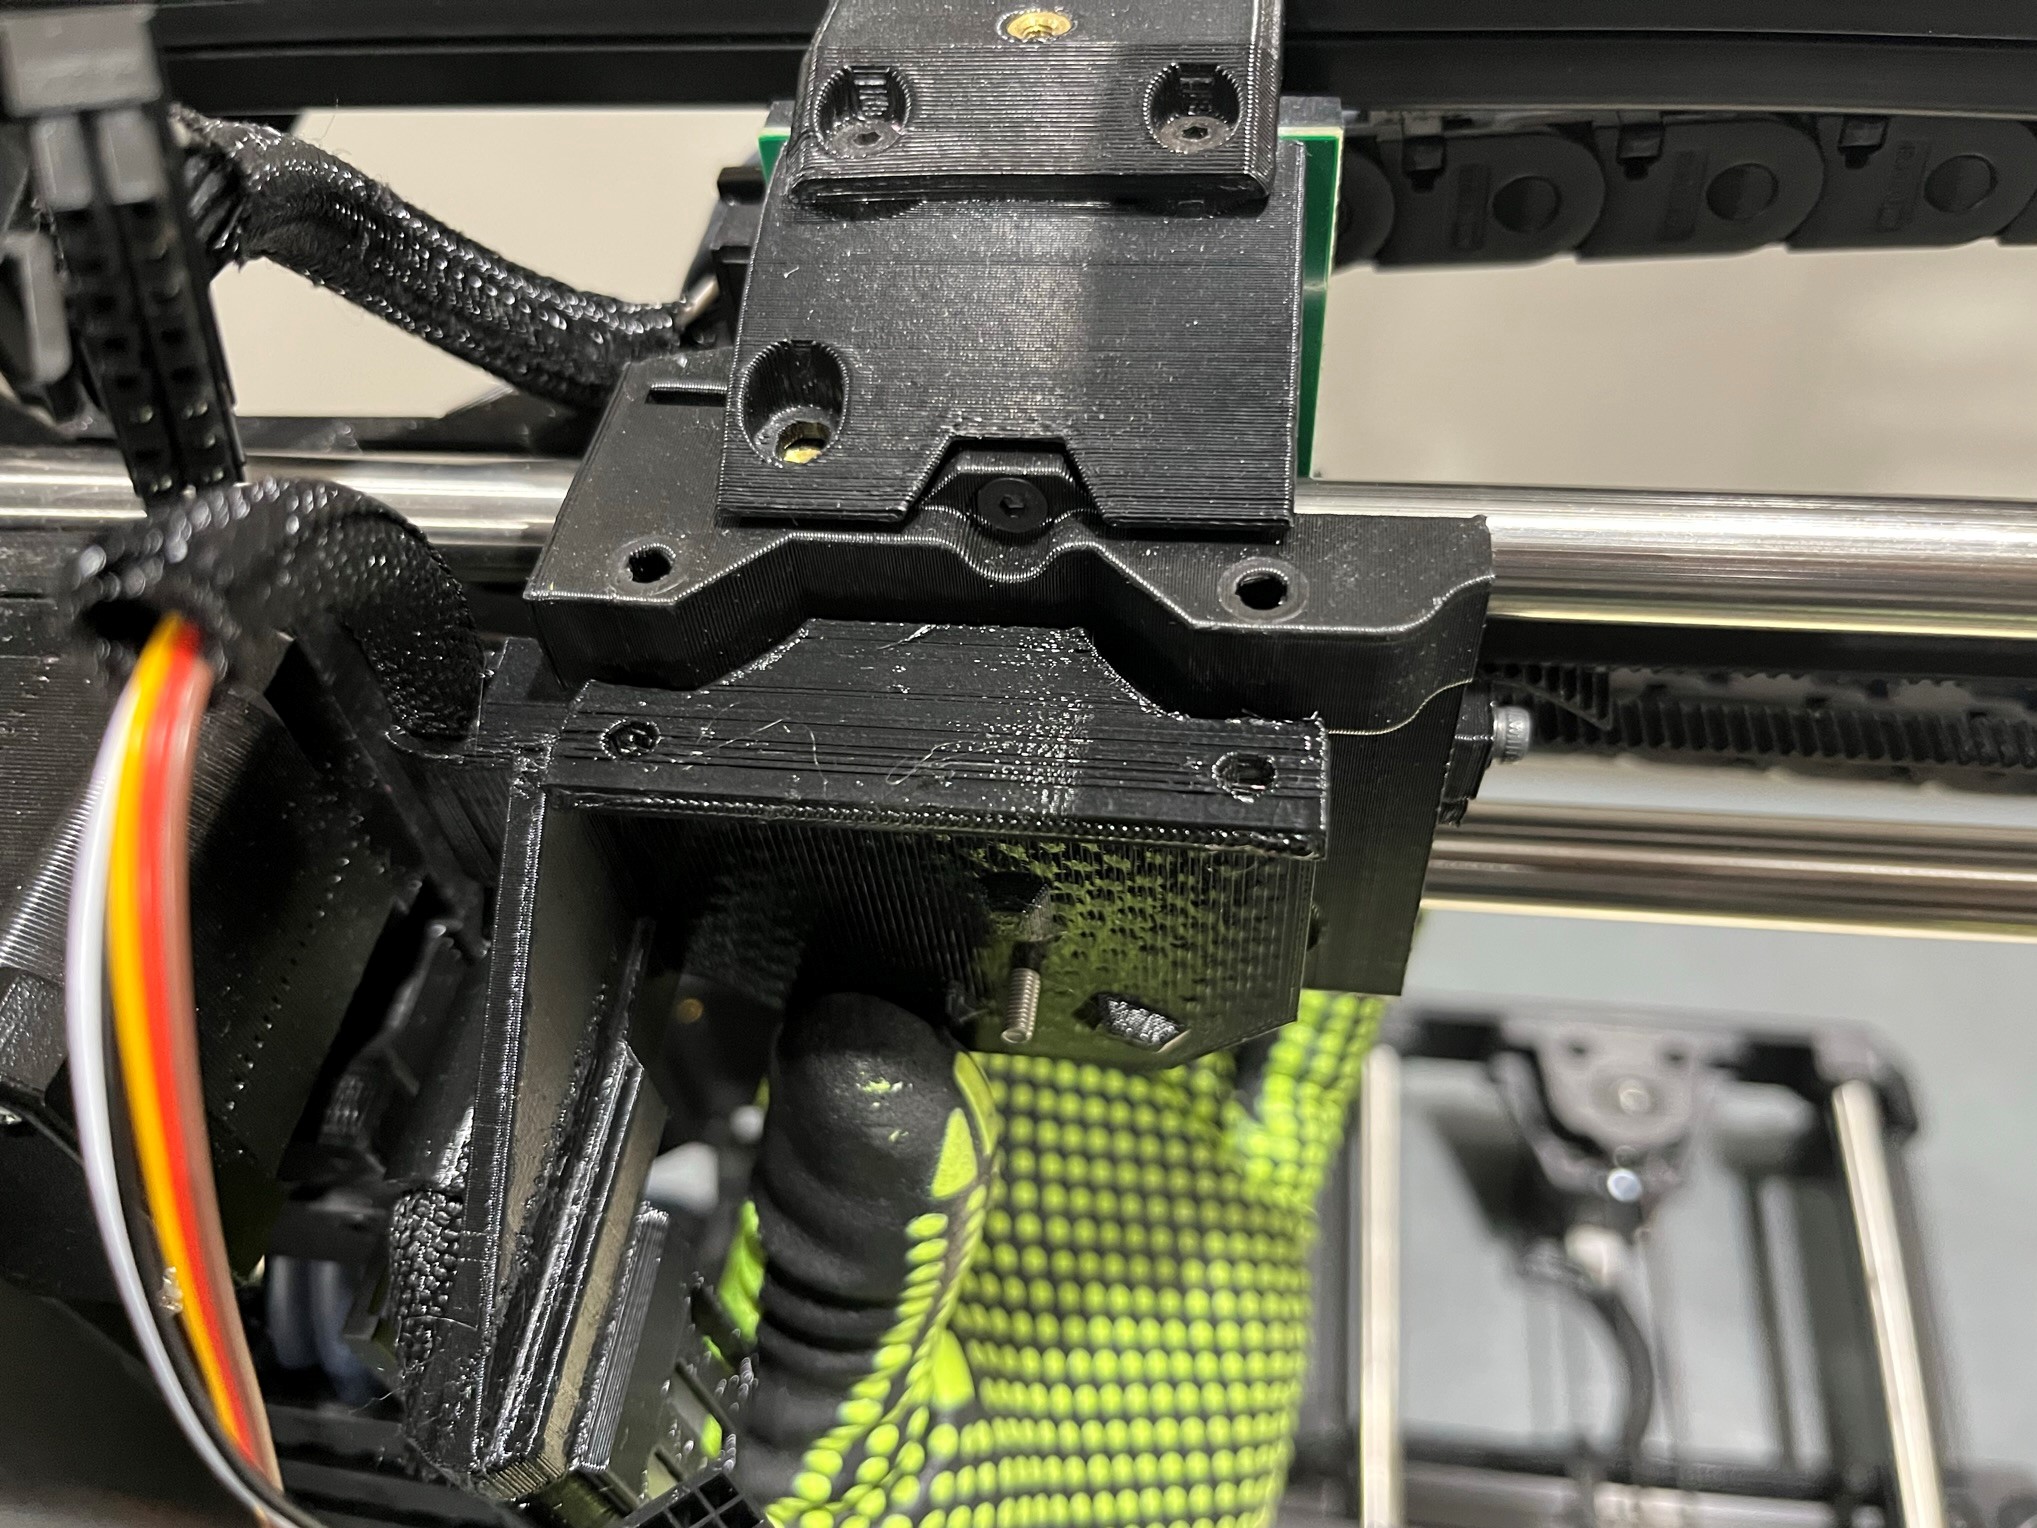
Reconnect the tool head to the printer. Use the two short screws and washers that are in the bag of hardware to secure the top of the tool head.
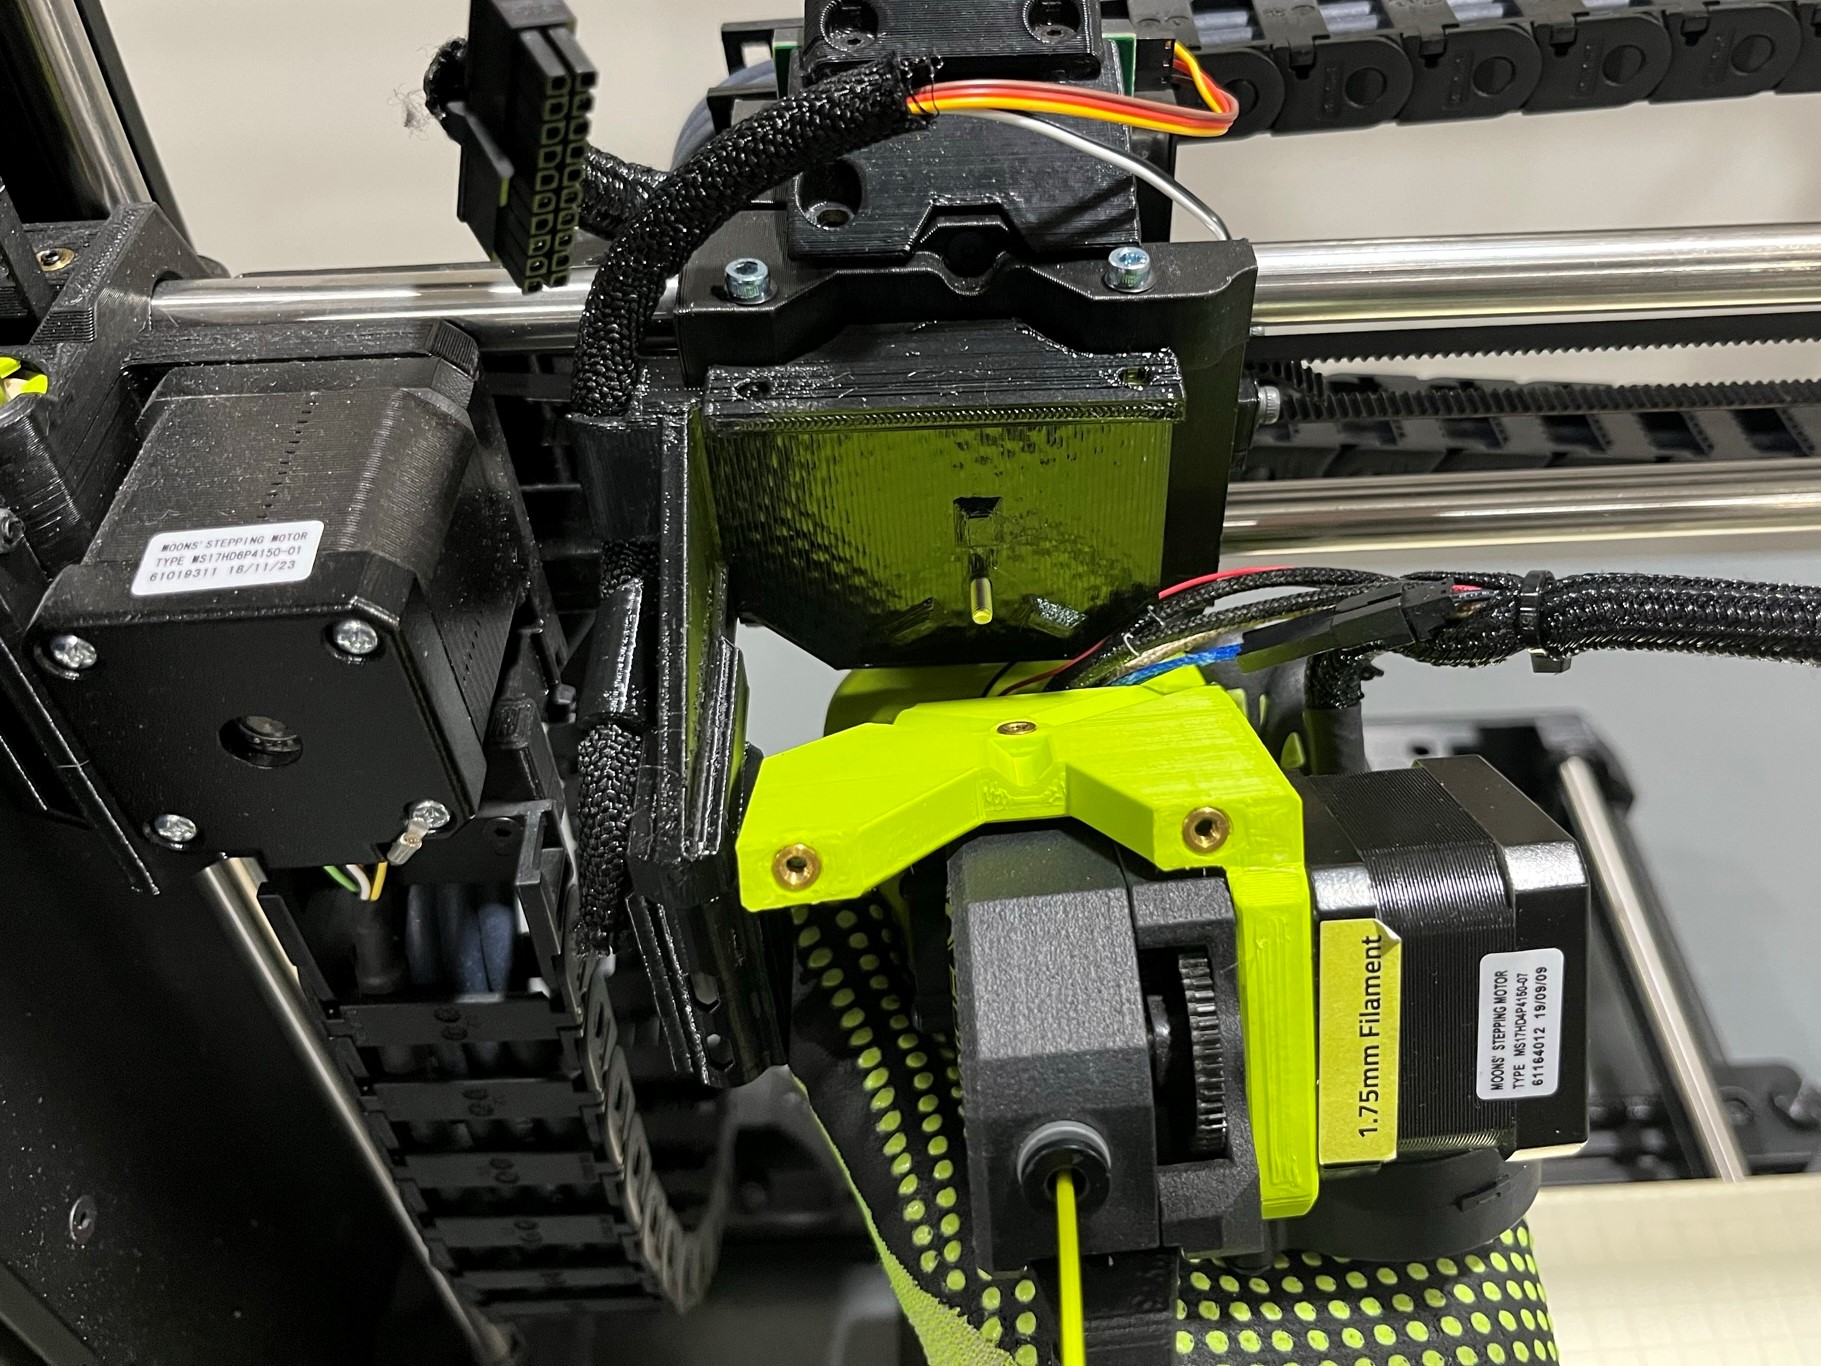


Connect the tool head harness to the printer, when connecting the harnesses you should hear or feel a click.

Before fastening the X carriage cover to the X carriage, make sure the tool head harness is properly seated inside.
Take the braid of the tool head harness and slide it through the channel on the front side of the X carriage cover.
Then find where the two harnesses are connected and make sure that is place inside the cover so that is won't be pinched when the cover is installed.
Then fasten the X carriage cover to the X carriage while watching the harnesses for pinching.
Make sure to update your printer's firmware to use the BL Touch bed leveling feature!