Open HardwareAssembly Instructions
Guides for installation and assembly of the LulzBot line of products made by FAME 3D LLC.
Guides for installation and assembly of the LulzBot line of products made by FAME 3D LLC.
Follow this simple tutorial to install your new Lulzbot Mini Modular Print Bed System and ensure your printer is going strong for years to come.

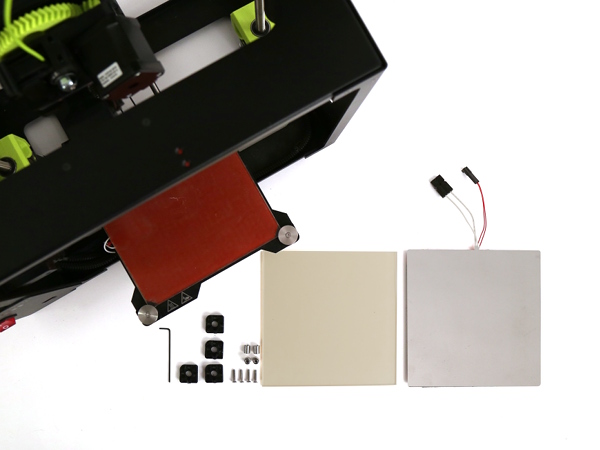
(1) LulzBot Mini Modular Print Bed Heater
(1) LulzBot Mini Modular Glass/PEI
(1) LulzBot Mini Modular Bed Corners Kit, Contents:
(4) 16 mm M3 screws
LulzBot Minis with serial number equal to or higher than KT-PR0035NA-07500 - KT-PR0035EU-7659:
(4) NinjaFlex bed corners, 3D printed square-shaped, 8 mm OD, 10 mm length
(4) Cylindrical Spacers, steel unthreaded 8 mm OD, 10 mm length
LulzBot Mini's with serial number equal to or below KT-PR0035NA-07126 - KT-PR0035EU-6703:
(4) Ninjaflex bed corners, 3D printed circular-shaped, 4.5 mm OD x 8 mm length
(4) Cylindrical spacers, aluminum 4.5 mm OD, 10 mm length
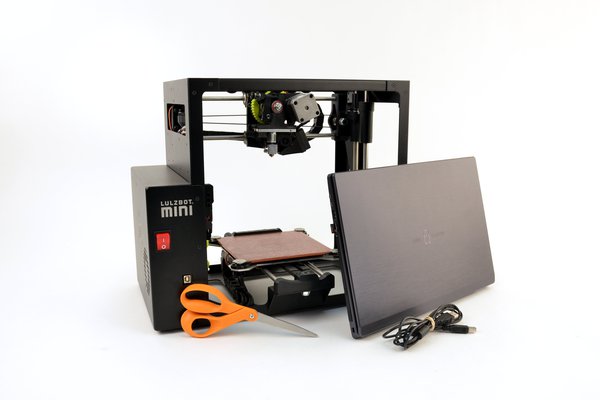
You will also need
4A
Power on your LulzBot Mini 3D Printer.
4B
Connect your printer to your computer using the USB cable.
4C
Press the control button in Cura LulzBot Edition.
4D
Click the home icon below "Position Z"
5A
Remove any filament from the tool head by first setting hot end to 210°C.
5B
Wait for hot end to reach 210°C, then lift up on the idler clip and remove the filament.
5C
Power off and unplug the power cord from the rear of the printer.
5D
Unplug the USB cable from the front of the printer.
5E
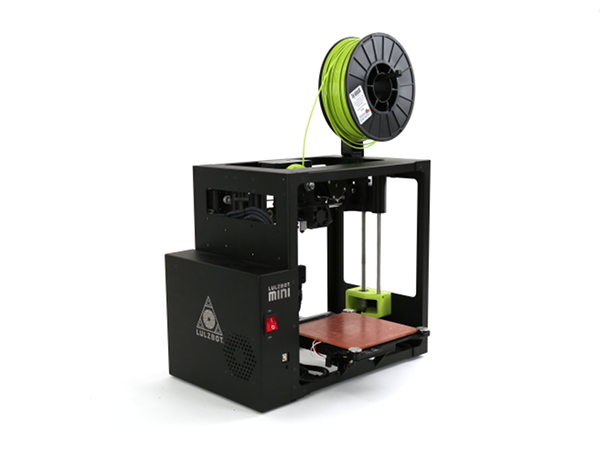
Rotate the spool arm down to the stowed position.
5F
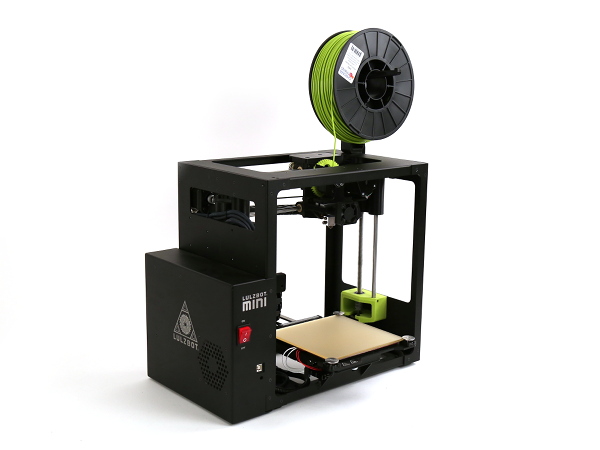
Place the printer on the side with the electronics enclosure facing up, matching the image.

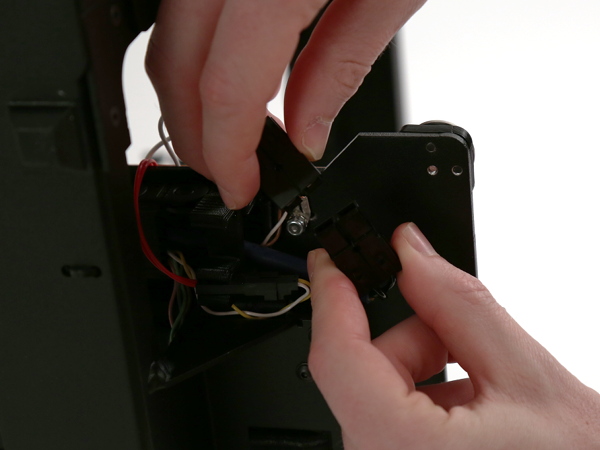
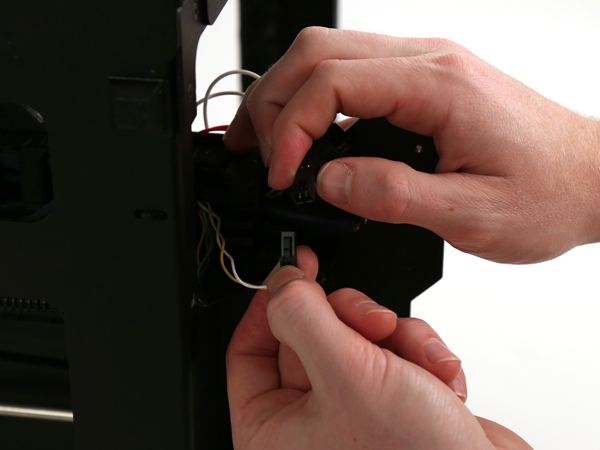
Note: Your LulzBot Mini may have a small black zip tie securing the heated bed connector. Use the flush cutters or scissors to cut the small zip tie securing the larger two wire pair heated bed power connector.
6A
Disconnect the larger heated bed power connector (black and white cables) by pulling them apart.
6B
Disconnect the smaller heated bed thermistor connector (yellow/white and red cables) while pressing on their tab.
6C
Stand the printer back up.
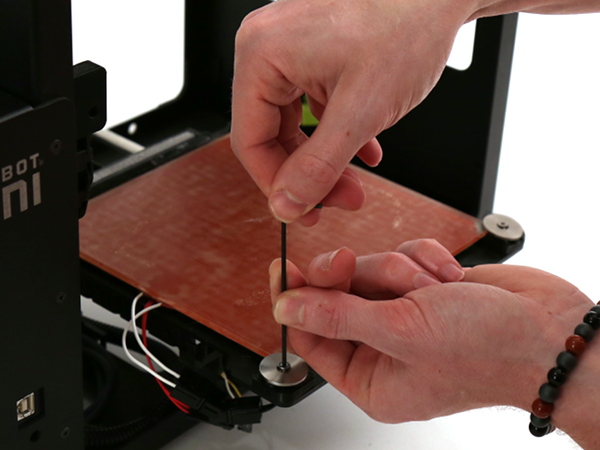
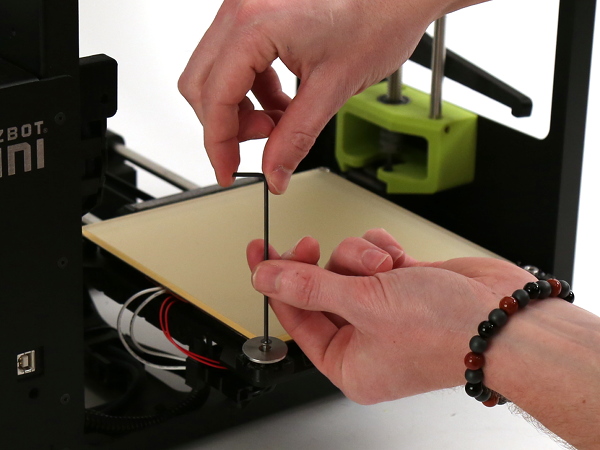
7A
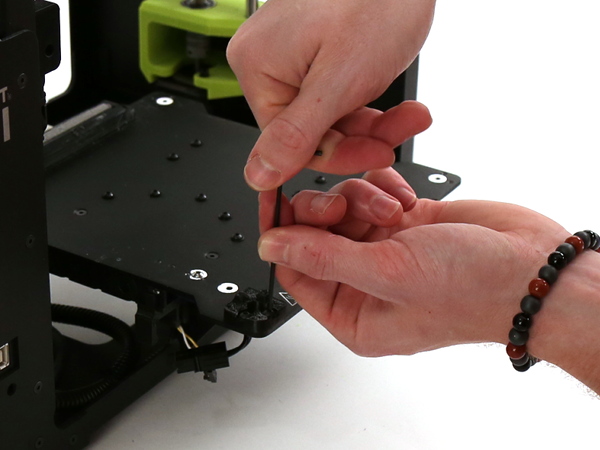
Using the 2 mm hex wrench, unscrew the 4 bed washer screws.
7B
Remove the bed washers and spacers. Please set washers aside.
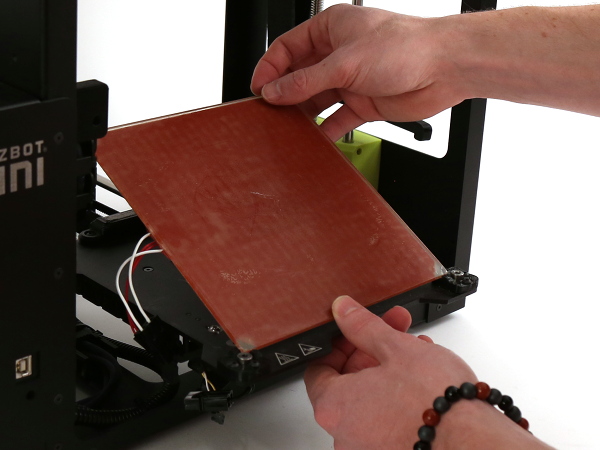
7C
Remove the heated bed assembly, then remove all four bed corners. Please keep screws as they will need to be reused.

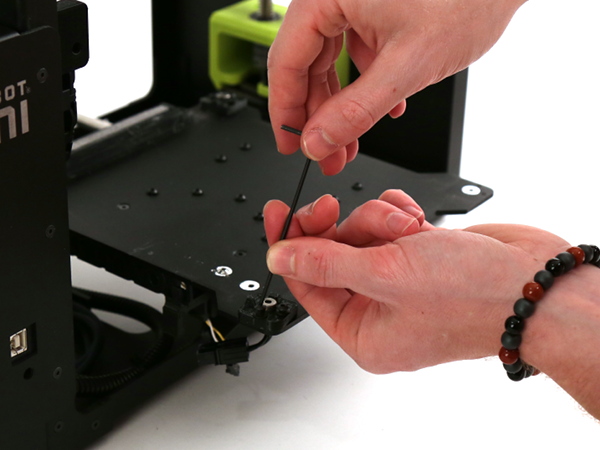
8A
Proceed to open LulzBot Mini Modular Bed Corners Kit.
8B
Install the new flexy bed corners by placing on bed plate and loosely screwing in with 2 button-head screws. Tightening will be done later.
Note: LulzBot Mini users with a serial number range equal to or higher than KT-PR0035NA-07500 - KT-PR0035EU-7659 will use the steel 8 mm x 10 mm cylindrical spacers with the smaller, square-shaped bed corners.
LulzBot Mini users with a serial number range equal to or below KT-PR0035NA-07126 - KT-PR0035EU-6703 will use the aluminum 4.5 mm x 8 mm cylindrical spacers with the larger, circular-shaped bed corners.
8C
Place LulzBot Mini Modular Heated Print Bed onto all four flexy corners. The bed can now be snugged tight with the flexy corners, but do not over tighten.
8D
Insert 8 mm spacer into center of each bed corner.
9A
Proceed to open LulzBot Mini PEI/Glass Modular Print Surface, and place print bed heater between the 4 corners with the cables facing out towards the power switch on the printer. Please be careful as glass will be sharp!
9B
Place the glass print surface on top of print bed heater.
Note: Smooth, clear side should be facing down and the cloudy PEI print surface facing up.
9C
Place a spacer in each flexy bed corner, followed by a washer and a 16 mm M3 screw into each washer.
9D
Screw in each bed washer using the 2 mm hex key until the bed washers are flat. DO NOT OVER TIGHTEN.
Note: If you're using a torque driver, 5 in LB is the max. Any more torque can strip the bed plate.

10A
Plug in the larger two-wire connector to the heated bed power connector. (black and white cables)
10B
Plug in the small two-wire connector to the heated bed thermistor connector. (yellow/white and red cables)


Verify the functionality of the printer prior to your first test print.
11A
Connect the power cable.
11B
Connect the printer to your computer with the USB cable.
11C
Power on your 3D printer.
11D
Open Cura LulzBot Edition and open the control window.
11E
Check the heated bed temperature in the control window in Cura LulzBot Edition.
If a 0 or zero is displayed the heated bed thermistor is not connected properly. When connected properly the heated bed should display an ambient temperature of 10°C - 30°C.
11F
Note: Before you start the test print, check the Z-axis offset is correctly aligned. This is a very simple precautionary measure, and can be completed through these 2 basic steps.
Once Z-axis is confirmed, start a test print and carefully observe the auto bed-leveling sequence.
During the auto bed-leveling sequence, the nozzle should lightly touch down on each metal corner of the bed. The force of the nozzle touching the bed corners is representative of the Z-axis offset.
If you encounter issues please contact Technical Support by emailing Support@LulzBot.com, or by calling +1-970-377-1111.
Congratulations! You've finished installing your LulzBot Mini Modular Print Bed System and your printer is now more capable than ever.