Open HardwareAssembly Instructions
Guides for installation and assembly of the LulzBot line of products made by FAME 3D LLC.
Guides for installation and assembly of the LulzBot line of products made by FAME 3D LLC.

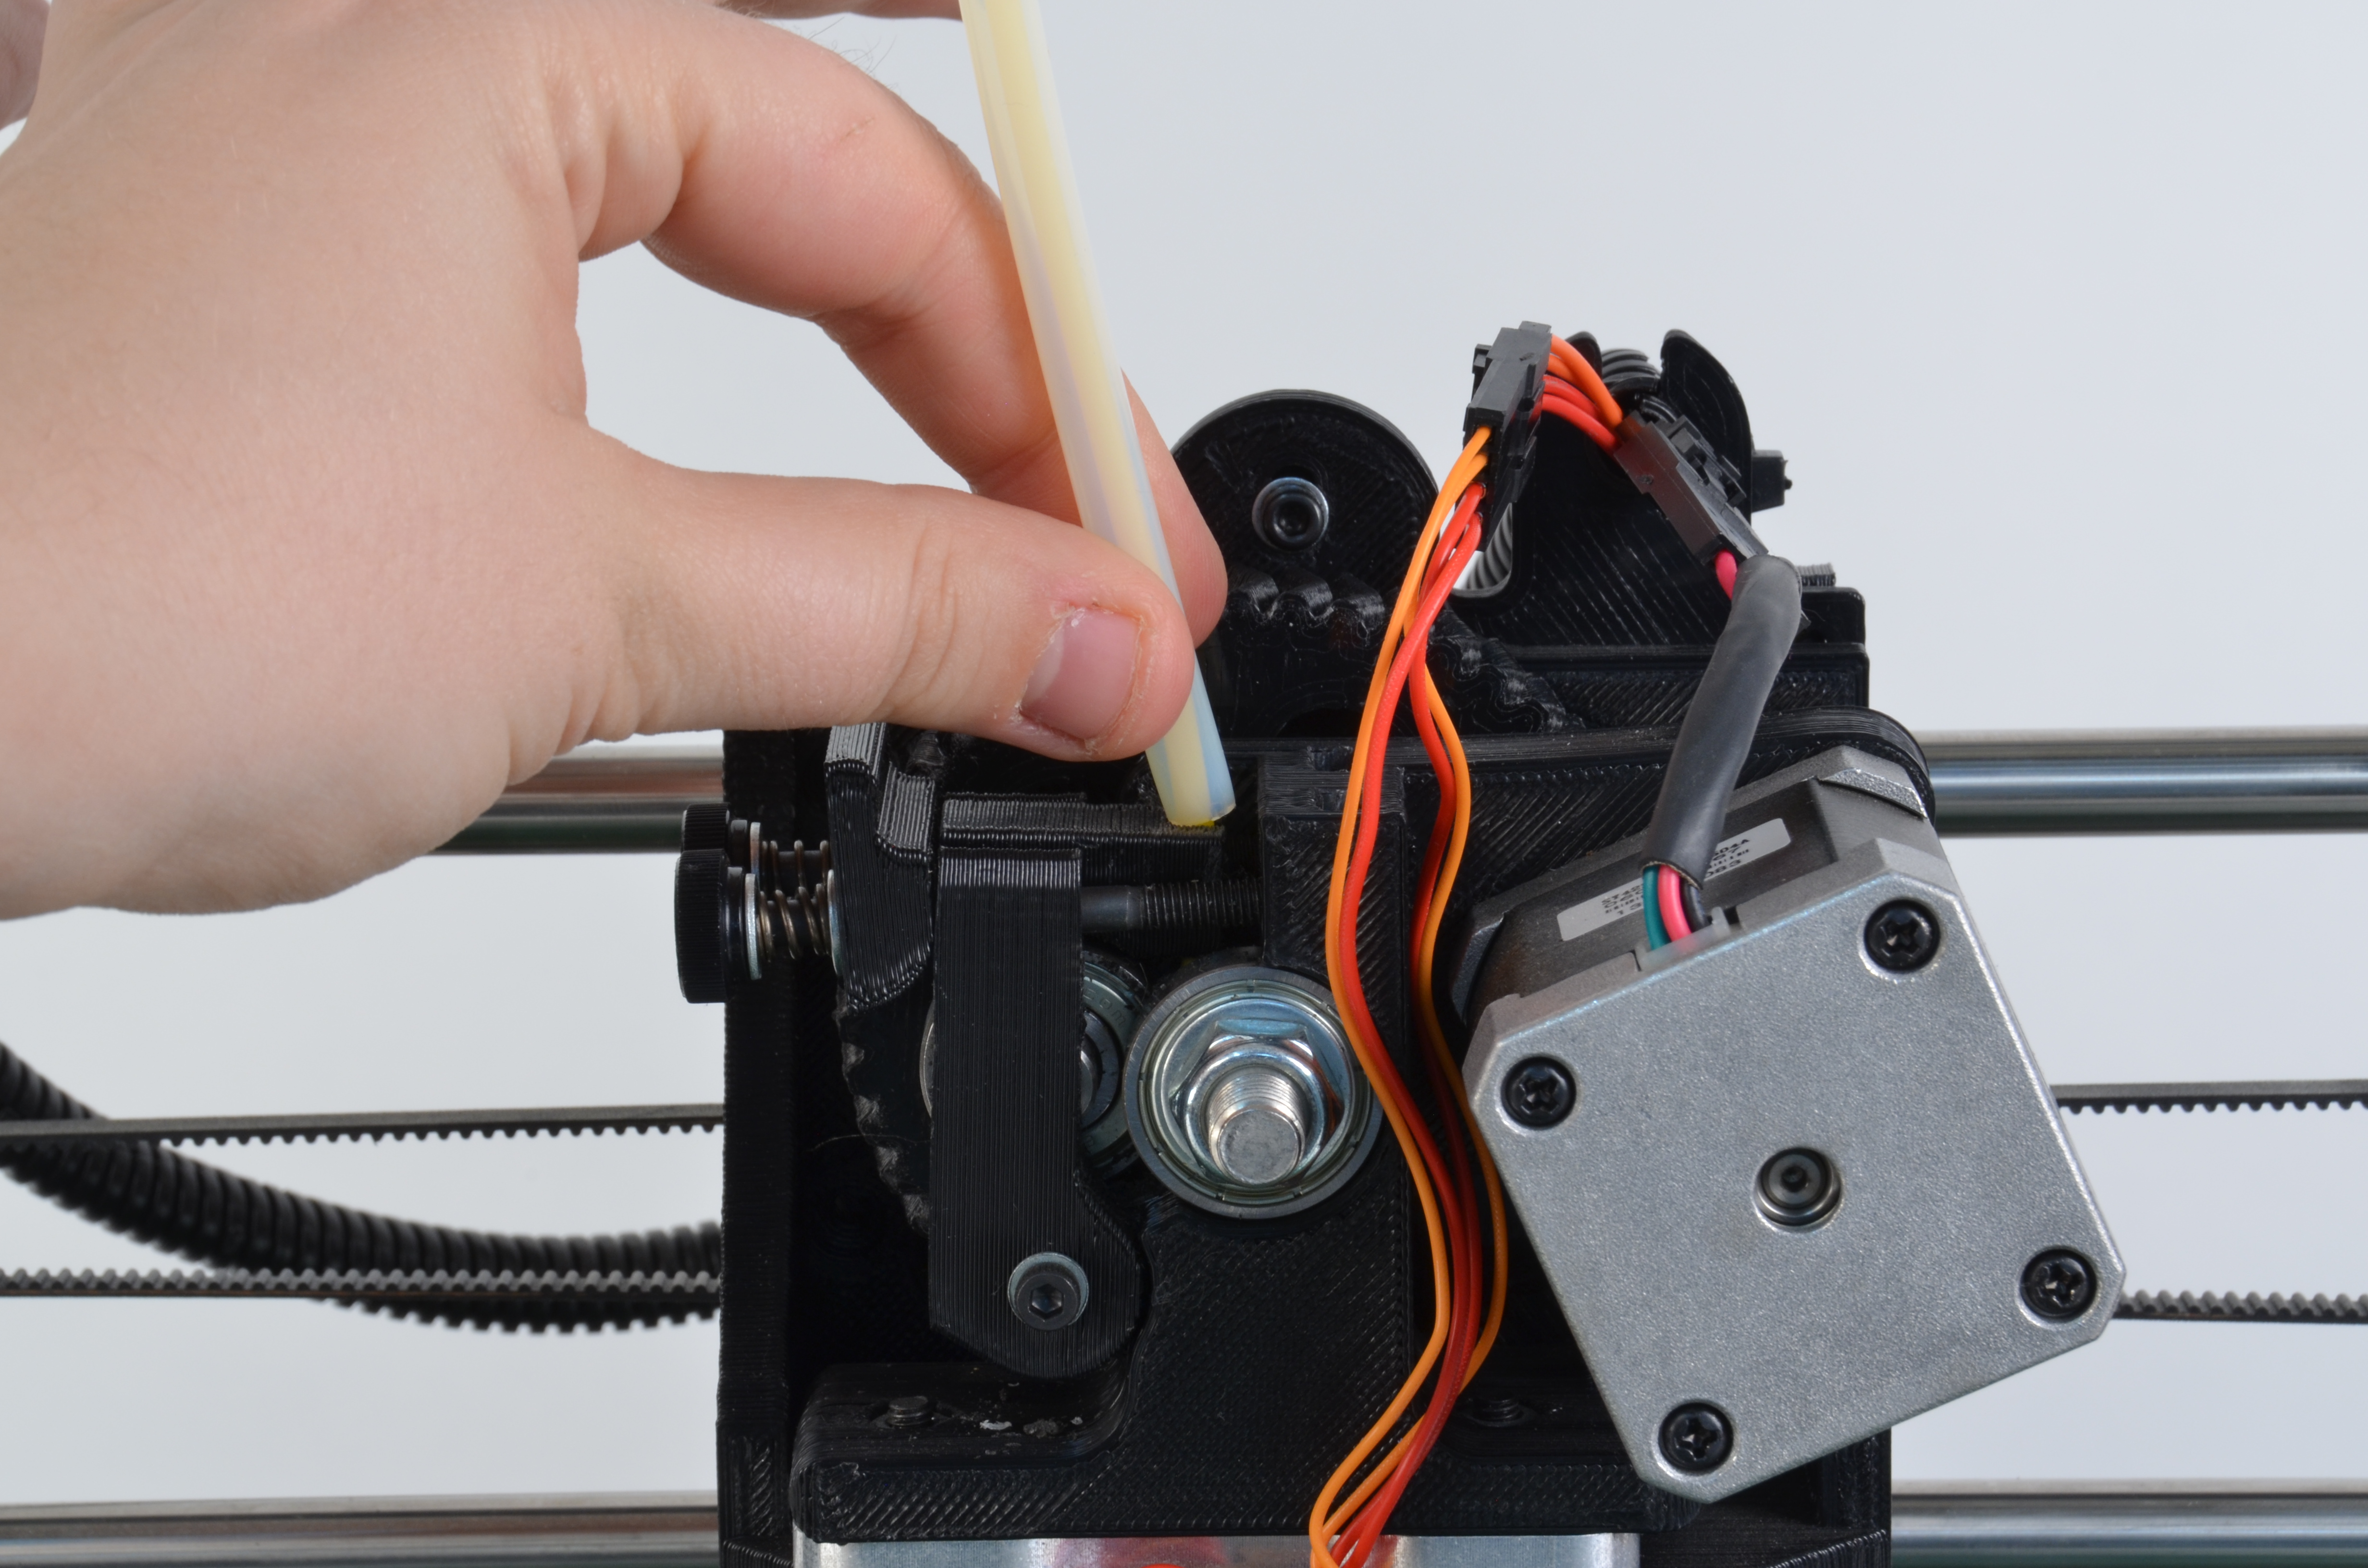
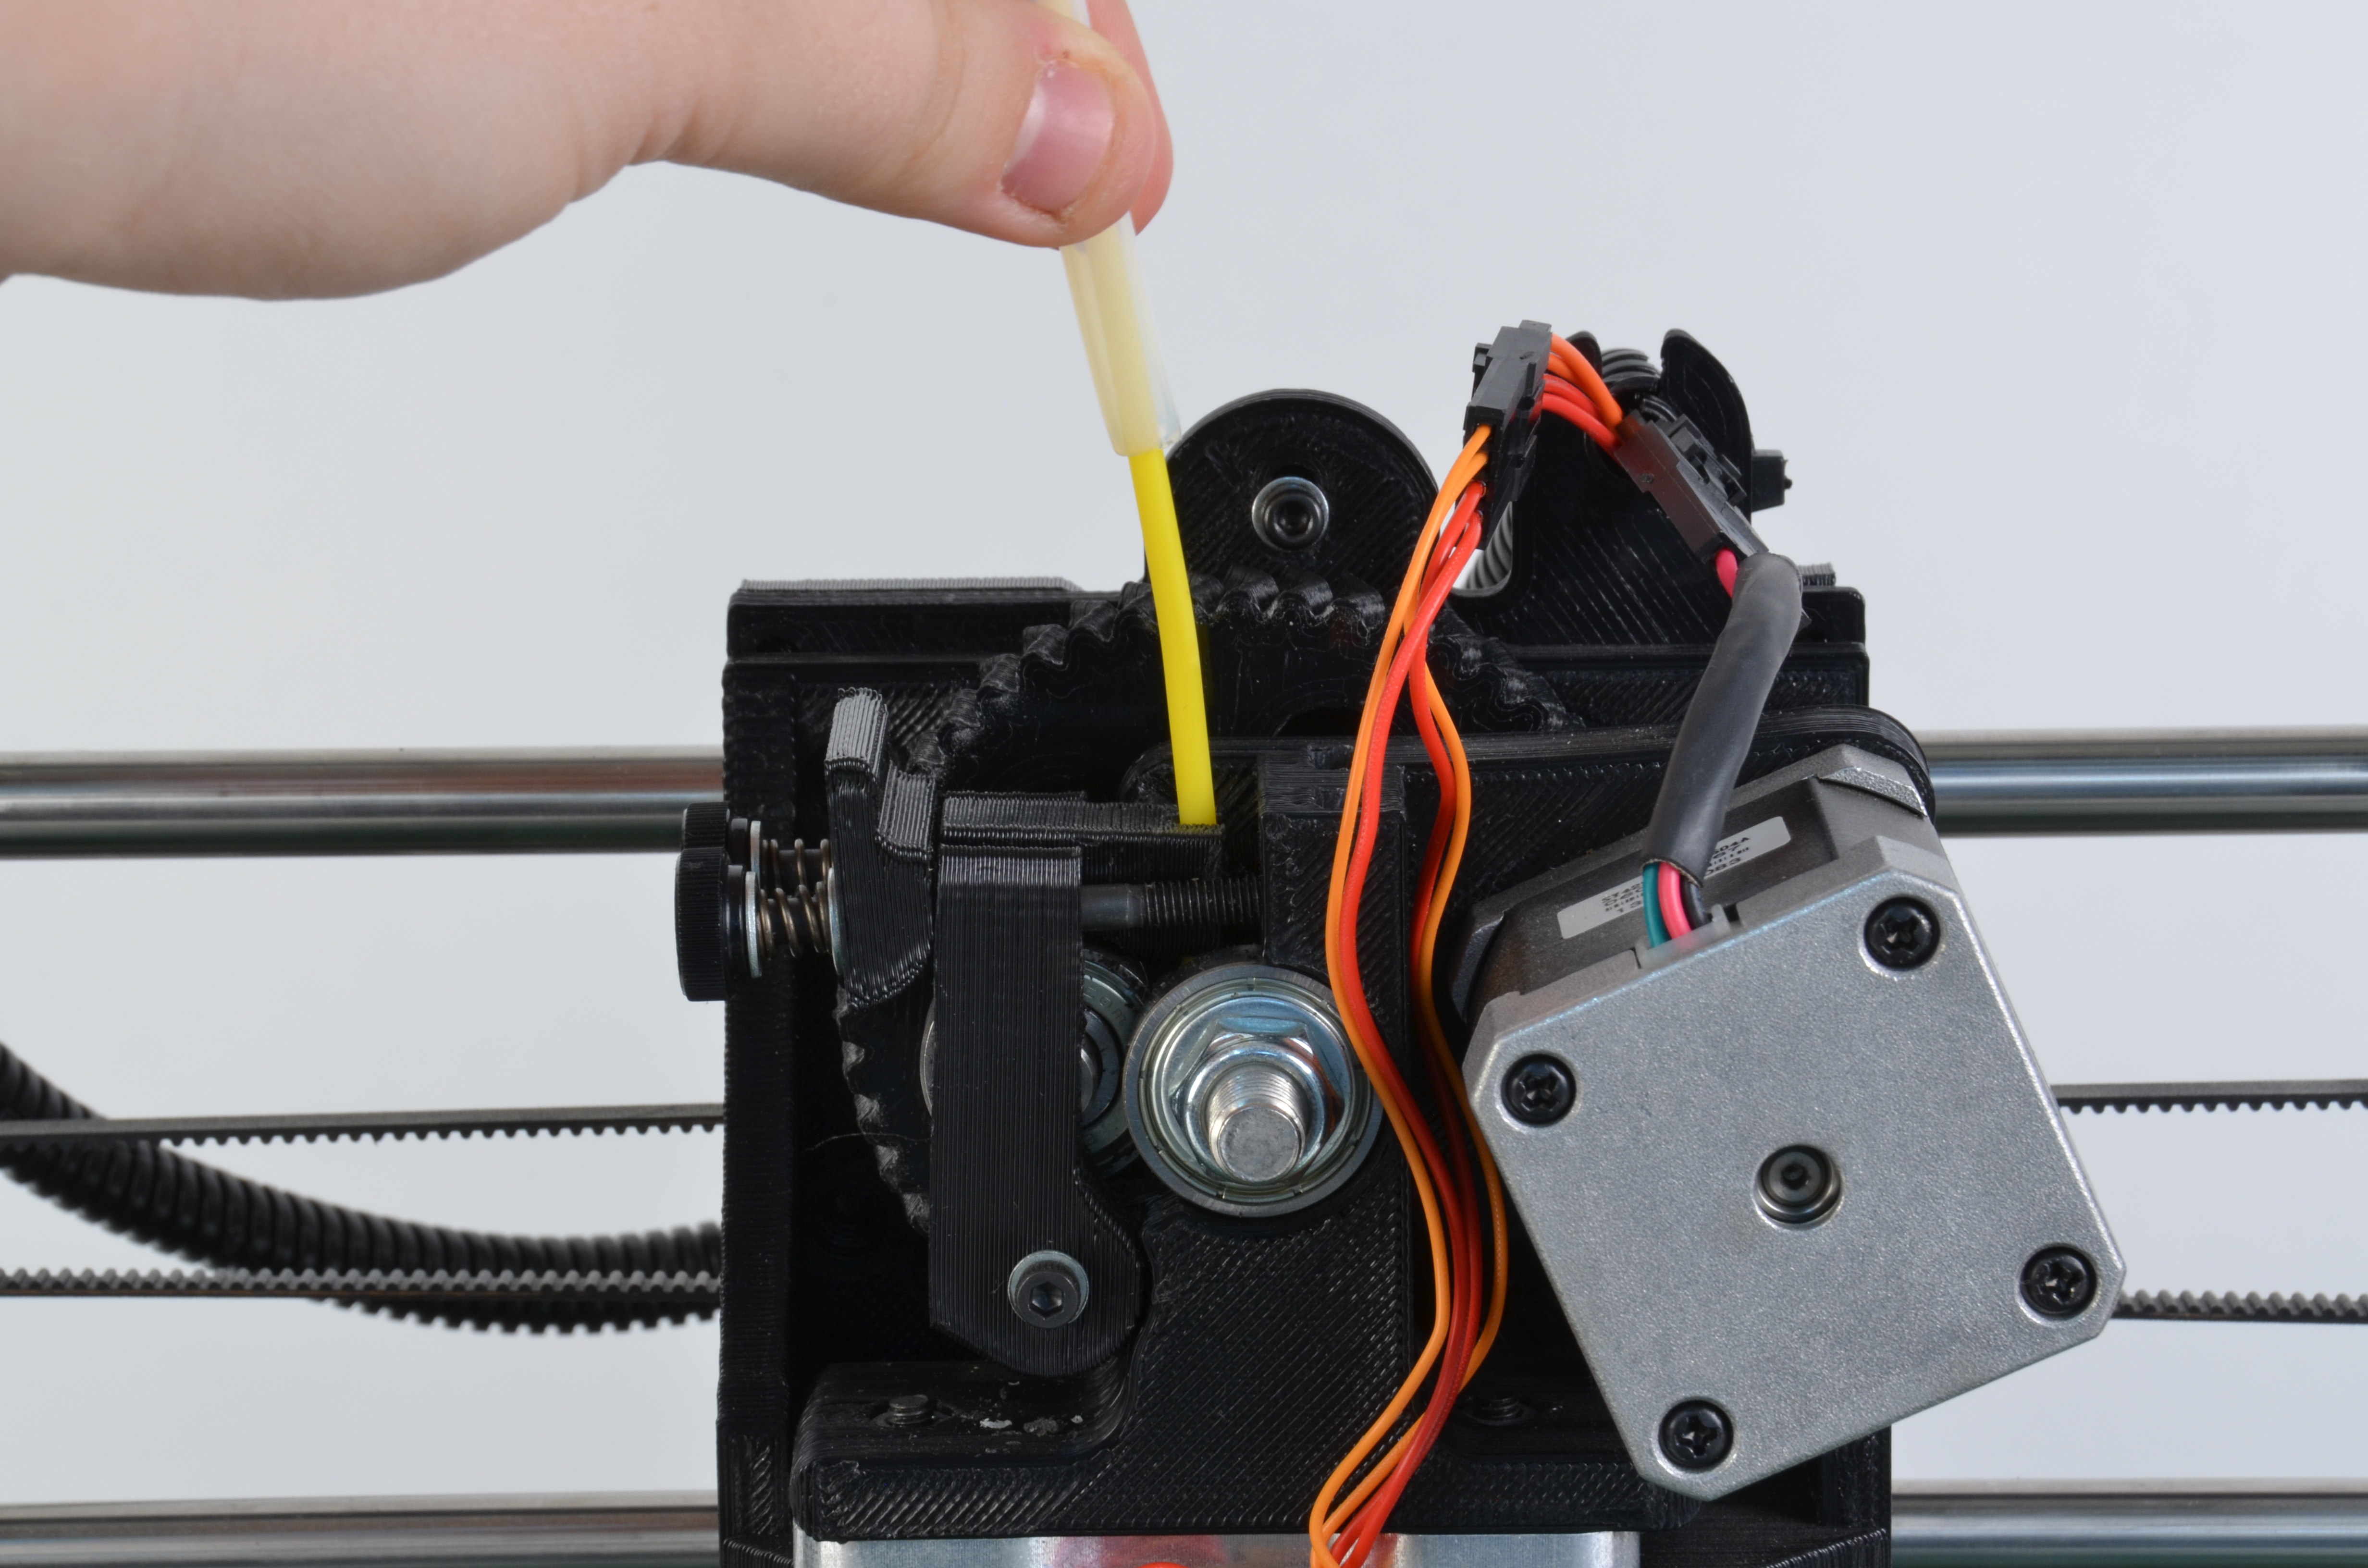
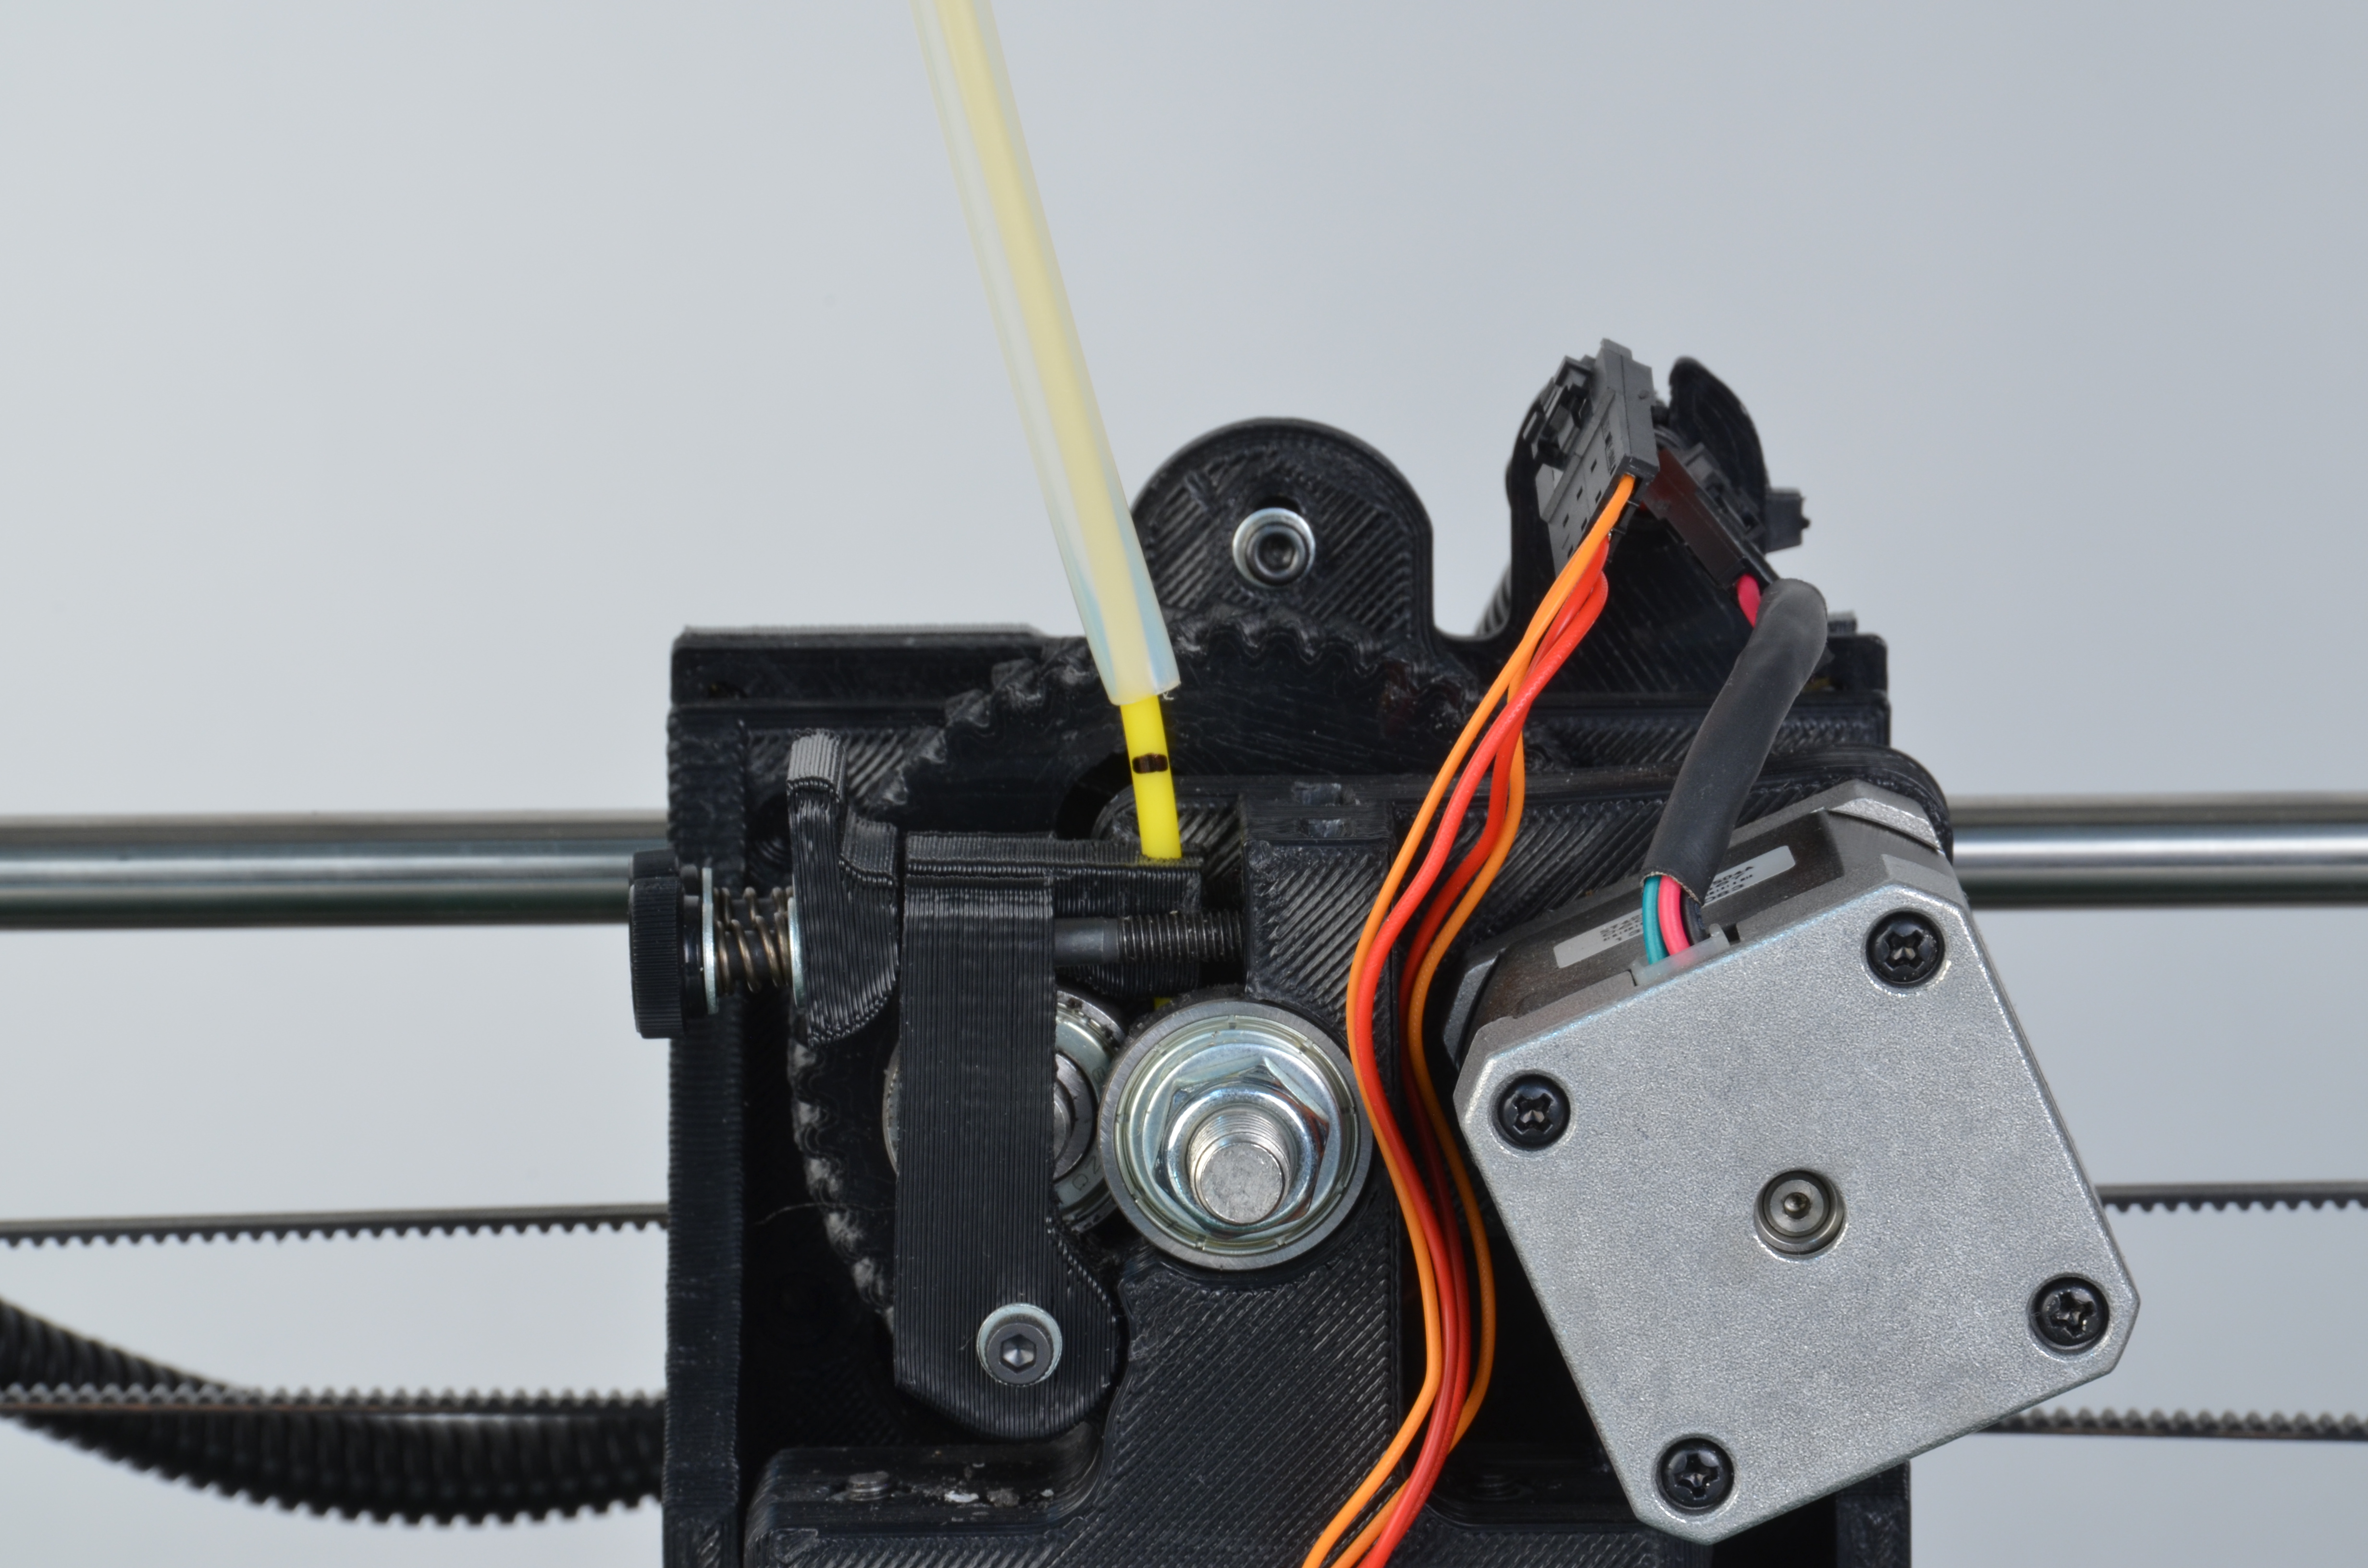
Lift the filament feed guide up to expose the filament entering the extruder.
You should be able to see approximately 150mm of filament.
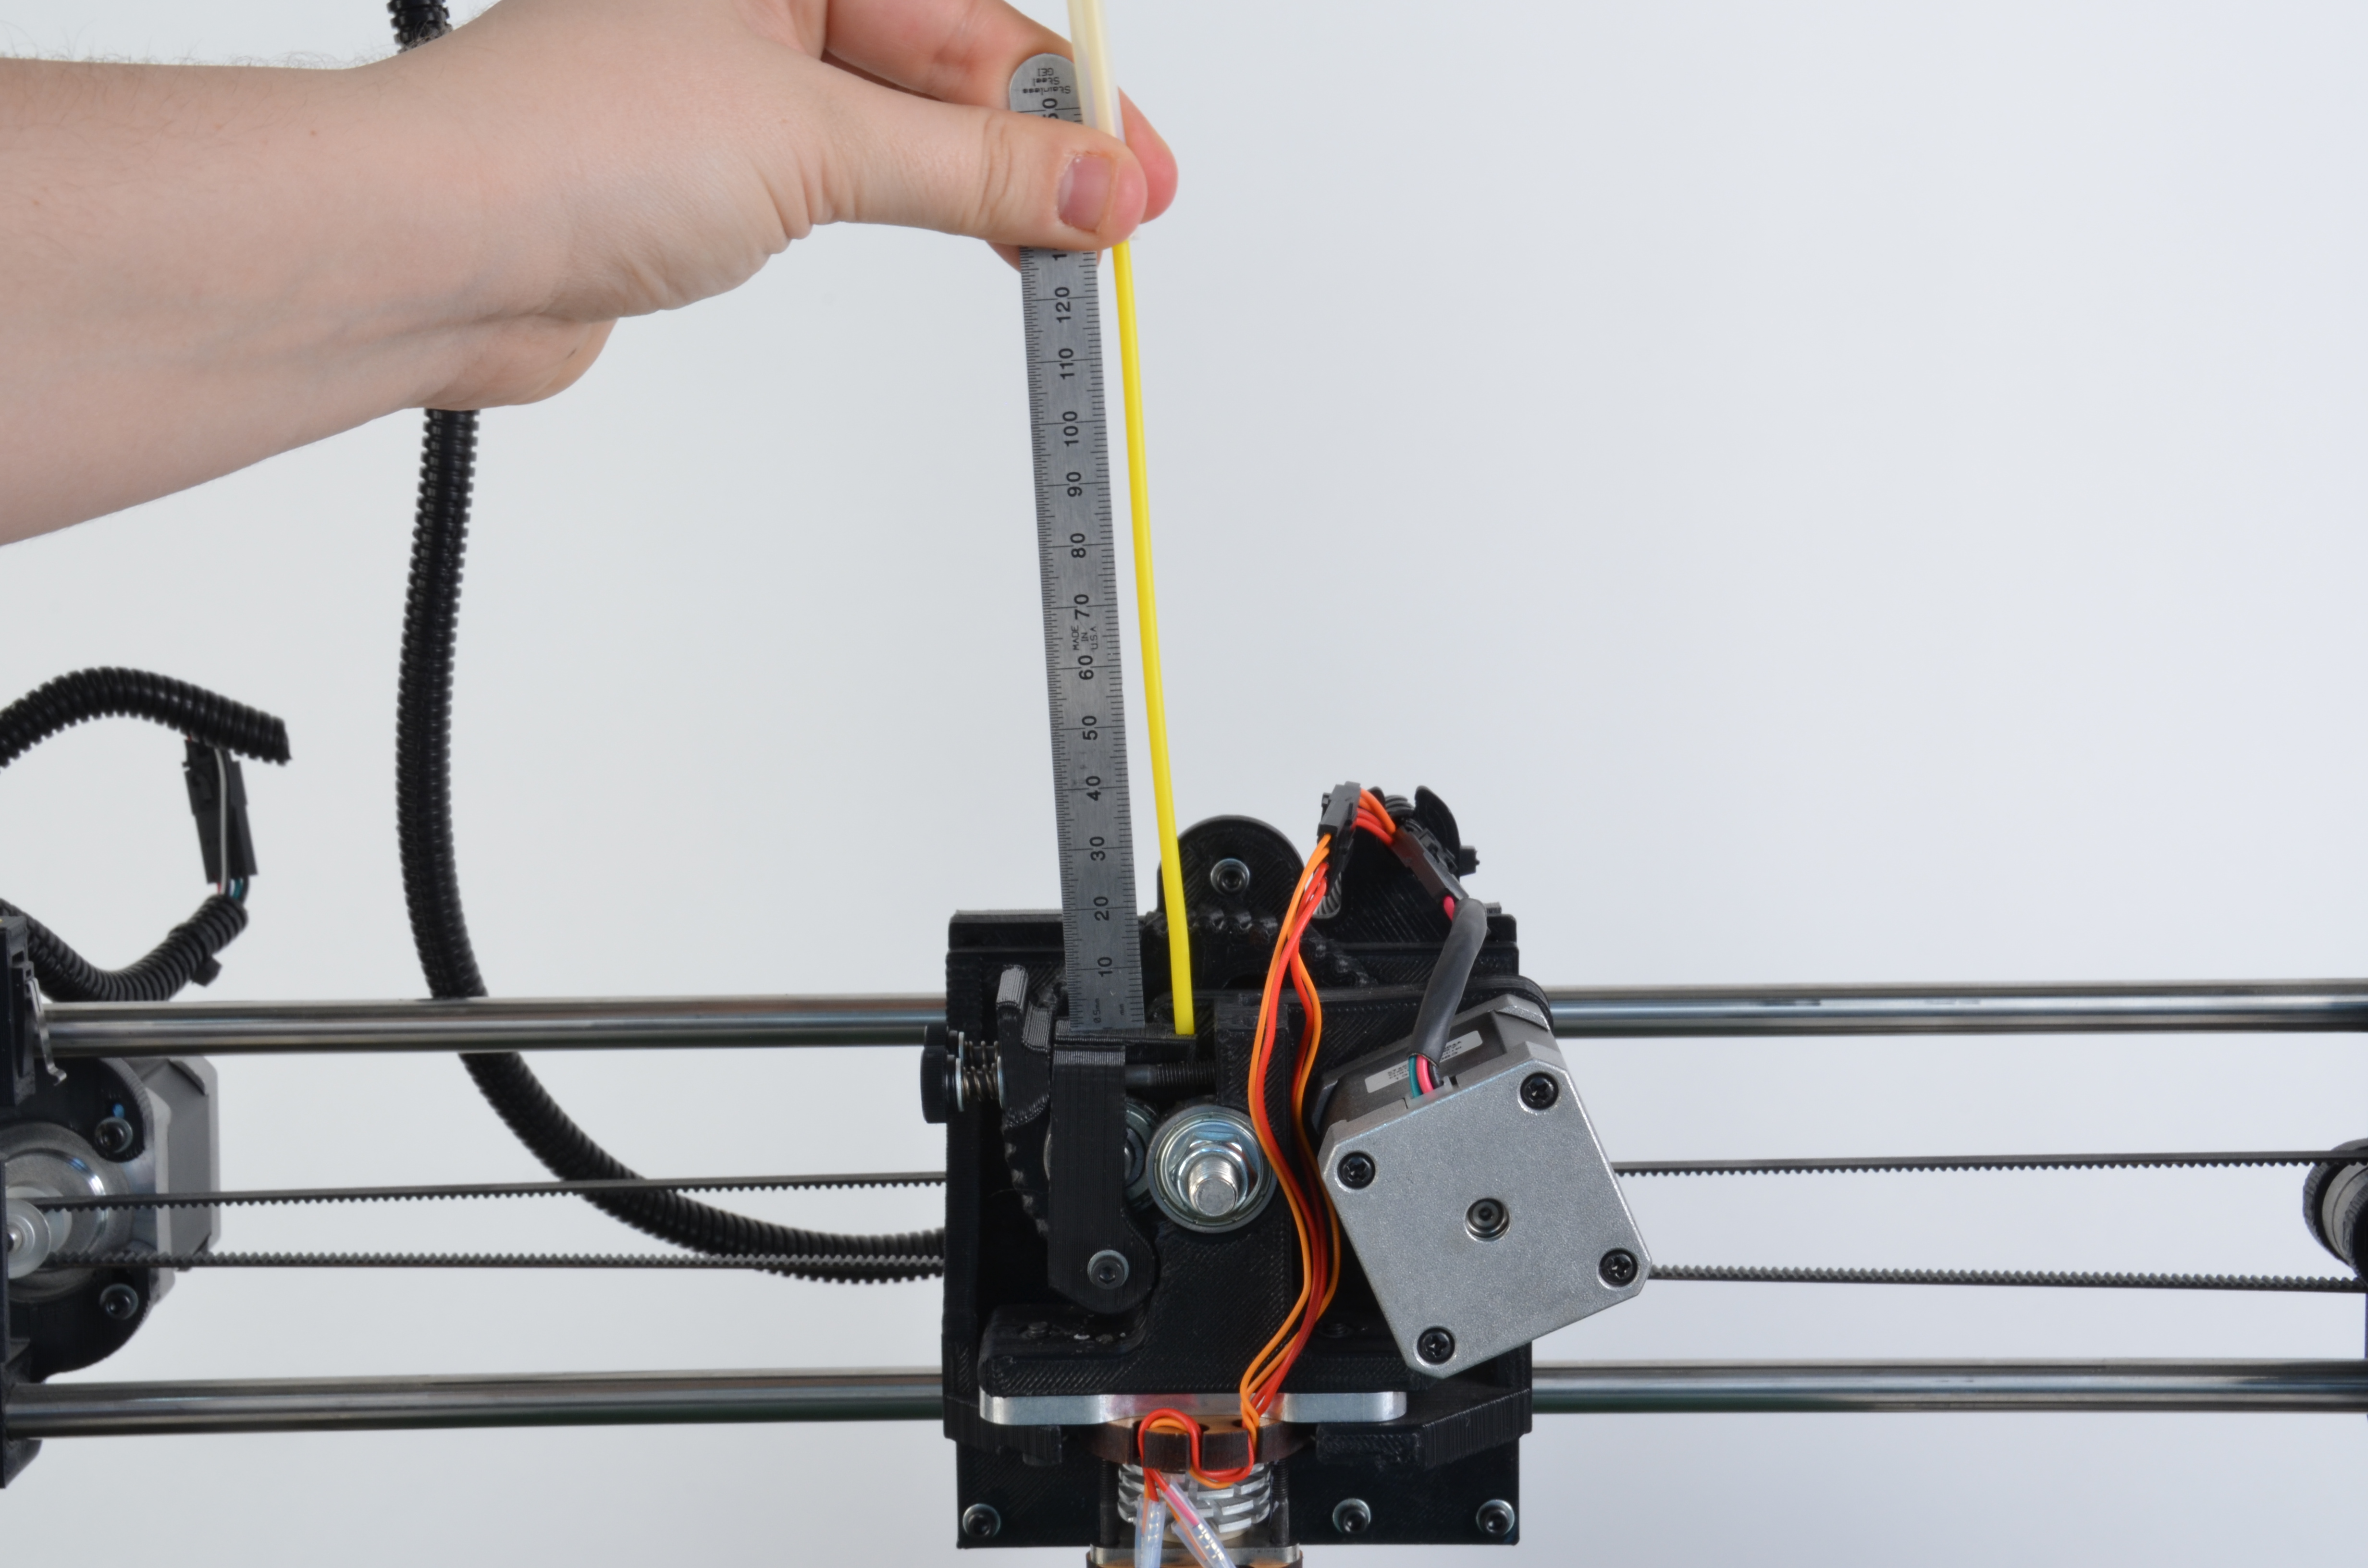
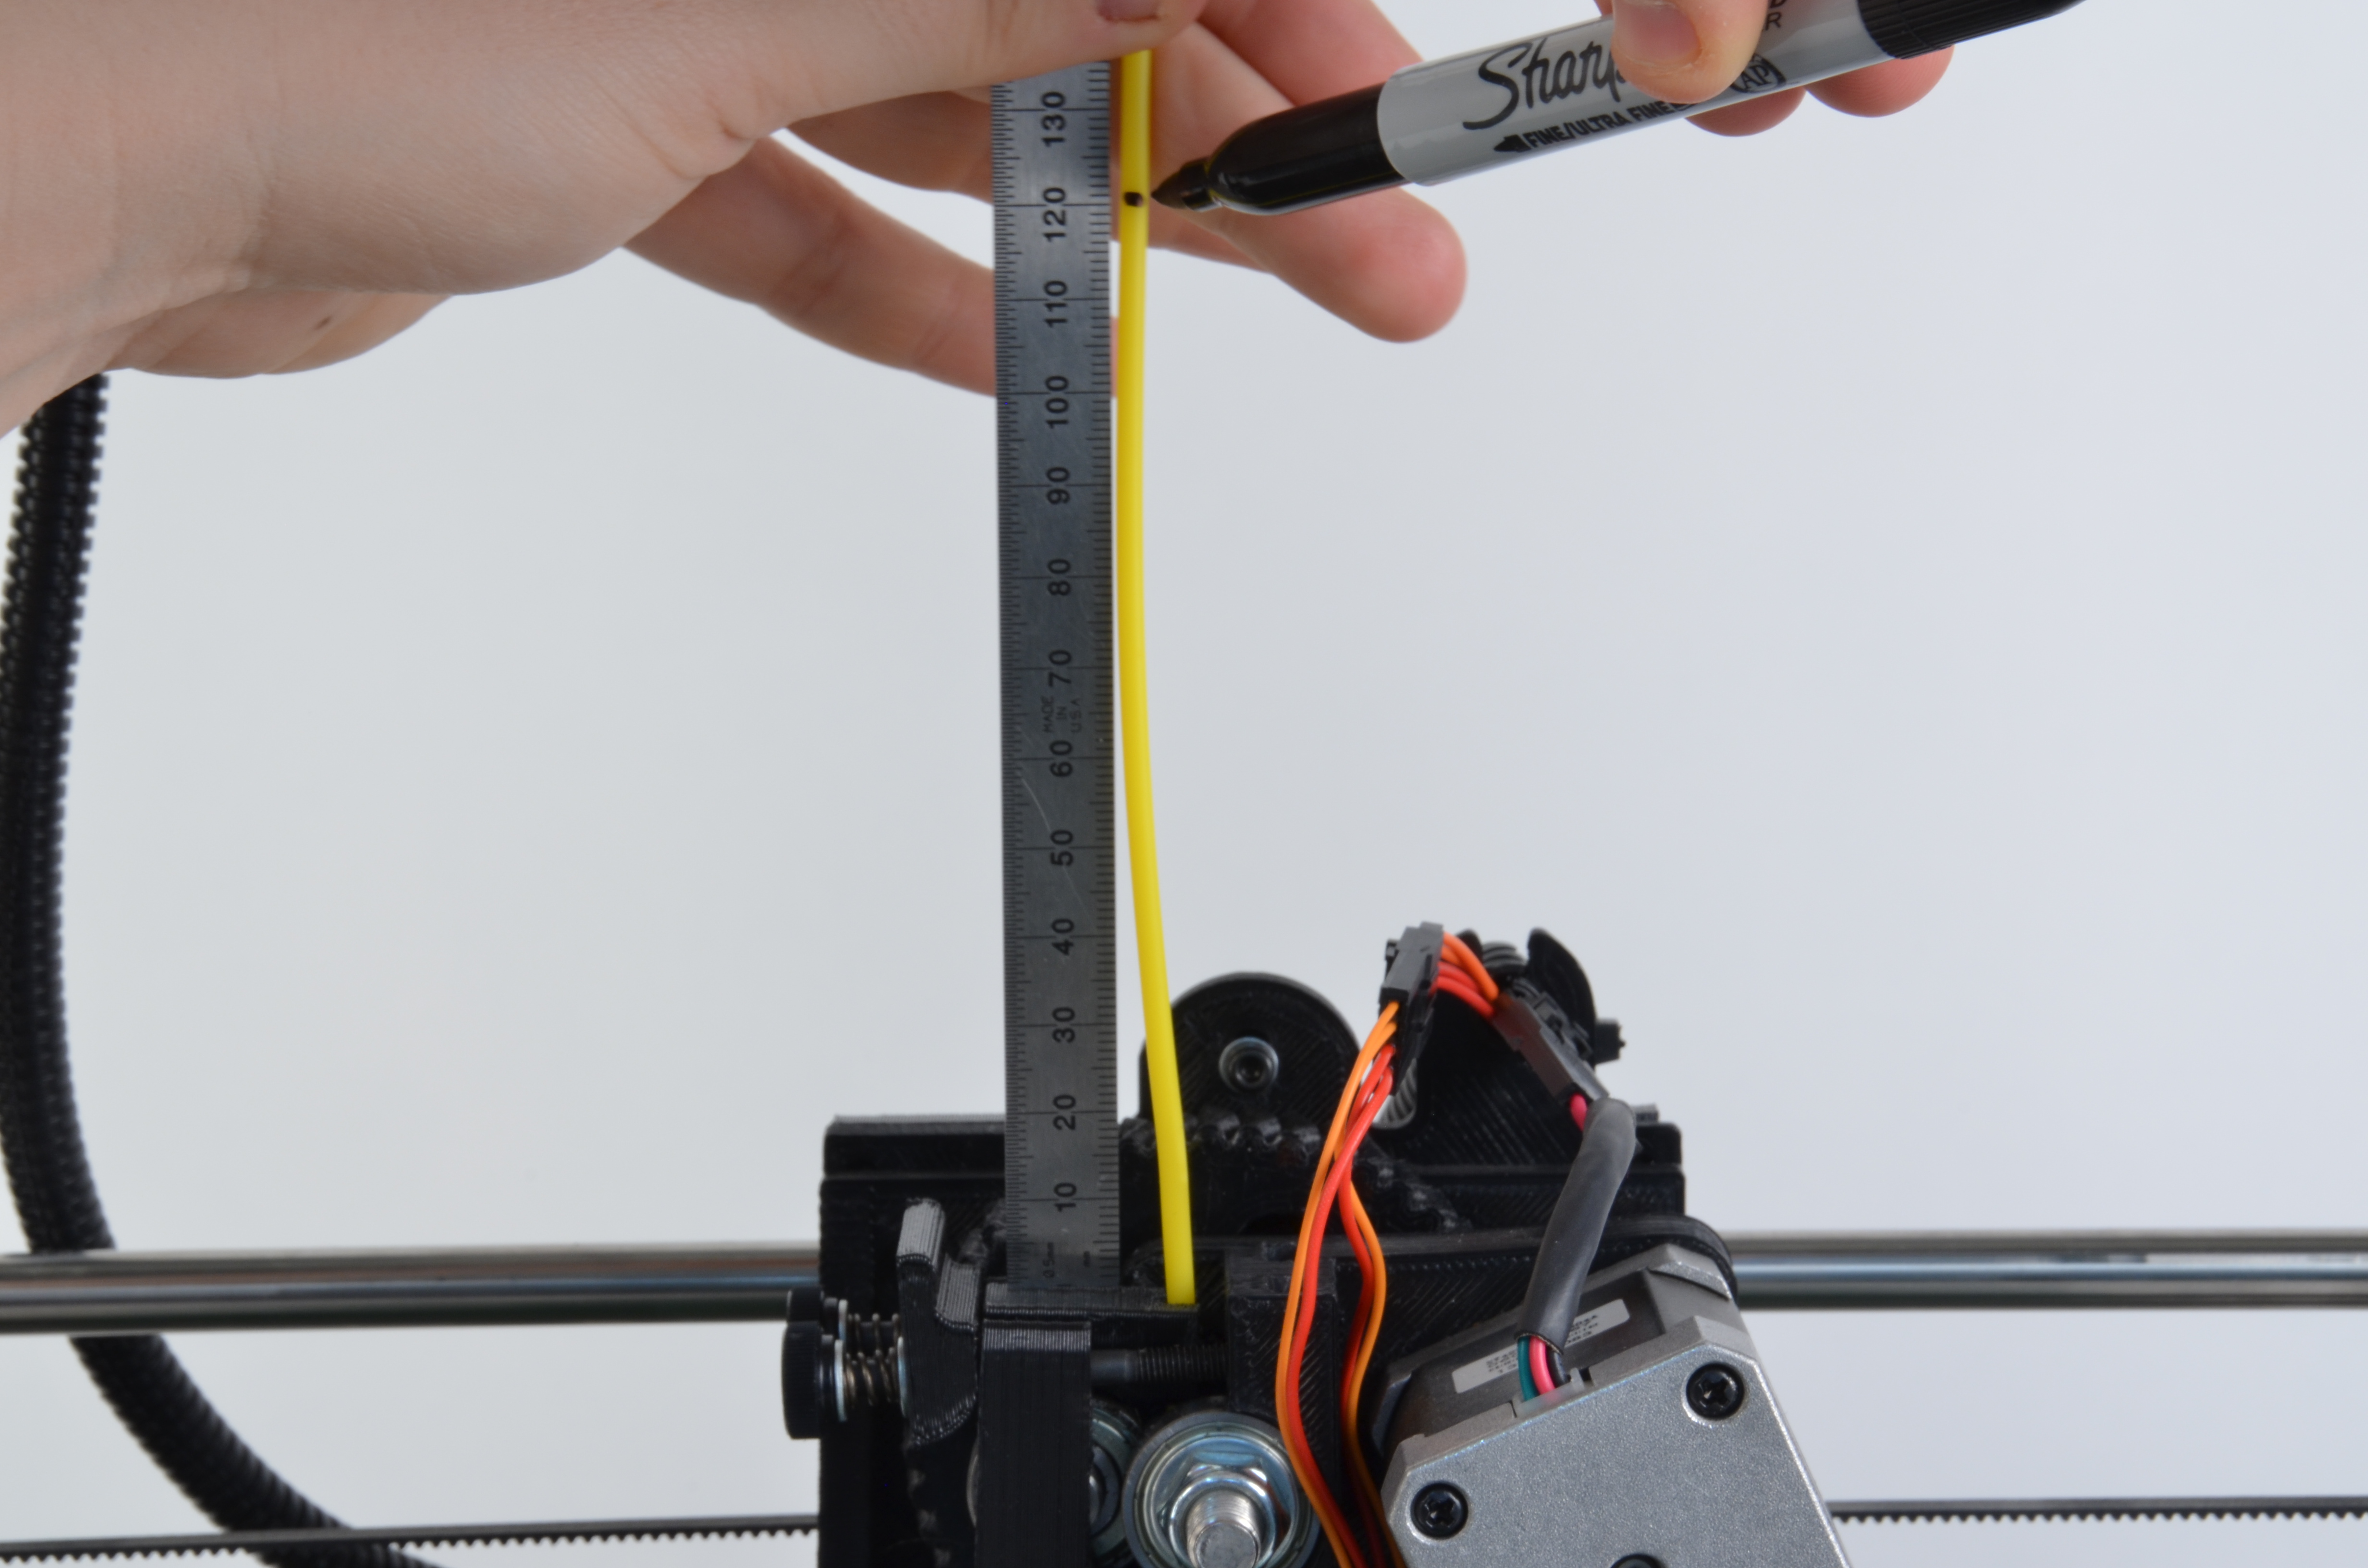
Place the ruler on the extruder body, directly against the filament.
Use the marker to mark the filament at the 120mm point.
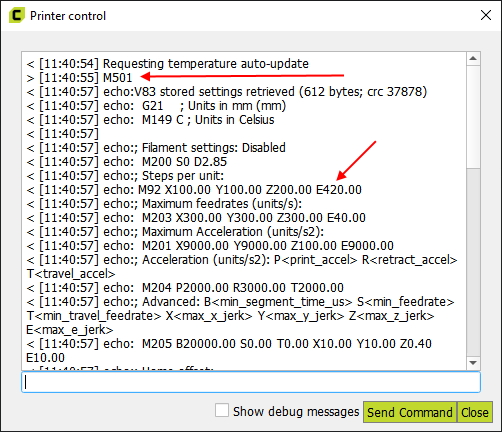
Once connected, in the lower left hand side of Pronterface, change the following:
Turn on your hot end to the appropriate extrusion temperature:
Once the filament has stopped entering the extruder body,
use the ruler to measure the height of the mark on the filament.
Measure the lenght of the filament from the top of the
extruder body to the mark on the filament.
Subtract the measured height of the filament, from the initial
measured height of 120mm. That will give us the length of filament
that entered the hot end.
If the mark is 25mm above the extruder body, then the filament traveled 95mm.
If the mark on the filament is 20mm above the extruder body when measured
with the same method, then the filament traveled 100mm.
If that's the case, then your extruder steps per unit are already calibrated.
If that's not the case, then we need to do a little math.
Multiply your current extruder steps per unit (for example) 800 by the
desired extrusion length. In this example,
100mm, so 800(esteps) x 100mm = 80000.
Now divide that number (80,000) by the filament movement length noted above (95mm) to get the new steps per unit, in this example: 80,000/95=842.1
Note this number.
If your TAZ 3D printer does not have an LCD controller or you prefer to use a different method, skit this step and continue to the next step.
Once happy with the results, you're done!

If the following steps do not work skip this step and proceed to the next step.
You can perform this calibration as many times as desired, until you are happy with the results. Once dialed in, you're done!
If the previous two methods did not work, you'll need to reflash your TAZ 3D printer firmware. Instructions on doing so can be found on LulzBot.com