Open HardwareAssembly Instructions
Guides for installation and assembly of the LulzBot line of products made by FAME 3D LLC.
Guides for installation and assembly of the LulzBot line of products made by FAME 3D LLC.
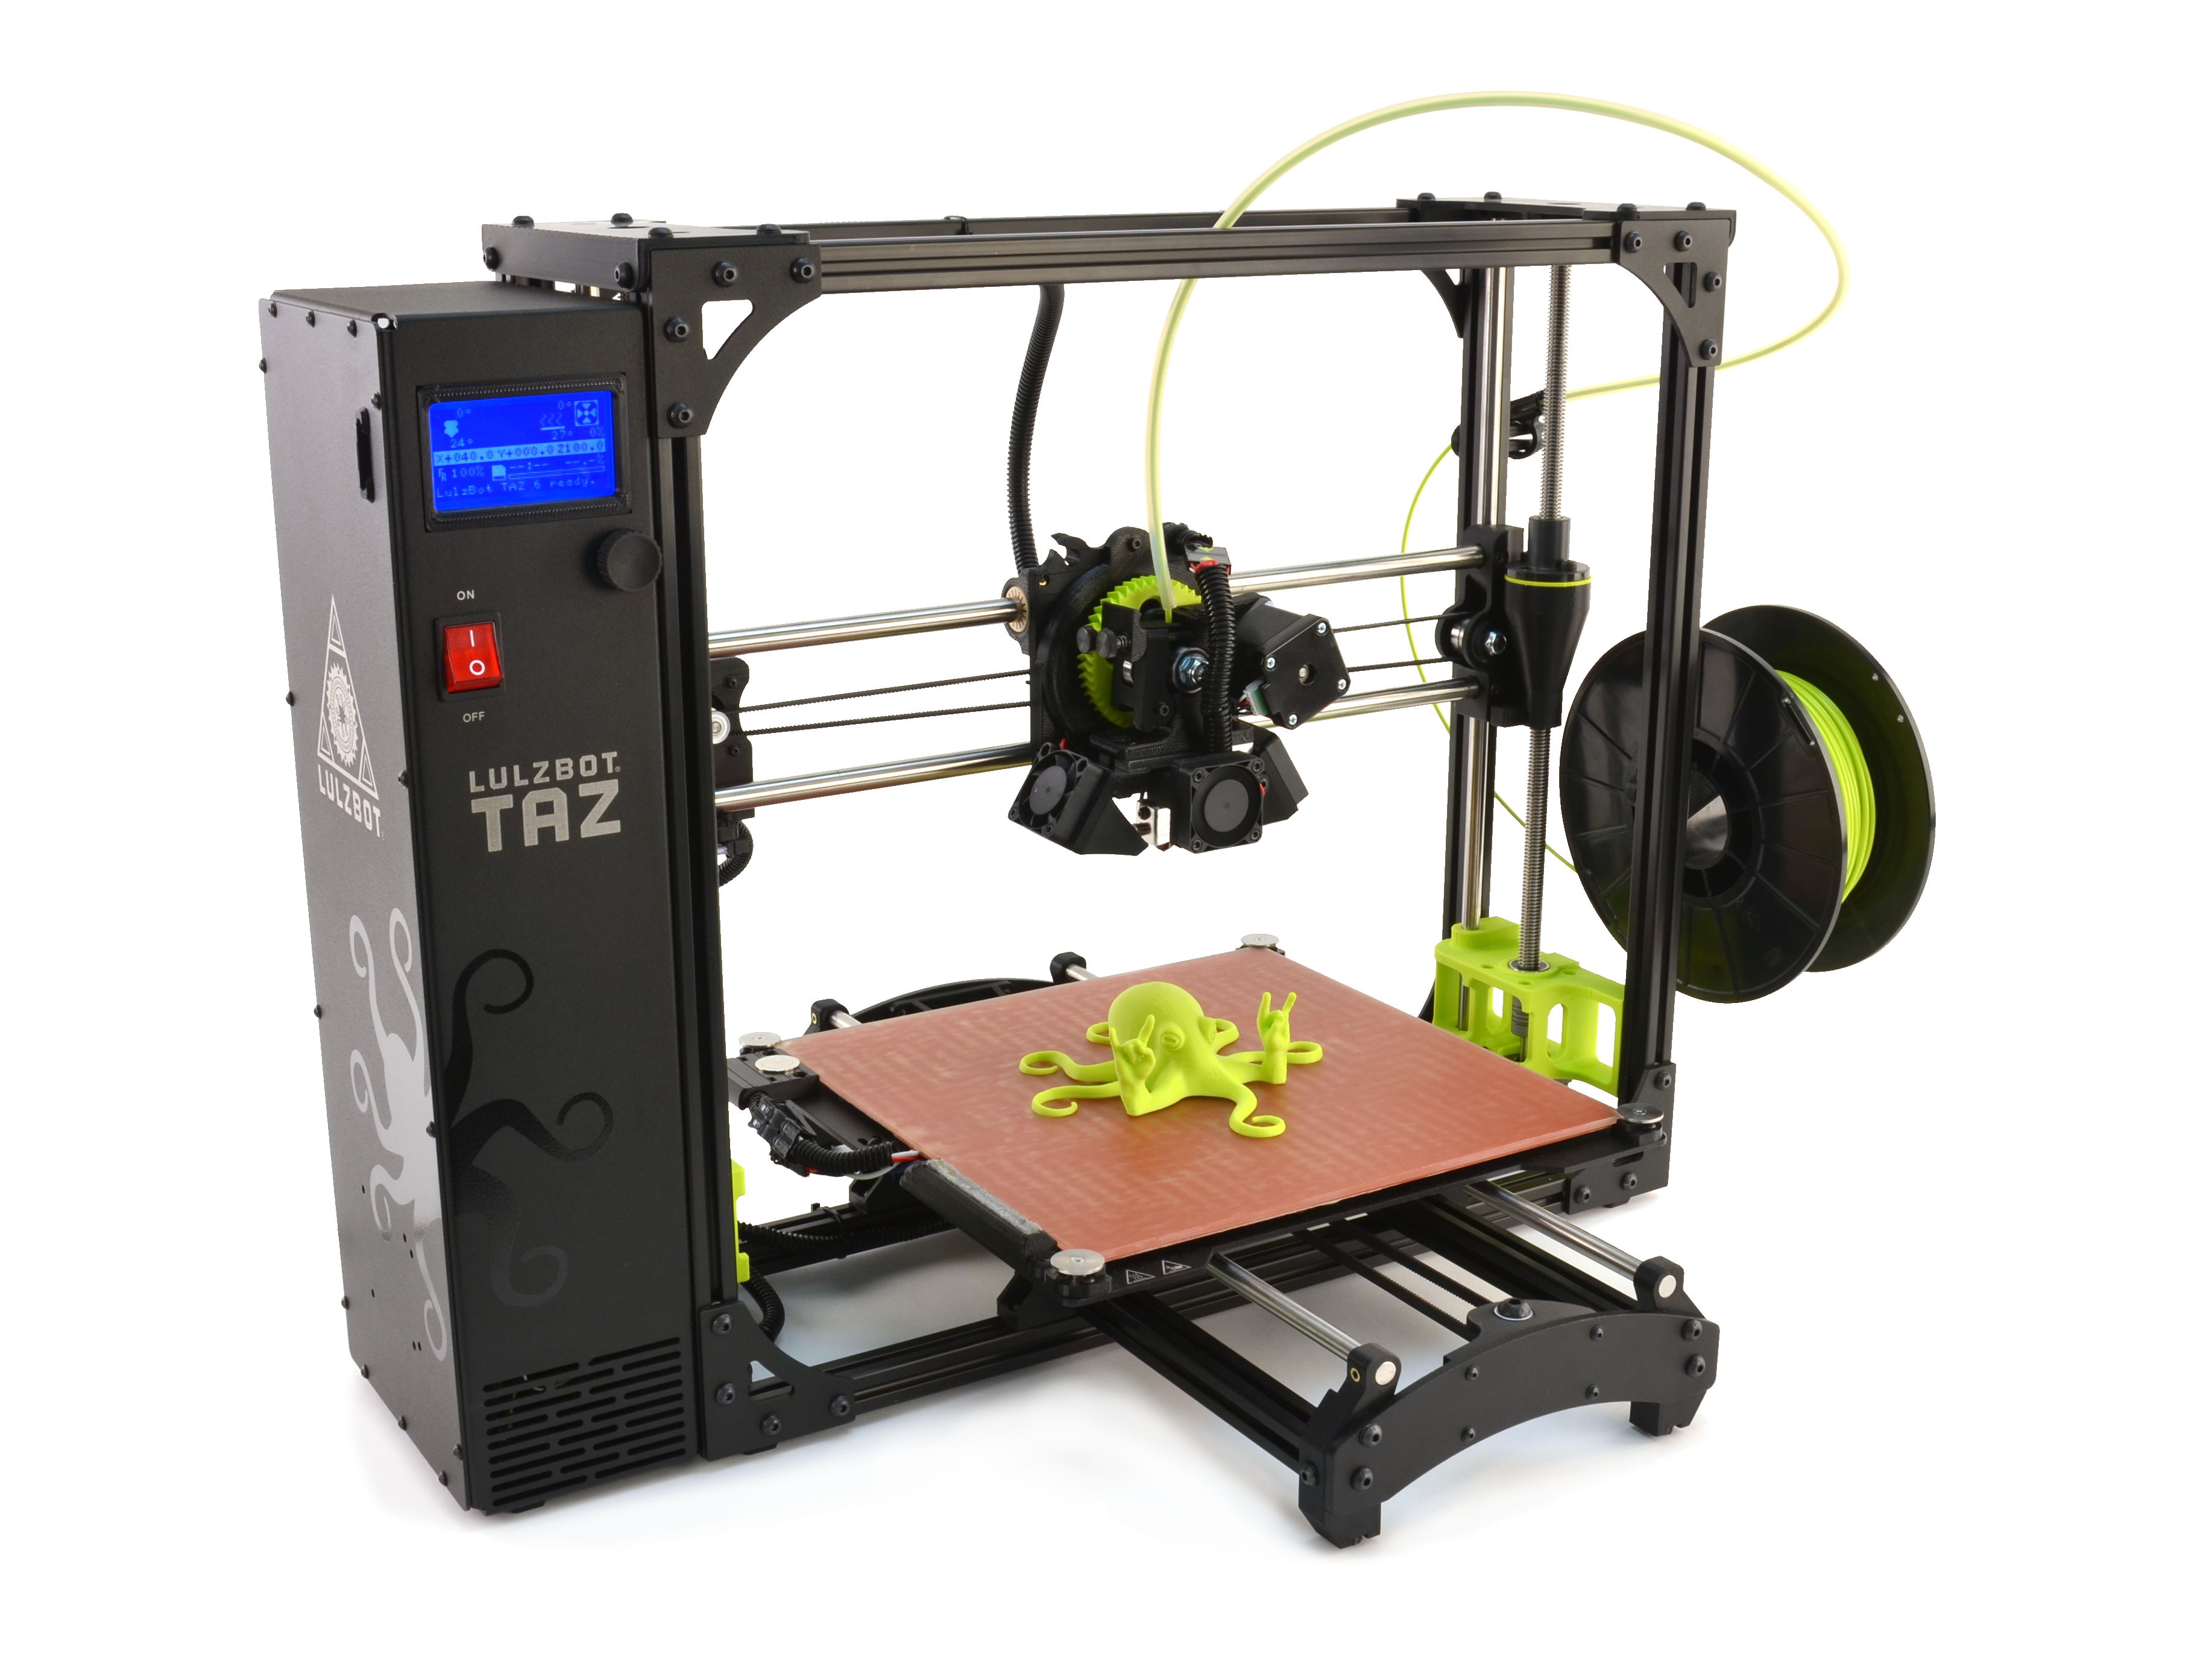
The LulzBot TAZ Single Extruder Tool Head v2.1 can be quickly and easily removed and installed on the LulzBot TAZ 6 3D printer. Follow the instructions below!
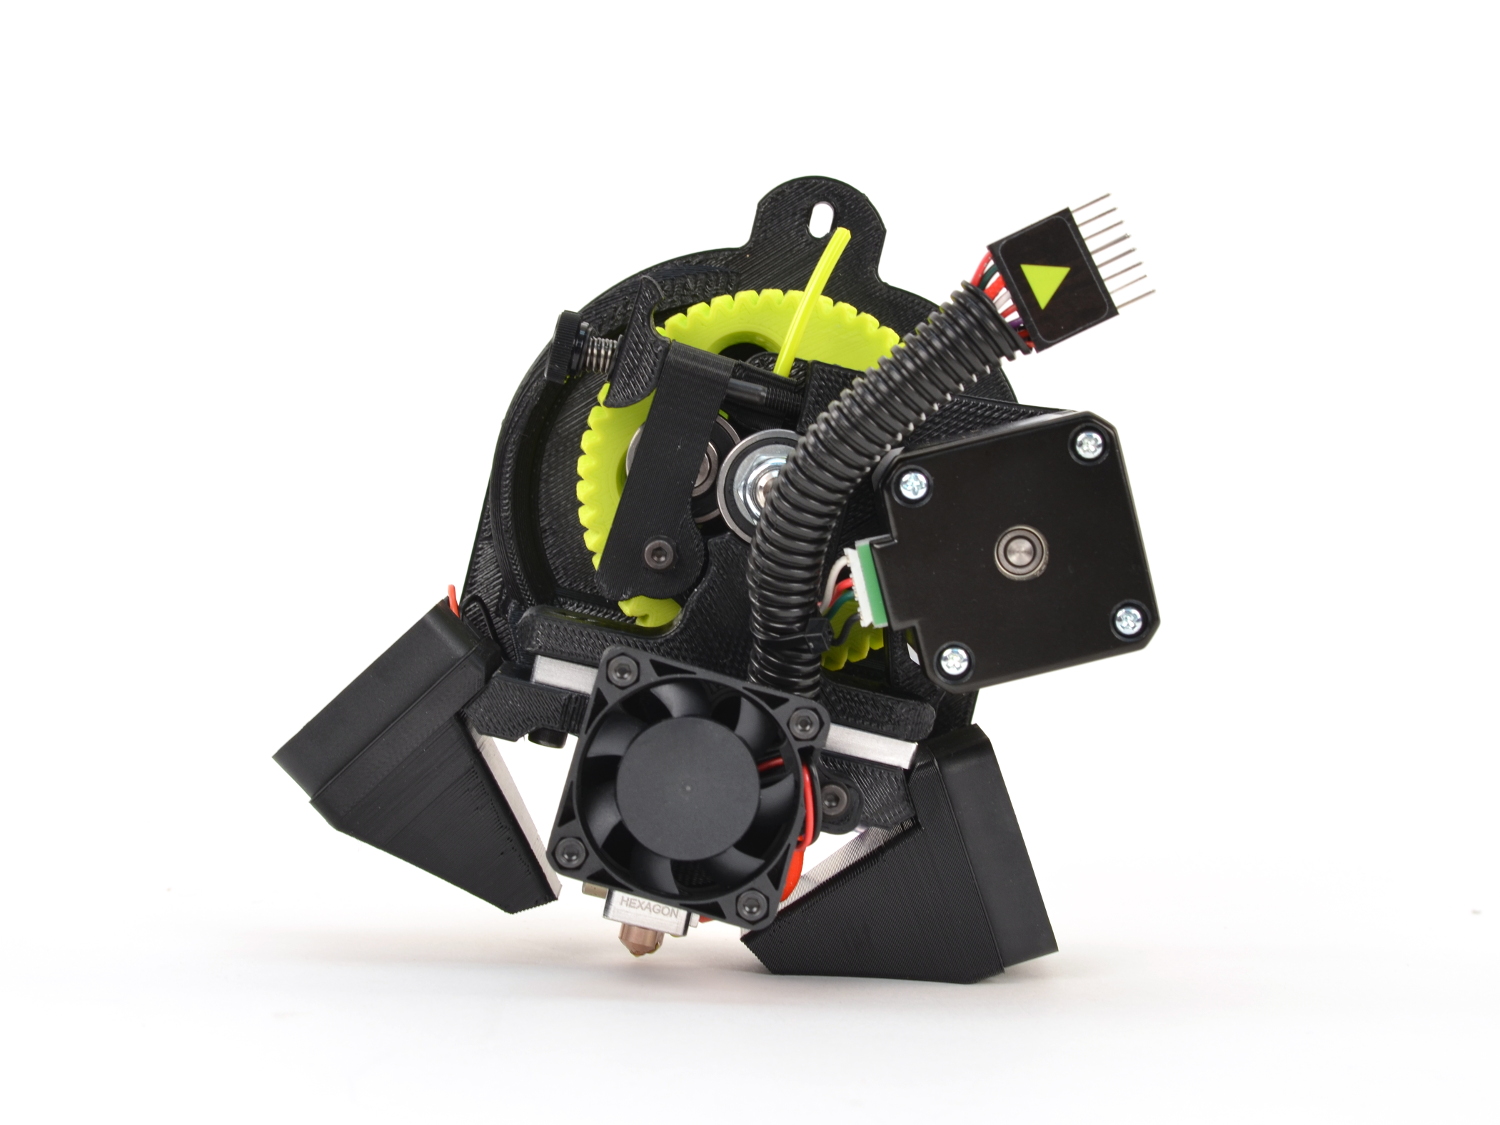
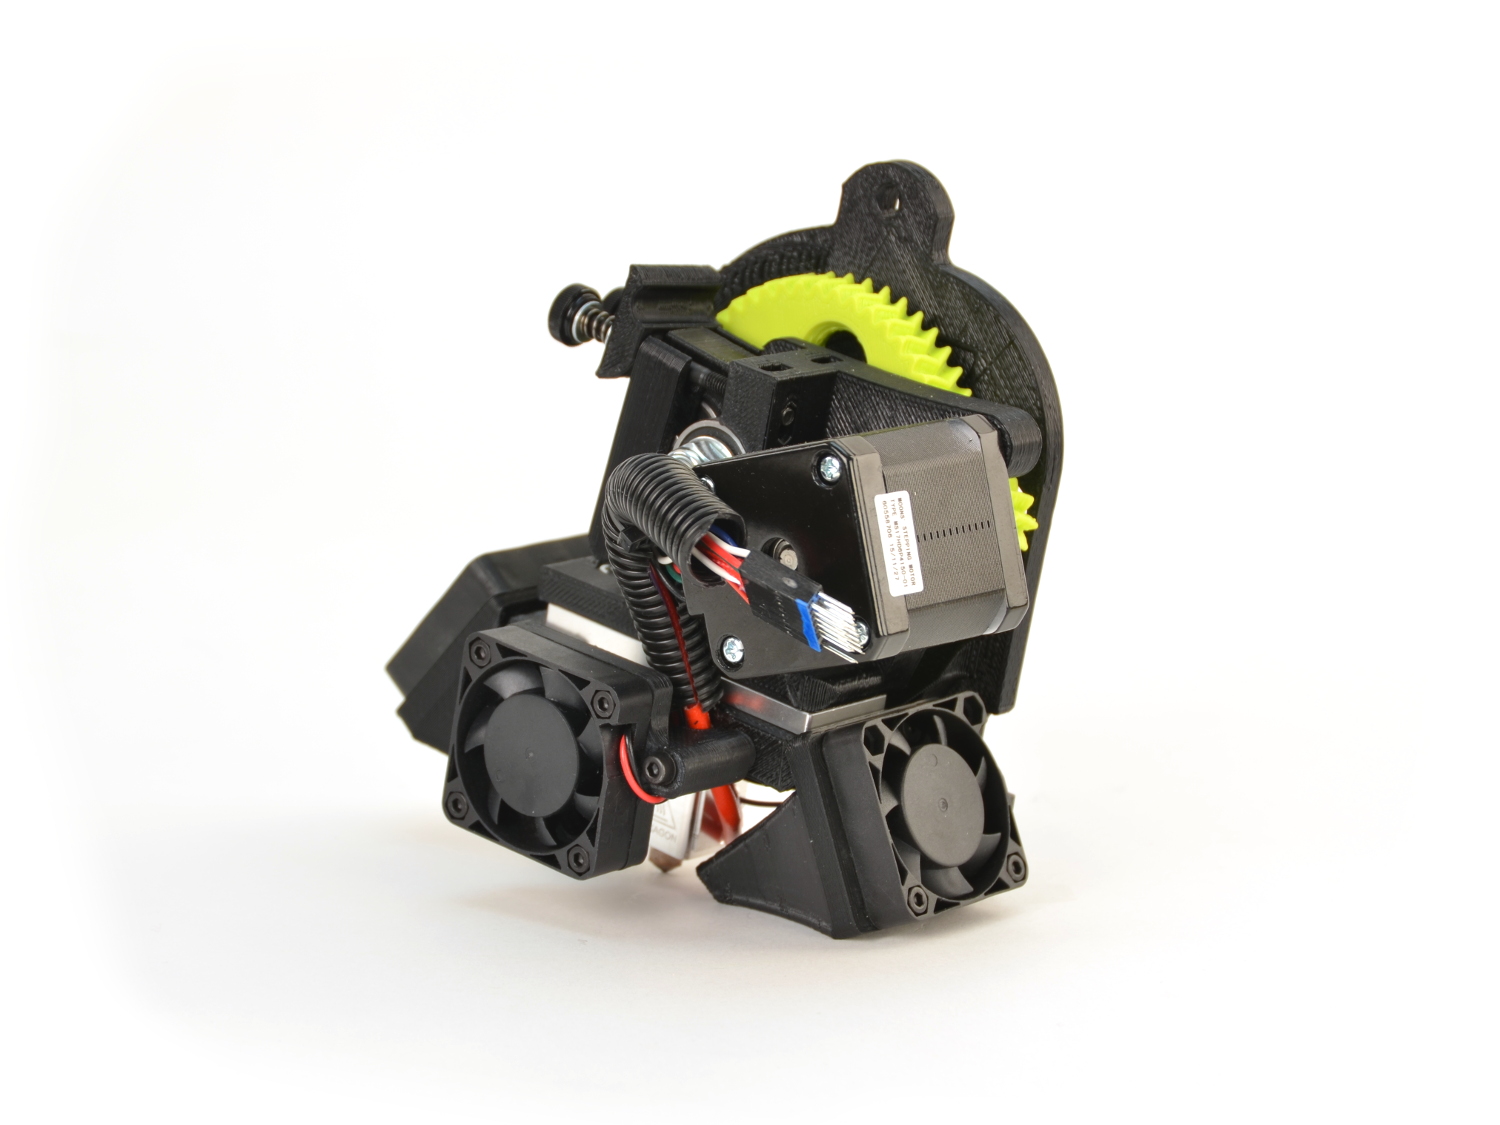
LulzBot TAZ Single Extruder Tool Head v2.1
You will also need

4A
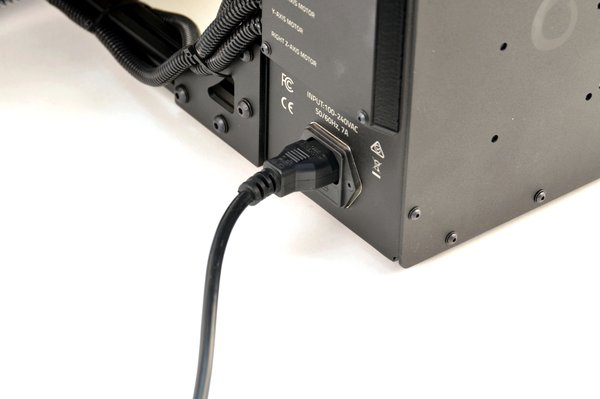
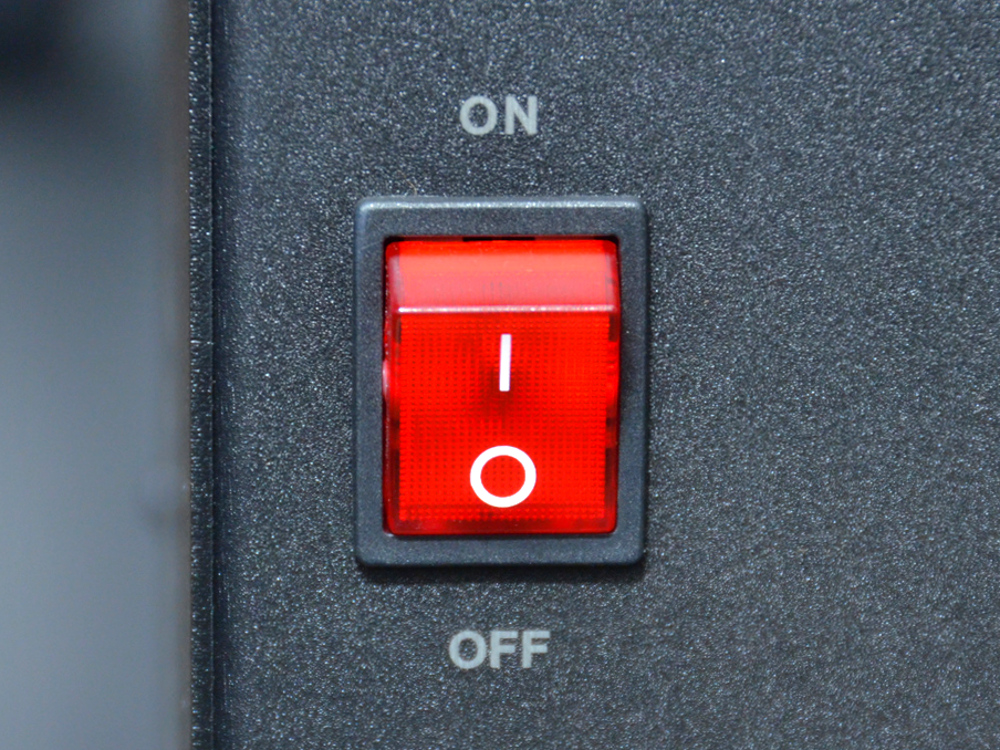
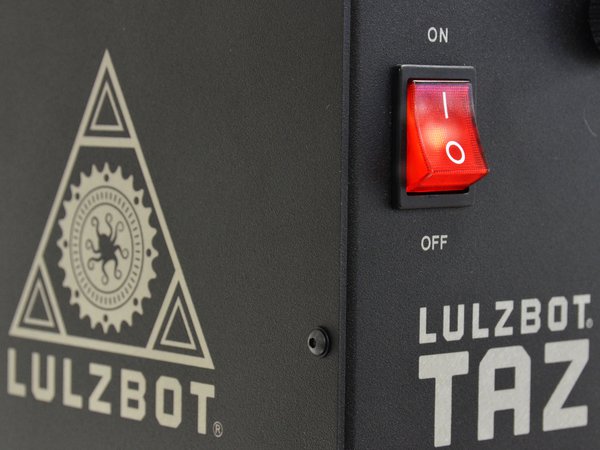
With your TAZ 3D printer plugged into an AC power outlet, power on your TAZ 3D printer.
4B
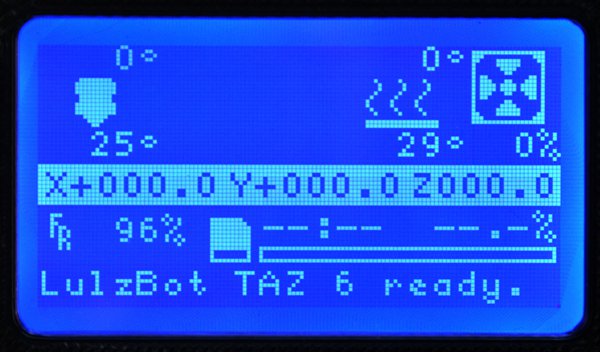
Home the Z-axis with the Graphical LCD controller (GLCD). Press in the knob and select: Movement > Auto home.
4C
Using the GLCD, select: Movement > Move axis > Move 10mm > Move Z.
4D
Rotate the knob to raise the Z-axis to 240mm.
4E
Using the GLCD, select: Movement > Move axis > Move 1mm > Move Z.
4F
Rotate the knob to raise the Z-axis to 245mm.

5A
Once the Z-axis has finished moving to the shipping position turn the printer off.
5B
Unplug the AC power cable from the wall outlet, then unplug from the rear of the printer.
5C
Unplug the USB cable (if installed)
5D
Coil the AC power cable and the USB cord and place inside the Accessory box
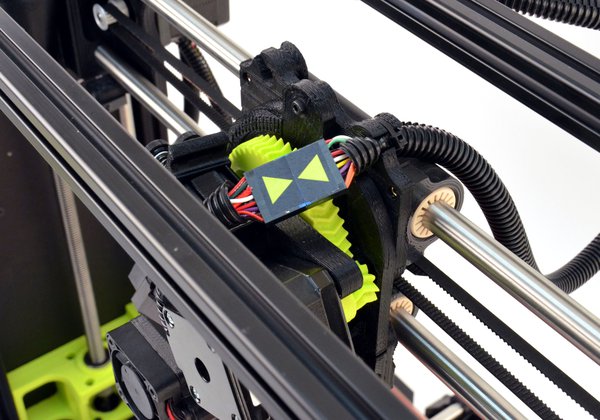
Unplug the tool head from the tool head harness, taking care to avoid bending or damaging any of the connector pins
7A
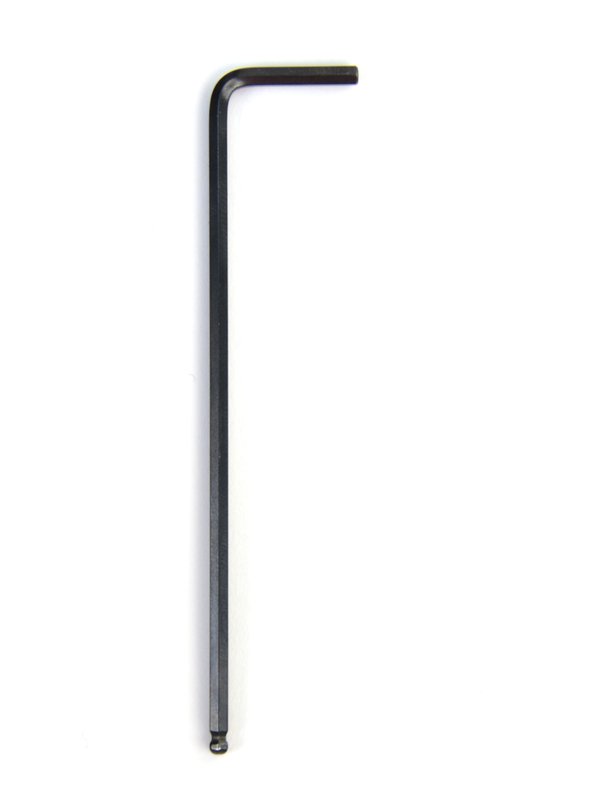
Locate the tool kit and remove the 2.5 mm wrench.
7B
Note: Support the tool head with your hand to prevent it from
falling onto the print surface.
7C
Unscrew the tool head mounting screw by turning counter-clockwise from the X-axis carriage
with the included 2.5 mm wrench.


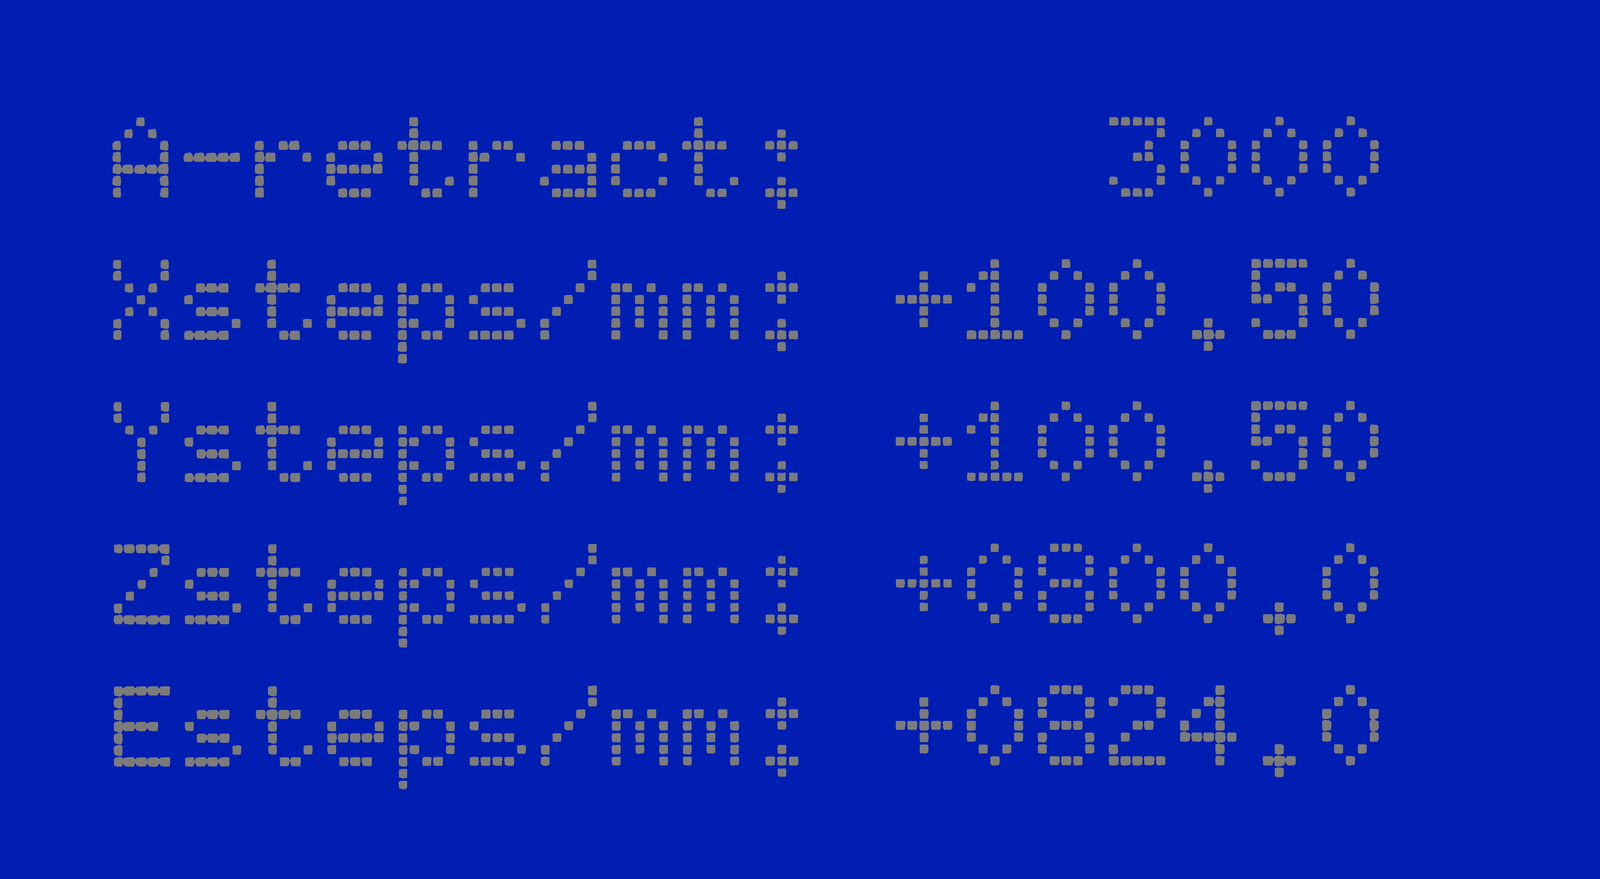
Note: RECORD your new tool head esteps! This value is found on a sticker on the rear of the tool head.
8A
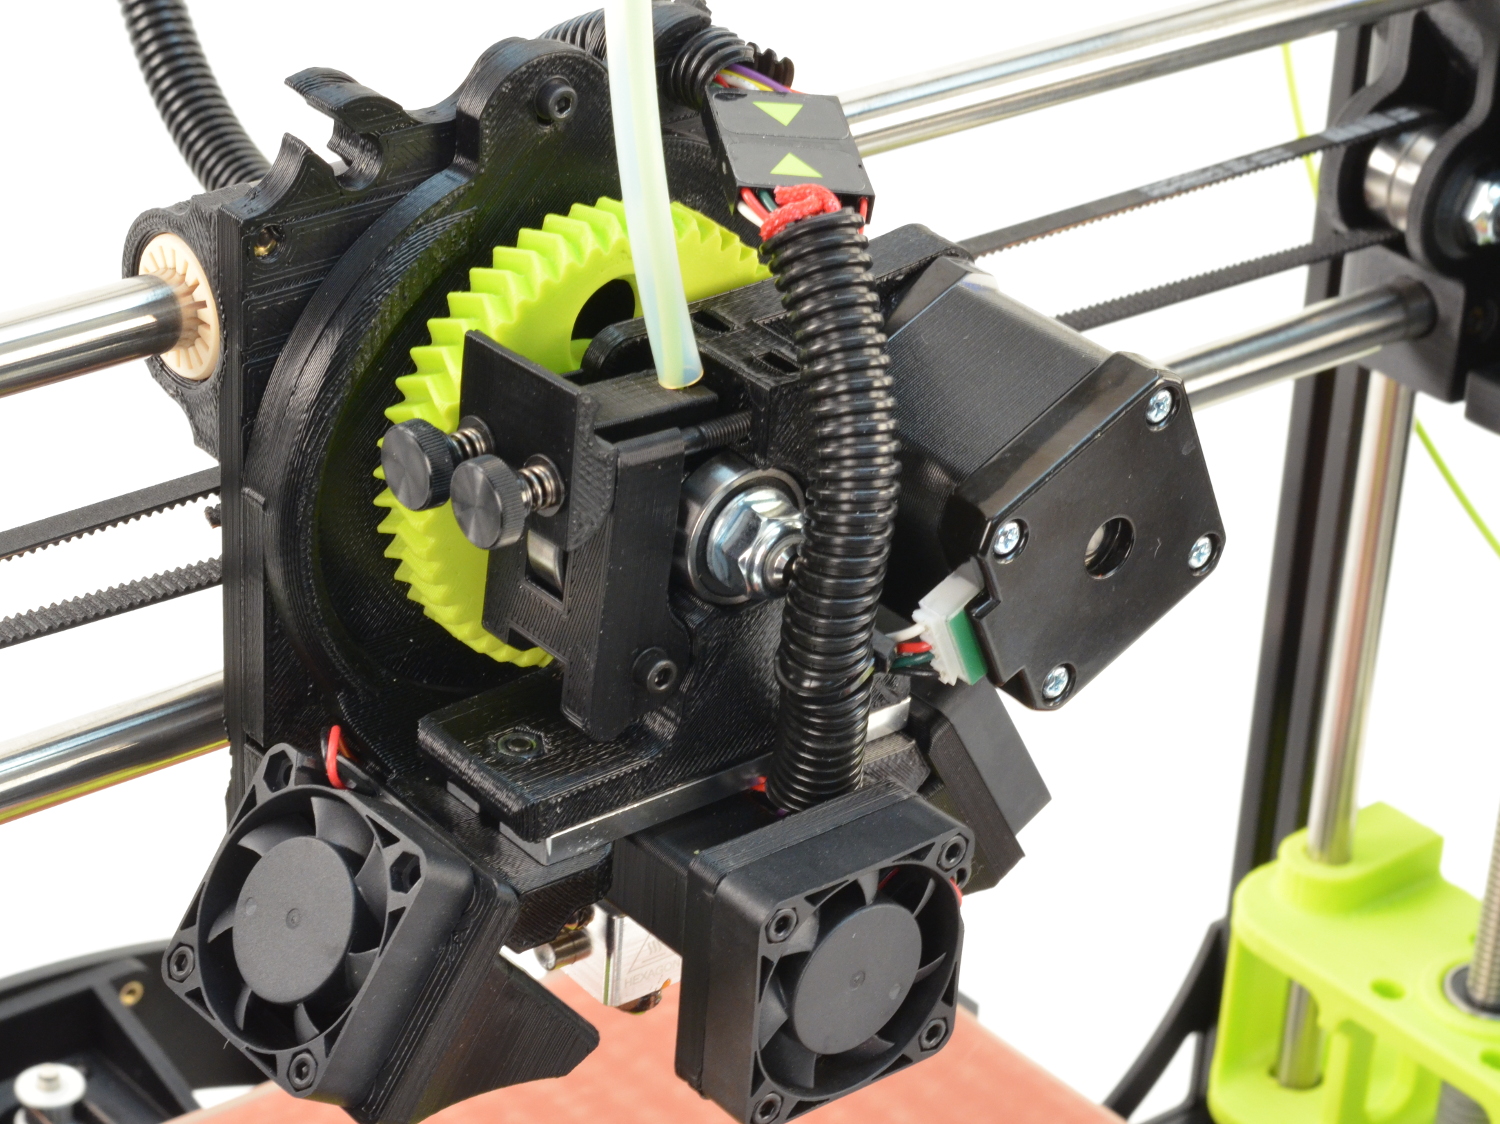
Seat the new tool head into the X-axis carriage, allowing the tool head to self-center.
8B
Note: Support the tool head with your hand to prevent it from falling onto the print surface.
8C
Secure the tool head to the X-axis carriage with the M3 screw from the earlier step, screwing it in with the included 2.5 mm wrench.

Connect together the tool head to the tool head harness, taking care to avoid bending or damaging any of the connector pins.
With your TAZ 3D printer plugged into an AC power outlet, power on your TAZ 3D printer.
11A
Update your extruder steps per unit (E steps) through your Graphical LCD controller.
11B
Navigate to:
Configuration > Advanced Settings > Scroll down and select Esteps/mm.
11C
Use the control knob on the Graphical LCD controller to adjust the value.
11D
Adjust the Esteps/mm value.
11E
Once set, back out of the menu entries until you can select Store Memory.
11F
Select Store Memory to save the adjusted Extruder Esteps/mm.
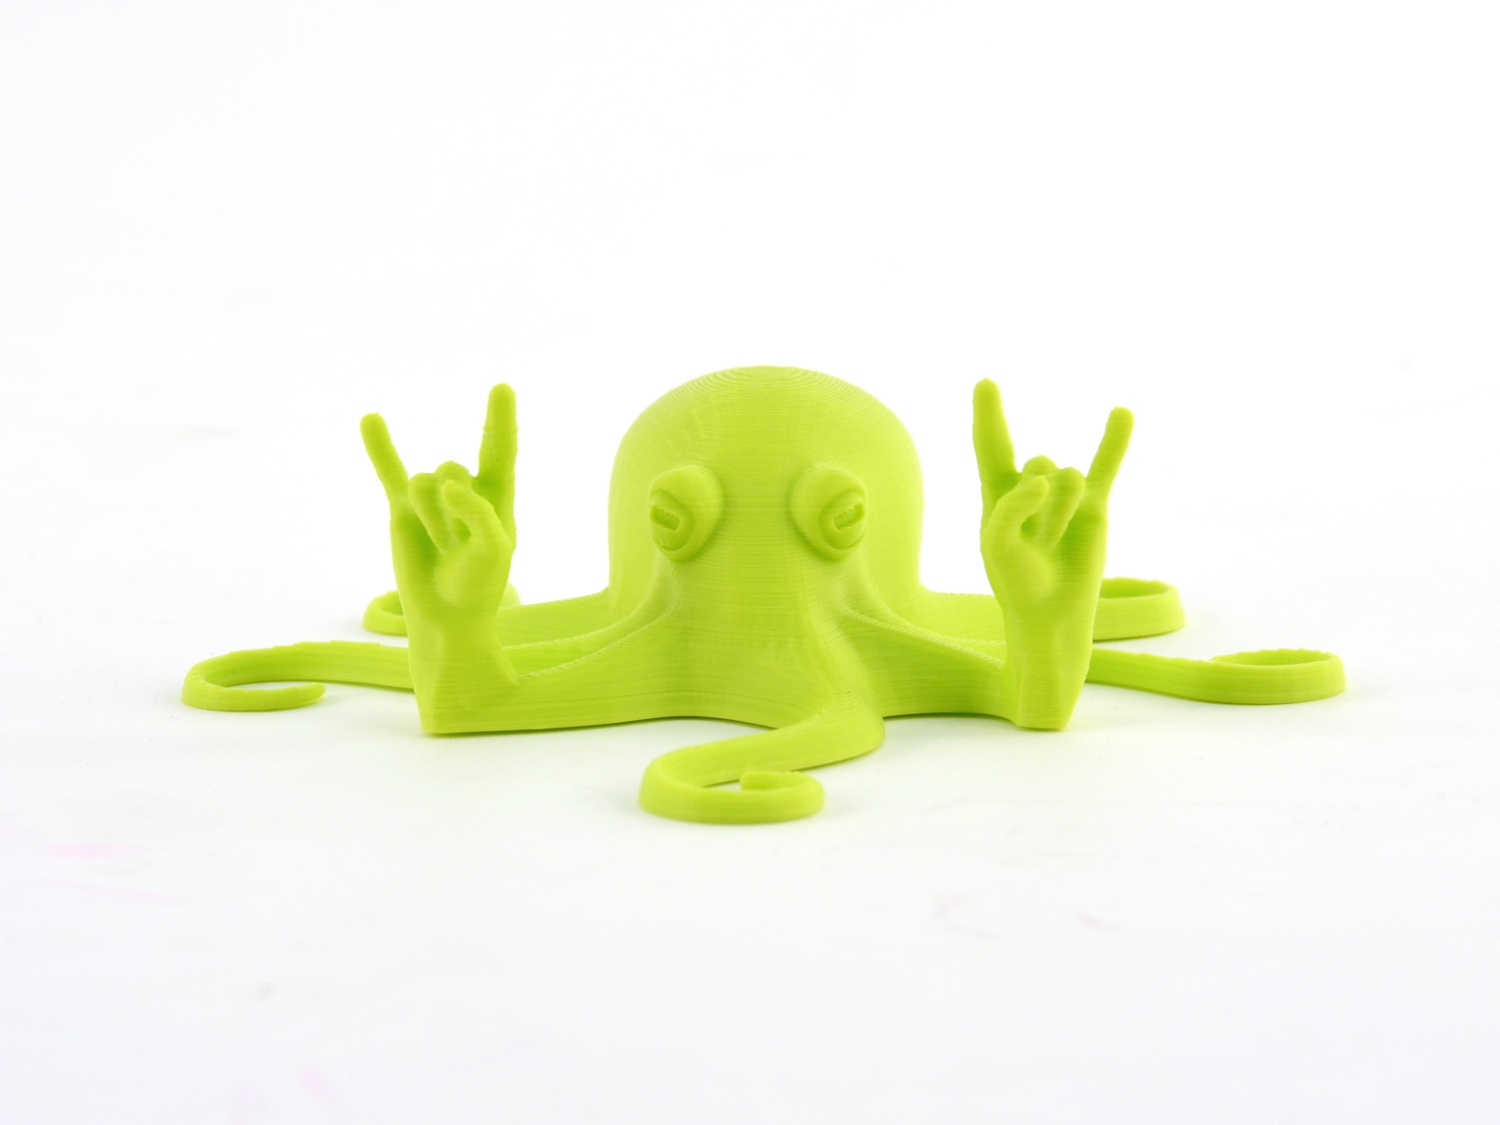
Perform a test print! We recommend using one of the sample prints included with your SD card, such as the Rock2pus!