Open HardwareAssembly Instructions
Guides for installation and assembly of the LulzBot line of products made by FAME 3D LLC.
Guides for installation and assembly of the LulzBot line of products made by FAME 3D LLC.
1x- [AS-HB0001] Mini Glass/PEI Print Surface (Calibration)
1x- [AS-HB0005] Mini Etched Modular Print Bed Heater
1x- [AS-TH0066] Titan Aero Assembly, SE 0.5 Tool Head
1x- [EL-MS0523] Power Connector Heavy duty Retention Clip
4x- [HD-BT0082] M3x16 FHCS, SST
6x- [HD-BT0128] M3x6 FHCS, Black-Oxide
2x- [HD-BT0137] M3x8 BHCS, Black-Oxide
1x- [HD-BT0210] M3x30 SHCS, Blue-Dyed Zinc
2x- [HD-BT0211] M3x8 SHCS, Blue-Dyed Zinc
4x- [HD-MS0287] M3 Unthreaded Spacer, SST
5x- [HD-WA0038] M3 Washer
4x- [PP-MP0082] Bed Leveling Washer, SST
Spool Arm Assembly, Mini 2
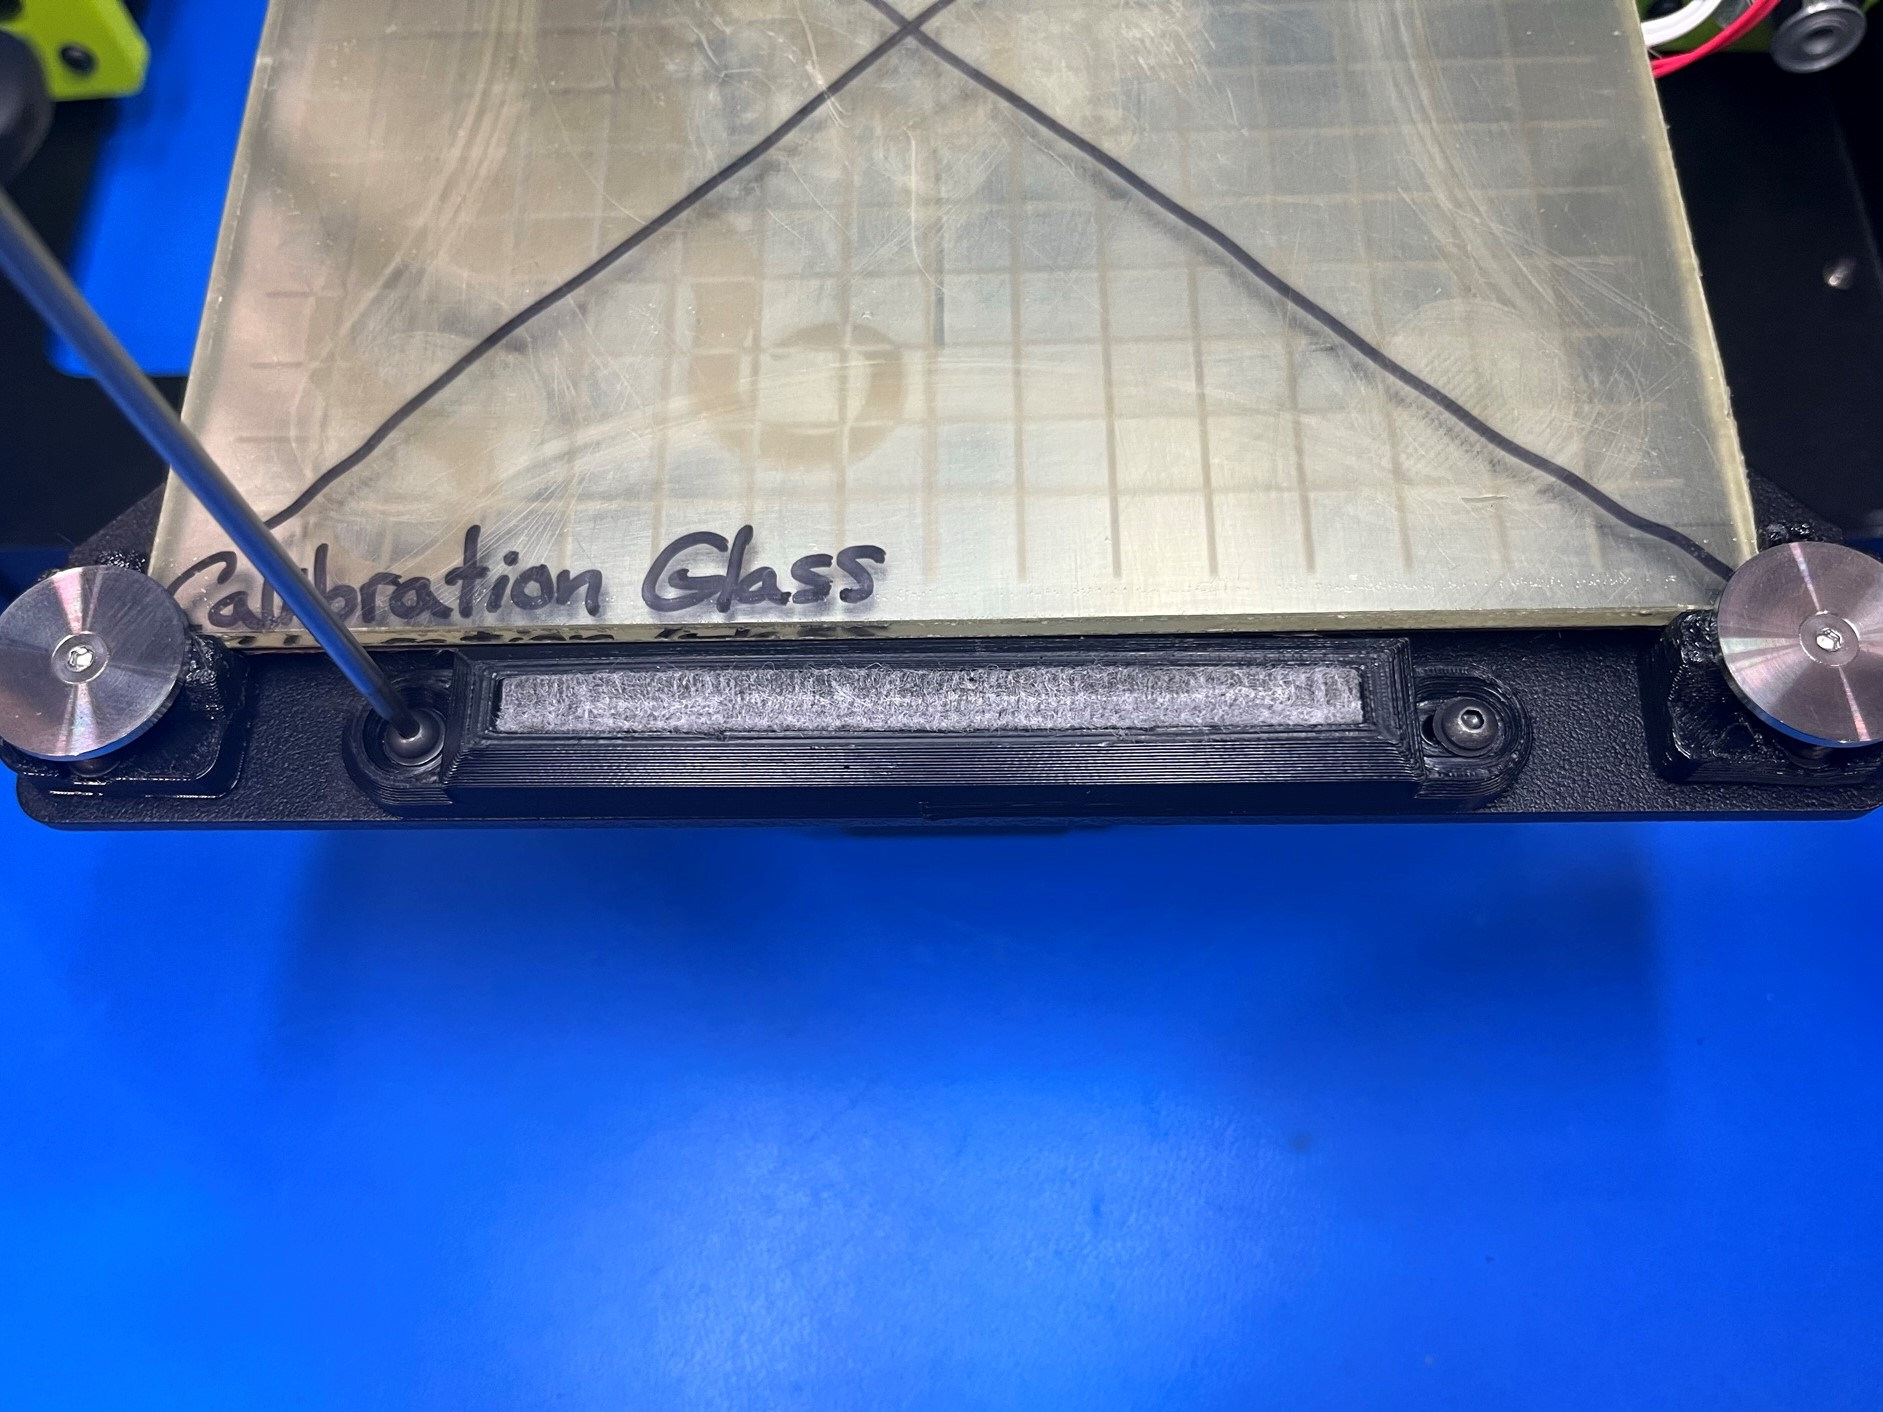
Wiper Pad Mount w/ Calibration Wiper Pad
Final Electrical Assembly

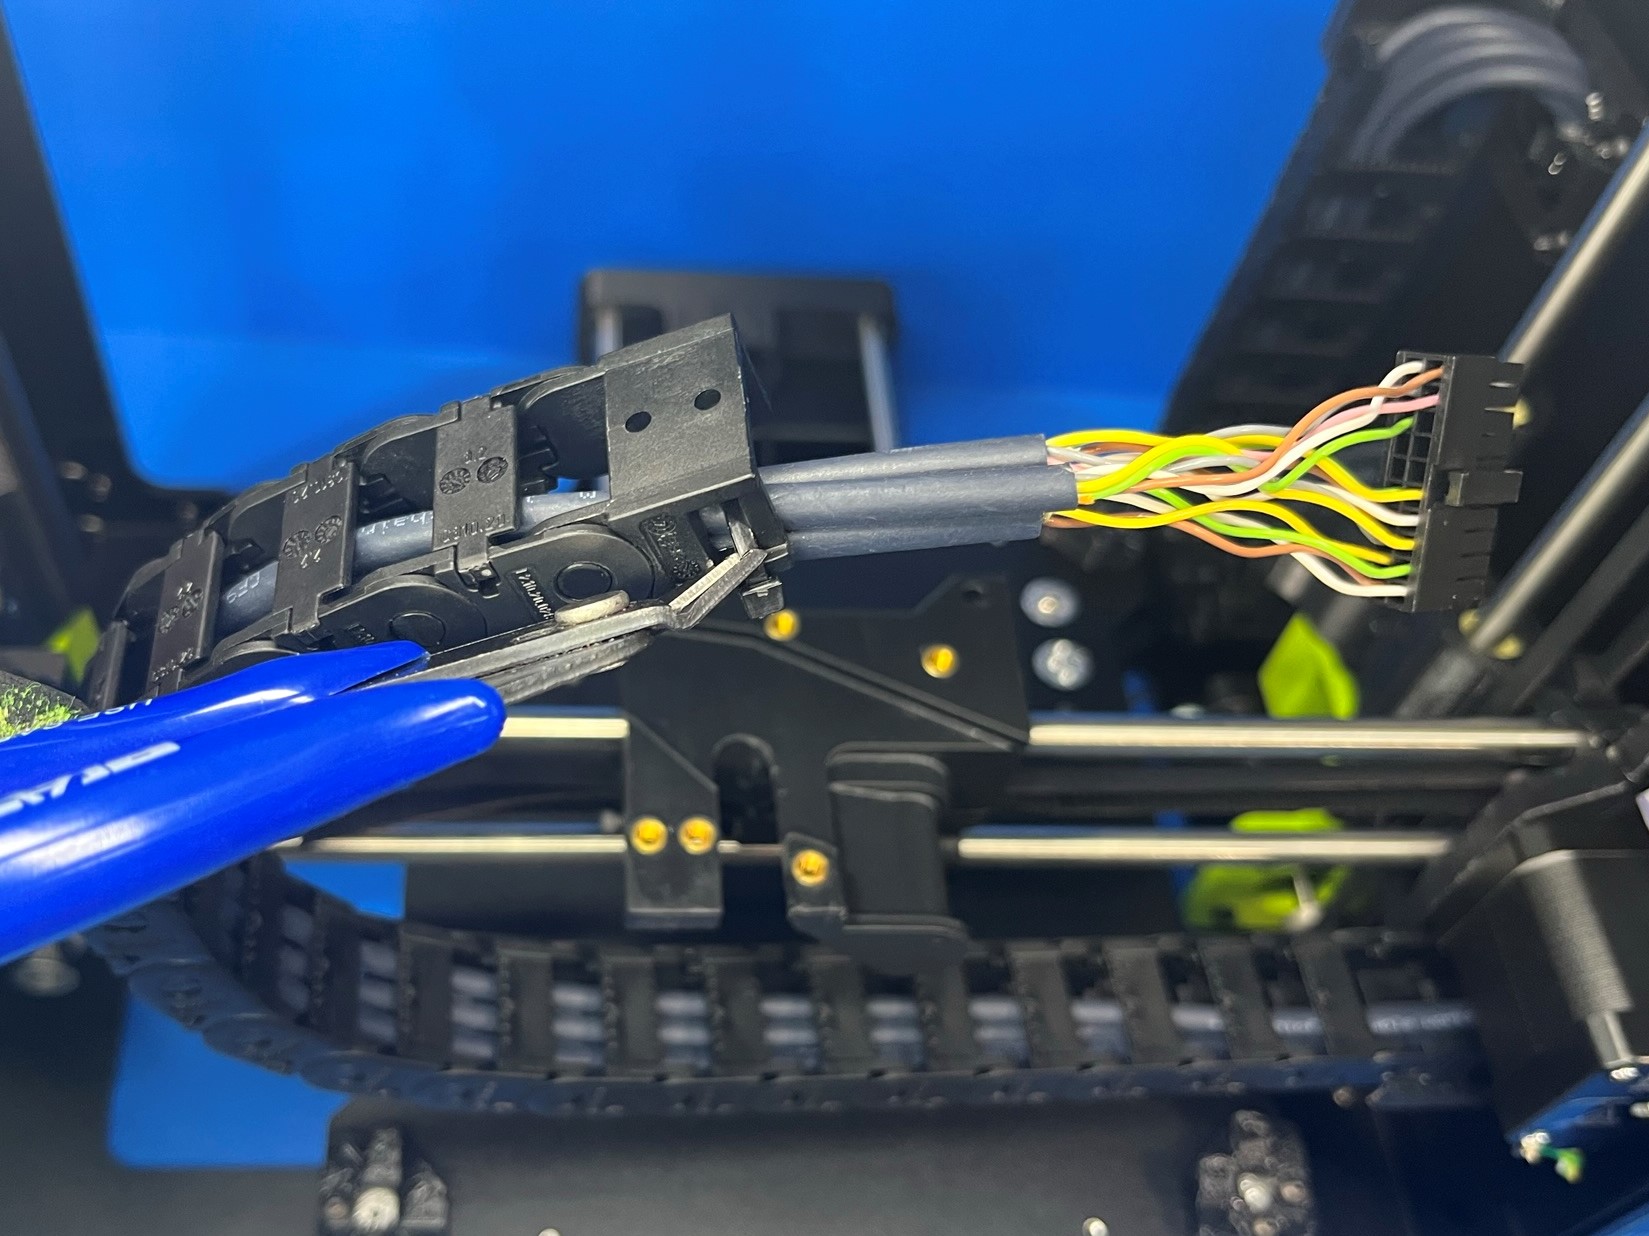
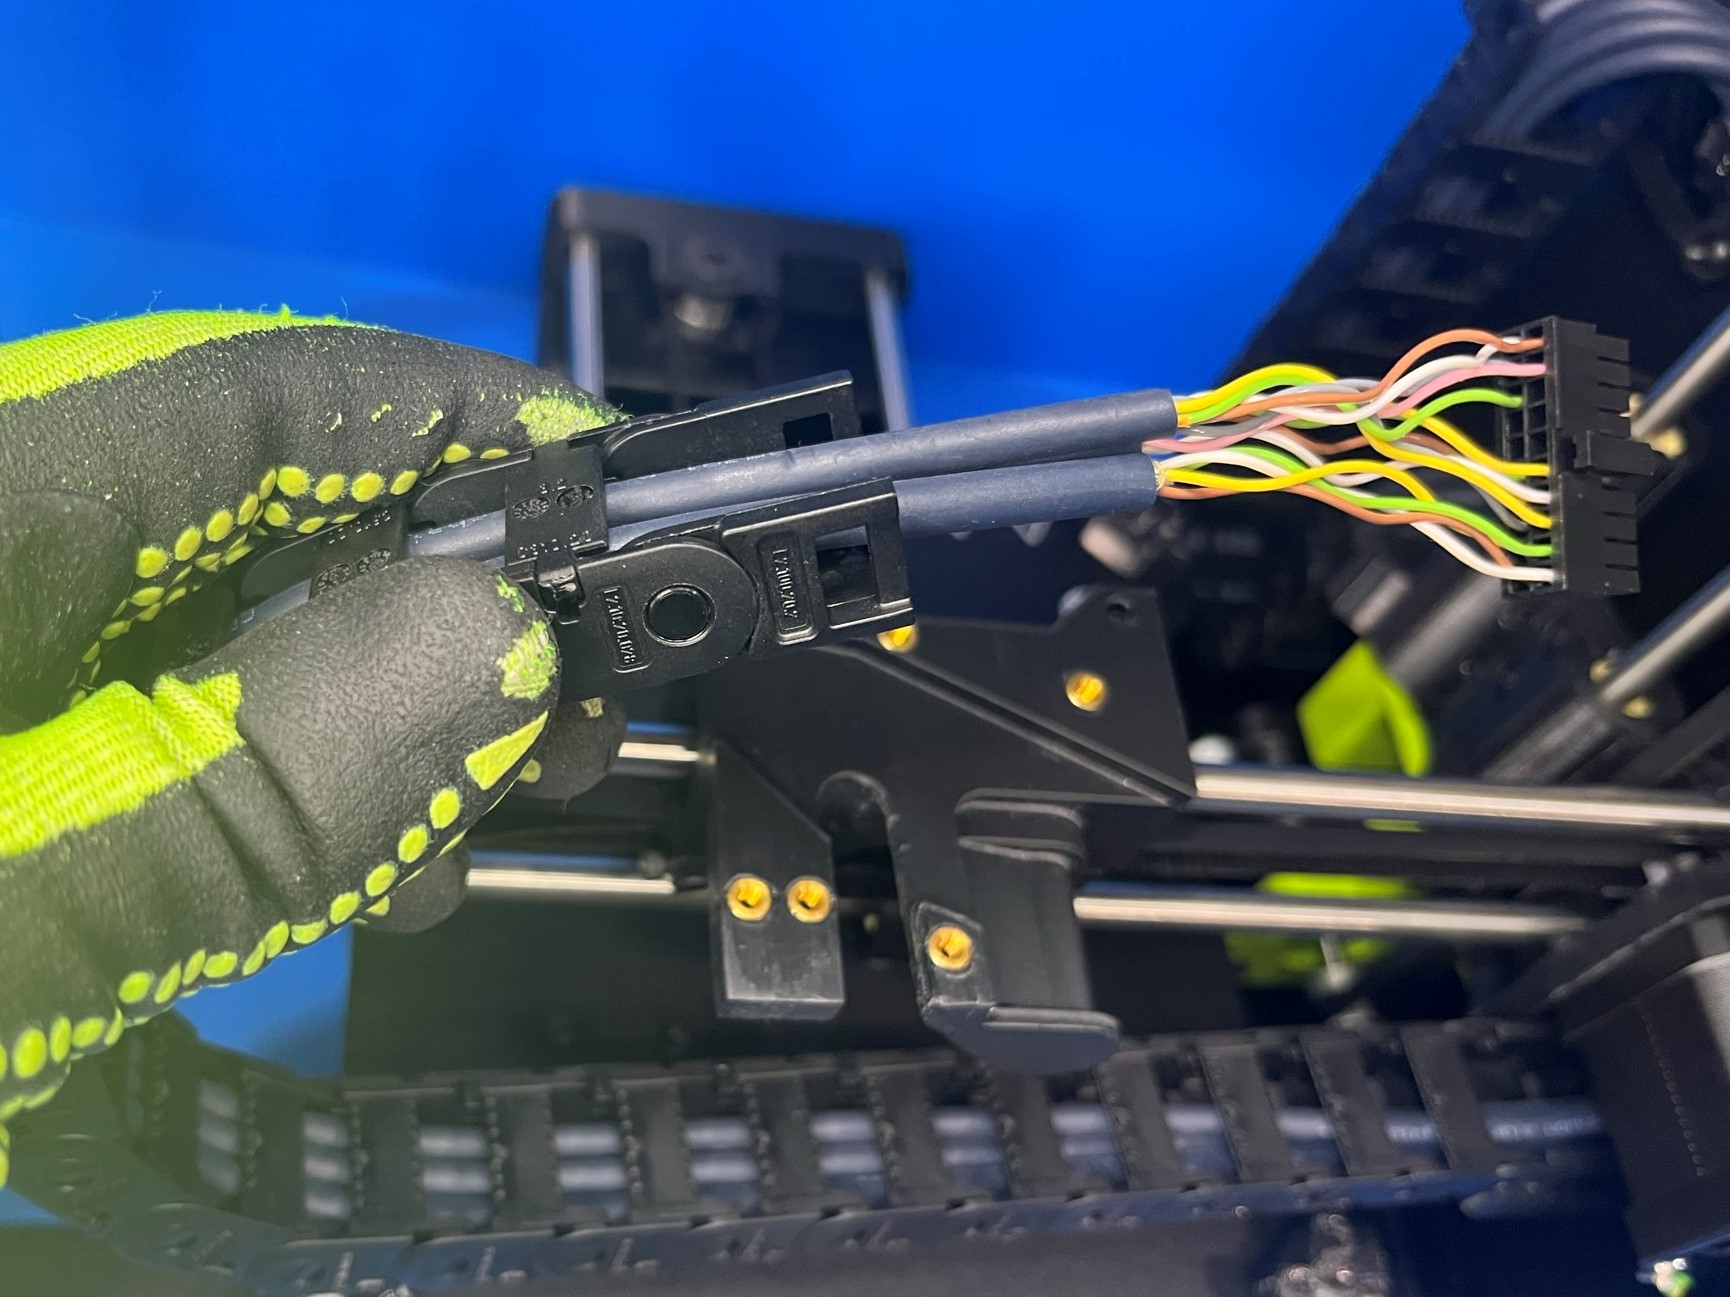
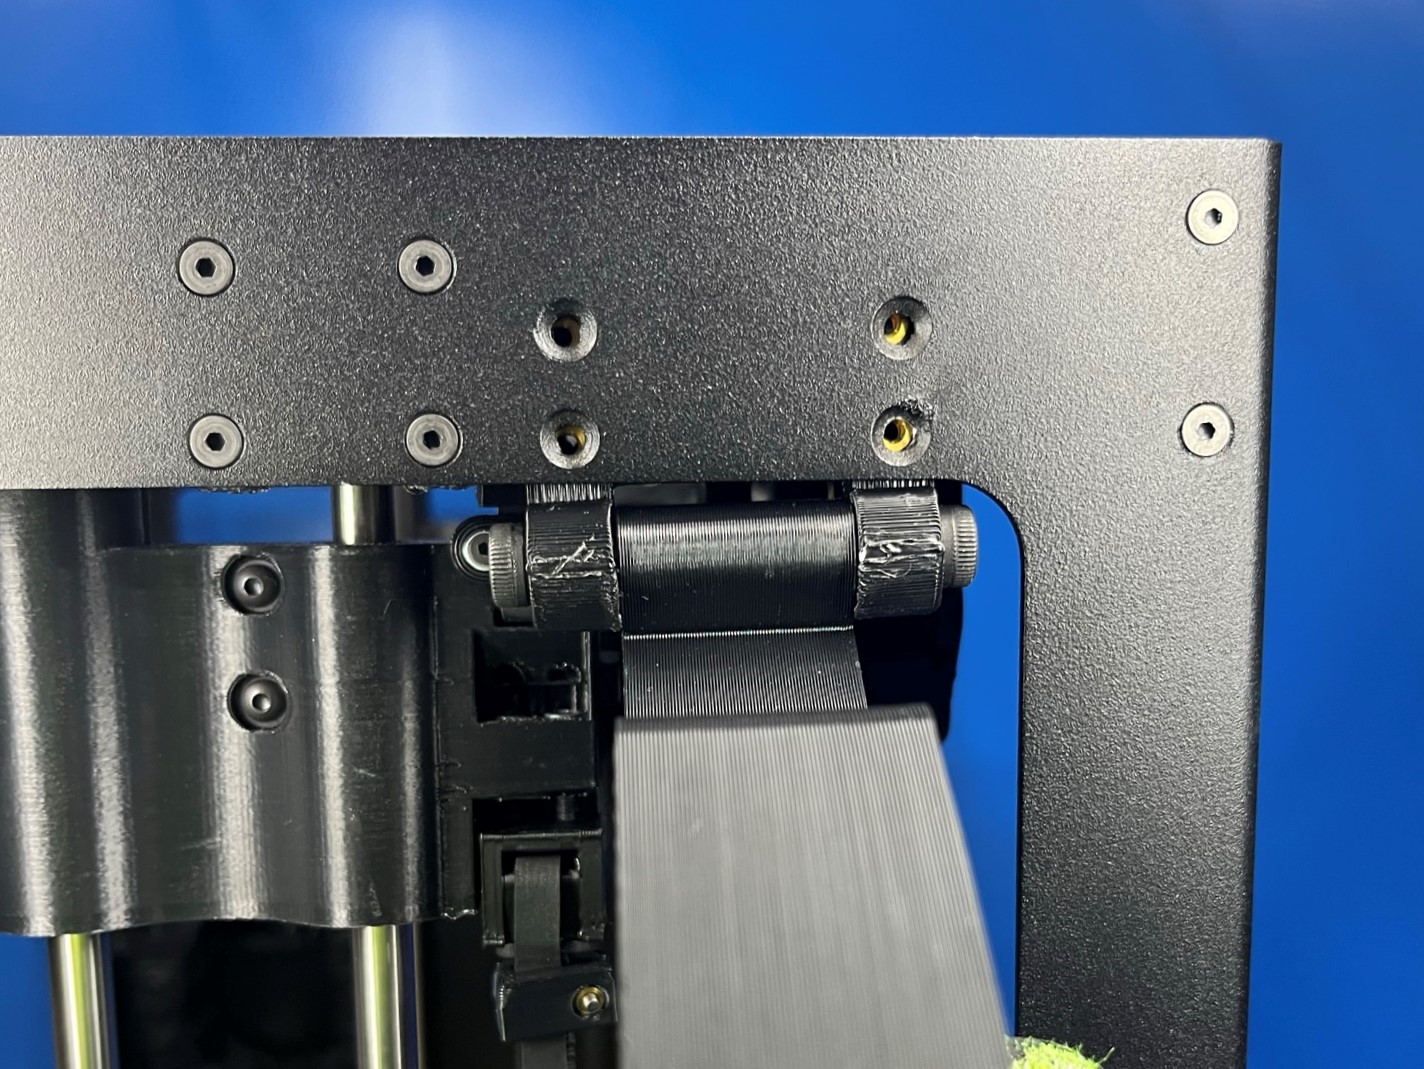
Cut the cable tie holding the harness to the end chain piece on the extruder cable chain.
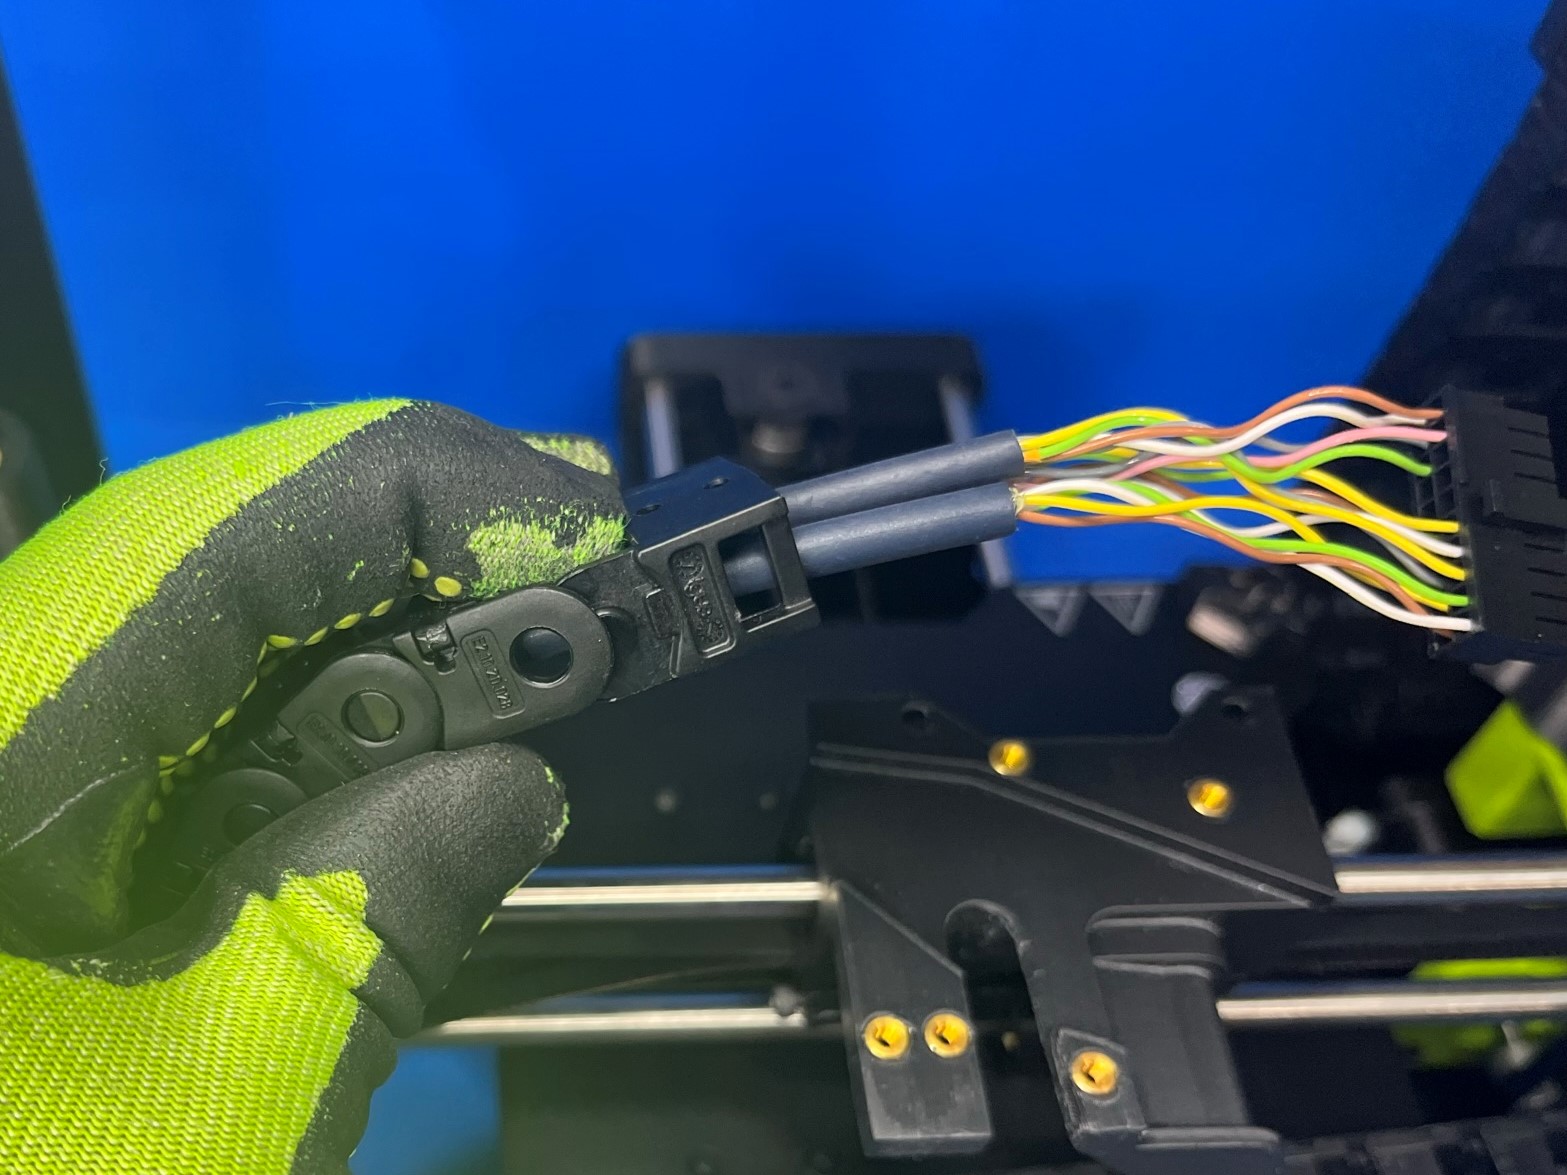
Remove the end chain piece from the extruder cable chain, and flip it over and reconnect it.
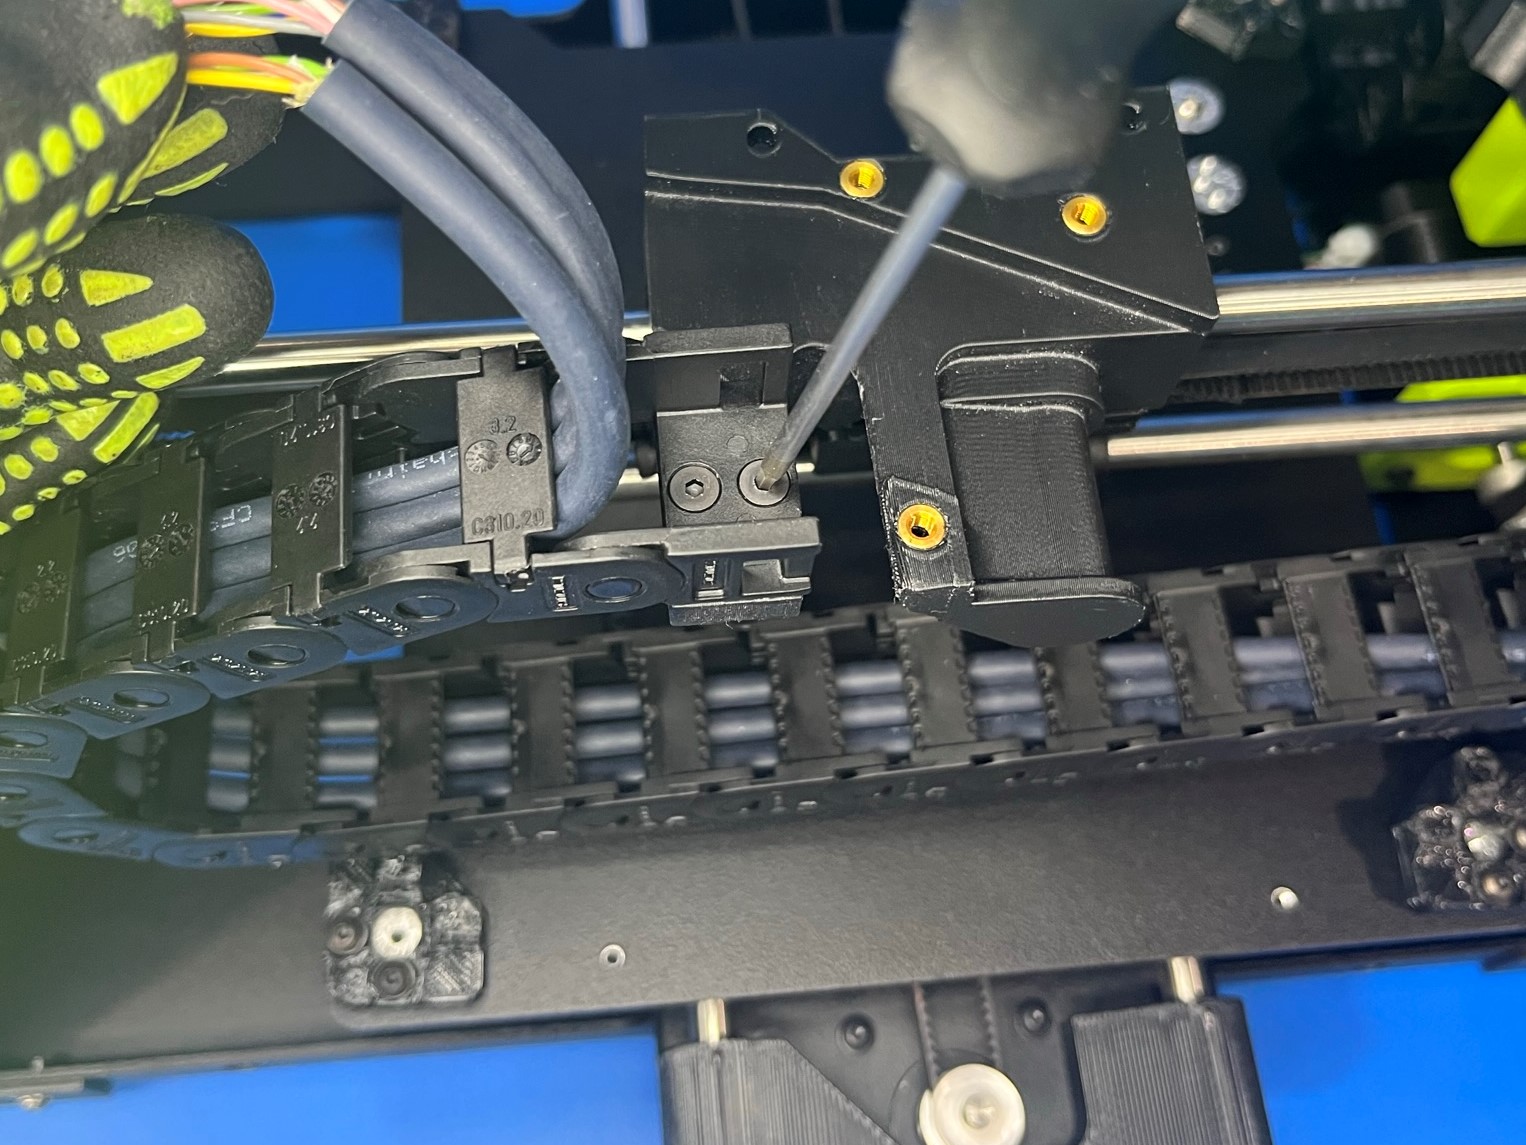
Then align the two holes with the two brass inserts on the X carriage and secure with 2x M3x6 FHCS [HD-BT0128].
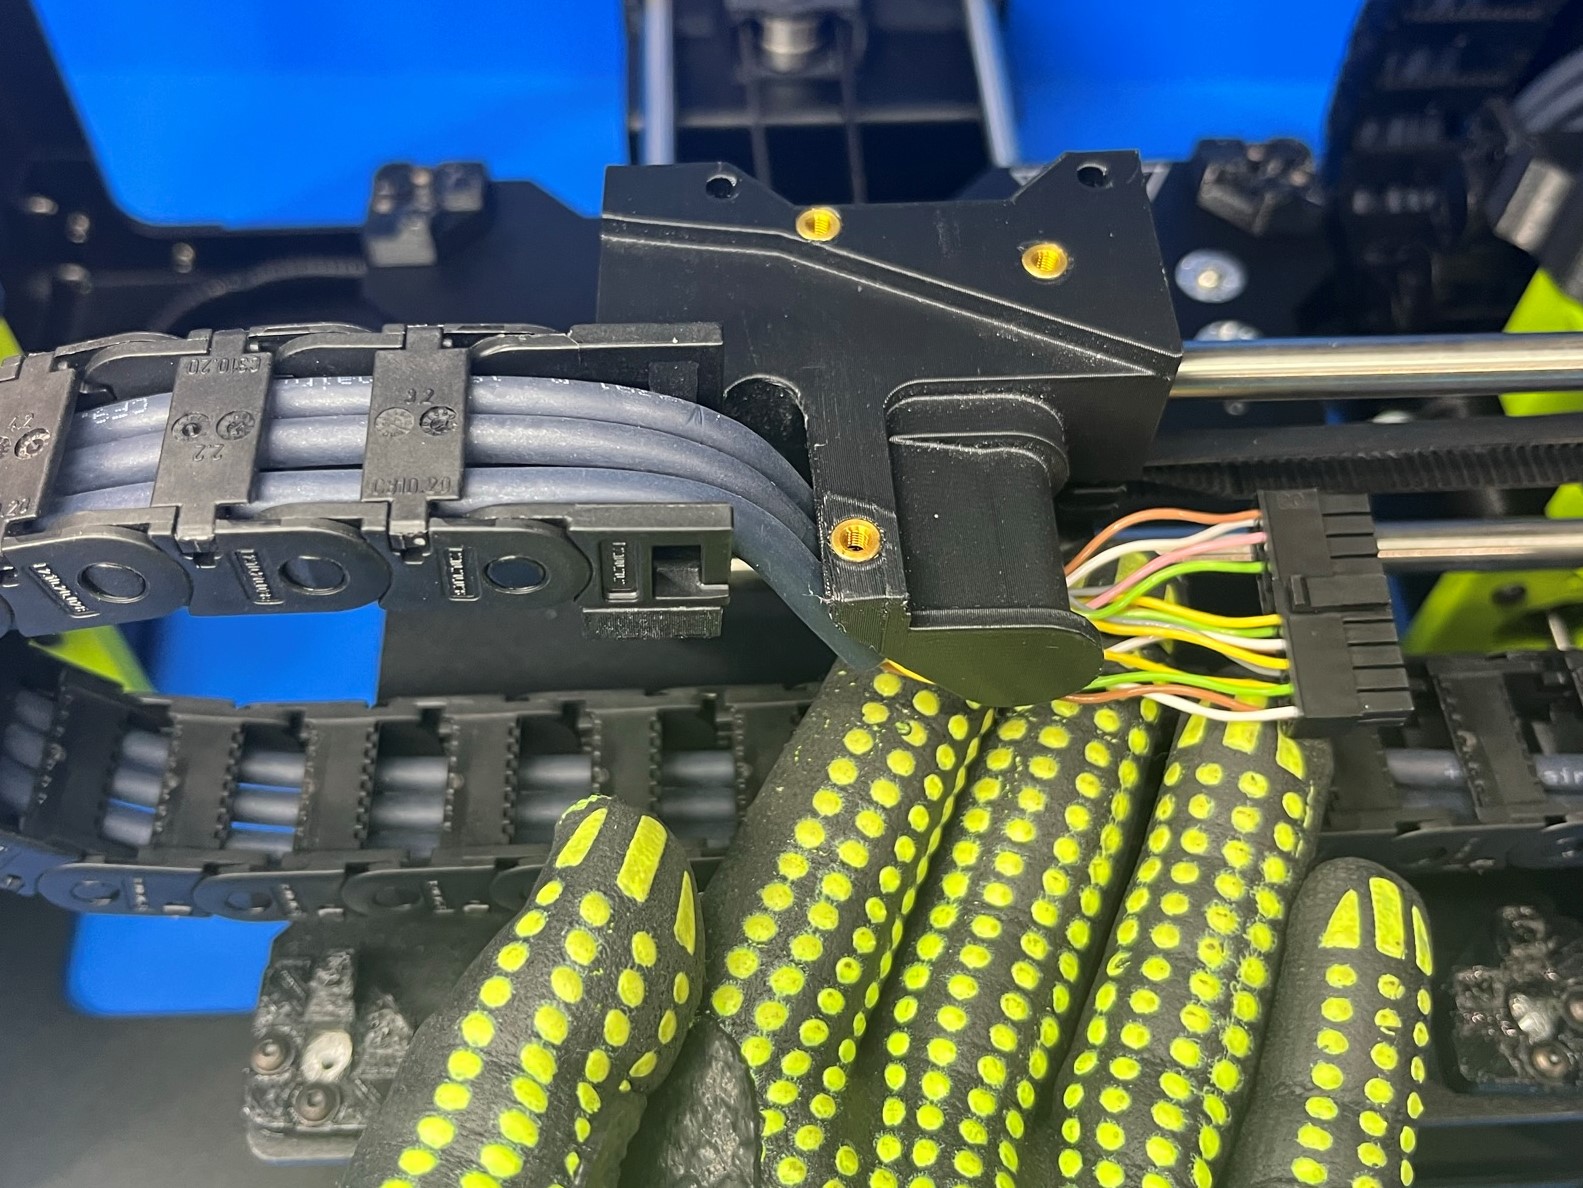
Now take the end of the harness and feed it through the slot on the X carriage so that the harness loops down and around the X carriage.
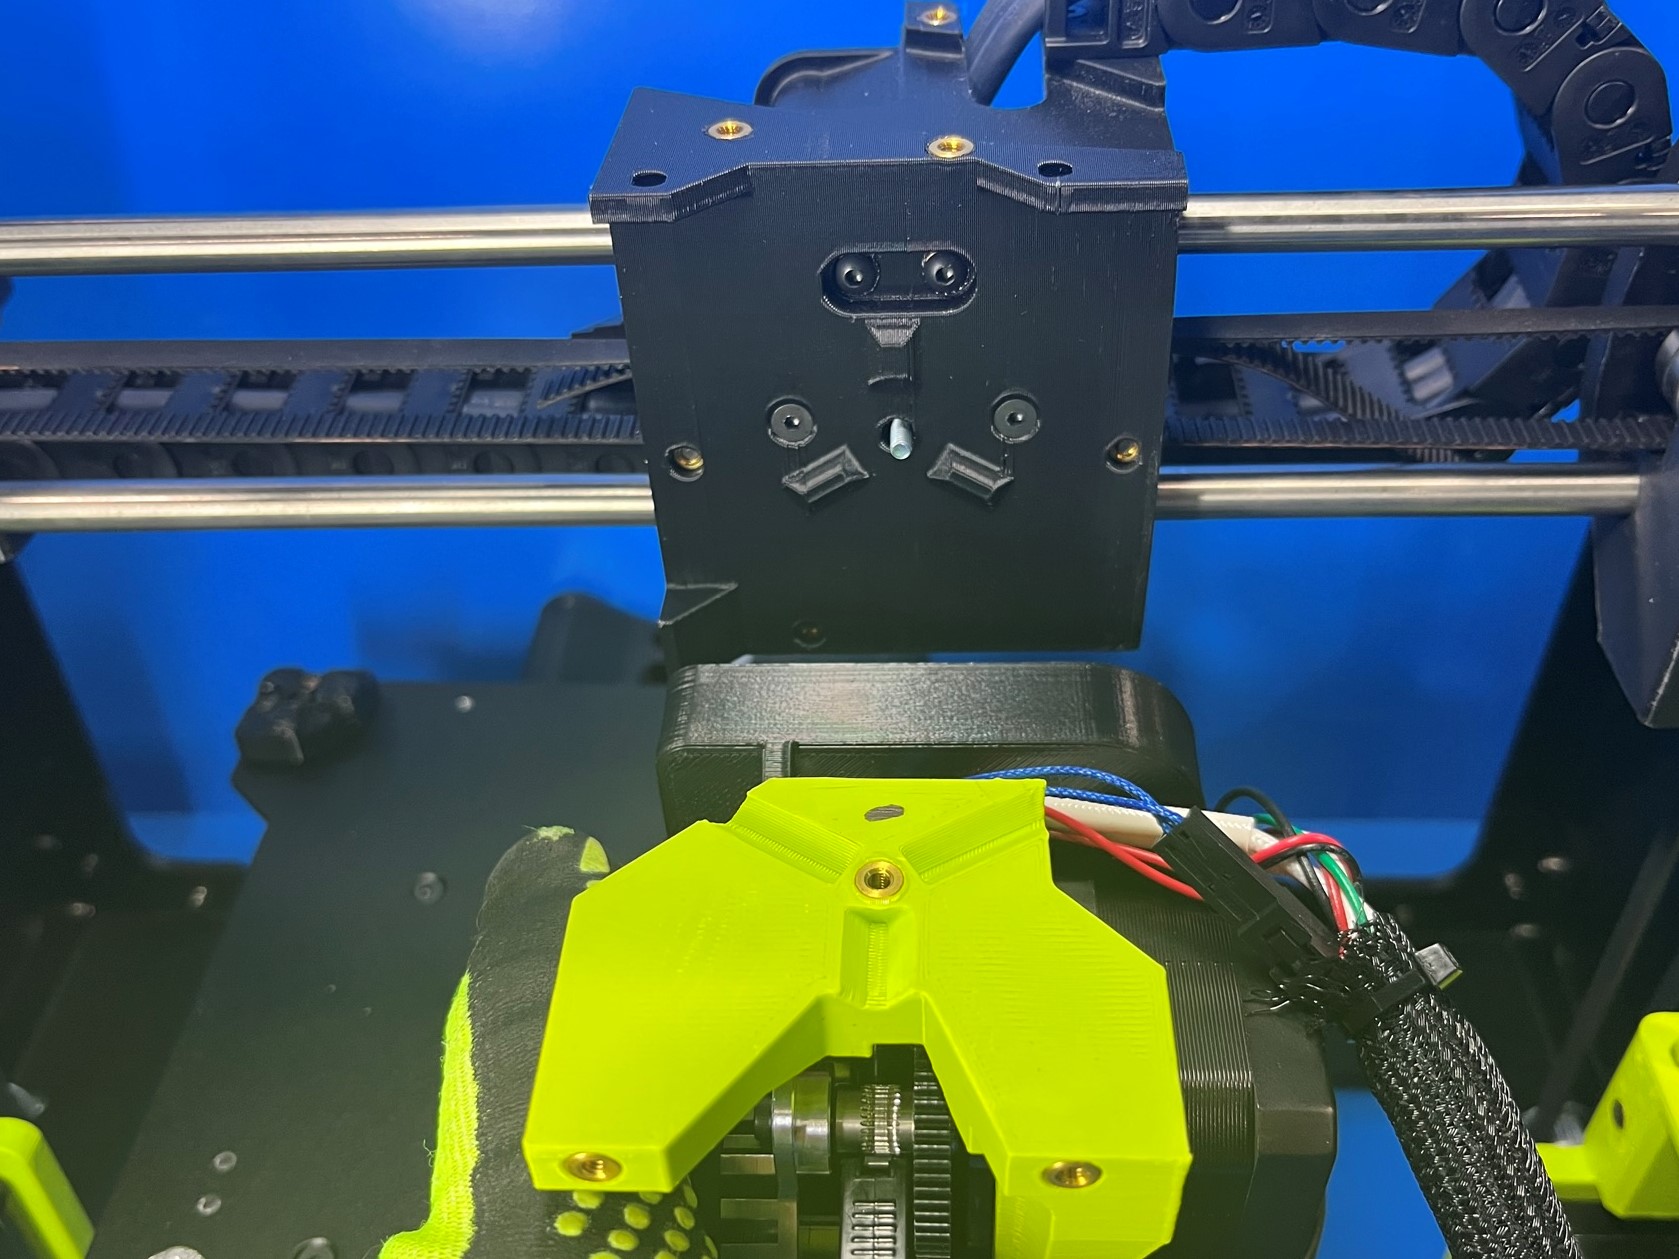
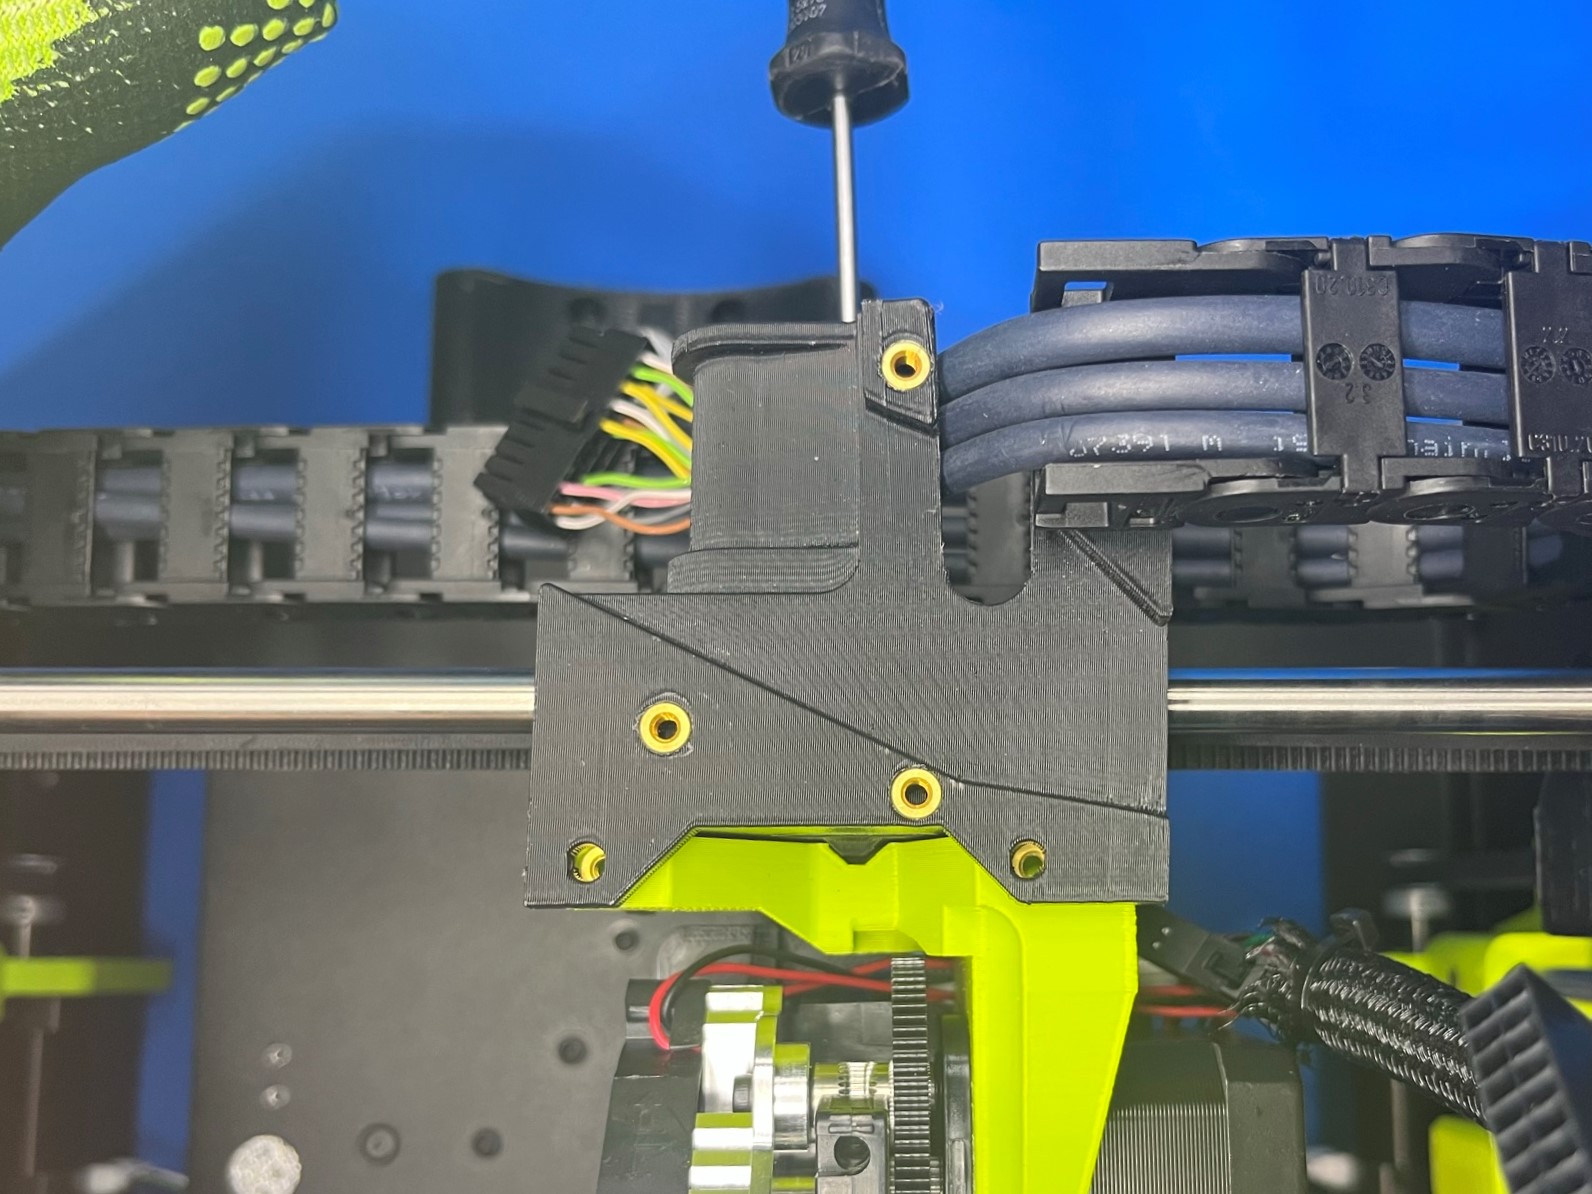
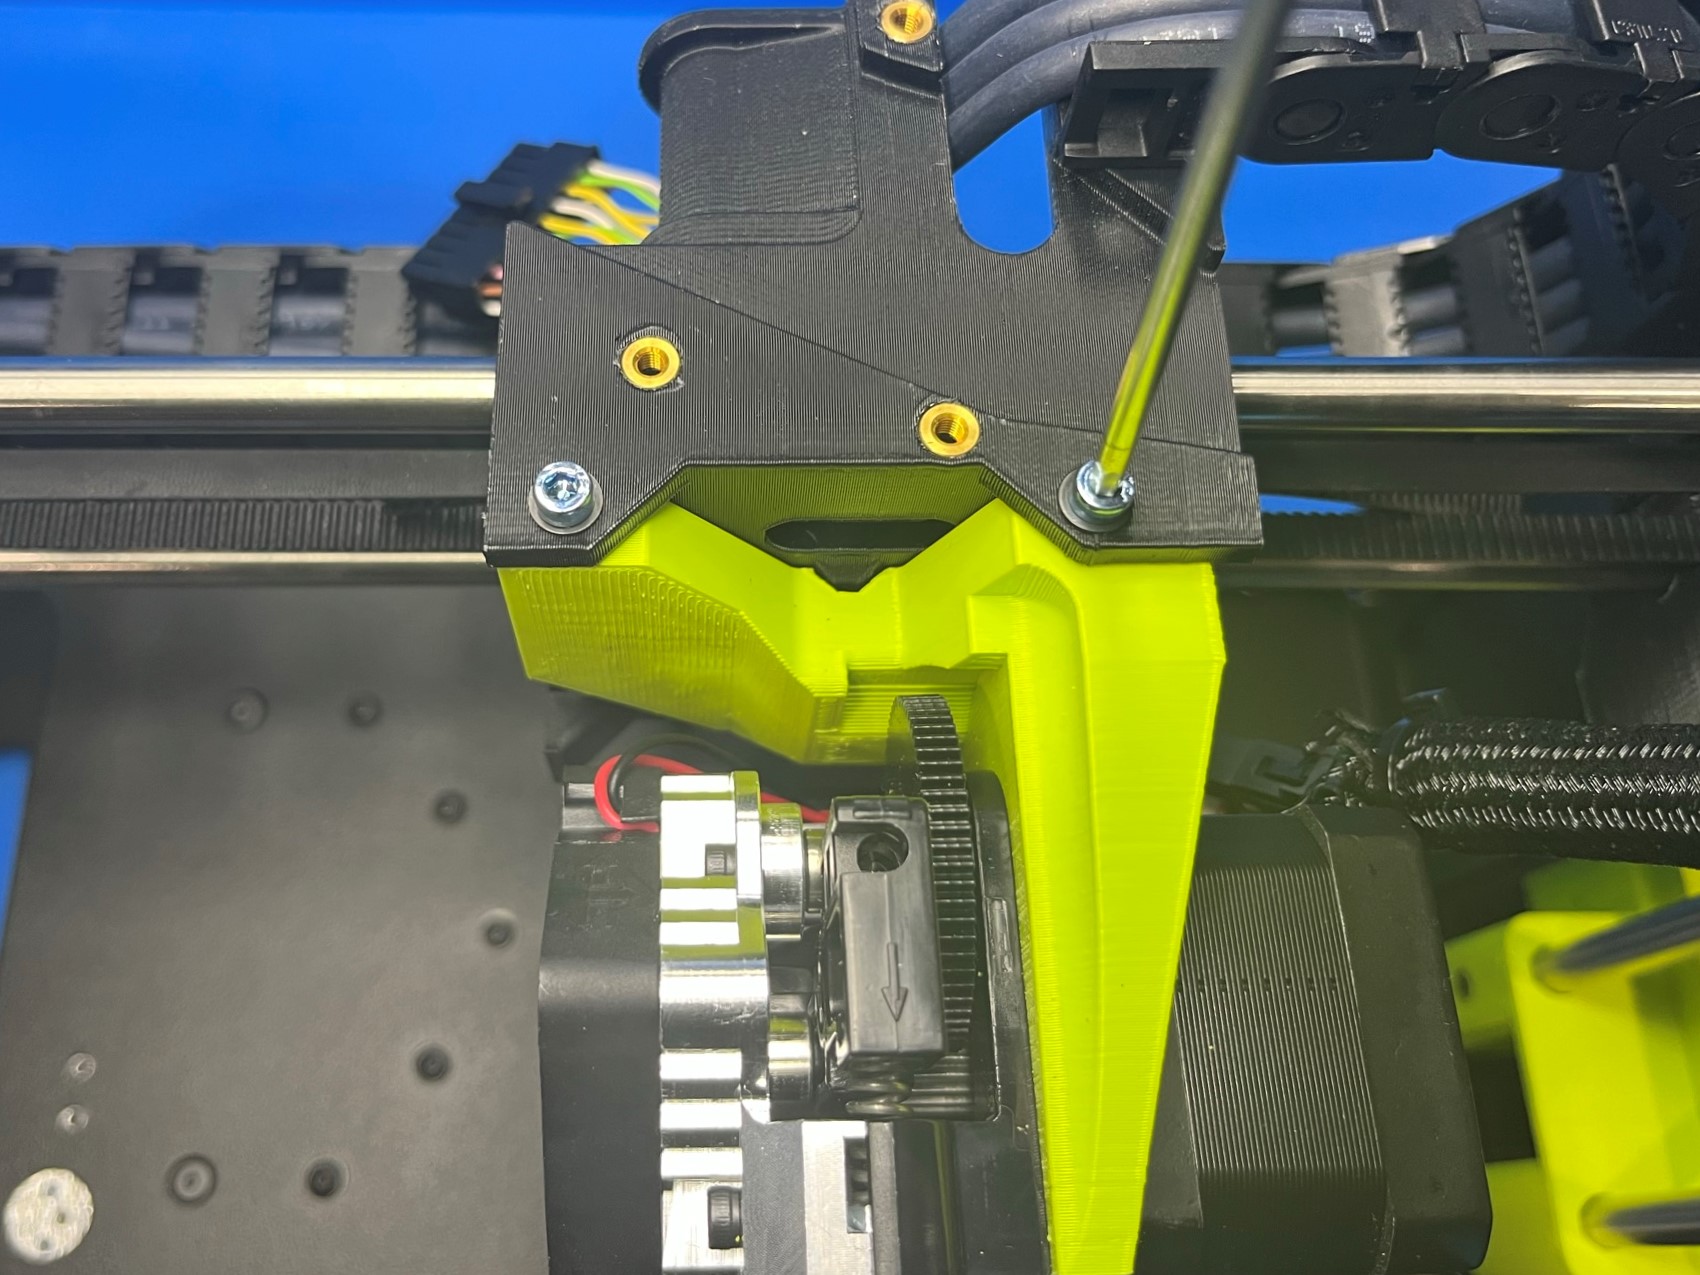
Then slide 1x M3x30 SHCS [HD-BT0210] with a M3 washer [HD-WA0038] through the hole on the backside of the adjustable X axis belt mount.
Now align the SE tool head [AS-TH0066] with the end of the screw and fasten the screw. Then take 2x M3x8 SHCS [HD-BT0211] with M3 washers and secure the topside of the tool head to the X carriage.
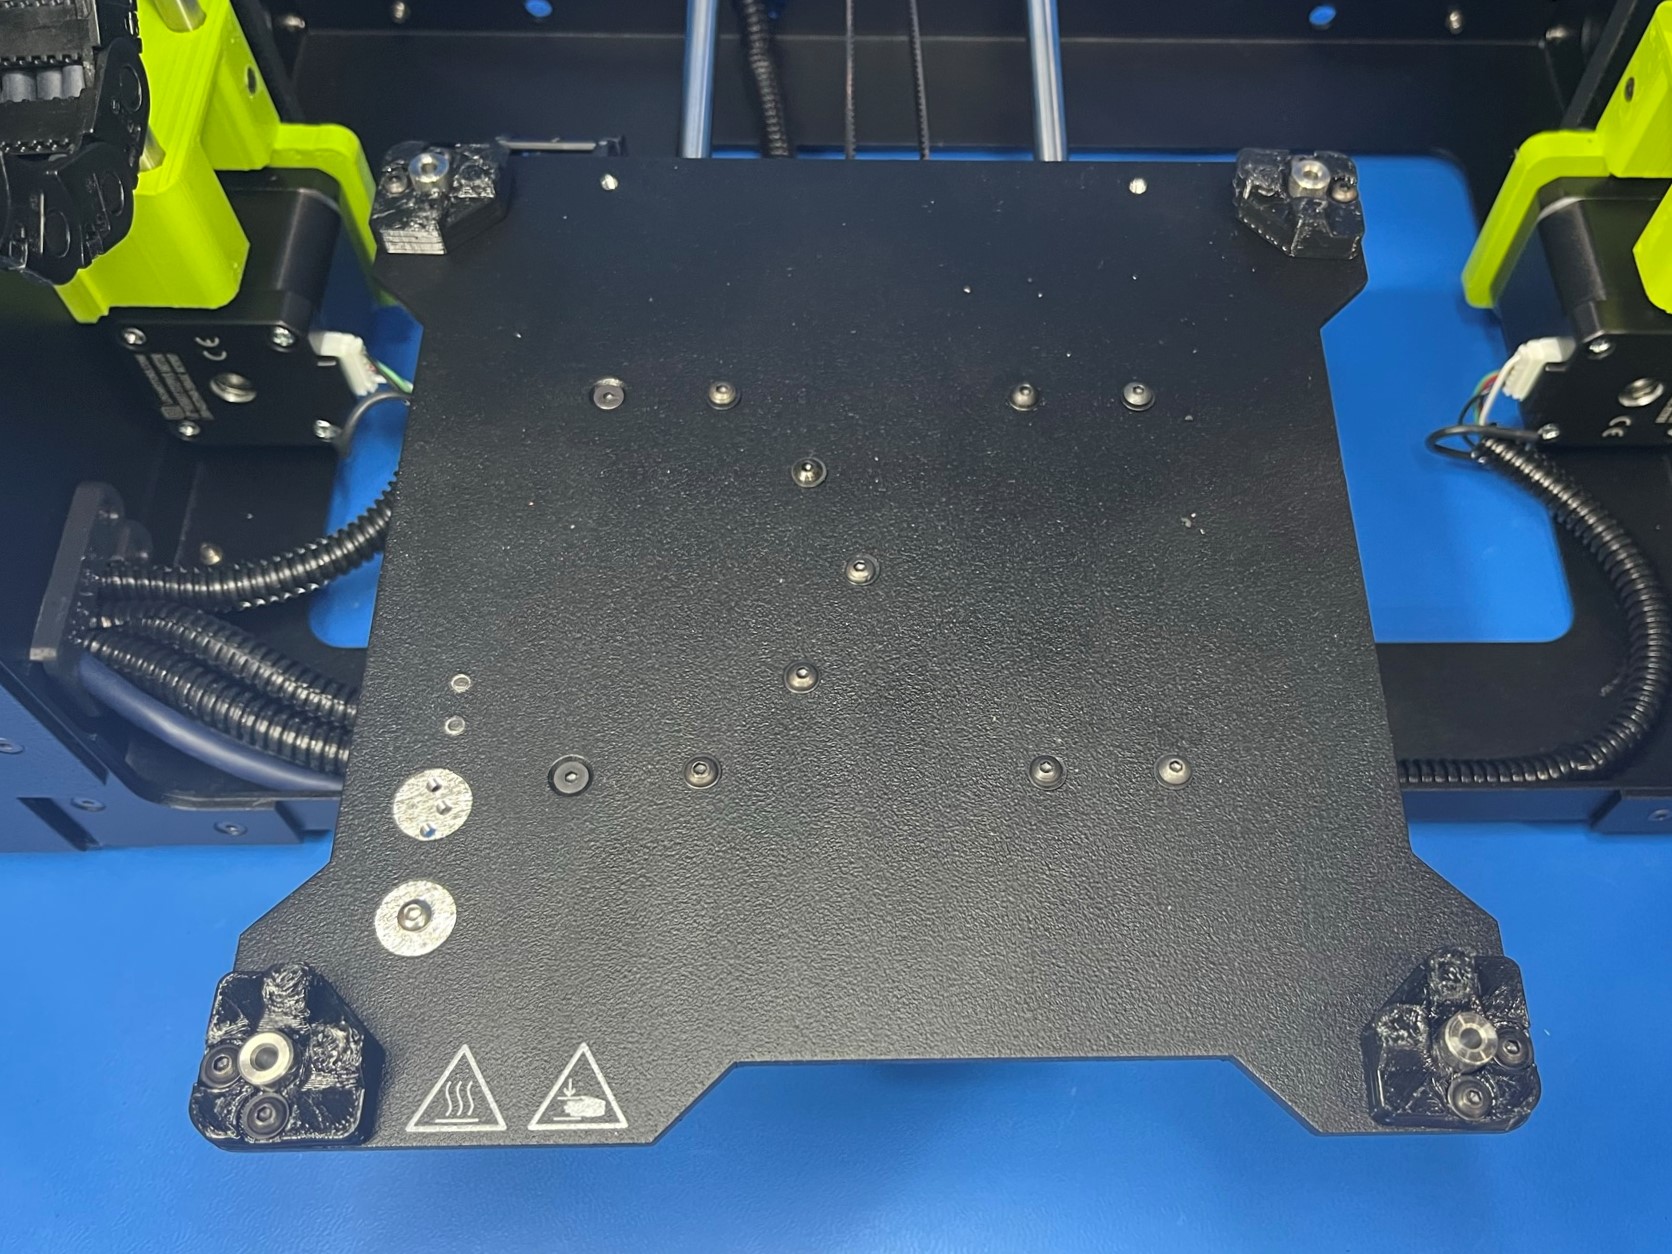
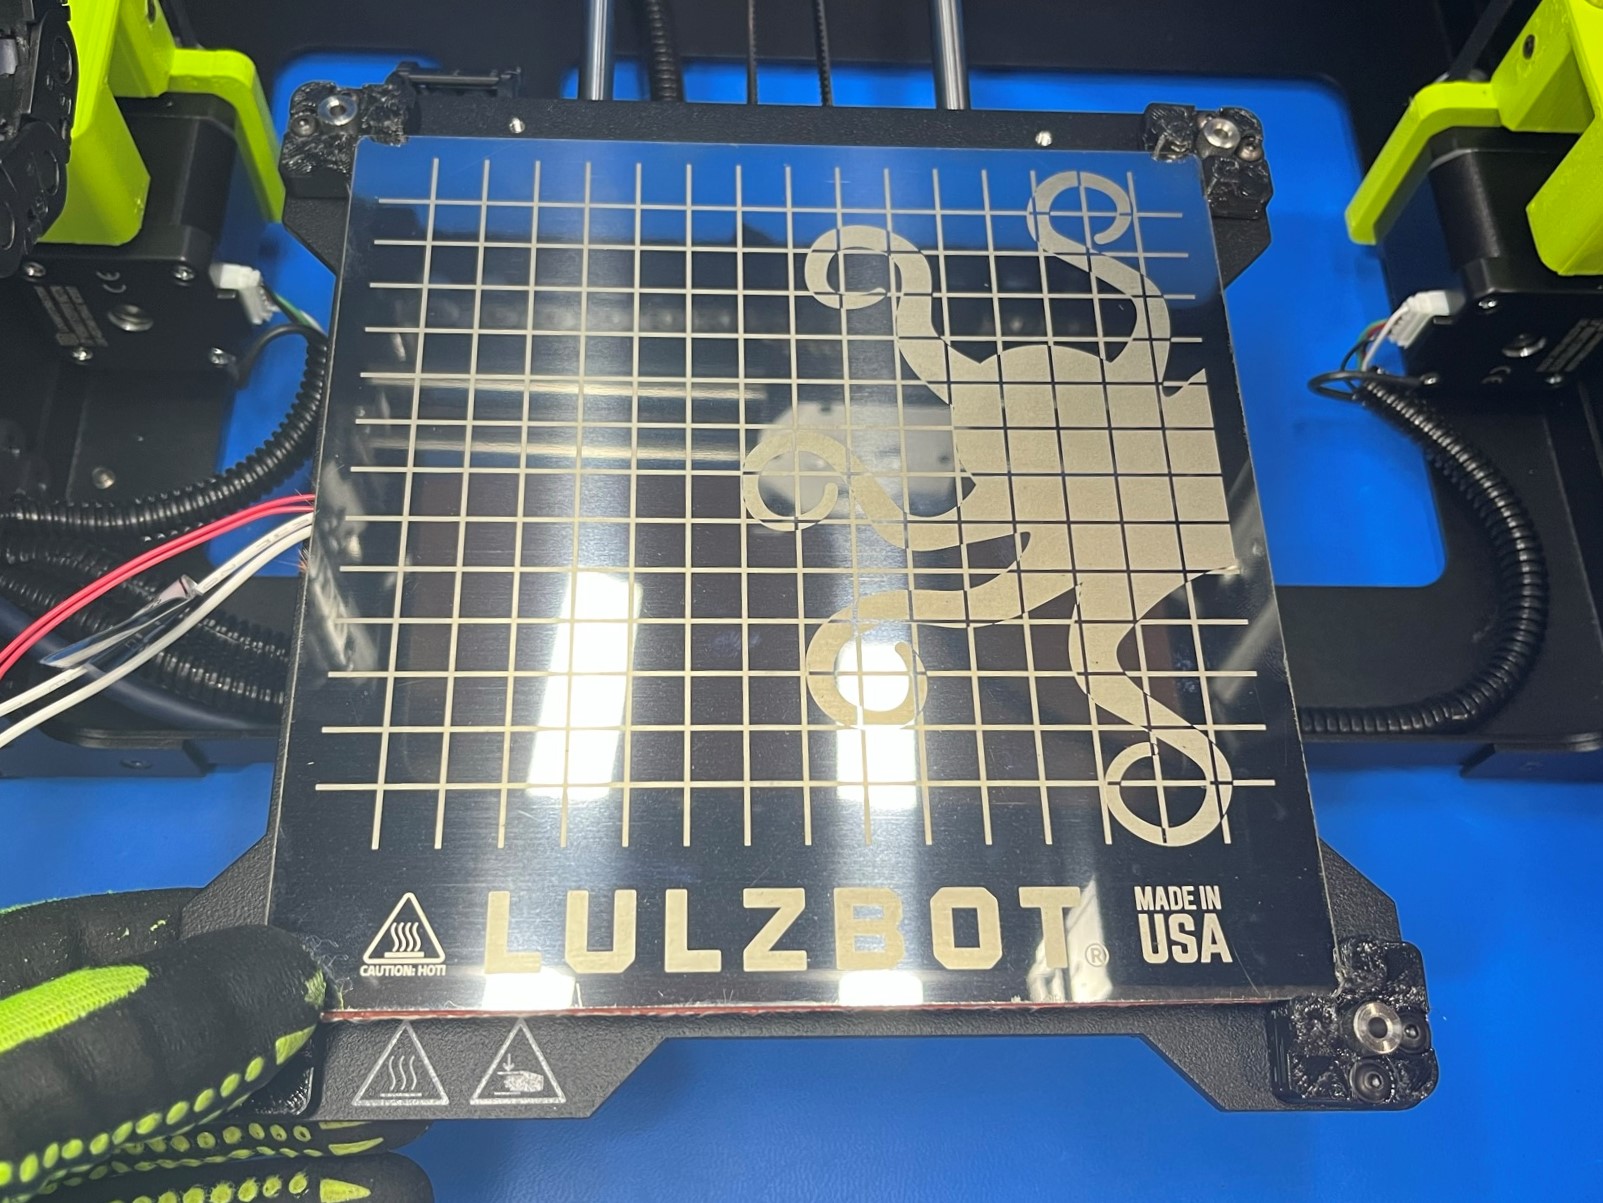
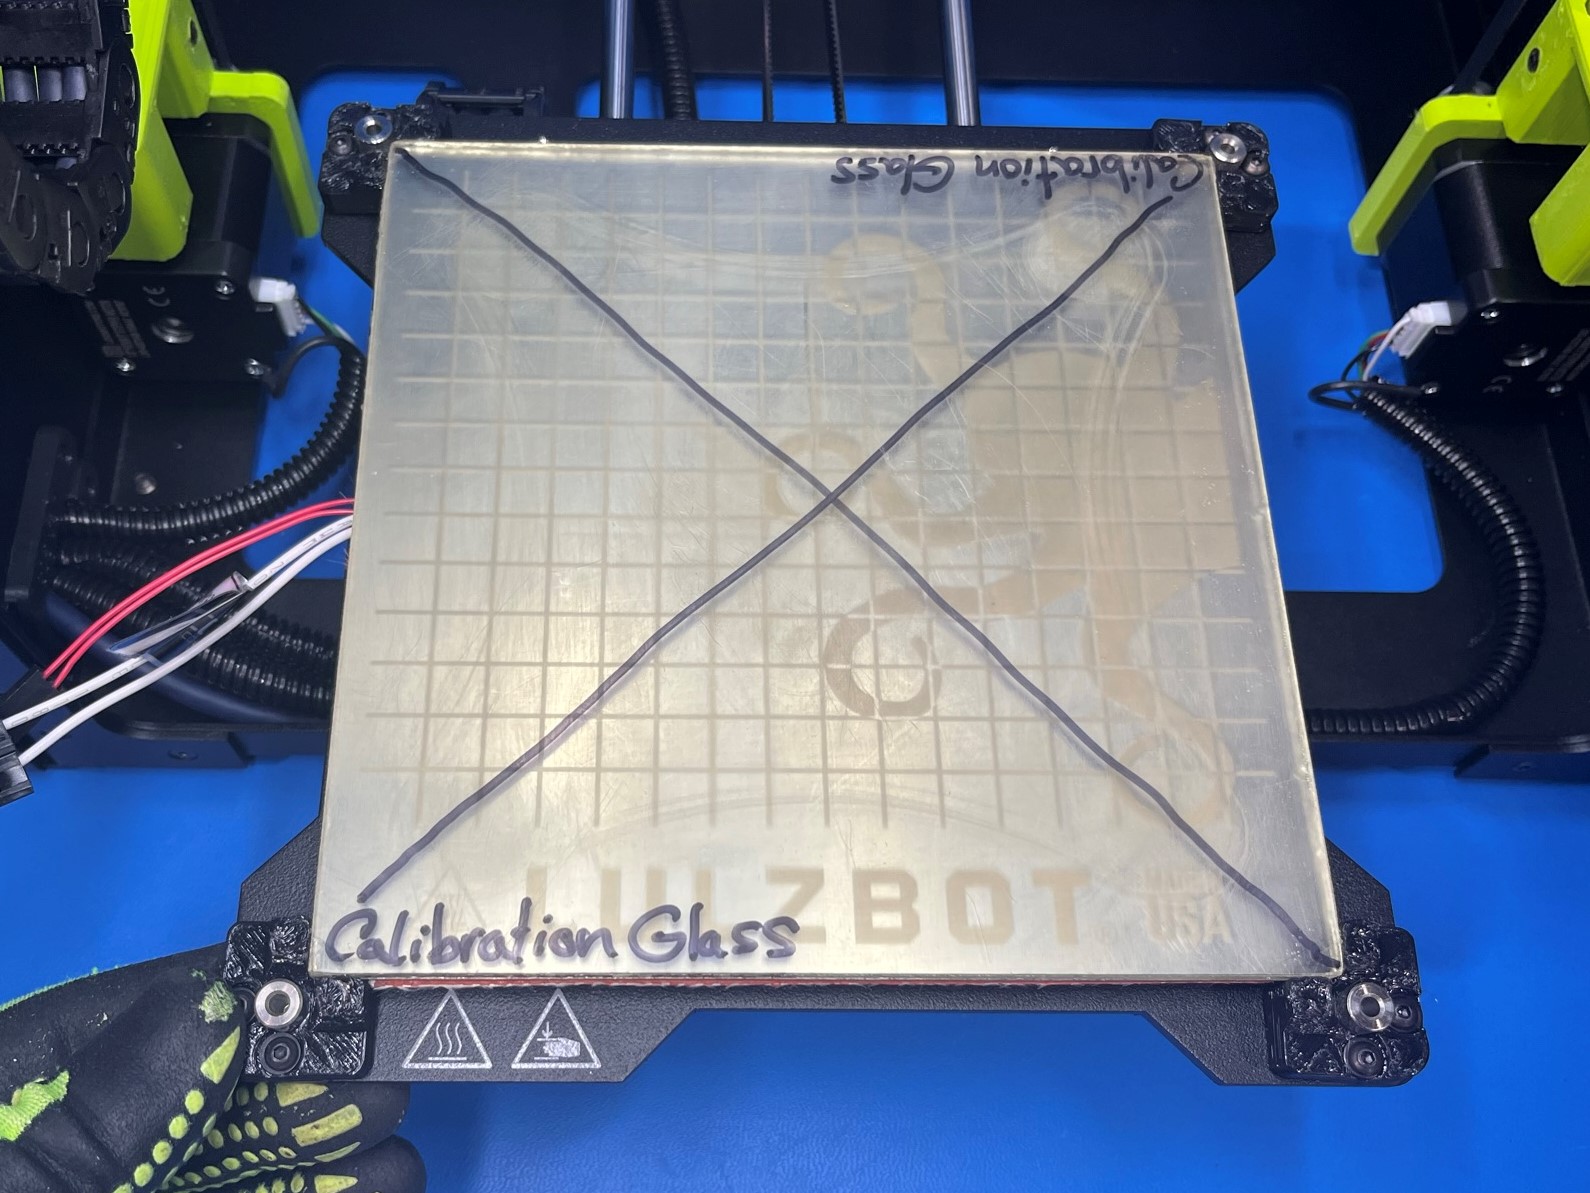
Start by placing 4x M3 unthreaded spacers [HD-MS0287] inside the hole in the four flexy bed corners.
Then place the etched modular print bed heater [AS-HB0005] in-between all four flexy bed corners, then repeat for the Mini glass/PEI print surface (calibration) [AS-HB0001].
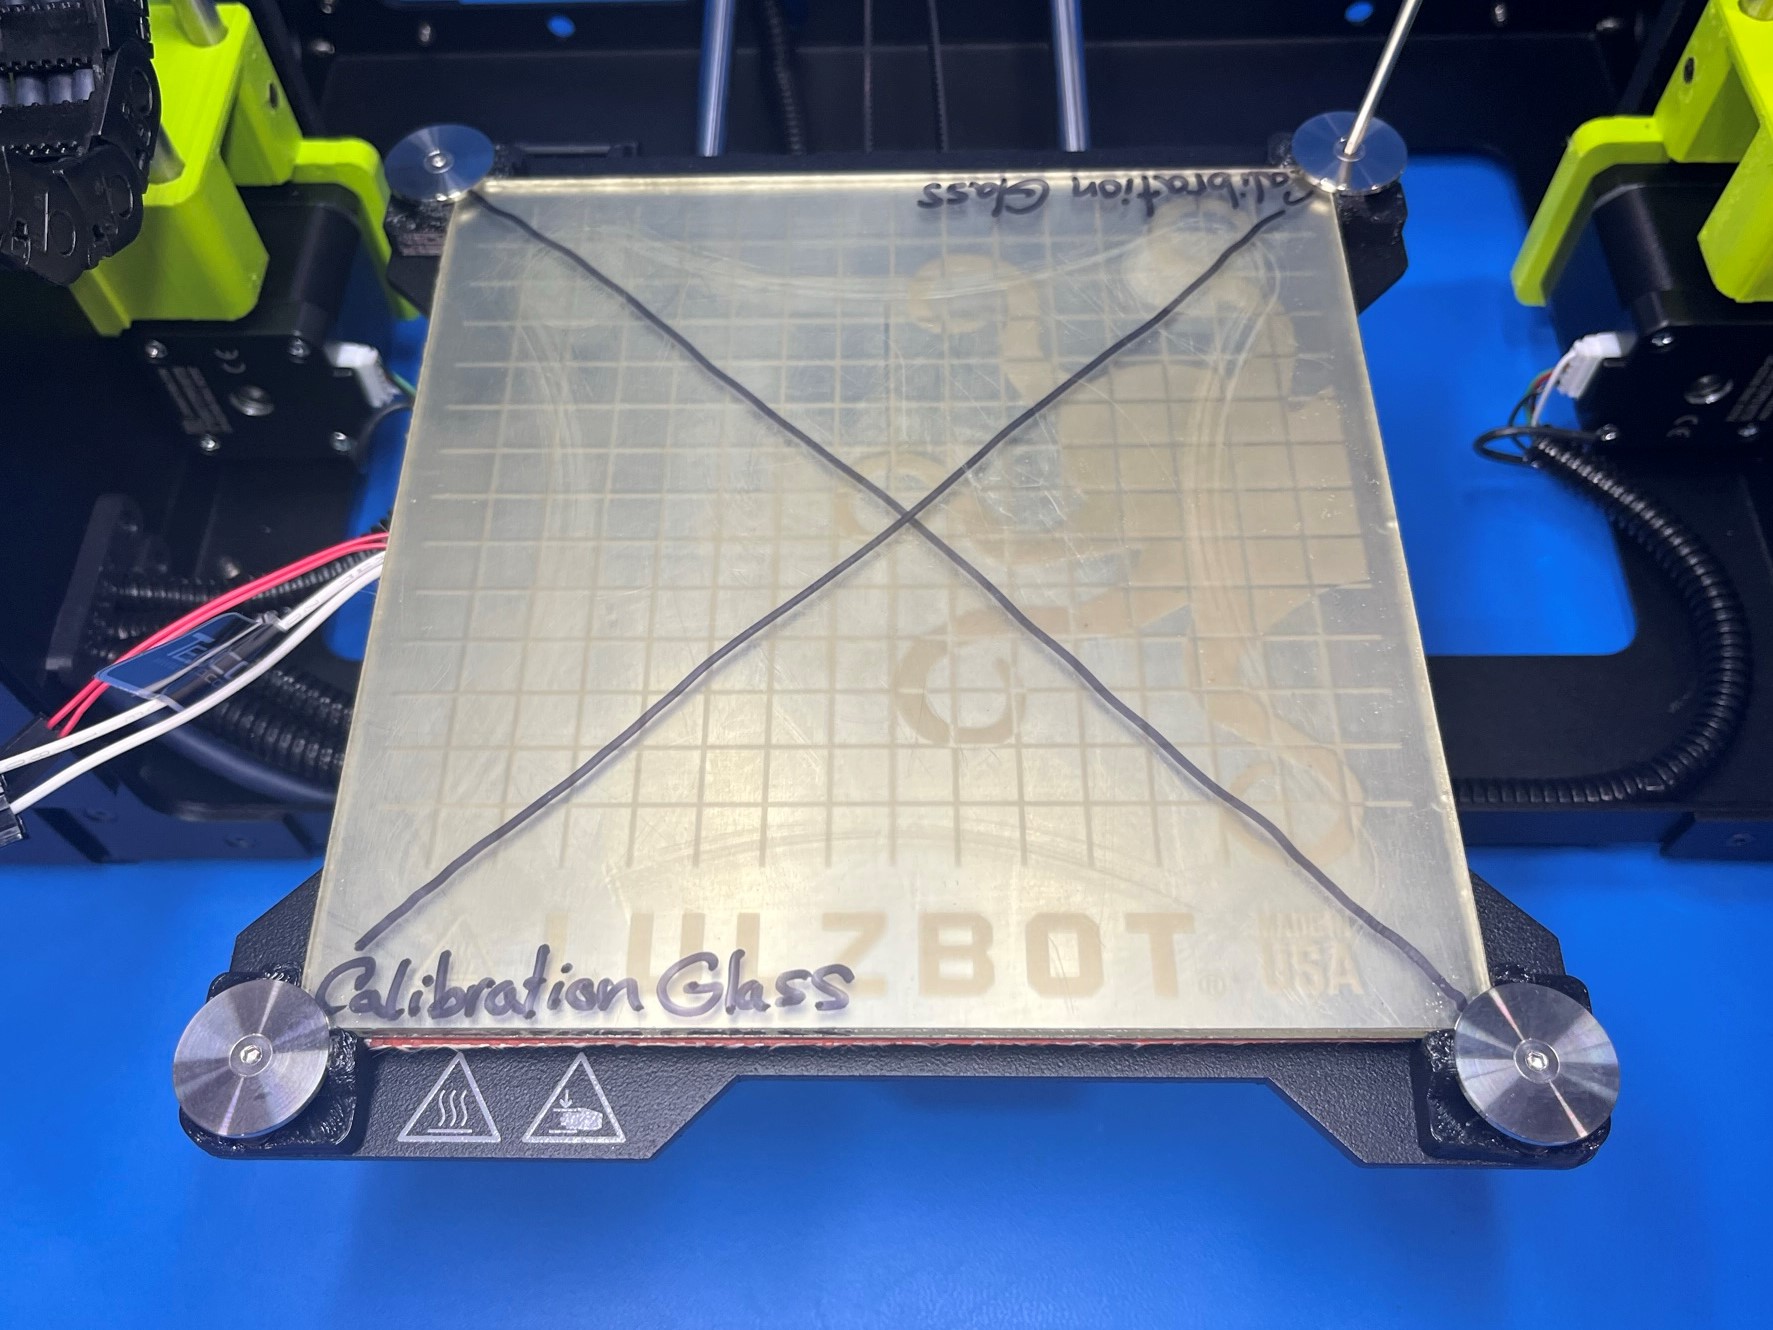
Then fasten the 4x bed leveling washers [PP-MP0082] to the bed using 4x M3x16 FHCS [HD-BT0082].
Make sure not to over tighten the screws or it could break the glass.
Turn the printer so that the right frame plate is facing towards you. Then align the four insert on the spool arm assembly with the right frame plate.
Once its aligned use 4x M3x6 FHCS [HD-BT0128] to secure the spool arm assembly to the right frame plate.
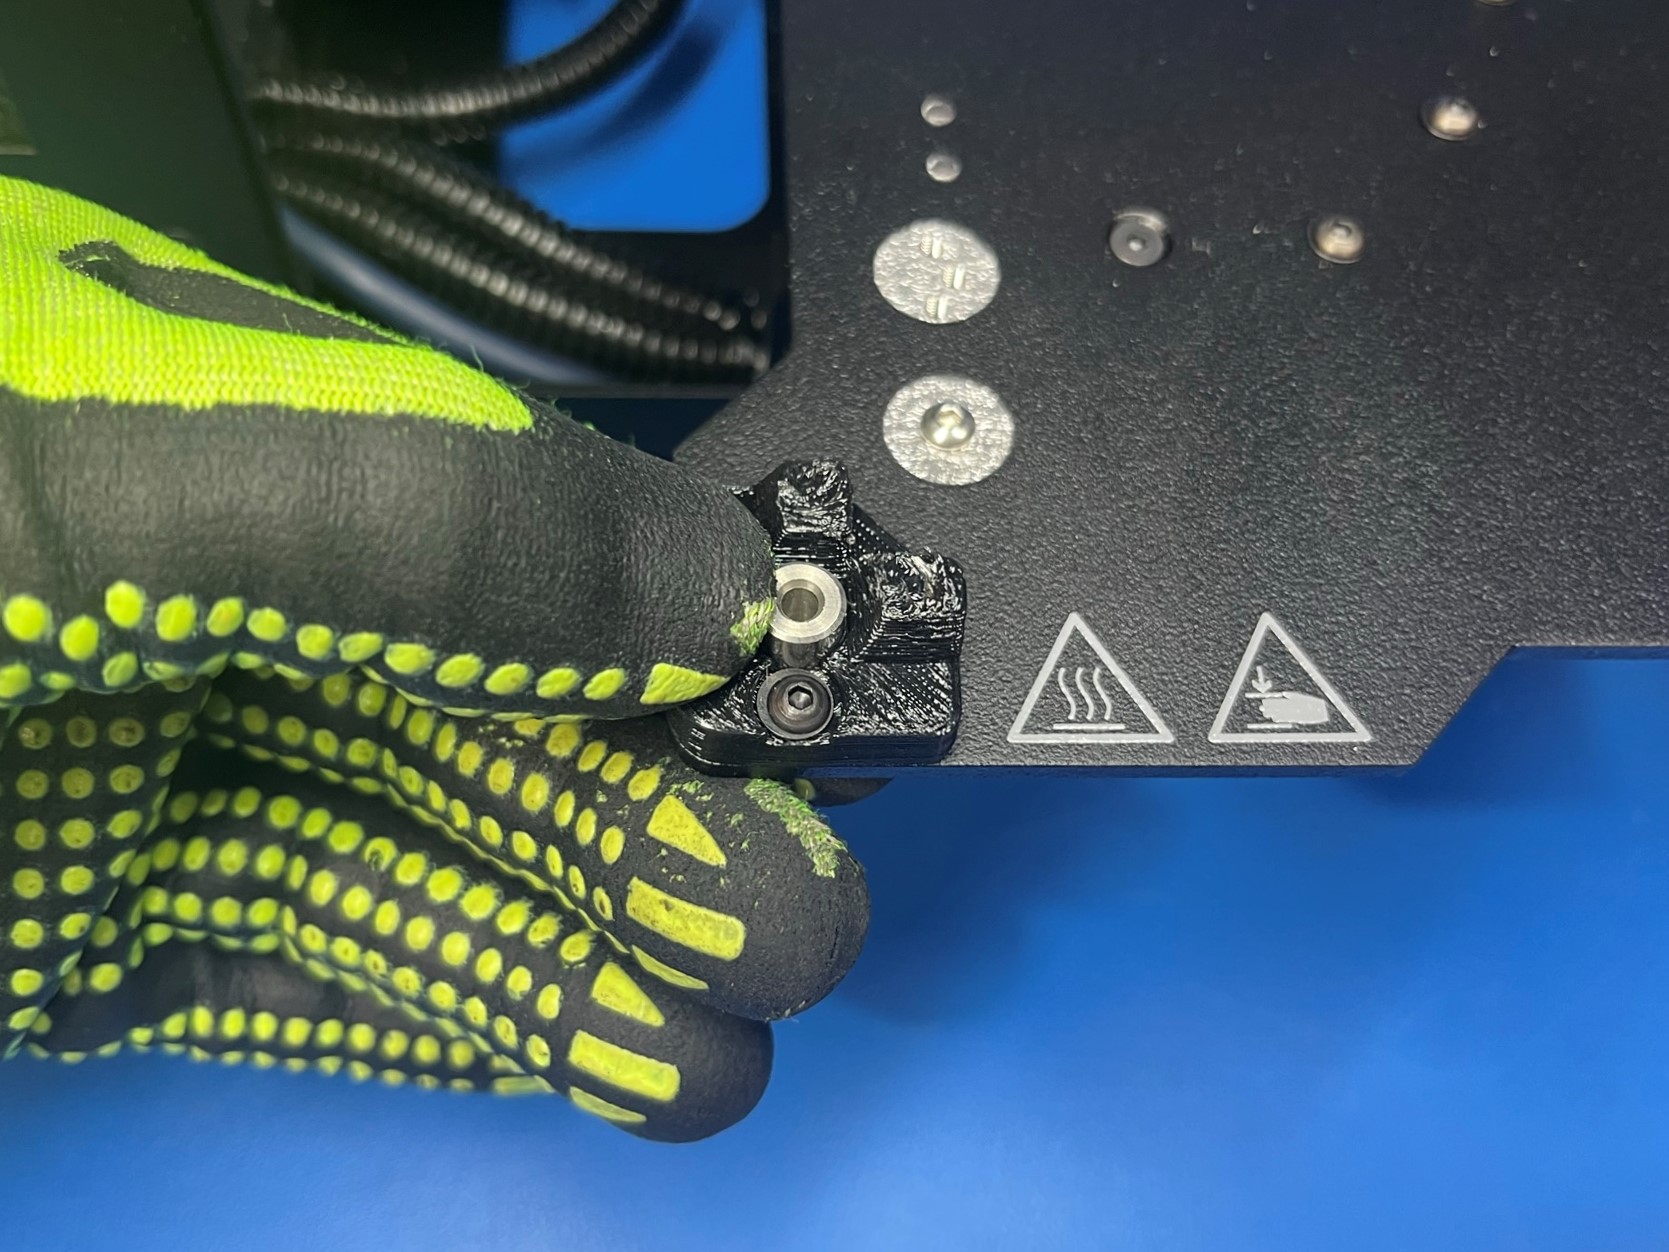
Then turn the printer again so that the backside of the printer is facing you and pull the bed towards you. Now find the two holes on the bed and align the calibration wiper pad mount and secure it to the bed using 2x M3x8 BHCS [HD-BT0137] with M3 washers [HD-WA0038]

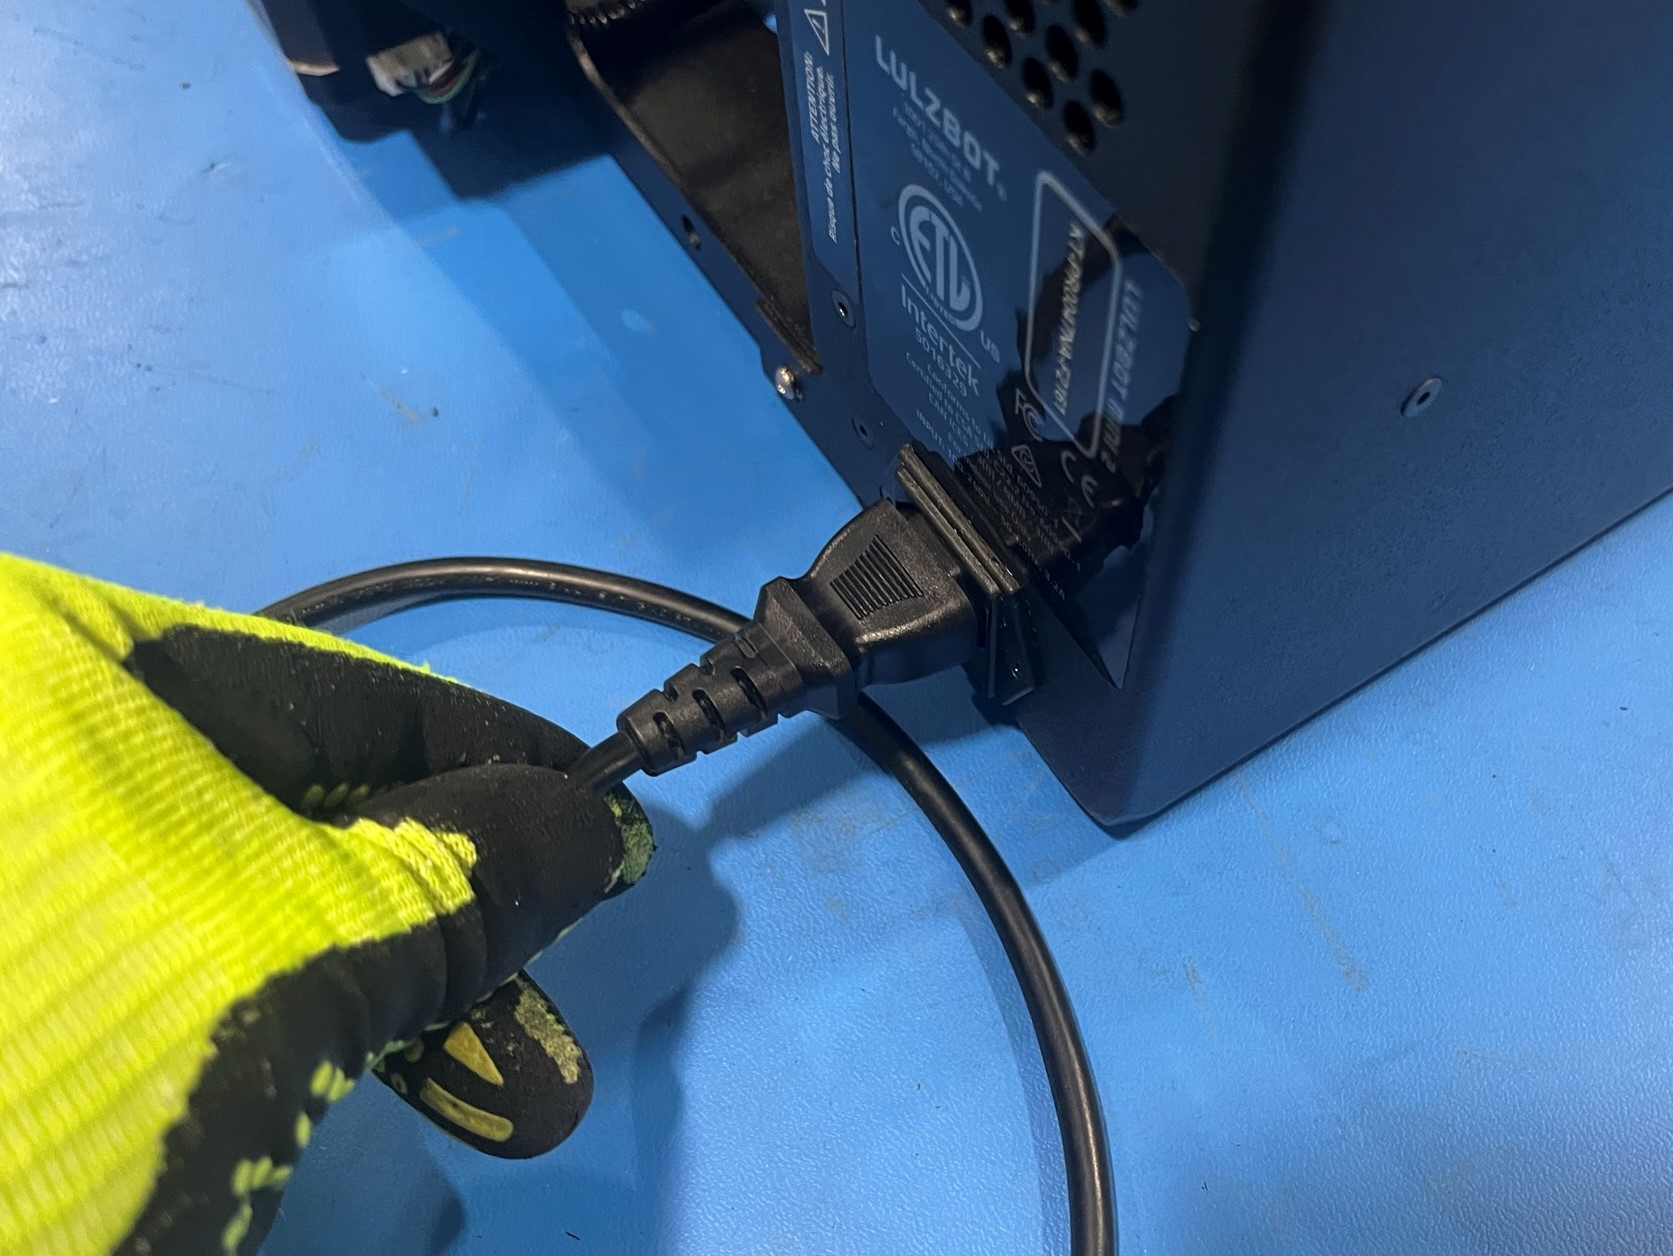
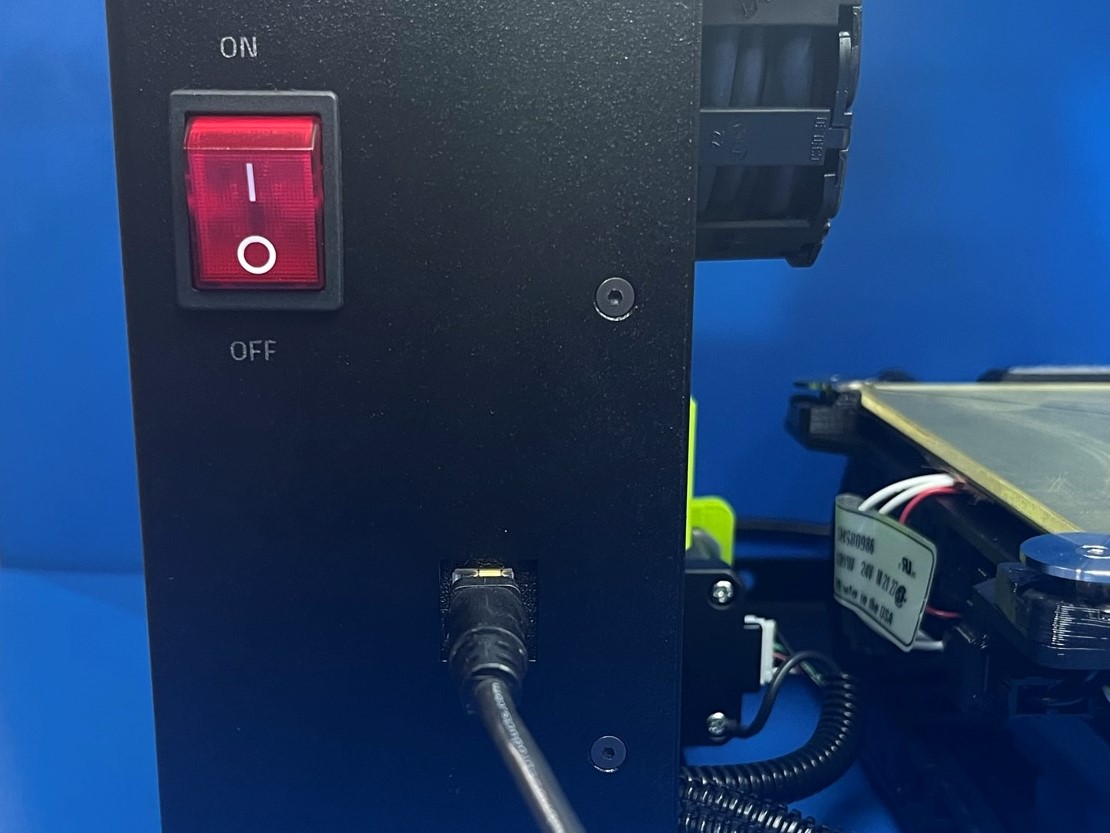
Turn the printer so that backside is facing you and plug the printer in. Make sure the curve side of the power cord is facing up. Then take the USB cord and plug it into the front of the printer.
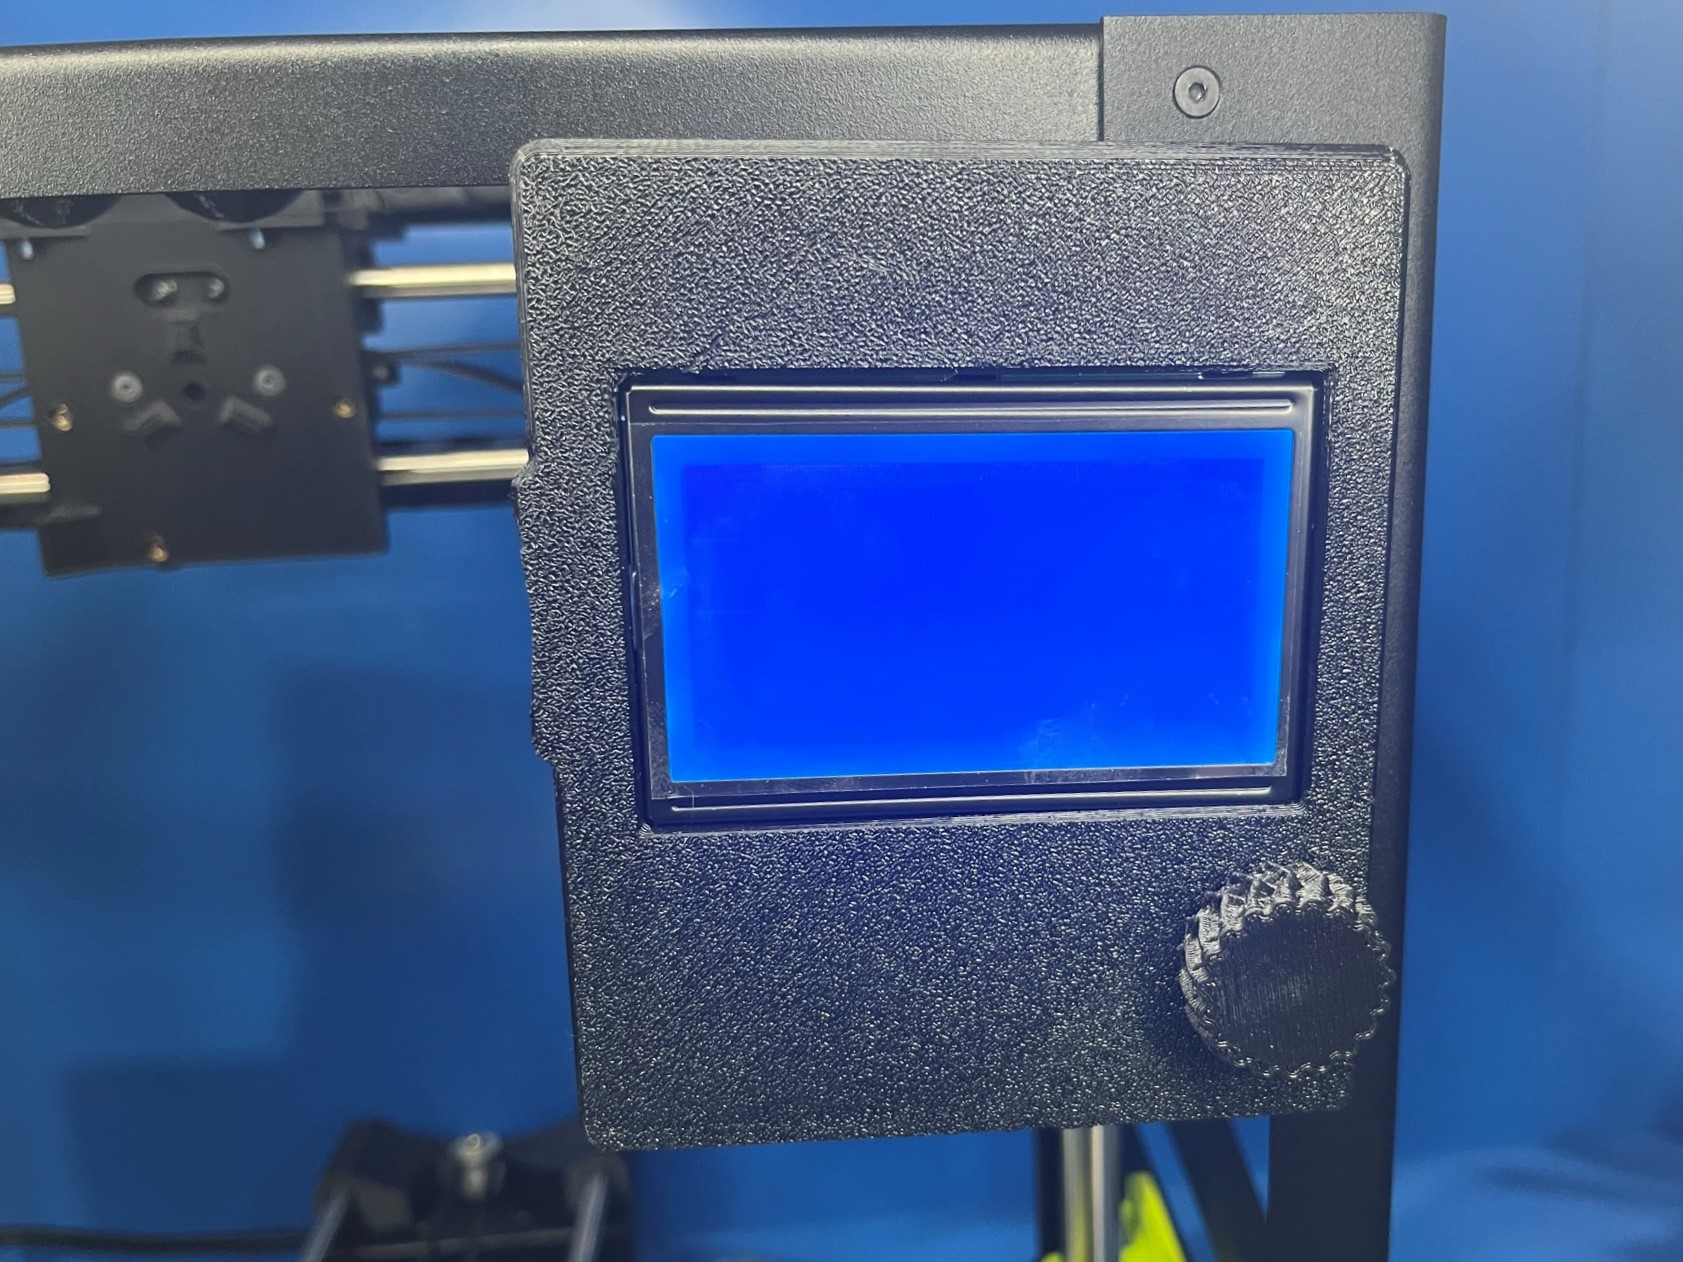
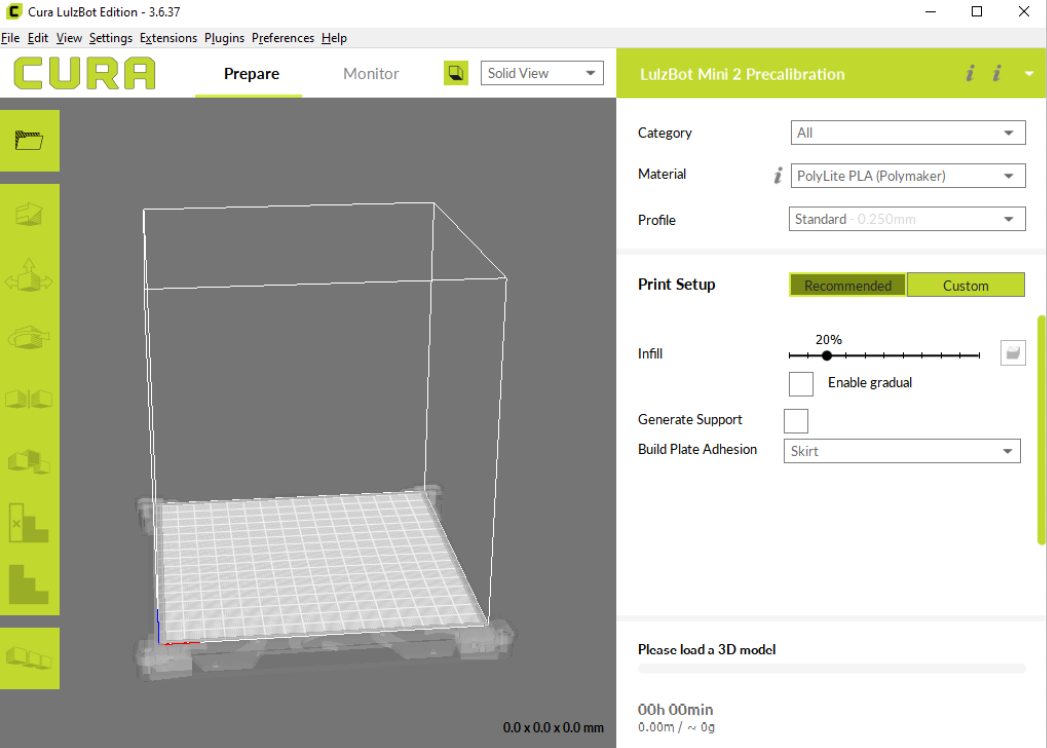
Now turn the computer on and open CURA LulzBot edition and connect to the printer.
Once you are connected to the printer preform the following steps:
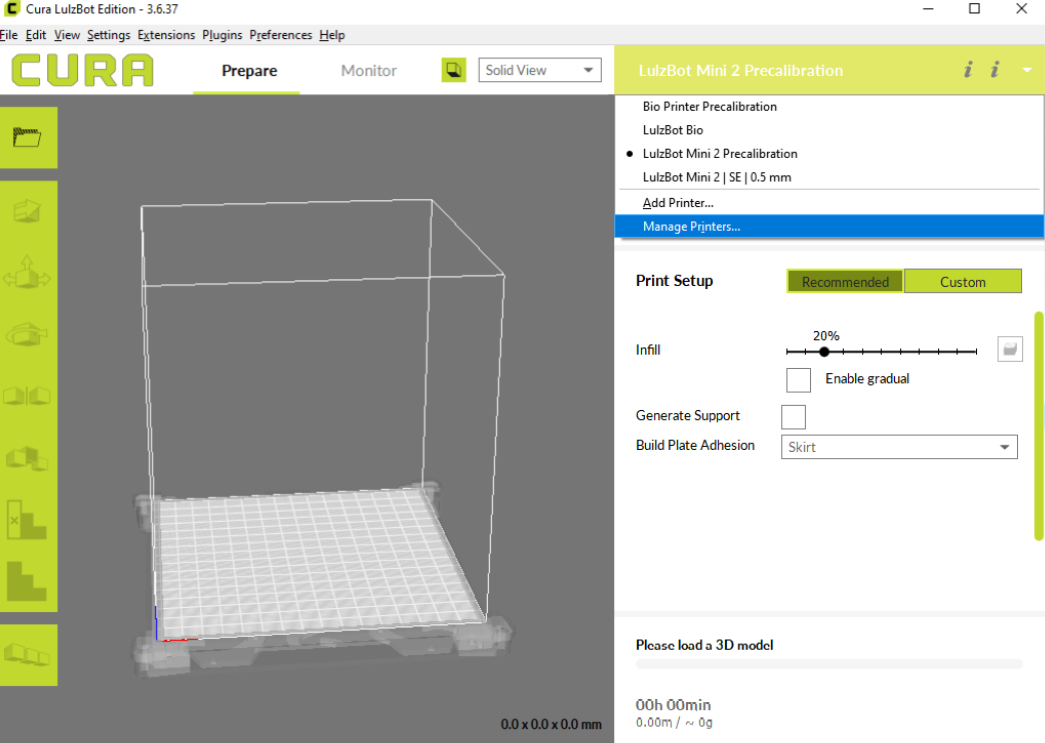
A. Click on Settings> Printer> Manage Printers...
OR
B. Click on the green banner that shows LulzBot Mini 2 Precalibration then click on Manage Printers...
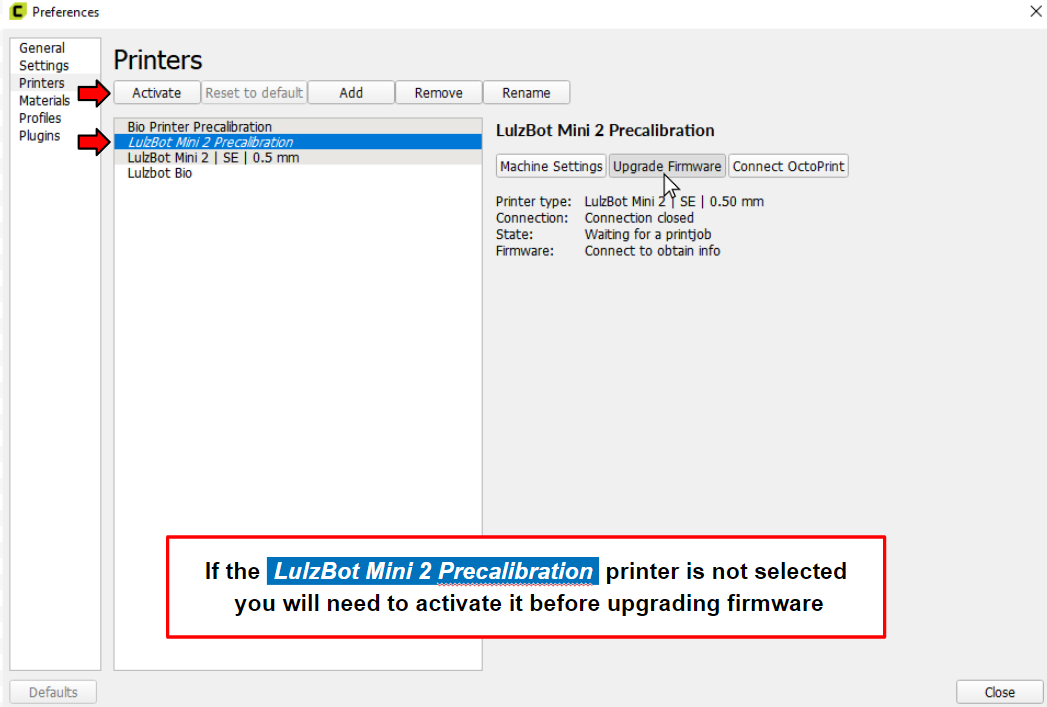
Make sure the LulzBot Mini 2 Precalibration printer is activated.
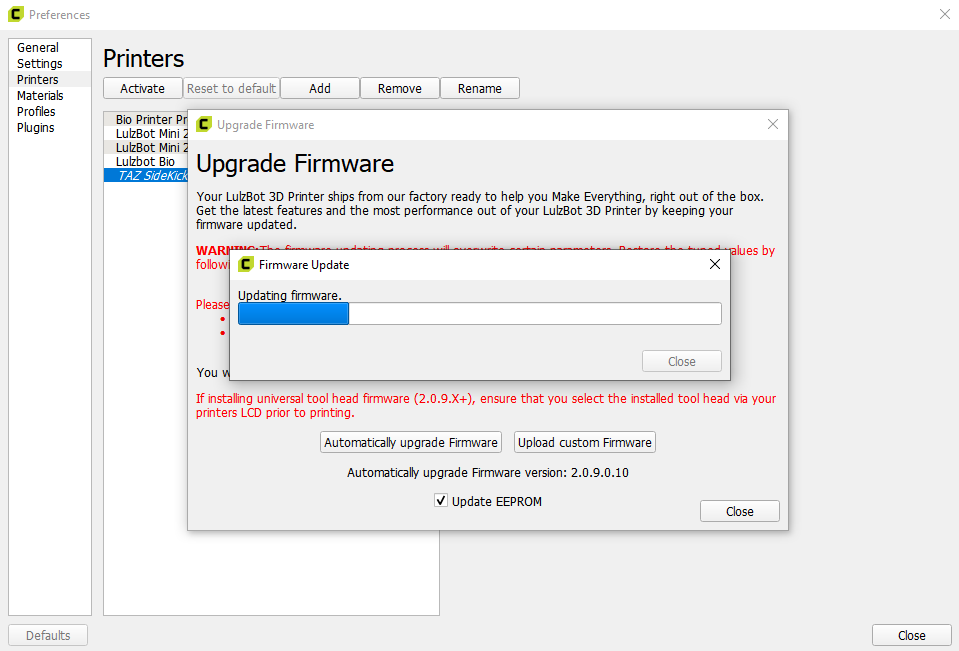
Click on the Upgrade Firmware button
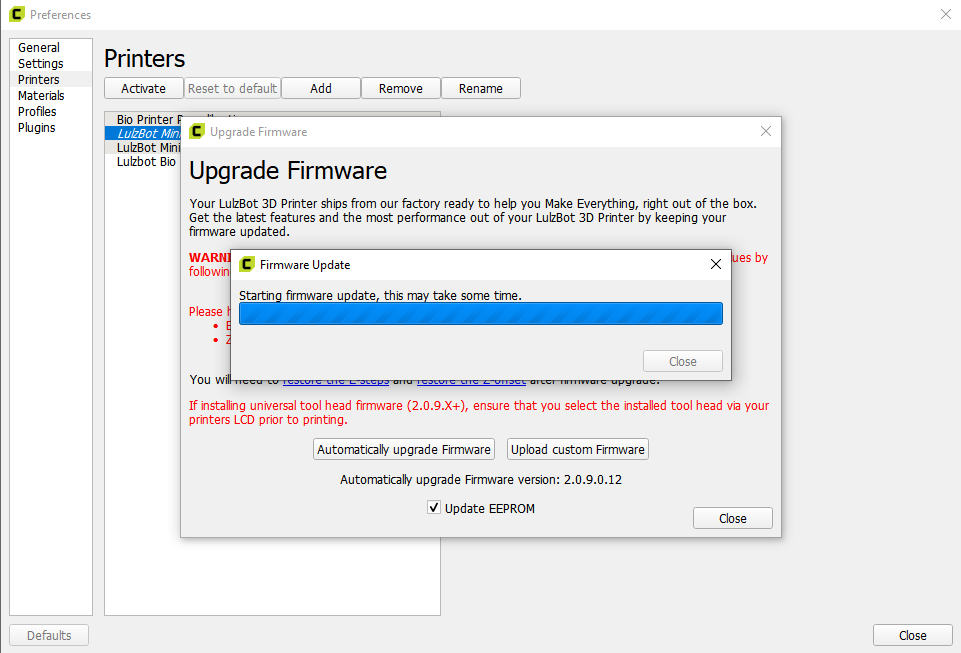
Then click the Automatically upgrade Firmware option
Wait for the Upgrade Firmware to finish
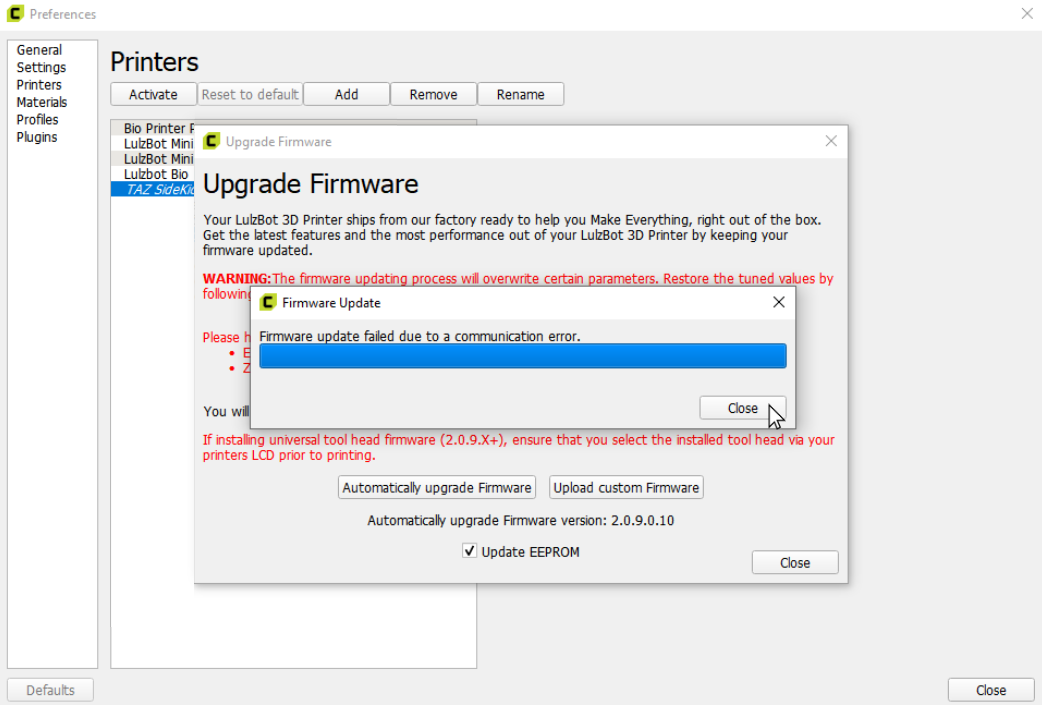
If you receive the "Firmware update failed due to a communication error." message hit Close and restart steps 4 and 5
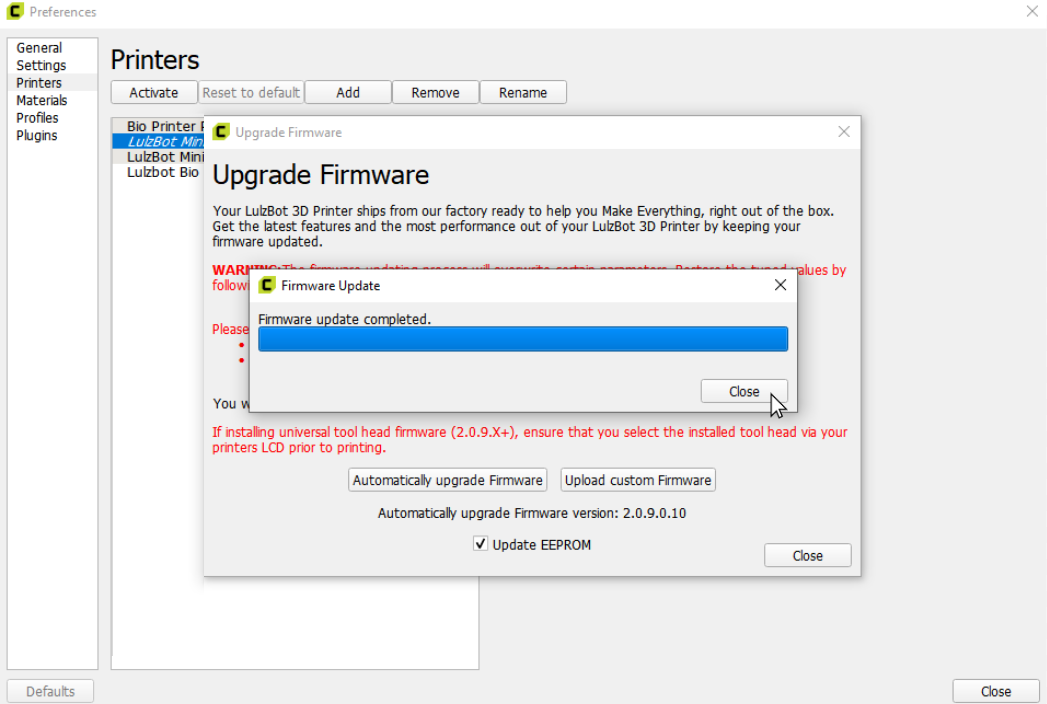
Once you receive the "Firmware update completed." message you are finished upgrading the firmware